What do we need for this?
Old jeans – 1 pc.;
Red ribbon, 5 mm. – 12 m;
Green tape, 5 mm. – 16 m;
Beige tape, 5 mm. – 12 m;
Pink ribbon, 5 mm. – 12 m;
Chinese beads, golden – 50 beads;
Floss thread – 5 m.
Auxiliary materials
Needle for embroidery with ribbons – 1 pc.;
Beading needle – 1 pc.;
Invisibility cameras – 8 pcs.;
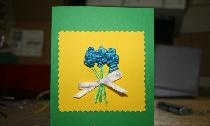
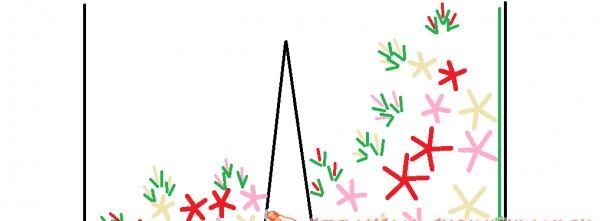
A sketch of the work is also attached. Green arrows show the direction of embroidery of rose leaves.
Progress
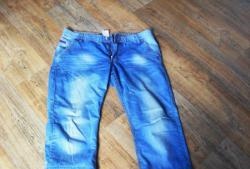
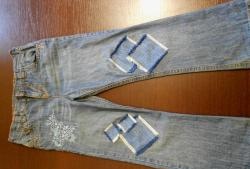
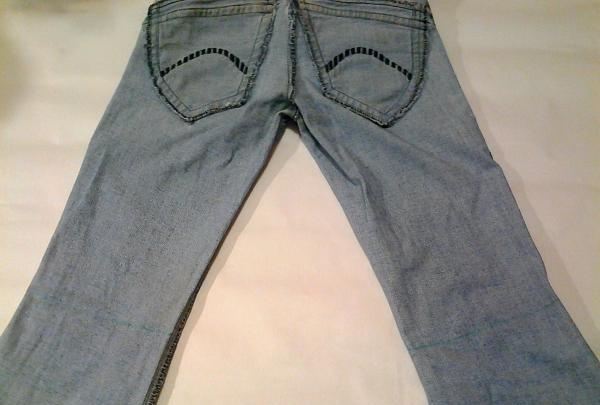
1) Wash the jeans and dry them. We make markings in order to cut the trouser legs straight. Just in case, take a greater distance - this will prevent you from unpleasant surprises.
2) Cut the trouser legs to size, measurements. If everything is fine, then cut the length you wanted.
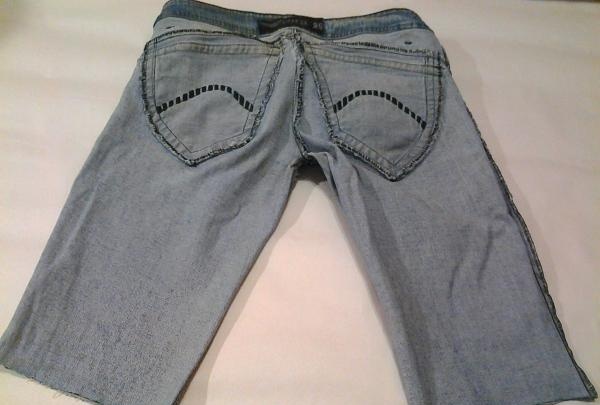
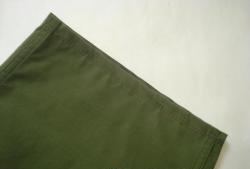
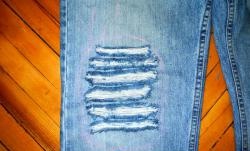
3) We turn up the edge of the trouser legs and secure it with bobby pins. We will begin processing the edges at the very end of the work.
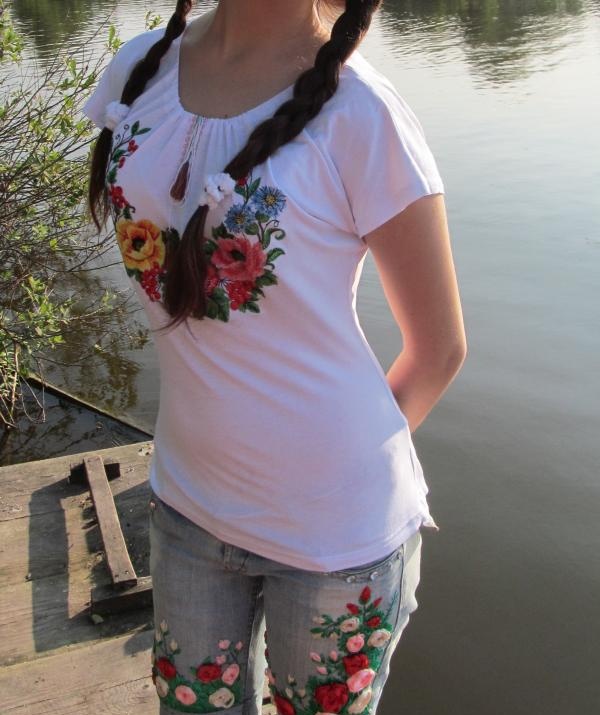
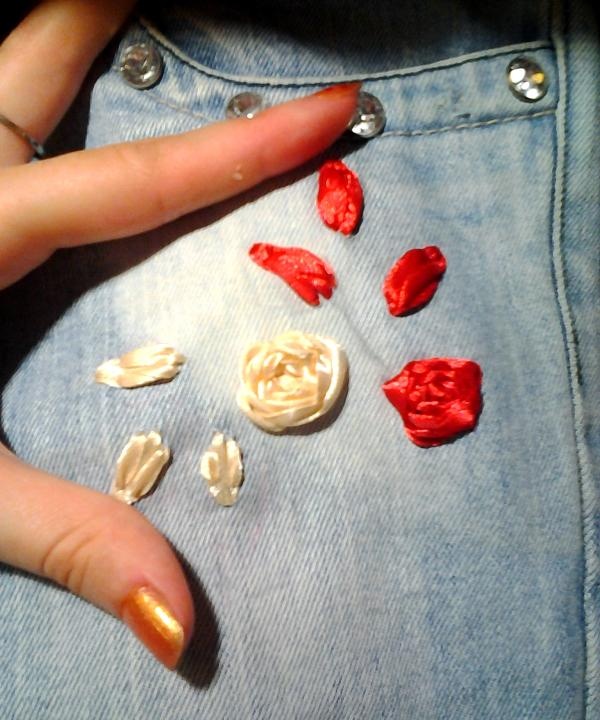
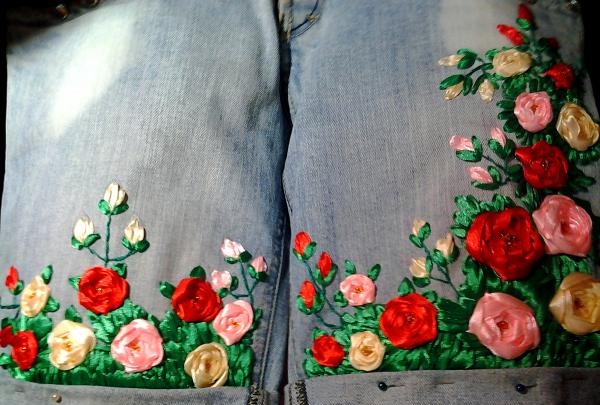
4) We make markings on the trouser leg, according to the sketch. This will allow you to avoid mistakes and complete the work clearly and beautifully. We begin to embroider the trouser leg with ribbons. Take a red ribbon and first embroider the closed rosebuds. To do this, we attach the tape from the inside out, bring it to the top, and perform a large stitch. The next two, on the left and right sides, are made smaller.
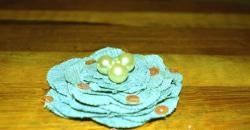
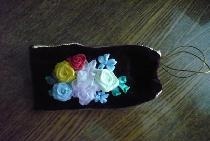
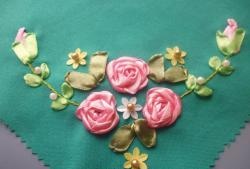
5) Next, we begin to embroider the roses themselves. To do this, we fasten the thread on the wrong side, bring it up, and imitate a kind of “sun” with subsequent stitches. Make sure that the number of stitches from the middle is odd, otherwise you won’t get roses when embroidering.
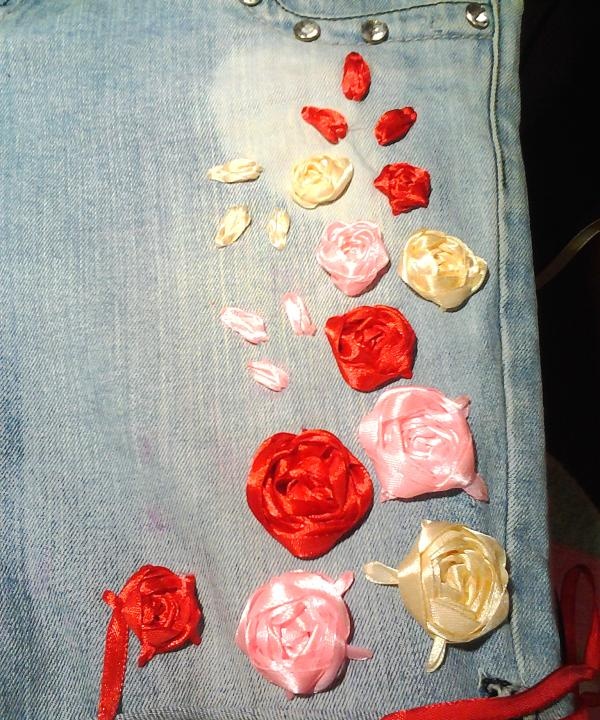
6) We continue to embroider roses and buds around the entire perimeter, according to the sketch. Let's move on to cutting cuttings. To do this, use green ribbon to first embroider the cuttings of all the buds.
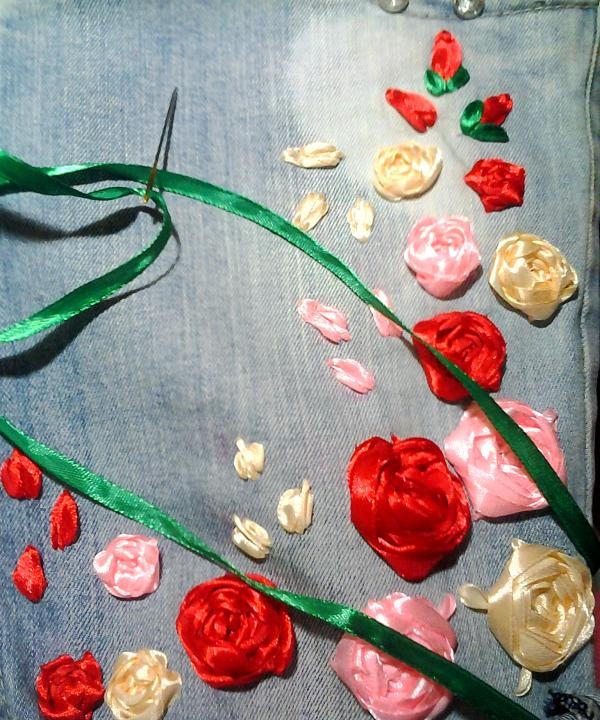
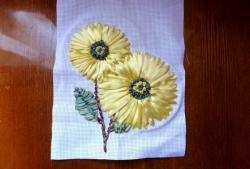
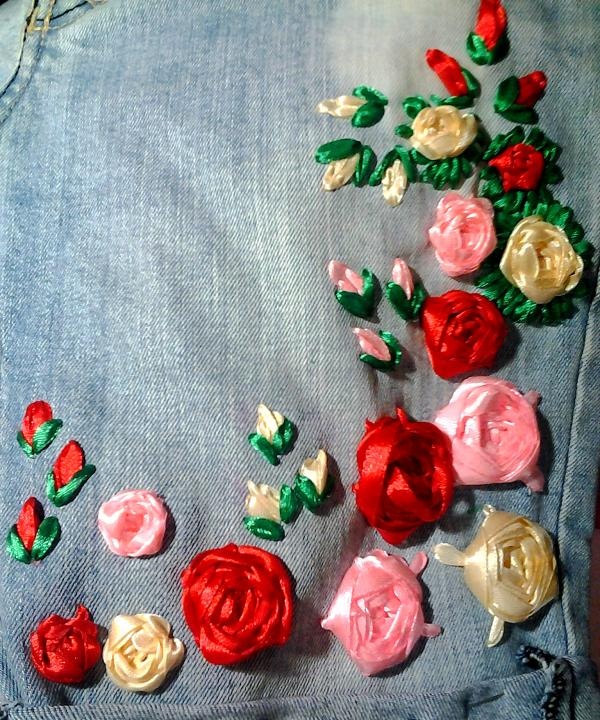
7) Next, embroider the leaves according to the direction. If they are uneven, don’t worry, the variety and twisting of the ribbons will look impressive, because there is no symmetry in nature.


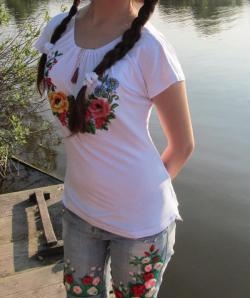
8) Using the same pattern, embroider the second part of the trouser leg, remember that the pattern should flow from one trouser leg to the other.
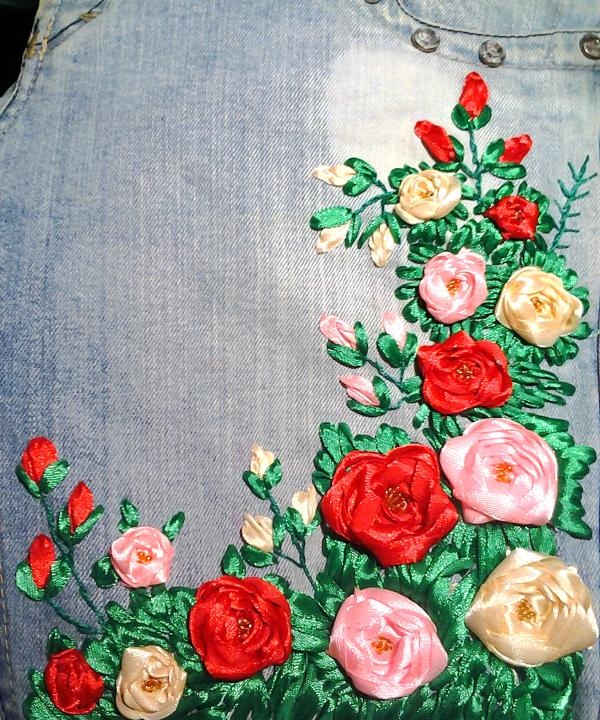
9) Let's move on to decoration. To begin, use a floss thread to make a path from the base of the bud to the leaves of the roses. Keep in mind that one stitch looks sloppy, make several that will smoothly transition into each other.
We embroider the middle of the roses with beads. For small roses, use three beads, for large ones, you can use five. Fasten the thread on the wrong side, bring it out, pick up the bead and return the needle inside out again.Next time, repeat the same steps, but before turning the needle inside out, thread the needle into the previous bead. This technique of embroidery with beads is called “circular” - it ensures a smooth transition and a tight fit of the beads to each other.
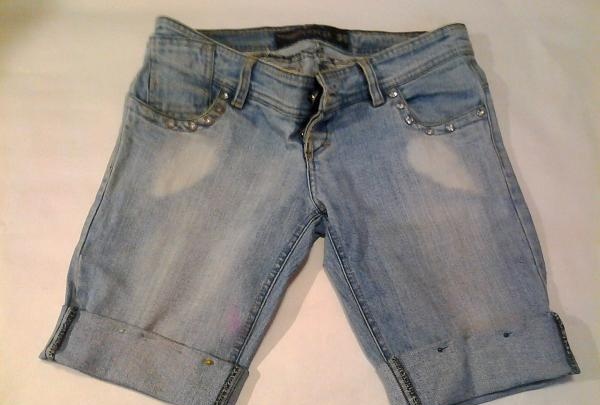
11) In order to complete the shorts, you can sew their folded edges with your own hands, on a machine, or simply take it to the atelier - and your creative and exclusive shorts will be ready!