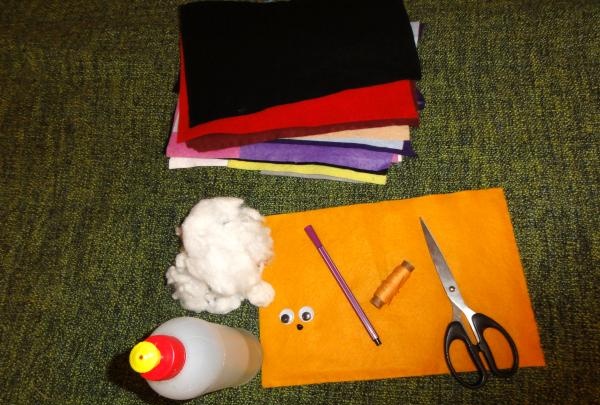
Materials:
• Paper pattern.
• Medium density felt, in this case half a sheet of A4 is enough.
• Threads similar in color to felt.
• Felt pen (crayon or soap) for transferring the pattern onto felt.
• Needle.
• Filling (sintepon, synthetic fluff, cotton wool or soft tissue scraps)
• Scissors.
• Finished eyes and nose (if there are no ready-made eyes, pieces of white (light beige) and black felt, 2 black beads).
• Universal glue (eg dragon).
Felt was chosen for making a soft toy because it is soft, quite dense, its edges do not fray when cutting, and there is a huge selection of colors and shades. Fleece is also suitable for soft toys, especially large ones.
So let's get started.
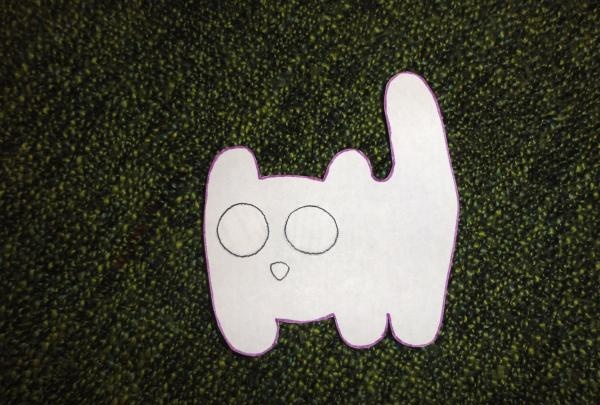
Cut out a pattern from paper.

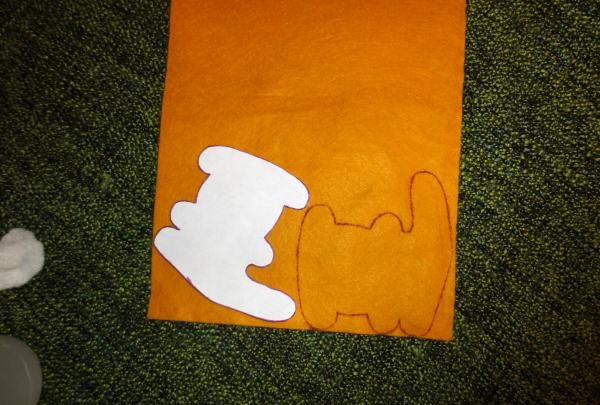
Lay the felt out on a flat surface. Trace the pattern along the contour in direct and mirrored form.
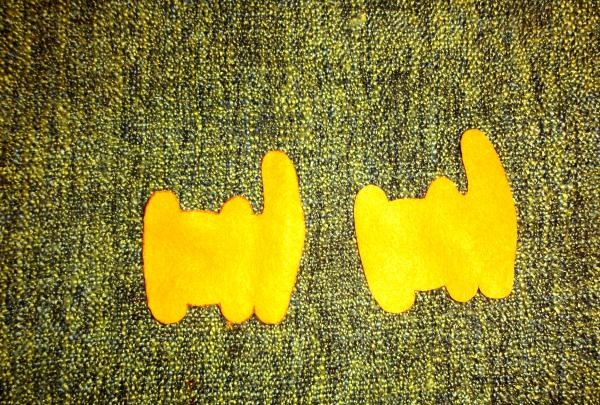
Cut out two parts.

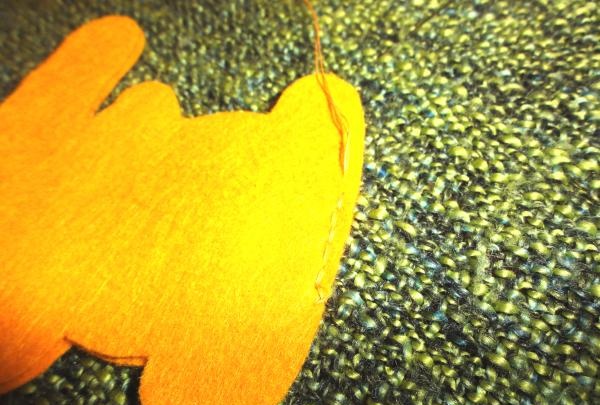
Place the pieces right sides inward and sew together. You can use machine stitching or sew by hand.The most commonly used hand stitch is backstitching with a needle. The seam should be laid at a distance of at least 3 mm from the edge of the part. You can sew the toy from the front side, so as not to turn it inside out later, then you should use contrasting threads and sew with a loop (edge) seam.
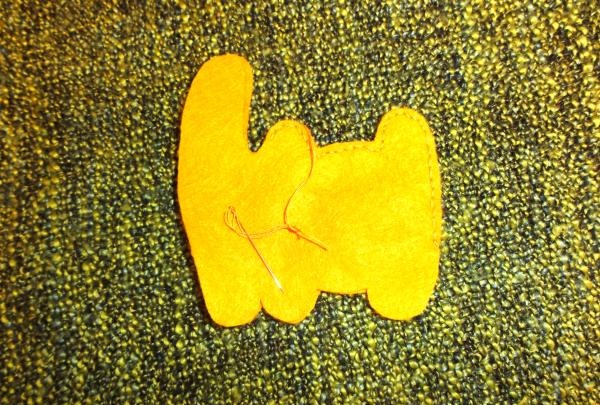
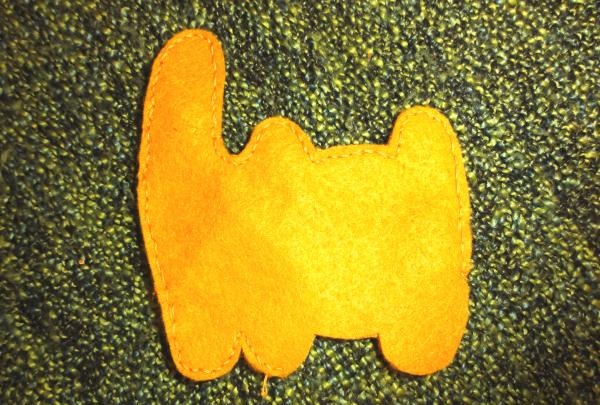
Sew along the contour of the toy, not forgetting to leave an unsewn part through which you can turn the sewn toy right side out.

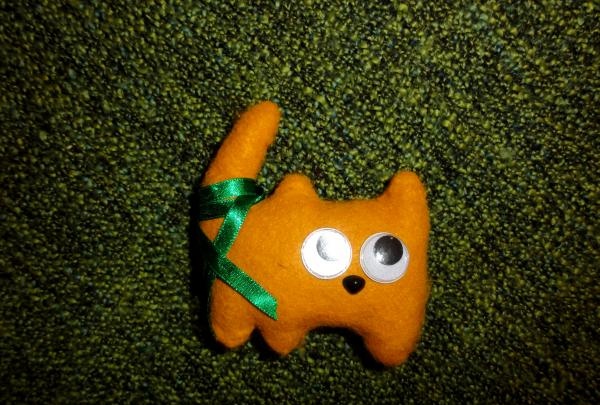
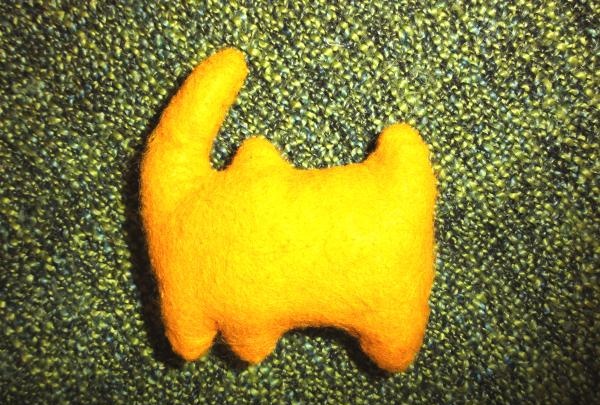
Turn out carefully, if necessary, use a stick with a blunt end (pencil or pen without a rod). At this stage, if there are no ready-made eyes and nose, cut out circles for the eyes from white (light beige) felt, sew on the pupils from black beads, and cut out the nose from black felt. Sew on the eyes and nose before stuffing the toy.

To give volume to the cat, you need to take a soft filler, such as padding polyester, padding polyester, or, in extreme cases, cotton wool, or you can use scraps of soft tissue. Using a stick with a blunt end, distribute the filler evenly over the toy, paying attention to the tail and paws. The degree of filling is determined visually; too tight stuffing can damage the seams.
After all the filling has been placed in the toy, you should sew up the hole with neat stitches from the outside.
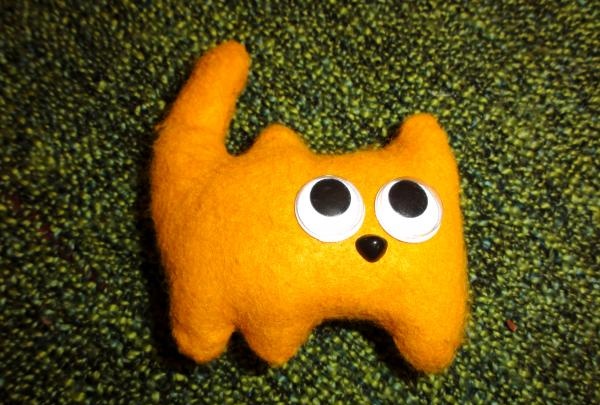
Attach the finished eyes and nose, if necessary, adjust their position before gluing. Glue with universal glue suitable for gluing fabrics and other materials (for example, Dragon).
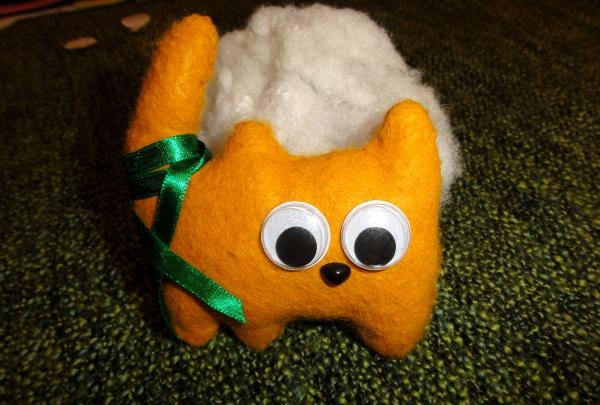
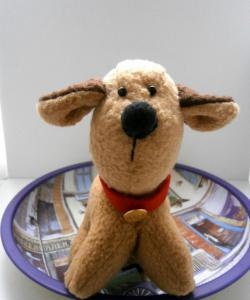
To decorate the finished cat, you can use ribbon bows, hats, or nameplates. In this case, the cat simply got entangled in the green ribbon.
P.S. The toy is quite simple to make and can be made together with children 5-6 years old.Joint creativity brings joy to communication, develops perseverance and handicraft skills. And the result is a beautiful soft bright toy, valuable because it was made with your own hands and a piece of your soul was invested.