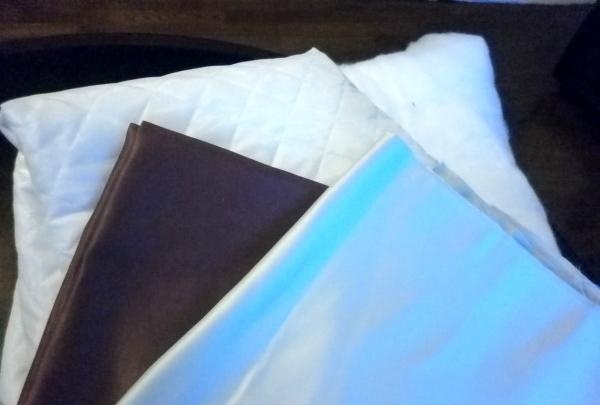
To sew a finished bedspread measuring 240*205 cm you will need:
• main fabric – length 170 cm and width 280 cm;
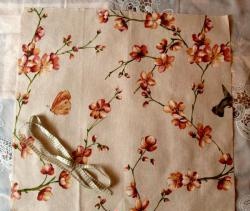
• fabric for ruffles – length 100 cm and width 280 cm;
• quilted lining fabric – length 445 cm and width 150 cm;
• padding polyester – length 445 cm and width 150 cm;
• sewing threads to match the main and finishing fabrics – 1 spool each;
• scissors;
• tape measure, long metal ruler, measuring tape;
• tailor's pins with heads;
• fabric chalk.
Uncover
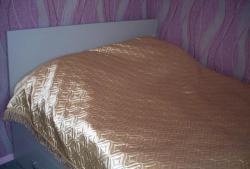
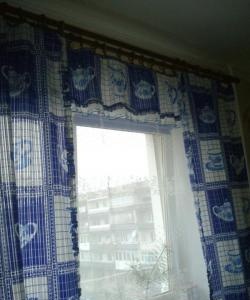
To sew a bedspread, it is convenient to use curtain fabrics, for example, satin or jacquard, since they are wider and denser than usual. Cut a rectangle measuring 168*222 cm from the main fabric. Cut the fabric for the frills into 4 pieces, each 25 cm wide. For bows, 16 squares measuring 12.5*12.5 cm. Cut out 2 rectangles from quilted lining fabric: 150*222 and 150*74 cm.Also cut out the padding polyester.
Sewing technology
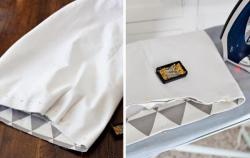
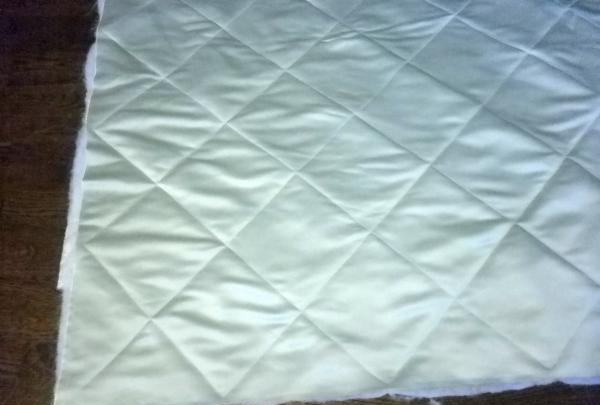
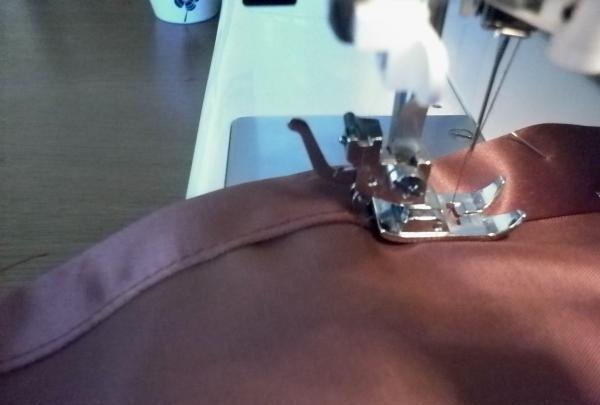
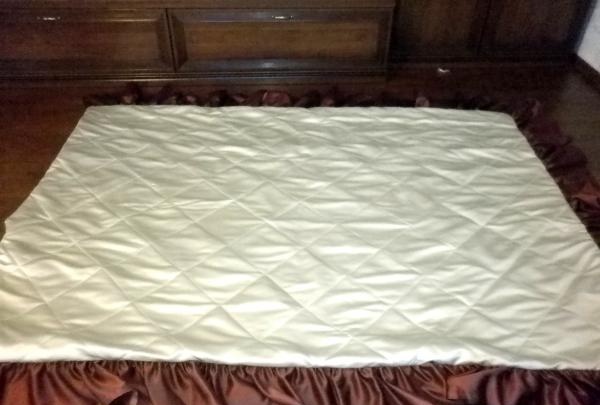
1. Apply stitch lines to the blanket. To do this, make small notches on all 4 sides of the top part every 27.5 cm, retreating 1 cm from the edge of the part. There should be 8 notches on the long side, 6 notches on the short side. Connect them diagonally to each other, drawing clear lines with chalk. As a result, you will get a pattern in the form of diamonds with a side of about 21 cm. Place the top piece on the padding polyester, fasten both panels with pins so that they do not move relative to each other and quilt the top of the bedspread.
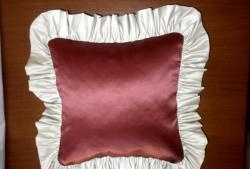
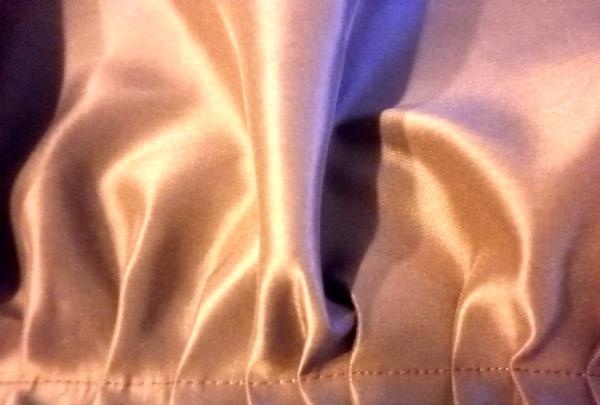
2. Sew the frill. To do this, stitch the parts together and iron the seams.
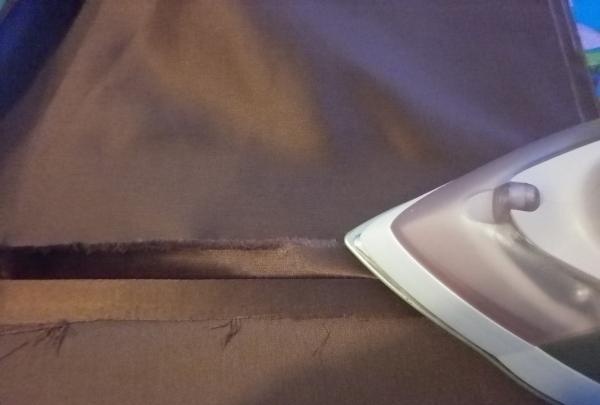
3. Then turn up the seam allowances and topstitch.
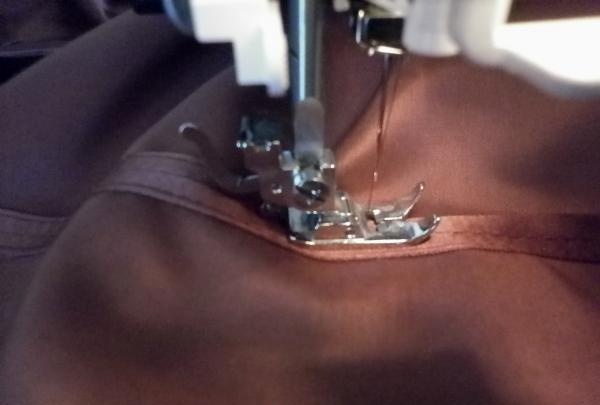
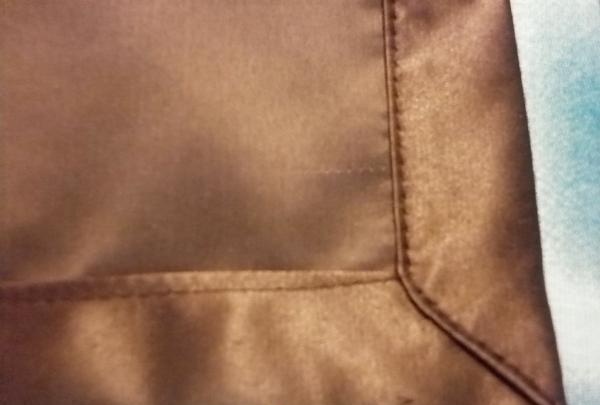
4. Fold the edge of the frill 0.5 cm and then 3 cm. Pin the seam.
5. Sew along the bottom edge and side edge of the frill.
6. Carefully fold the corners of the frill with an envelope and lay a fastening stitch.
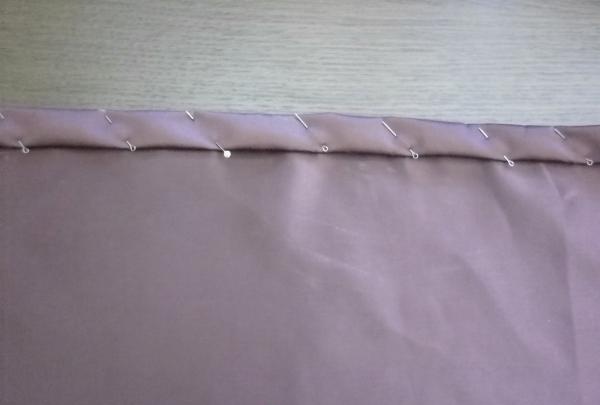
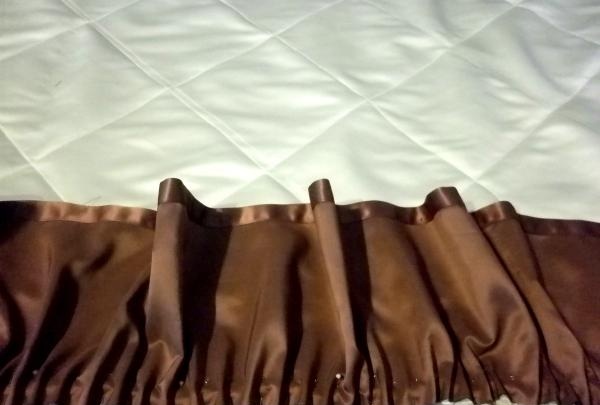
7. Sew a wide stitch along the other edge of the frill at a distance of 0.75 cm from the edge. Then gather the frill to a length of approximately 605 cm.

8. Place the frill over the coverlet and secure with pins.
9. Round the corners of the bedspread a little.
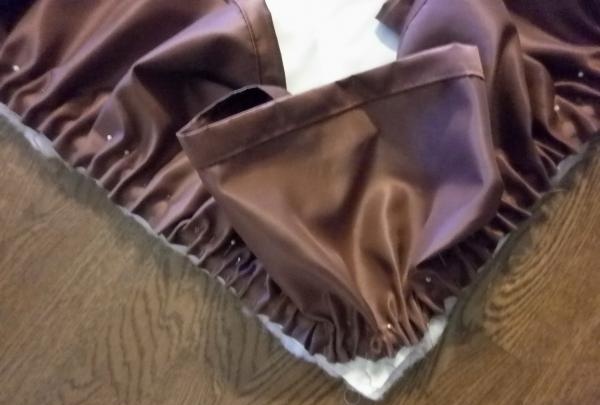
10. Place a fastening stitch 1 cm from the edges, removing the pins at the same time.
11. Fold the top of the bedspread with the lining, at the same time moving the frill inside. Place a fastening stitch 1.2 cm from the edge. Leave a hole 25-30 cm long in the stitching. Then turn the product right side out through it, straighten the seams and frill. Sew the gap in the stitching using blind stitches.
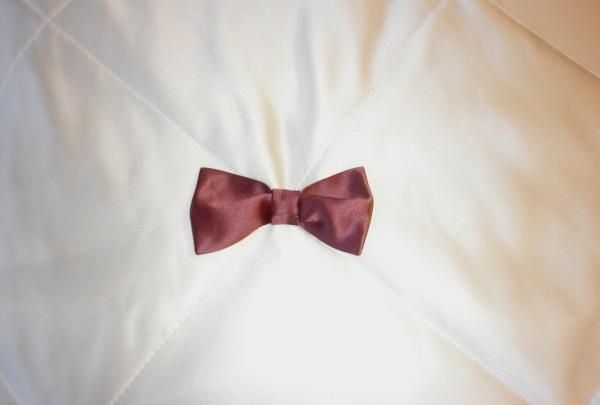
12. Sew finishing bows. First, fold the pieces in half lengthwise, sew a stitch, leaving a gap of 3-4 cm in length.Then iron the seam, fold the piece so that it is in the middle, stitch the side edges, cut off the corners.
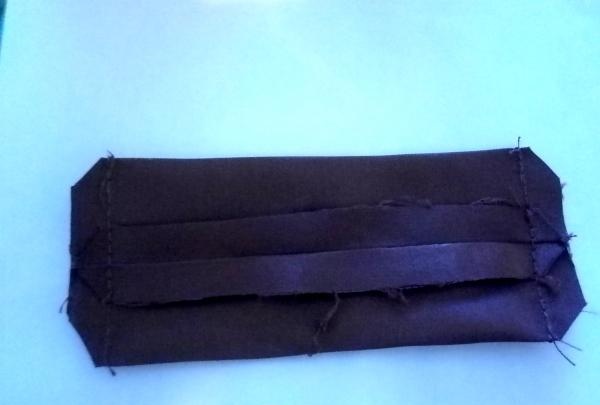
13. Turn the bow right side out through the hole in the stitching, straighten the corners, and iron.
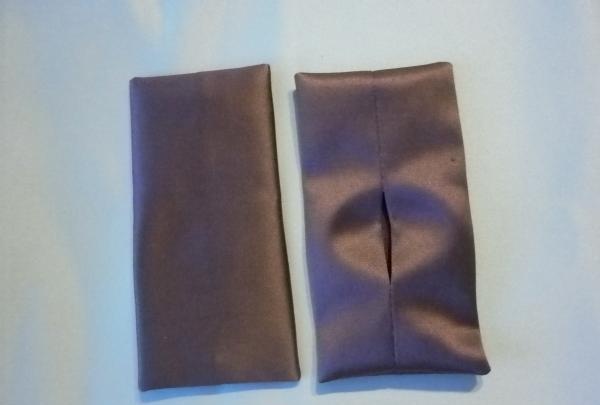
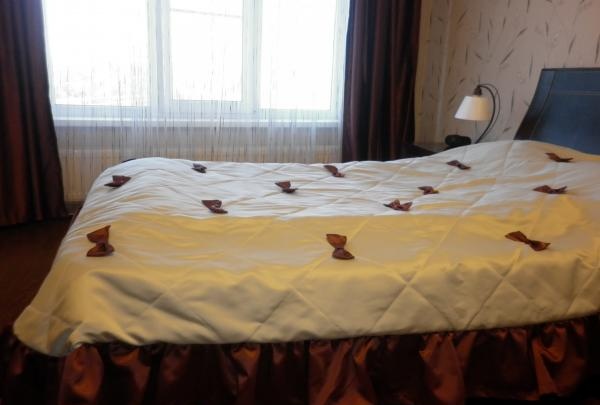
14. Make a constriction for the bow. Sew the edges along the long side, turn them right side out using a pin, and iron the piece. Sew the finished bows onto the blanket, placing them at the tops of the diamonds.
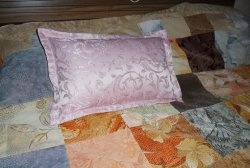
A cute new bedspread is ready. It will definitely decorate your bedroom and give it a cheerful and romantic look.