So, to create it you will need:
1. printed photographs (even number);
2. double-sided paper-based tape (or Moment glue);
3. double-sided foam tape;
4. a piece of leather (imitation leather, fabric);
5. iron corners (optional).
And now everything is in order.
I. We need printed photographs. There are two ways to get them in the right size.
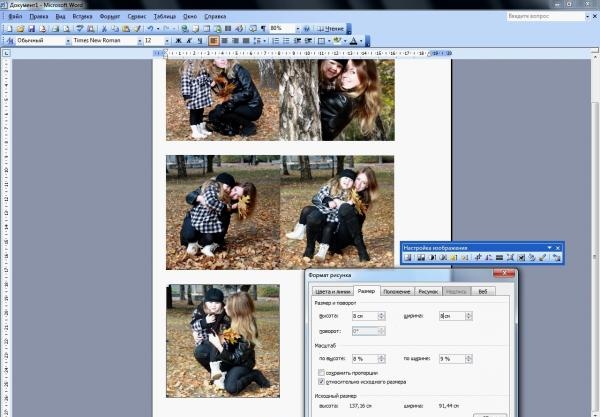
First way: select the desired photos and insert them two at a time in Microsoft Word.
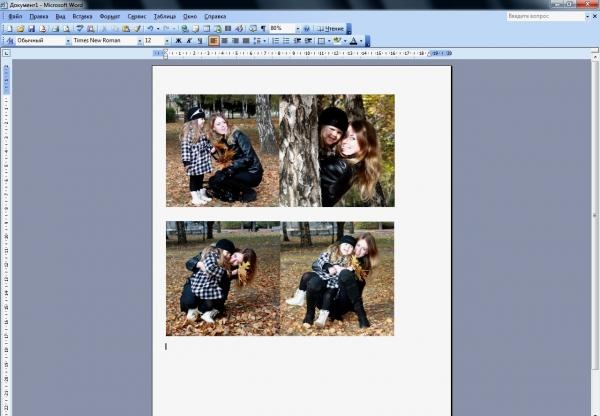
There, set them to the required size on the appropriate tab, and if necessary, cut them.An A4 sheet will fit 6 photos (3 blocks of 2 photos, size 8cm*8cm).
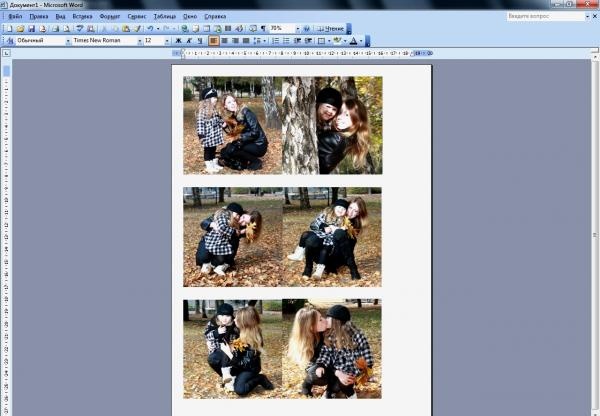
After processing all the photographs, we print them on a printer on photo paper.
Second way: You can do everything the same as in the first method using Adobe Photoshop, if you have sufficient skills to work in it.
There MUST be an even number of photographs plus two for the cover. Their size will determine the size of the entire photo book. Photo paper should be single-sided, preferably matte, with a density of 160-200 mg/cm3. If it is not possible to print on a color printer, you can do it in black and white, especially since it is now in fashion, a kind of retro chic!
II. We cut out the photos in blocks of two and one for the cover.
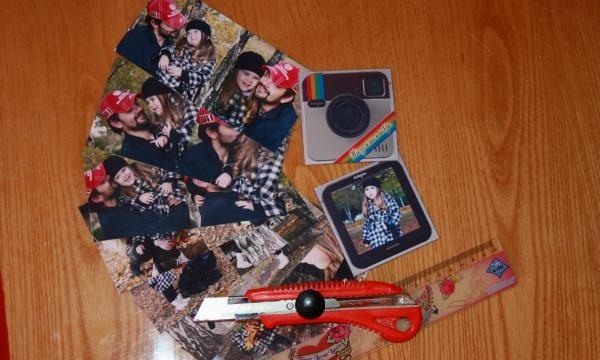
It is better to use a stationery knife and a ruler for this, rather than scissors.
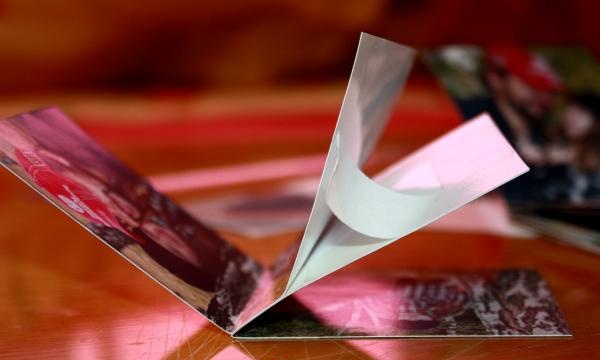
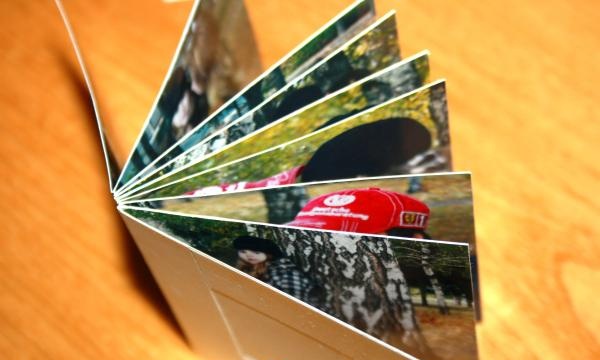
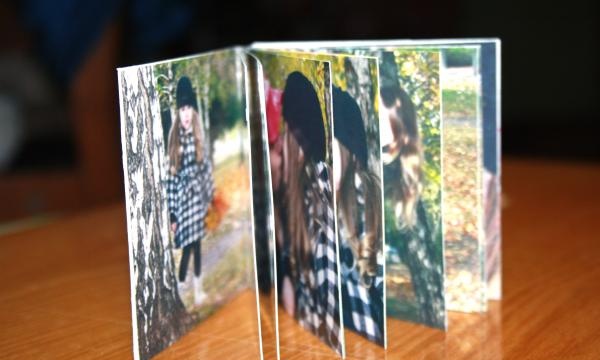
III. Now let's glue all the blocks together except the cover. To do this, you can use double-sided tape, or you can take “Moment” type glue. Personally, I prefer tape because it is easier to work with and does not require special care. At the same time, it costs much more than glue, given its high consumption. In the end, you will get a “book” photo block like this.
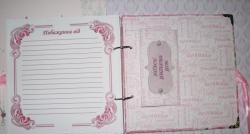
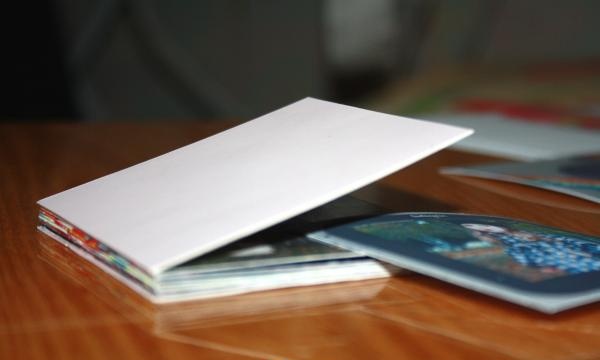
IV. Making the cover. To do this, cut out two squares from any cardboard the size of two covers.

Glue the first one in front to the block, and the second one in the back.
Now we need to decorate the end of our almost finished photo book. Take a piece of leather (faux leather, fabric) the height of a book, and its width 2 cm greater than the width of the end of the book. We glue it tightly to the end and overlap onto the covers.
You shouldn’t pull too hard, otherwise the book will open on its own. There is no need to make gaps on the cover more than 5 mm, because... the cover will peel off.And now the most important thing - glue the cut out photo covers.
We enjoy our work.
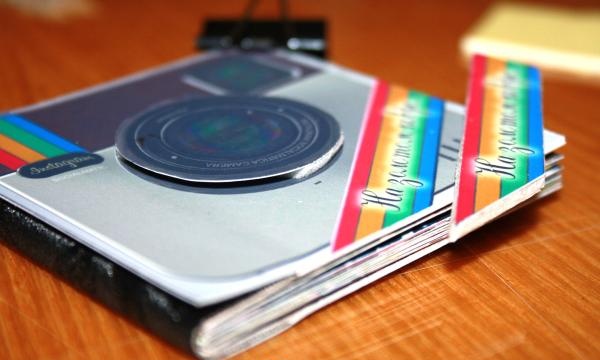
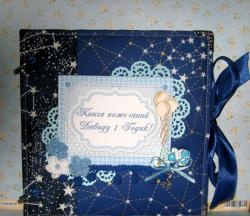
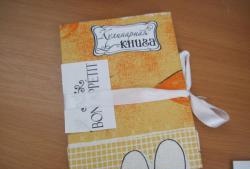
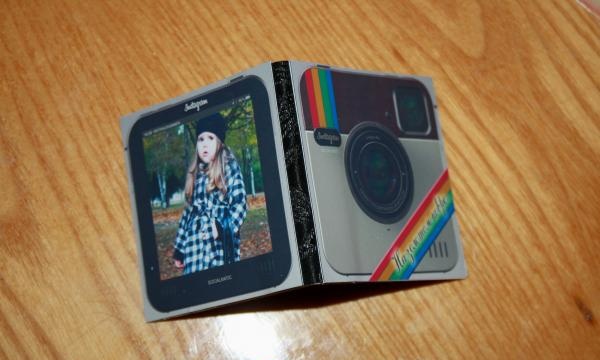
As a kind of exclusive detail, you can make a voluminous cover. To do this, you need to print one more copy of the cover (front). From it we cut out any details that, in your opinion, are suitable for creating the desired effect. For me it’s a camera lens and a ribbon with an inscription.
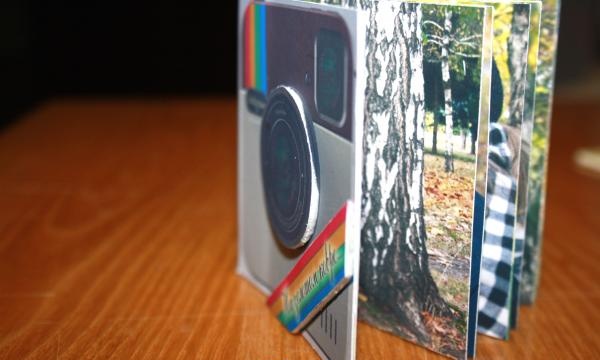
We glue it with double-sided tape on a foam base for a 3D effect. Voila, the photo book is ready!!!
PS: If you have difficulties working with Microsoft Word -
Thank you for your attention. Happy creation!