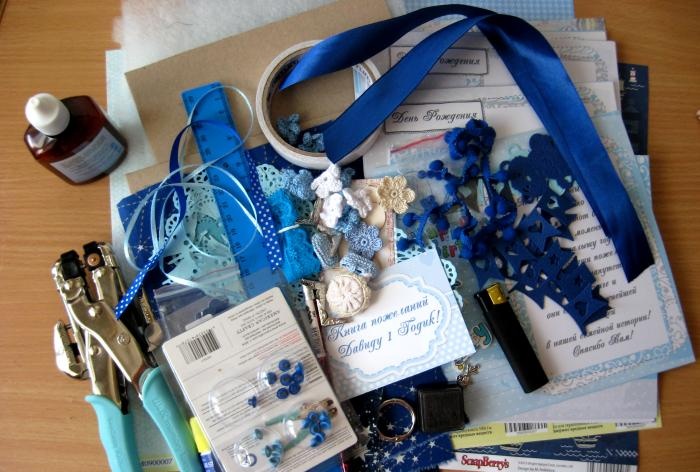
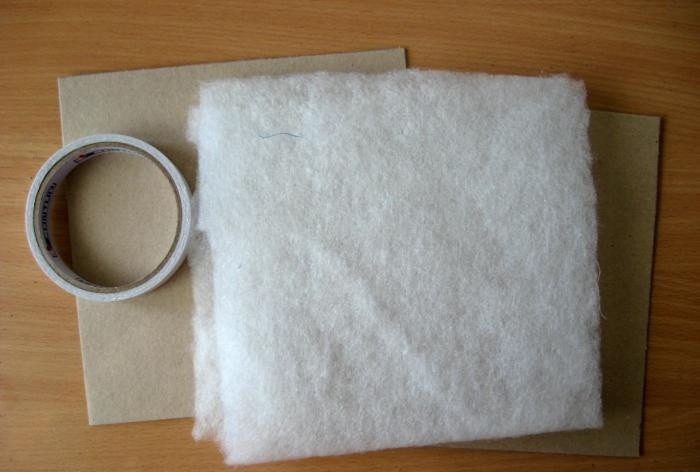
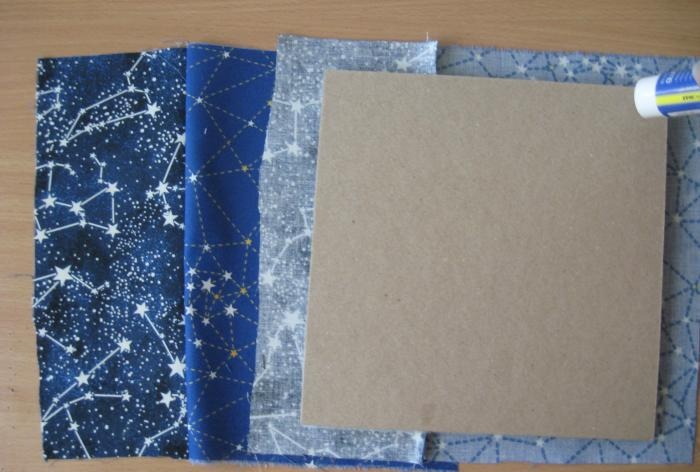
To make a book we take:
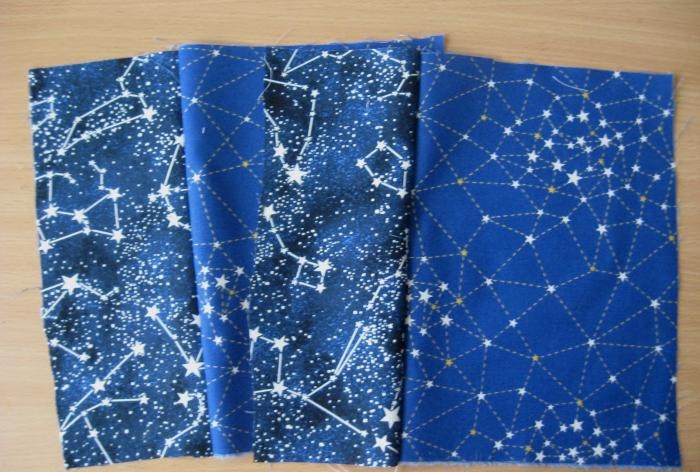
- Cotton fabric with stars in blue shades, we take two German-made fabrics, one dark blue with white stars, the second blue with white and yellow stars;
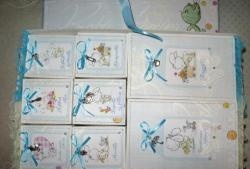
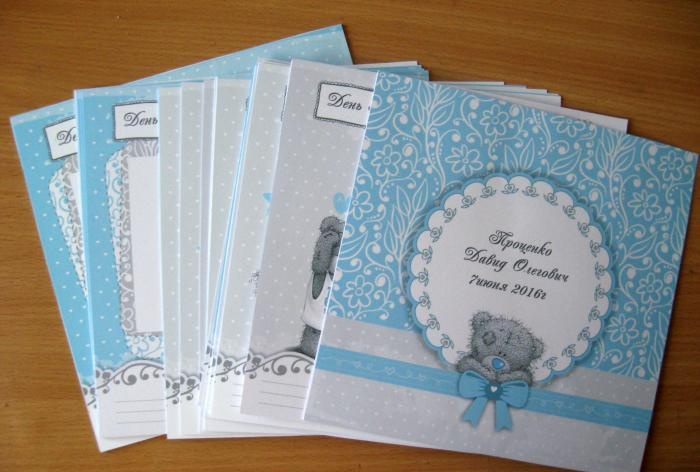
- Printed color sheets with teddy bears, take 40 sheets;
- Two sheets of cardboard 20*20 cm;
- Sintepon;
- Metal corners;
- Metal rings;
- Blue satin ribbon 25 mm wide;
- Blue cut out napkin;
- Blue ribbon with pompoms;
- Knitted flowers are white and blue;
- Wooden inscription Baby;
- Metal stroller suspension;
- Cutting flags and butterflies;
- Scrappaper, two sheets 30 by 30 cm;
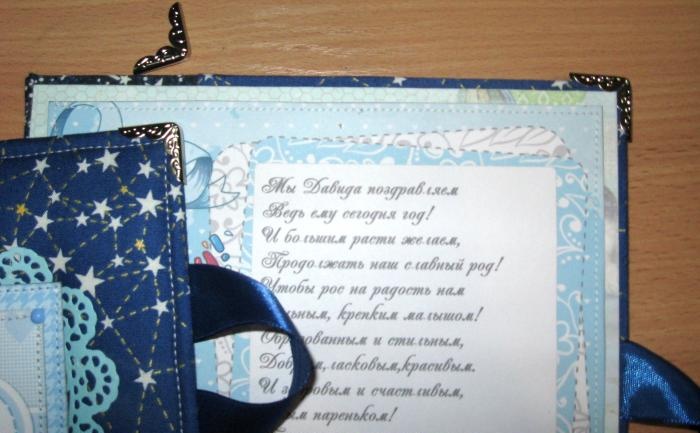
- Sheets with wishes and poems for the endpapers, also printed, like the sheets of the book itself;
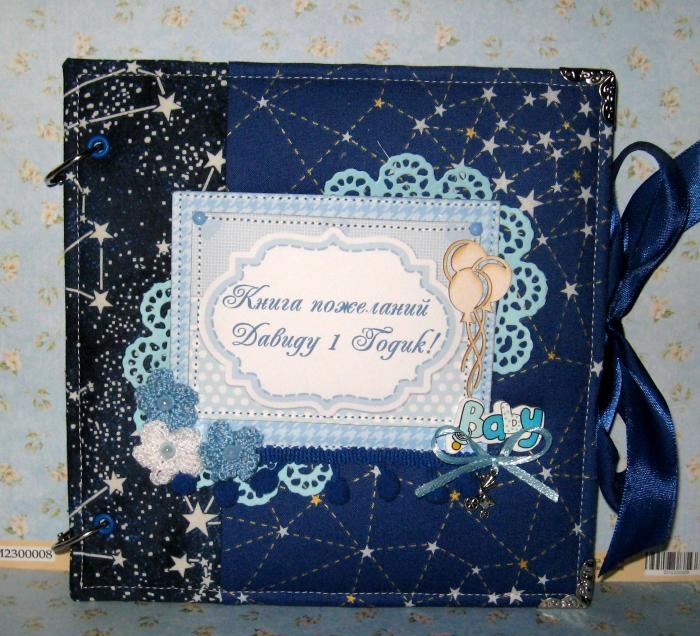
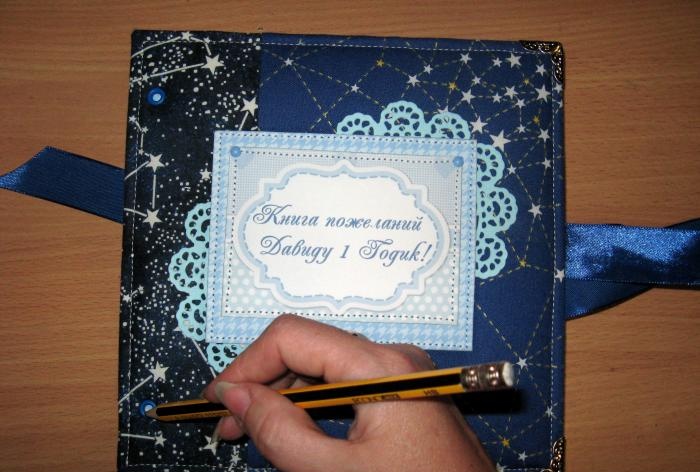
- A printed frame-tag with the child’s name (the inscription can be made using Photoshop);
- Blue eyelets and installer for them;
- Half beads are blue;
- Chipboard balls;
- Blue metal brads;
- Scissors, ruler, double-sided tape, pencil, glue stick, Focus glue, lighter and pad for tinting the edges.
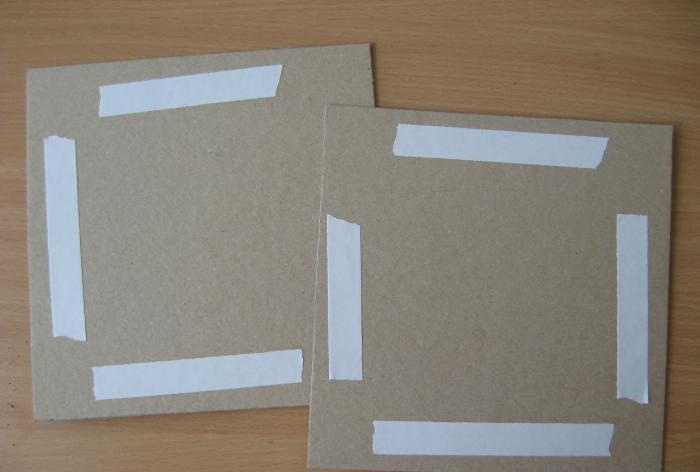
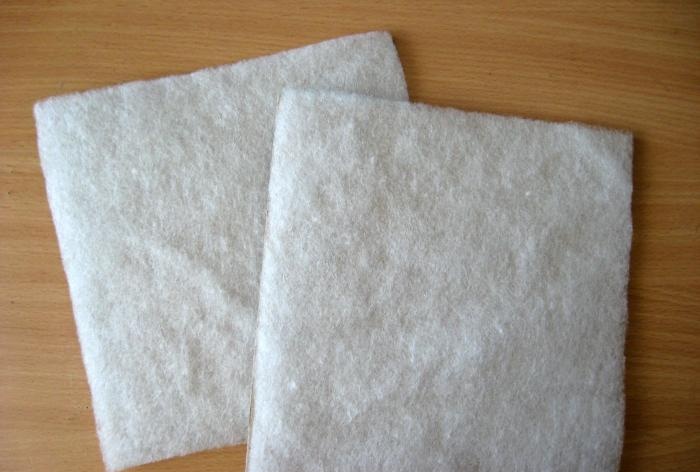
So, to begin with, we take binding cardboard, glue strips of double-sided tape and glue the padding polyester.
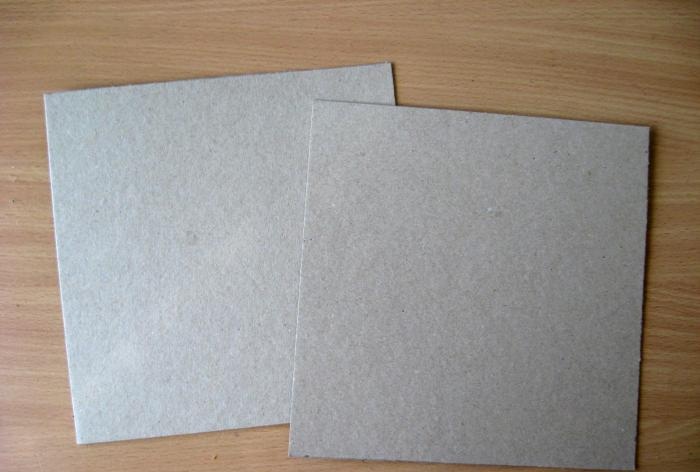
These are the soft binding blanks you get.
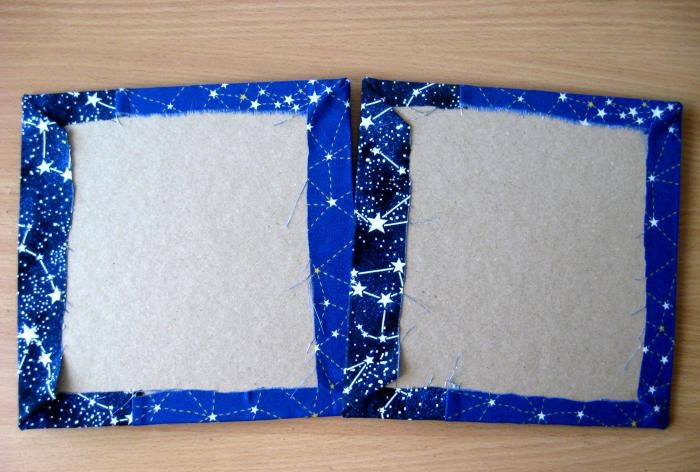
Now we take the fabrics and smooth them well with an iron. We sew in pairs so that our total size is 24*24 cm. Now we will cover the binding squares with fabric. Apply glue stick to the corners.
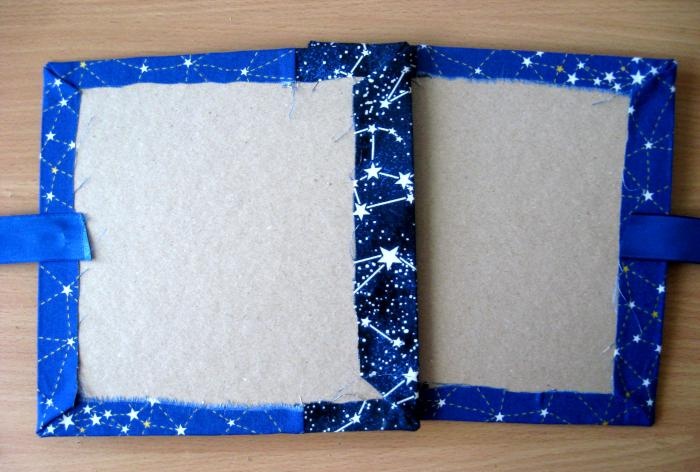
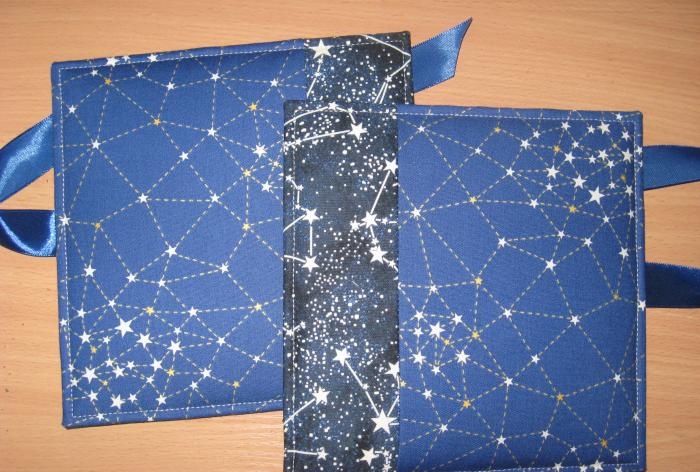
We wrap, stretch and glue both squares of our cover. We glue strips of ribbon along the edges so that our book can then be tied with a bow.
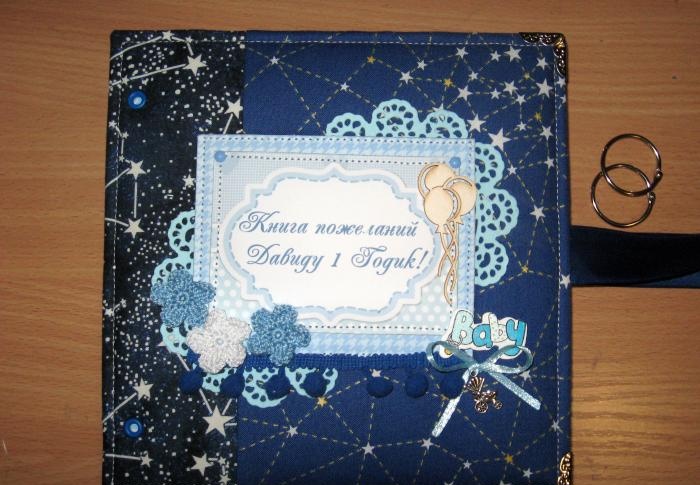
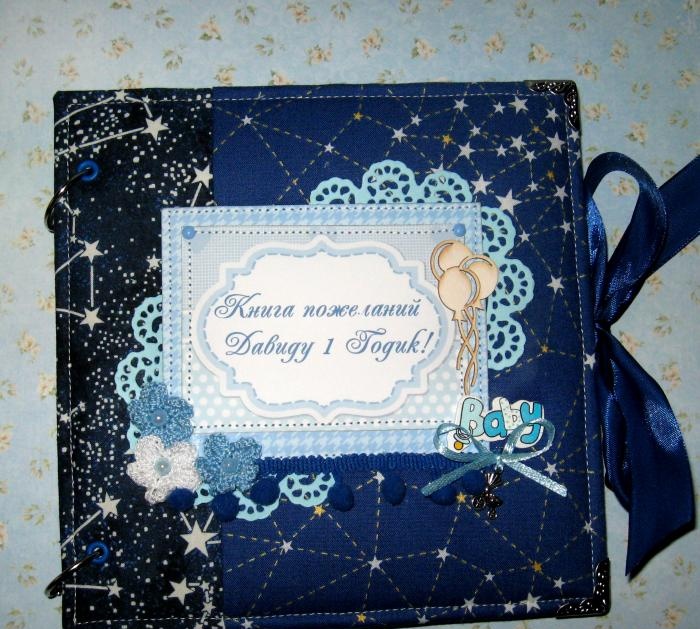
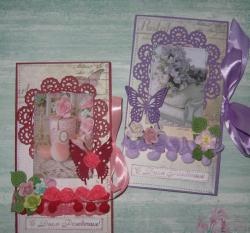
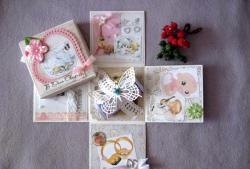
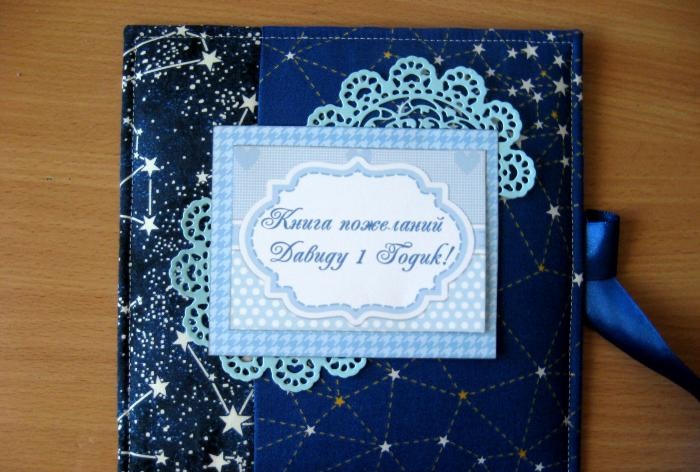
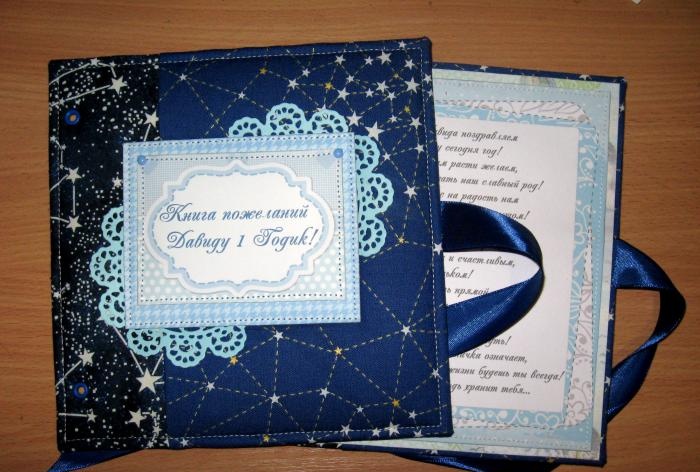
We sew the edges of our cover. Now we need to design the front of our cover. Cut out a piece of paper, a tag with an inscription and cut a napkin in half.
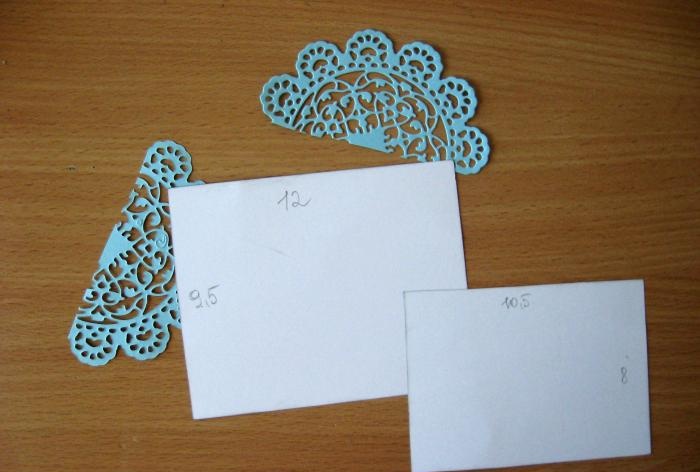
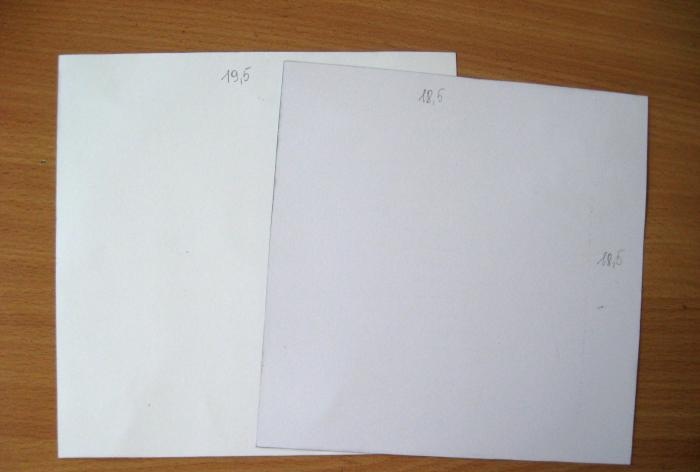
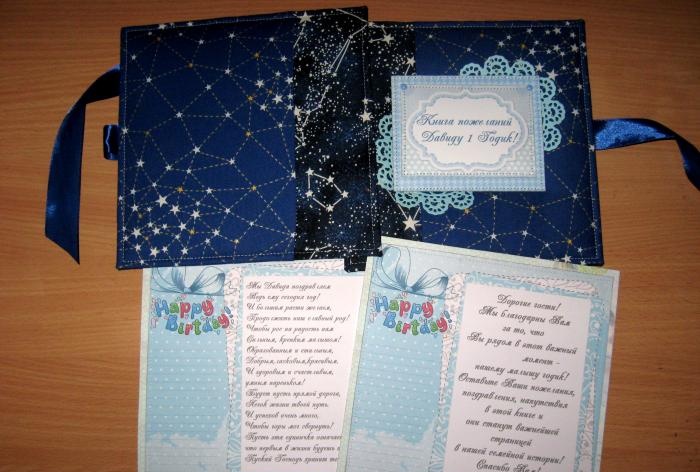
We lay it out and sew everything on just like the photo. Now we take scrap paper and cut out two squares 19.5 * 19.5 cm.We also cut out two 18.5*18.5 cm squares with poems for the endpapers.
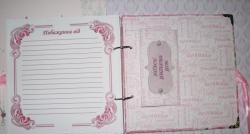
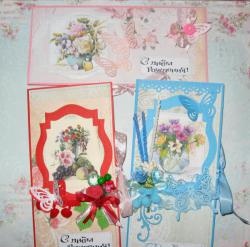
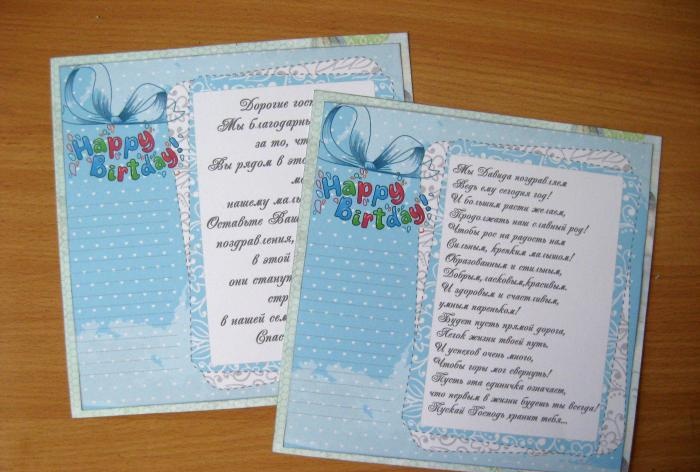
We glue the sheets of poetry onto scrap paper and sew them on. The pages for the wish book look like this.
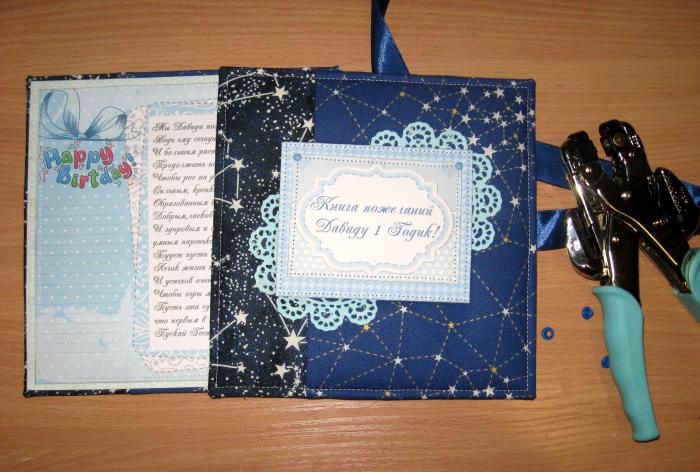
The endpapers for the book are ready, we glue them from the inside of the cover. The installer makes holes on the cover and installs two blue eyelets.
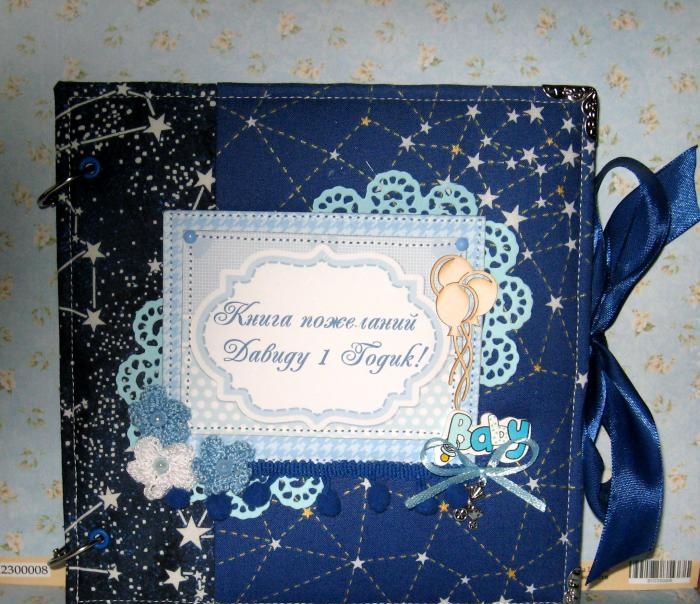
We fasten the metal corners.
Now we put the pages on the cover, cover the top with a second cover and put marks for the holes.

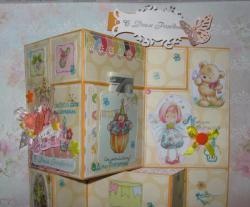
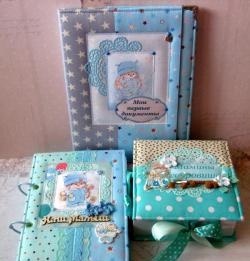
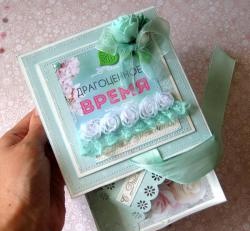
We punch holes in the pages and assemble the book onto rings and glue them decor. We get such an interesting book for the baby’s first birthday. Thank you for your attention and bye-bye everyone!