What do we need?
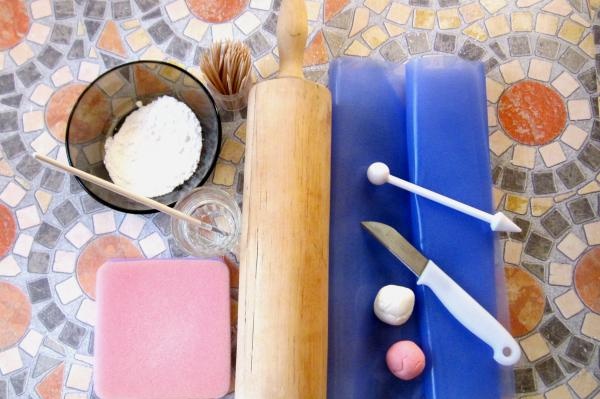
- Smooth work surface.
- Preferably a silicone mat (but you can do without it).
- Confectionery mat.
- It can also be replaced with a regular thick dish sponge.
- Knife.
- Container with water.
- Brush.
- Powdered sugar.
Some people use potato starch instead of powder or both in a 1:1 ratio, but I don't like the latter options. After products made from such mastic stand for some time, they become tasteless.
- Rolling pin.
- Toothpicks.
- Mastic.
You can buy it (in the master class we use the Italian one, Modelplast), or you can make it yourself from marshmallow soufflé. Pastry tool (with a large ball at the end). It can also be replaced, for example, with a stick from a children's xylophone.
So, let's get started?
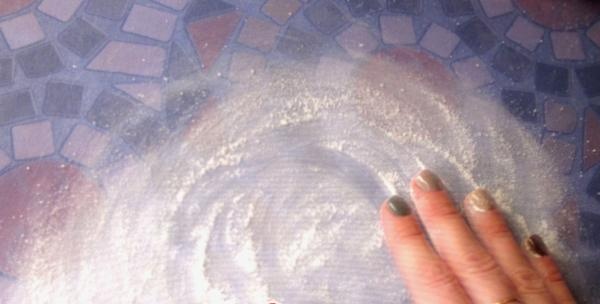
1.Lay out the mat and sprinkle it with powdered sugar.
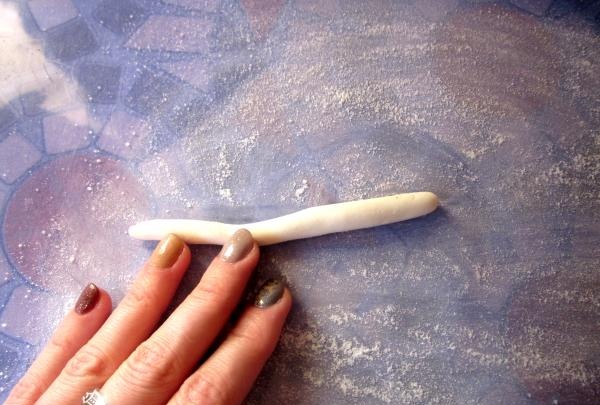
2. For rose petals, you can take mastic of the same color, or you can make it a little more interesting, make the middle white and the edges pink. To do this, roll a “sausage” out of white mastic between your palms.
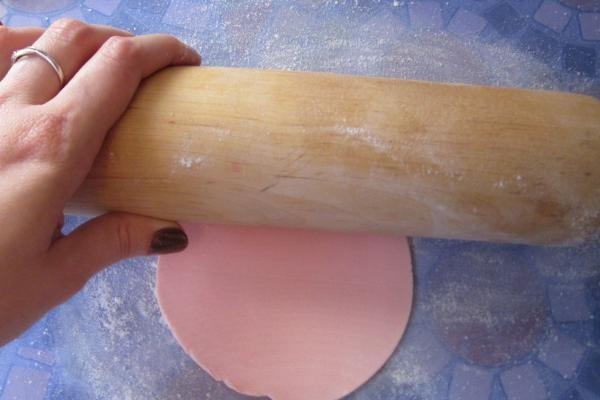
3. Roll out the pink fondant with a rolling pin.
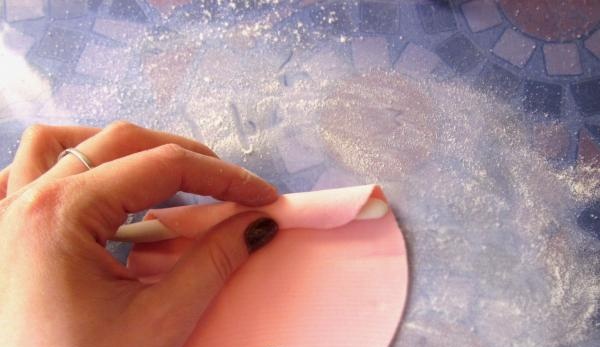
4. Place a white stick of mastic on the pink pancake.

5. Wrap tightly.
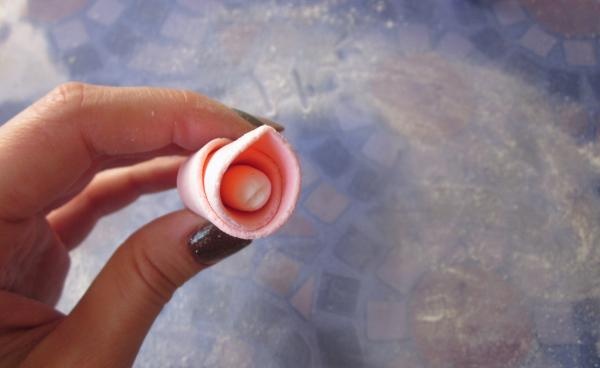
6. This is what you should get.
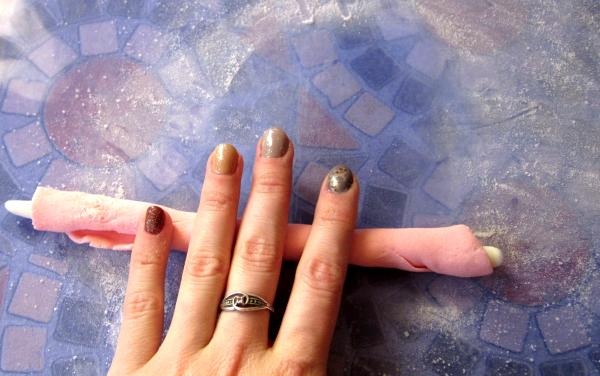
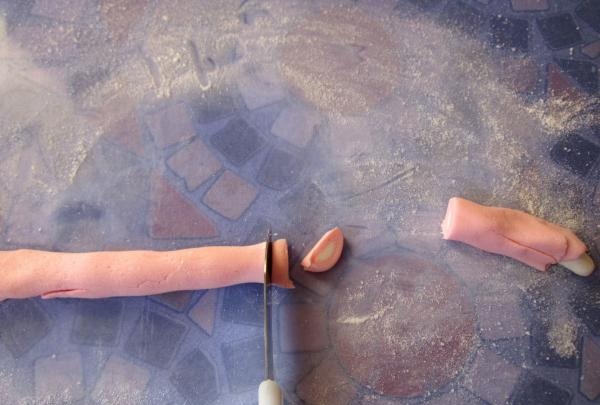
7. Roll the resulting tourniquet on the mat with your fingers with little effort.
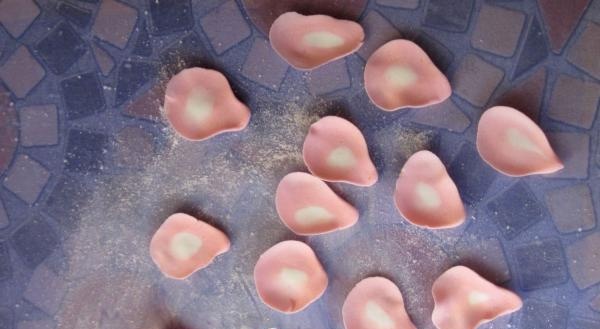
8. Using a knife, cut several pieces (12–15 pieces) about 5 mm wide. If you want to make a small rose, then this diameter of the rope will be enough, but for a large flower the “sausage” needs to be made thicker.
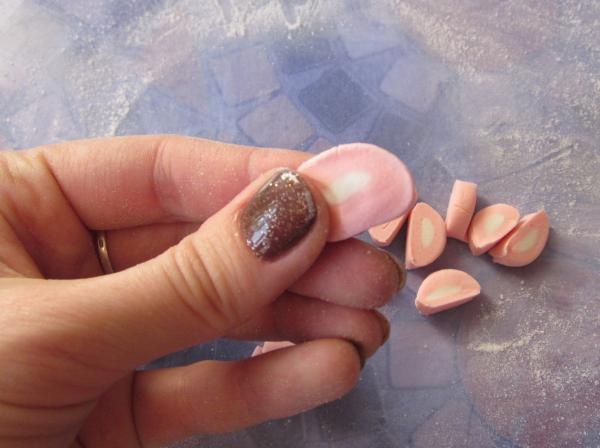
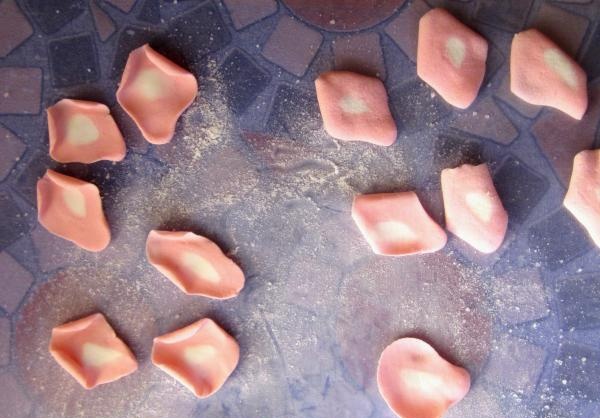
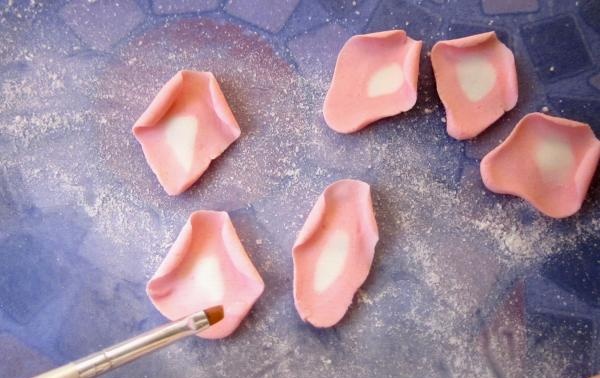
9. Using your fingers, knead each piece of mastic, giving it the shape of petals.
10. And now each petal needs to be made thin and elegant, bringing it as close to its natural appearance as possible. To do this, place the petal on the mat and roll out its edges using a pastry ball and light pressure.
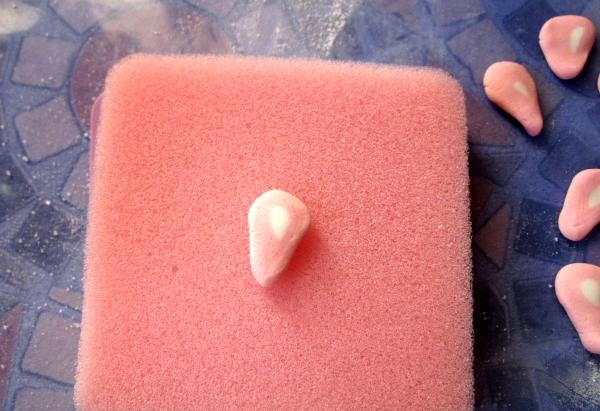
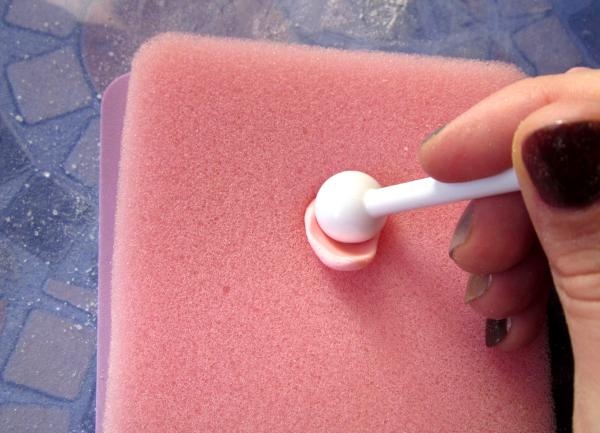
Don't overdo it. If the mastic is made too thin, it will tear easily and become impossible to work with.
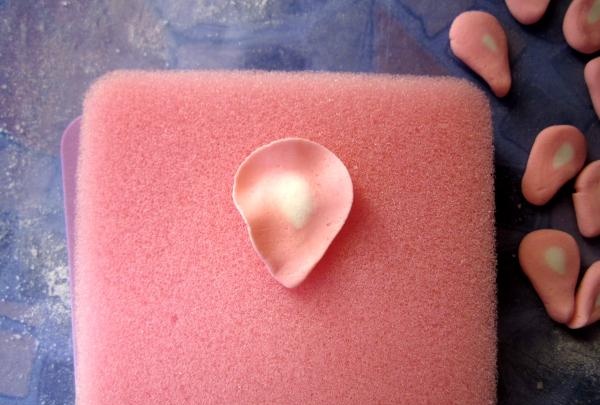
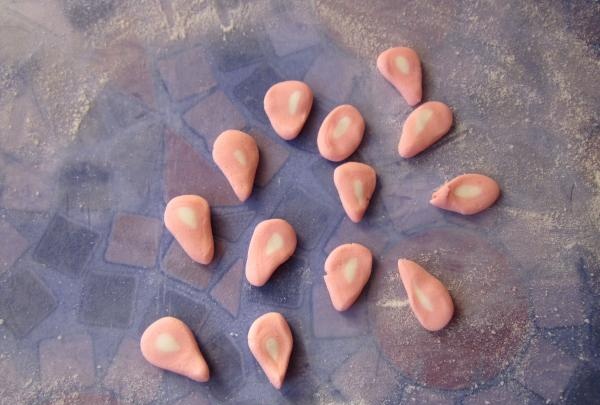
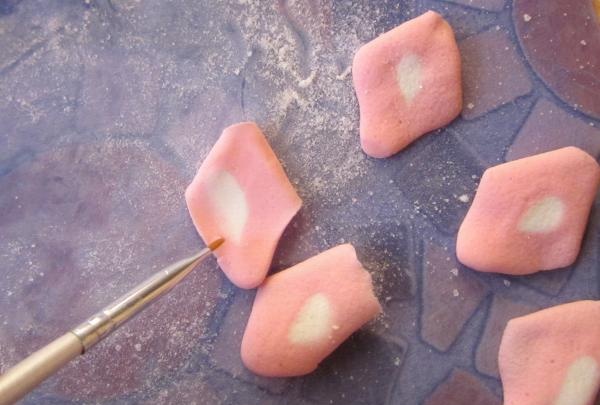
11. This is what your future rose petals should look like.
12. It’s the turn of the toothpicks. You've probably puzzled over what are they for? But in fact, everything is very simple: they are convenient for curling the edges of the petals, giving them a natural look.
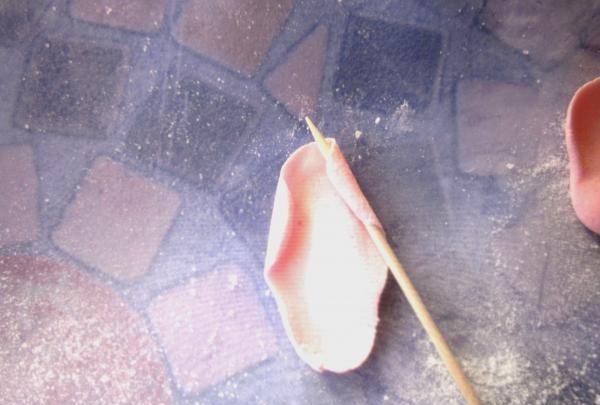
13. Twist the edges of half of the blanks inward - these will be our future petals that have not yet bloomed. Leave one piece untouched, and twist the remaining part with the edges outward - these are the future “outer” petals.
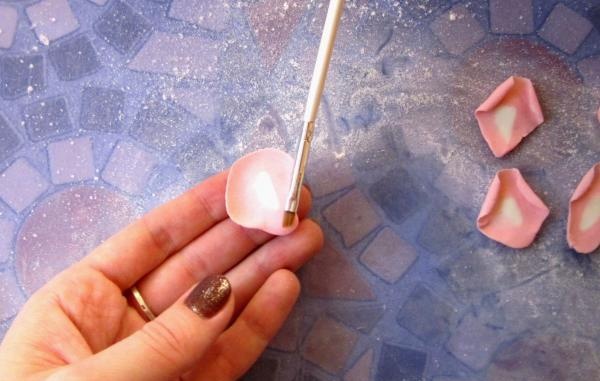
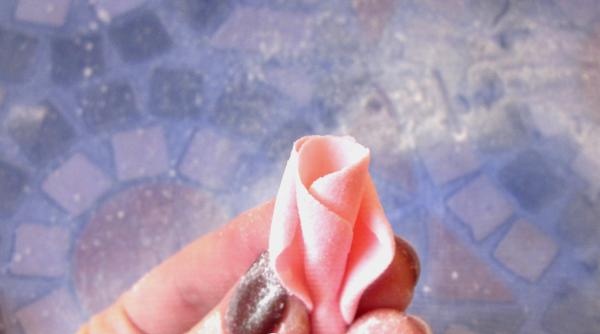
14. Take in your hand the very workpiece that has remained untouched. Wet the brush with water and brush the edges of the petal at the base in a V shape. Water for mastic is real glue!
15. Roll the workpiece into a tube.This will be the “heart” of our bud.
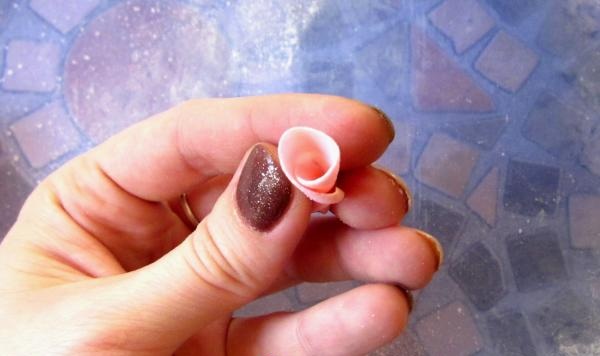
16. If during work you feel that you have wet the mastic too much and it has “floated”, become soft and unruly - just sprinkle the area with powdered sugar and everything will return to normal.
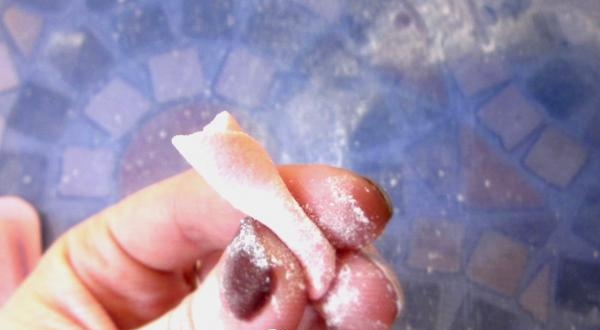
17. At the next stage, we will only work with petals whose edges are curved inward. We also wet the edges in a V shape.
18. Glue our first petal to the core.
19. Glue the second petal, retreating halfway from the first, so that they overlap.
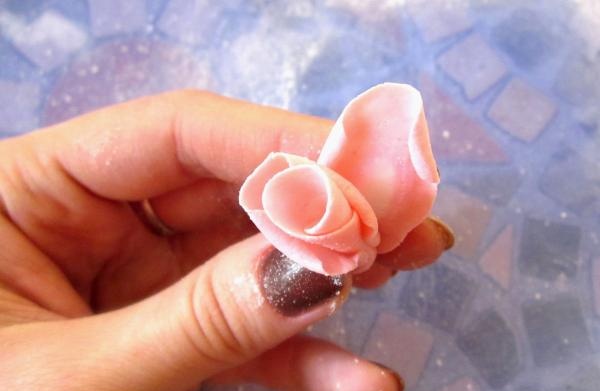
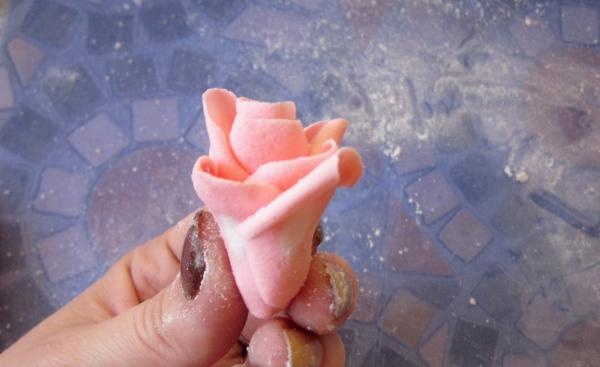
20. We deal with the rest of the “internal” blanks in the same way. At this stage you should get something like this flower.
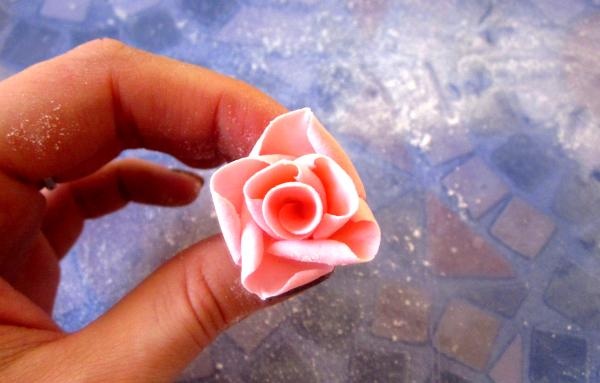
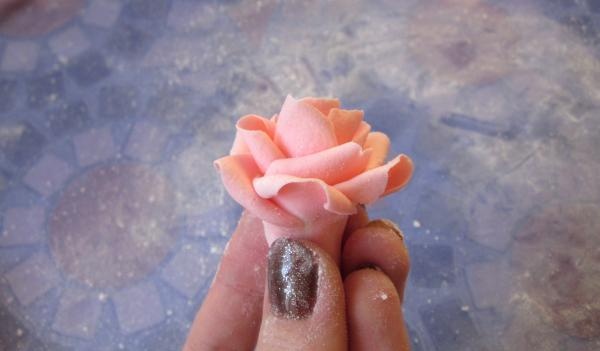
21. The turn of the outer petals has come. We also moisten each one with water.
22. Glue it to the bud.
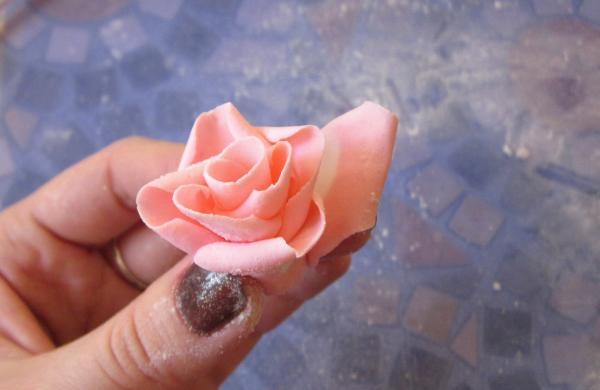
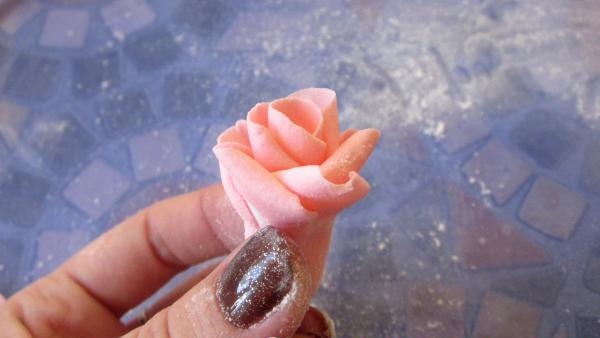
23. After all the preparations are in place, the flower immediately takes on a “lush” appearance.
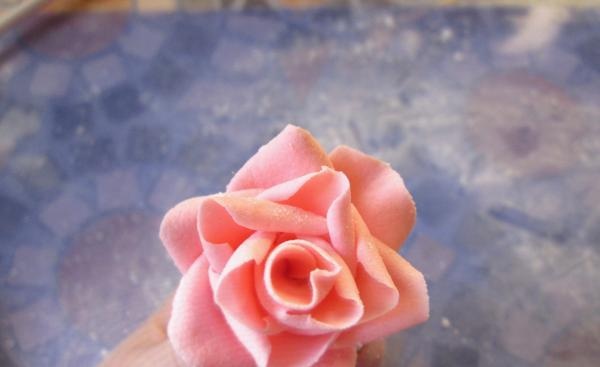
24. After all the manipulations, the excess, too long base of the bud can be pinched off.
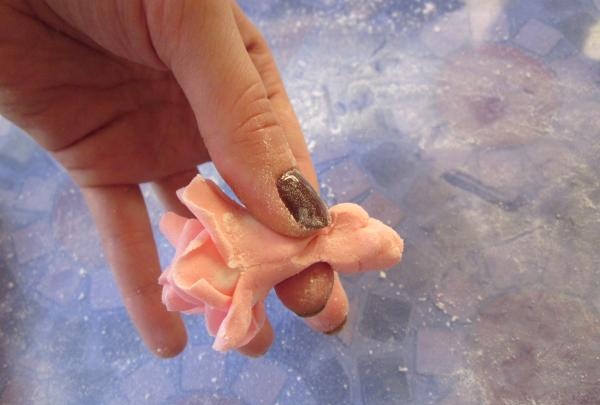
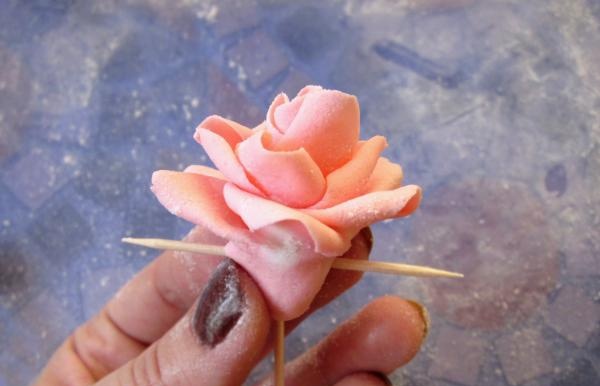
25. In order for the flower to be easily attached to the cake, even to its side, without fear of it falling or moving off, stick a toothpick vertically into its base.
26. Use another toothpick to pierce the base horizontally.
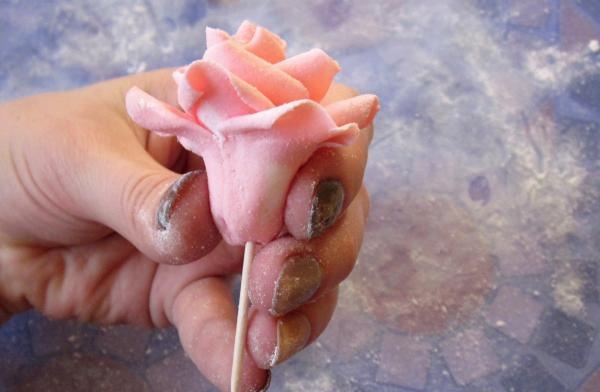
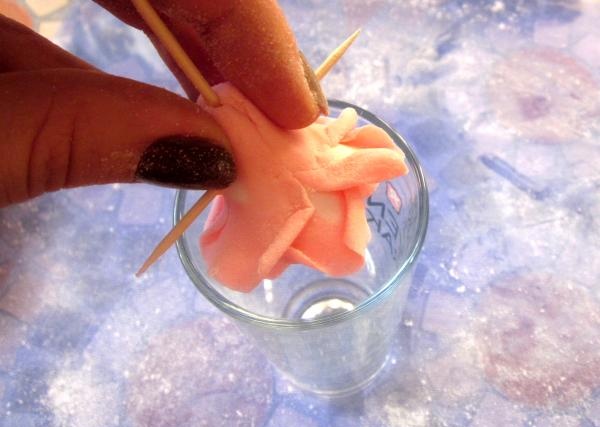
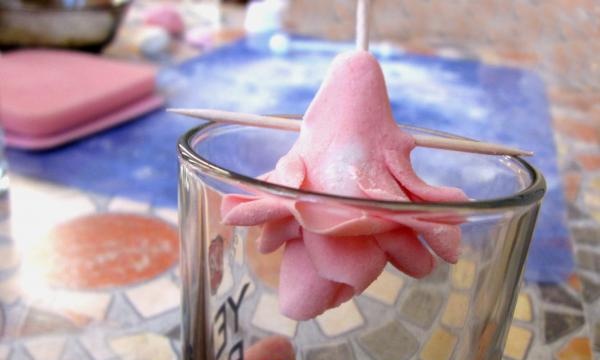
27. Find a glass or any other container that will hold the bud. Lower the flower so that it rests on the toothpick.
28. This position must be given to the rose while the mastic dries. This way all the petals will harden in the desired shape within 24 hours. After this, you can safely pull out the horizontal toothpick.
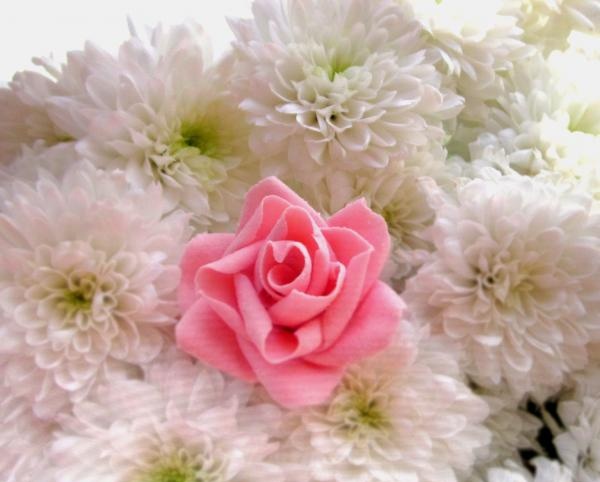
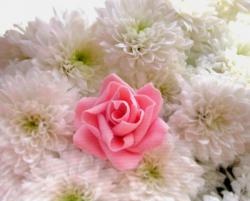
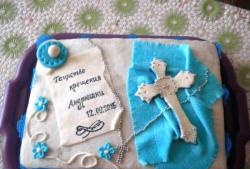
This is such a wonderful rose, I’m sure you can do it too! If something goes wrong the first time, don't worry and try again! After all, everything comes with experience.And in a very short time you will be able to please your friends and family with a gorgeous dessert and proudly say: “Yes, I made this cake myself!”