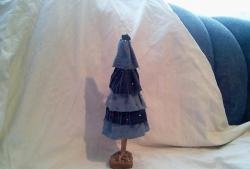
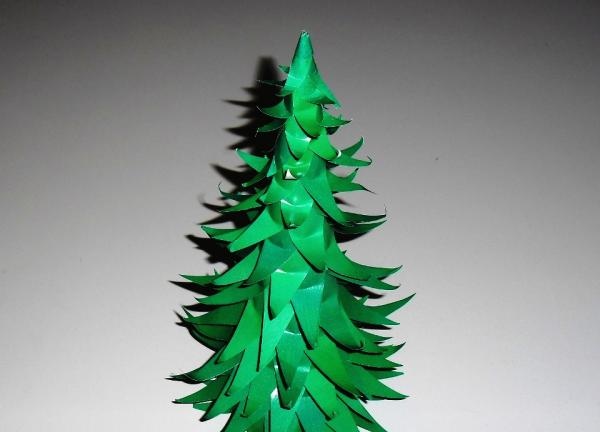
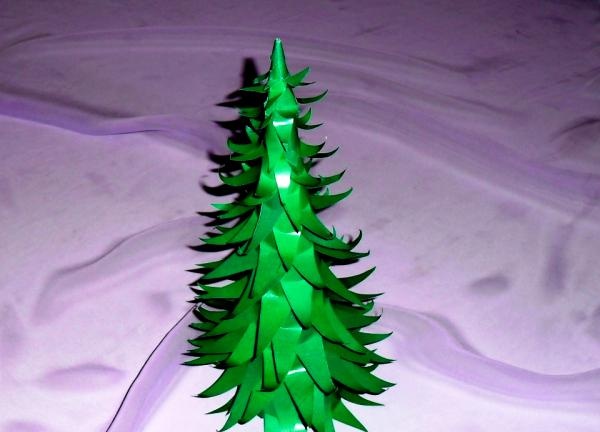
Even a preschooler can make such fluffy Christmas trees out of paper. Of course, if an adult helps him make a base - a cone onto which the “branches” are glued. If the child has not yet mastered working with scissors, then strips with fringe (for the first Christmas tree) or triangles (for the second) can be prepared for him in advance. And he will stick them on himself, of course, under the supervision of an adult. After all, it’s so nice to prepare for the New Year together!
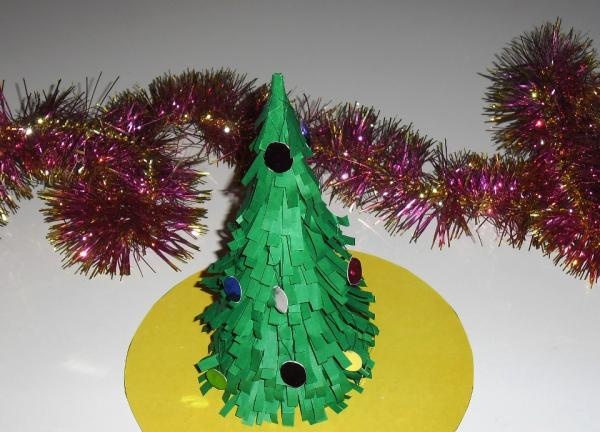
Christmas tree made of cone and paper fringe
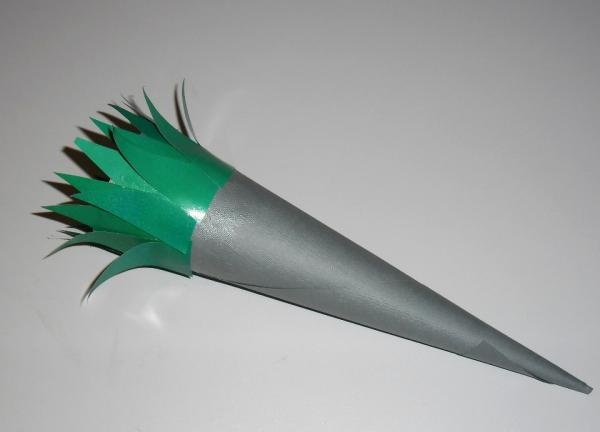
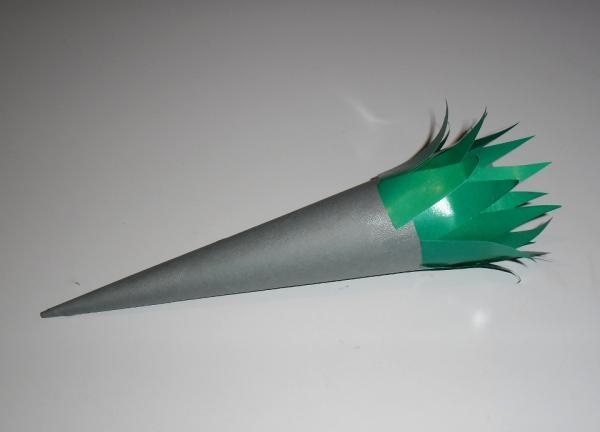
First, make a narrow bag from a rectangular sheet of thick colored paper in landscape format. Glue it together.
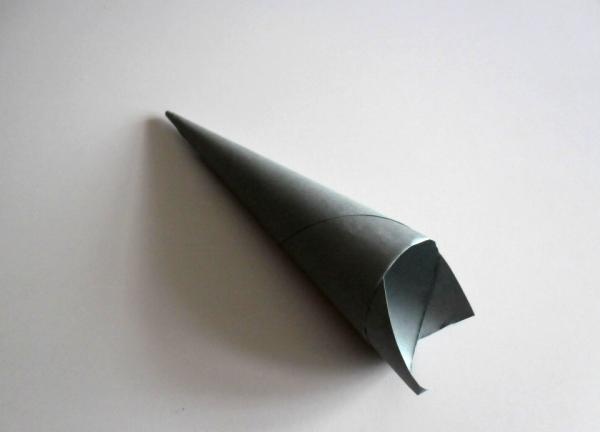
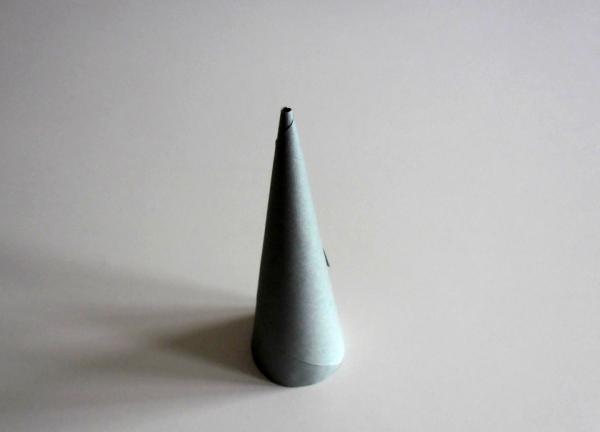
Cut off the bottom, leveling the base. Place it on the table and check that the cone is level. This will be the trunk of the future Christmas tree. Its height will be approximately 22-23 cm.
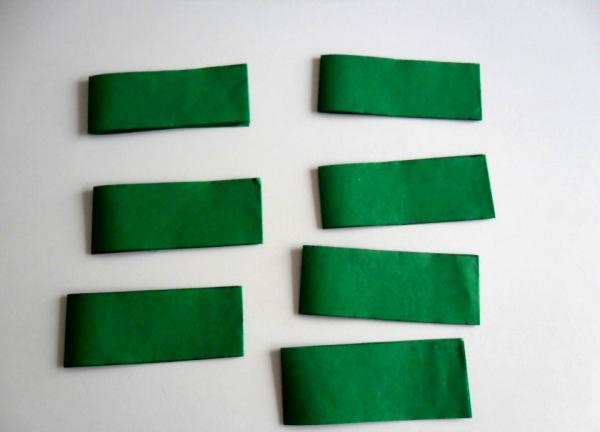
Take a double sheet (or two single sheets) of thin green double-sided paper and fold it in half lengthwise. Draw stripes across the sheet at a distance of 4 cm from each other.

Cut the sheet along the marked lines.
Do not unroll the resulting narrow strips, but cut them in the form of a fringe, not reaching the opposite edge by 1 cm.
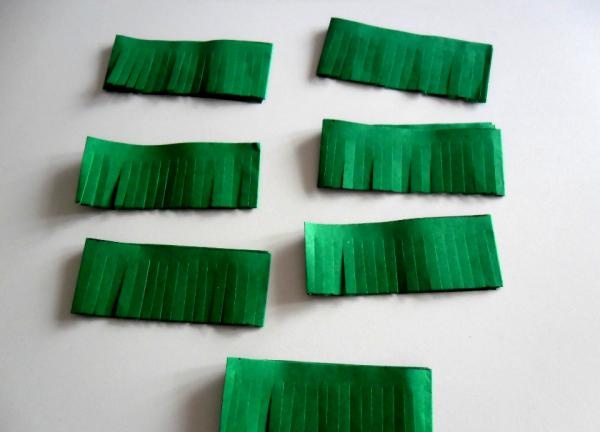
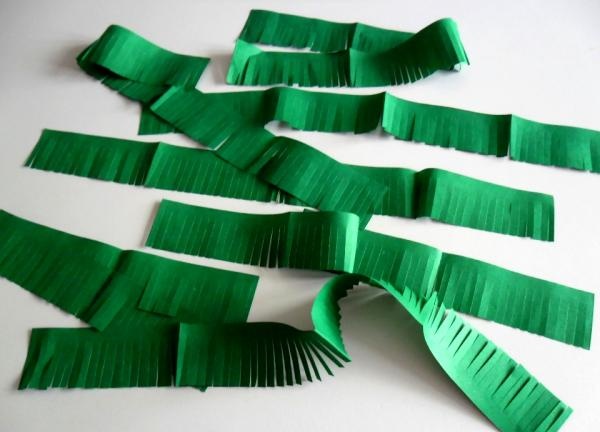
Unfold carefully. If you get a wide fringe on the folds, then make cuts, matching the width with the rest of the fringe.
Apply glue along the edge of the cone and glue the strip evenly, but so that its fringe extends 2 cm beyond the contour of the cone.
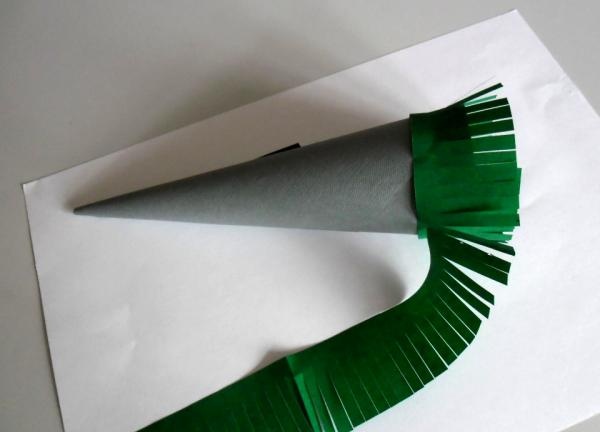
Then, applying glue to the uncut part of the strip and the cone near it, begin to wind the strip in turns, making each turn half a centimeter higher.
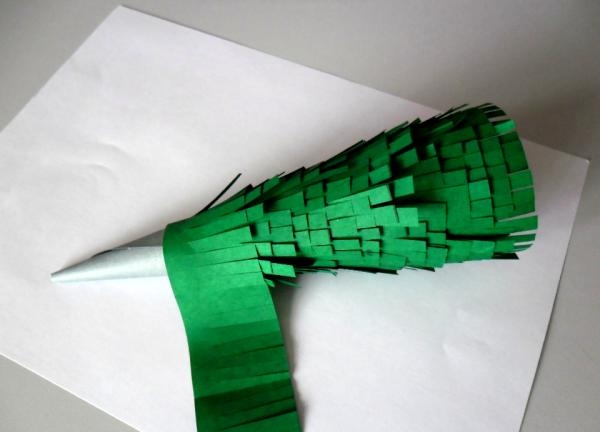
Don't forget to apply glue under each layer of paper tape. Glue the end of each strip well to the cone. Glue the next strip butt to the previous one. Having reached the top, form a beautiful crown for the tree. After the glue has dried well, turn the Christmas tree upside down and gently fluff out the branches.
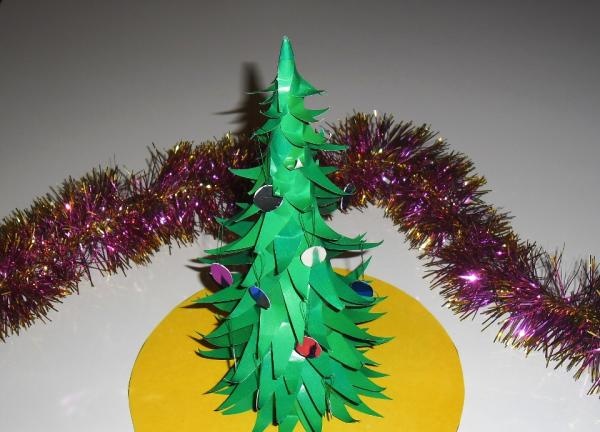
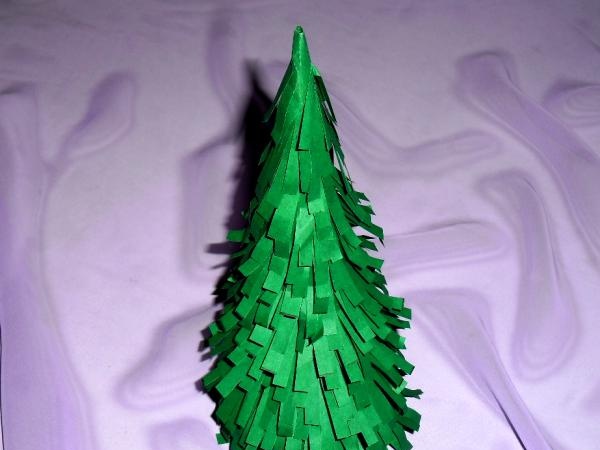
The fluffy Christmas tree is ready. Cut out circles from colored paper and decorate the green beauty. Christmas tree made from a cone and small green triangles
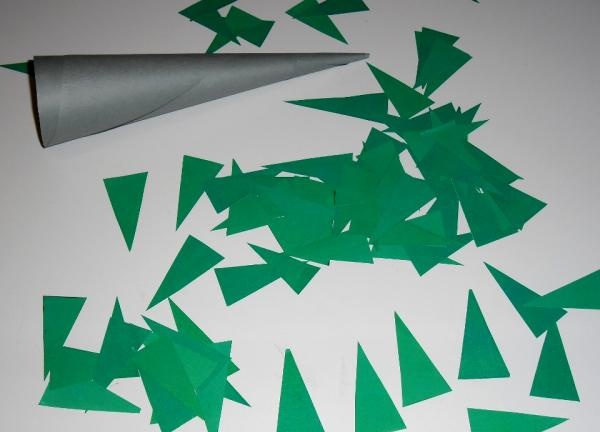
If to make the first Christmas tree you needed whole sheets of green paper, then for the second beauty any scraps of green paper (even different shades) that were left over from previous work will be suitable. But try to keep the triangles the same, otherwise the Christmas tree will look sloppy. Make the same cone as in the previous craft. Prepare a lot of pointed triangles 4-5 cm high.
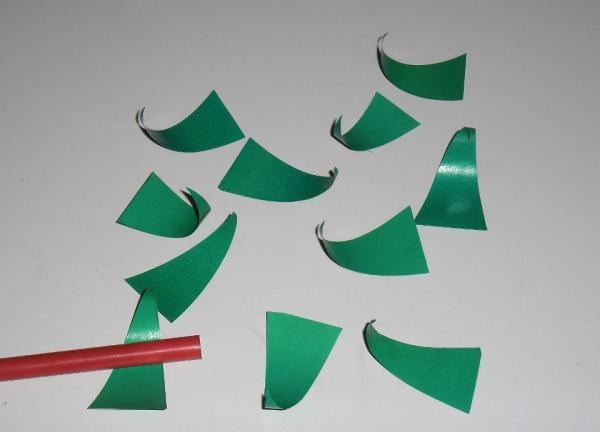
Use a pen or pencil to turn the sharp corner of each triangle upward.
Start working from the base of the cone. Glue the triangles coated with glue with the point down so that they extend halfway beyond the contour of the cone.
Glue each next row of triangles 1 cm higher, but so that each triangle lies between the two green blanks of the previous row.
Thus, moving towards the top, glue all the triangles. Make the triangles for the top of the Christmas tree smaller, then it will be easier to glue them, and they will look neater. To cover the top of the cone, make a small bag out of green paper, glue it and put it on the top of the Christmas tree. Let the glue dry well, and then, starting from the top of the head, fluff the Christmas tree, lifting each “twig” up a little.
Decorate the Christmas tree with paper balls or tinsel.