To make this little green beauty we will need:
- medium density cardboard;
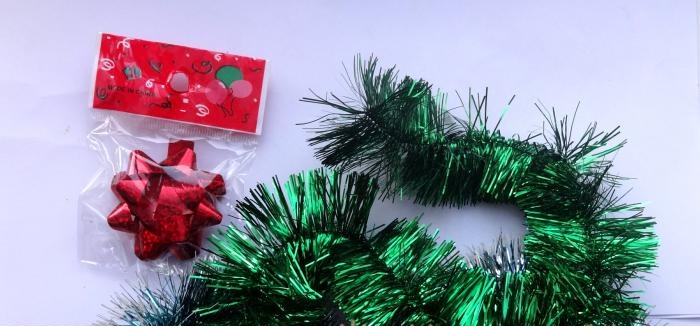
- green tinsel with an average diameter of 3-5 cm;
- small multi-colored pom-poms;
- super glue or any other glue;
- scissors;
- red wrapping paper.
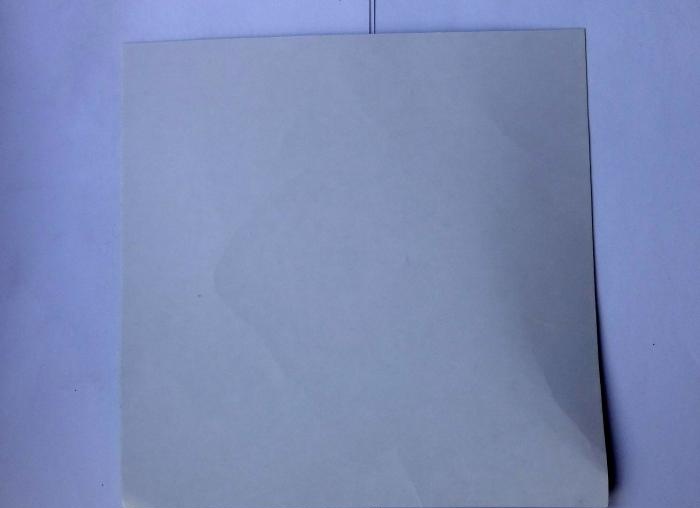
Using scissors, cut out a square of approximately 20x20 centimeters from medium-density cardboard.
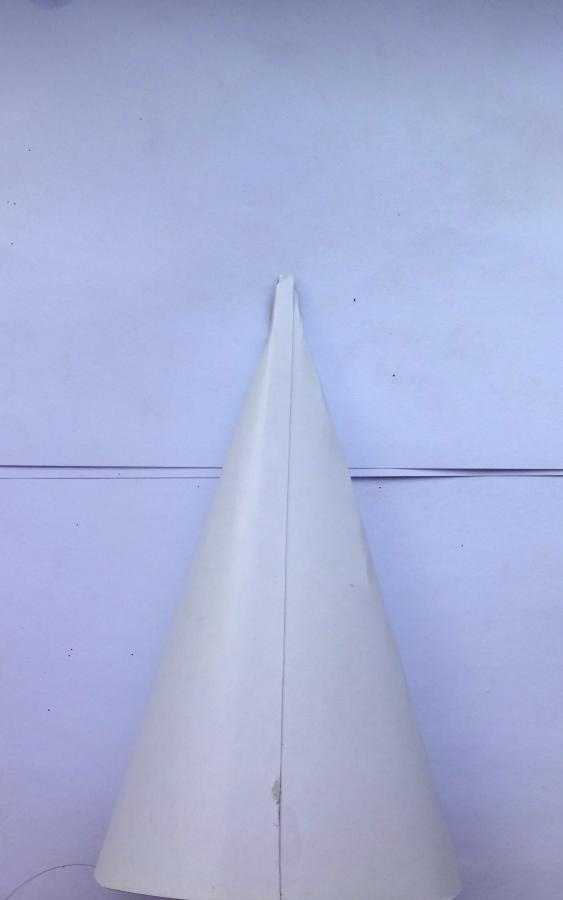
Next, we make a cone from this cardboard square and glue its edges using super glue. We trim the bottom of the cone with scissors so that our future Christmas tree stands straight.
At our house we already had a purchased star-bow for the top of the Christmas tree, but you can easily make one yourself from bright red wrapping paper.
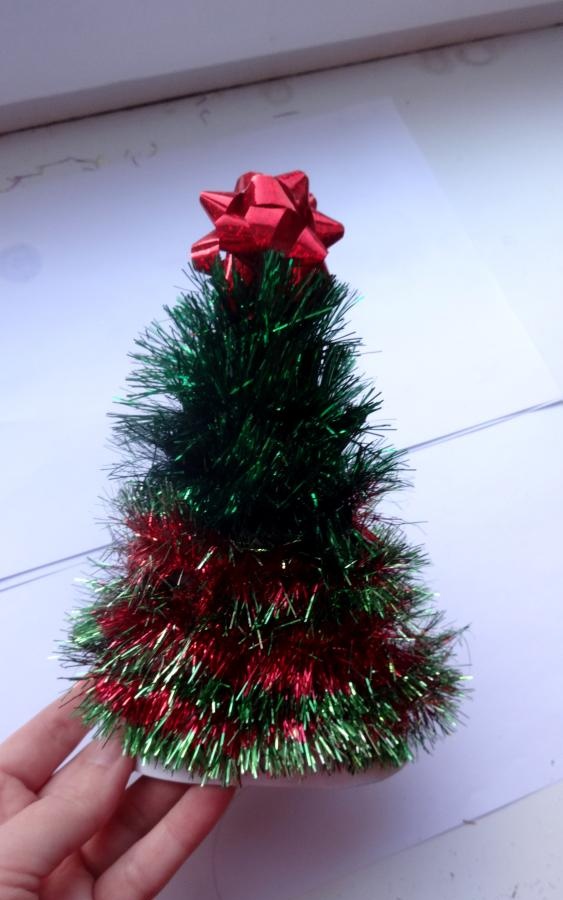
And using super glue or double-sided tape, glue the star to the top of the cone.

Then, again, glue one of the ends of the green tinsel onto the glue. We do this right under the asterisk. And we wrap our cone from top to bottom with tinsel. At the bottom, it is again necessary to glue the end of the tinsel, otherwise our Christmas tree will “bloom”.
Well, now the fun part! Decorating our Christmas tree. I recently bought a craft made from pompoms for my eldest son, and after making it we had some extra pompoms left.
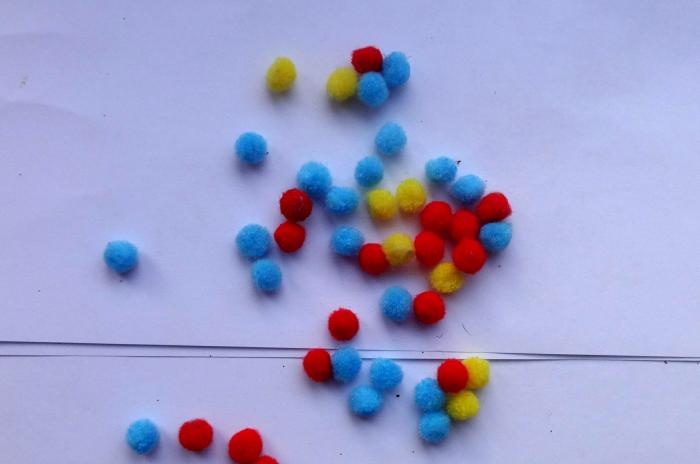
In principle, instead of them, you can use anything for decoration, for example, make small bows from narrow satin ribbons or decorate with snowflakes cut out of colored paper. In general, who has enough imagination for what?
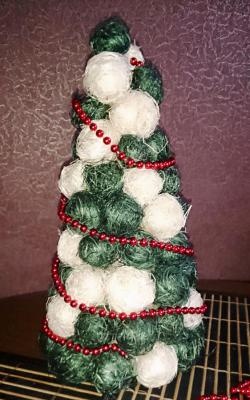
Well, we decorated our Christmas tree with multi-colored pompoms, carefully gluing them to the tinsel with super glue in a chaotic manner. And added three silver snowflakes.
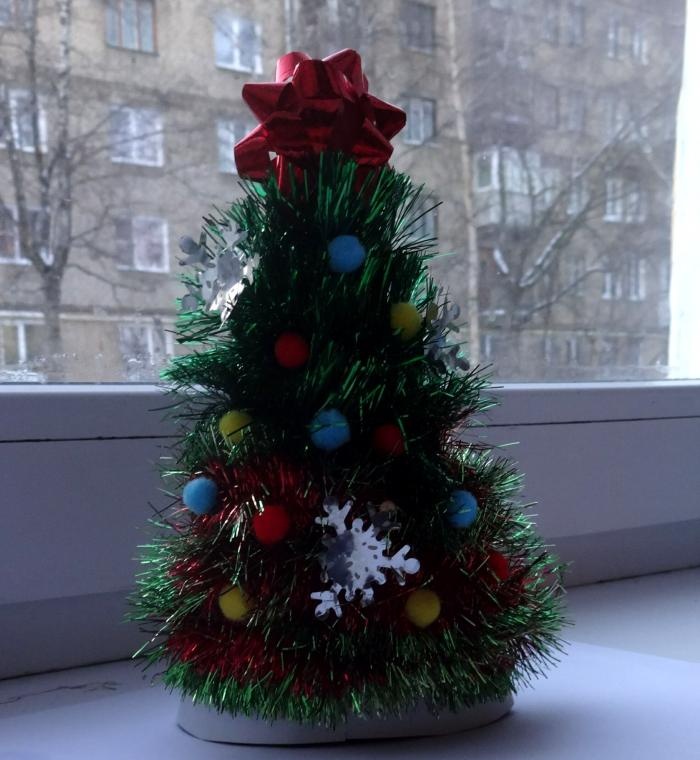
Here we have such an elegant little Christmas tree. The child persuaded me to make it the main component of our New Year’s composition for kindergarten on the theme “Winter Fantasy”.
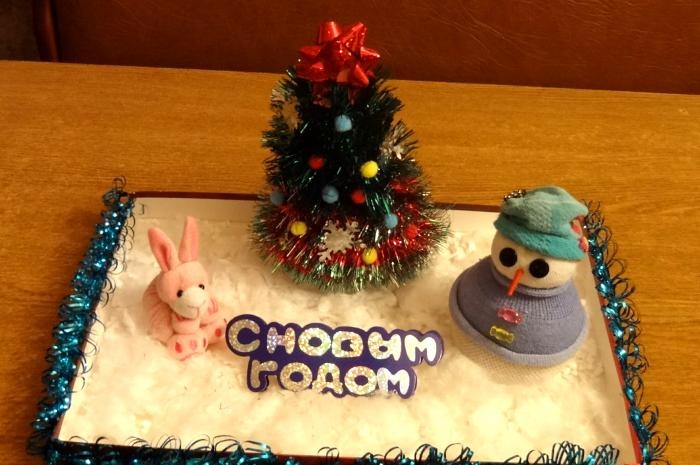
Happy New Year to everyone!