-Sculptural plasticine (and straight hands).
- A board for modeling.
-Food grade silicone (silicone compound 1 liter).
-Injection molding plastic.
-Epoxy resin or varnish.
-Brush (2 pcs).
-Disposable cups (minimum 4 pieces).
-Wooden sticks (minimum 2 pcs).
-Butter, chocolate (150 grams).
-Accurate scales (preferably jewelry scales).
-A little patience.
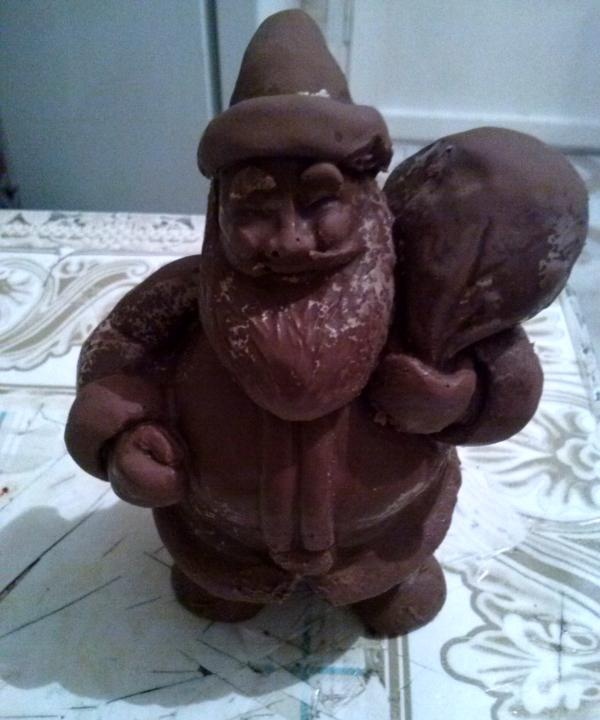
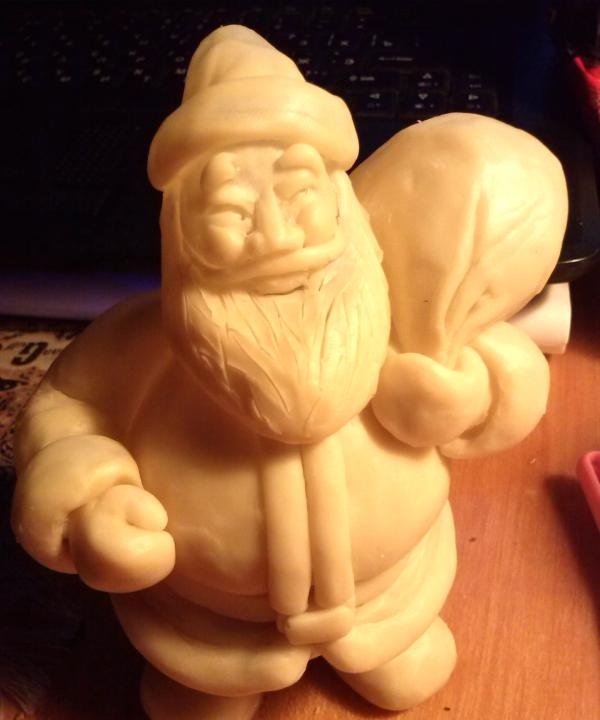
So let's get started. First, turn on your imagination and draw (preferably on paper, not in your mind) rough sketches of your future creation. The option is to find a suitable image on the Internet - it’s faster, and the picture will be complete. Found it? Take a block of plasticine, knead it and (when your hands stop hurting from unaccustomed use) sculpt your Grandfather Frost.
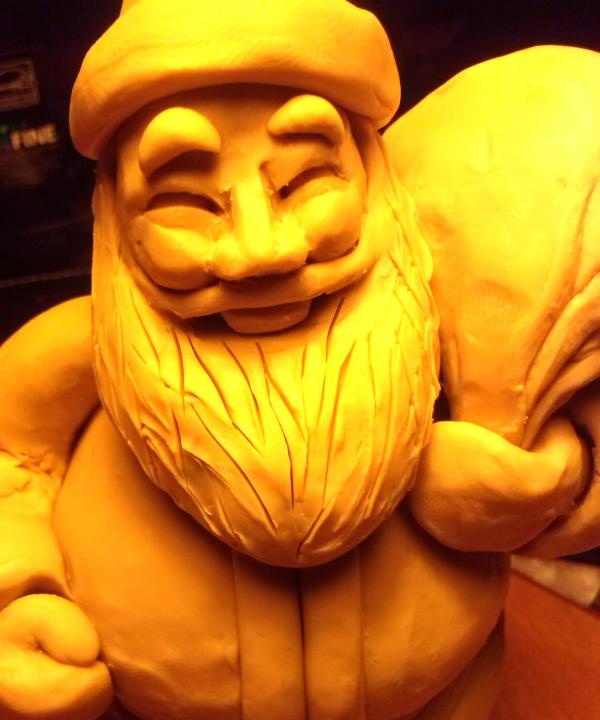
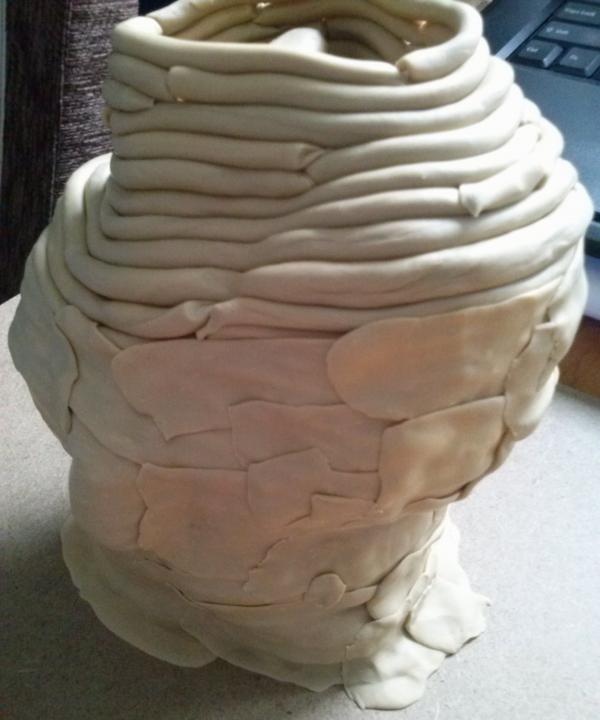
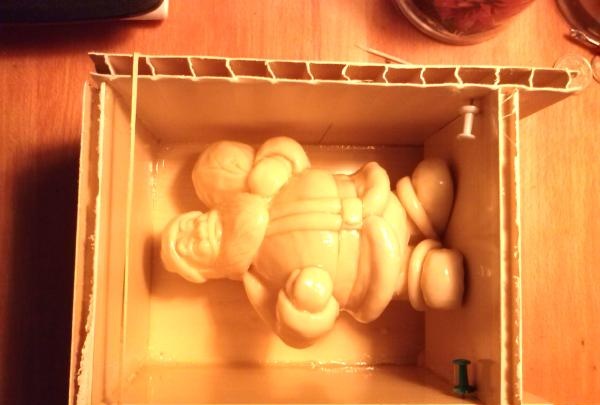
This is the kind of smiling “guy” the author created. Now we need to remove the imprint from the sculpture so that we have somewhere to pour the chocolate. We take a modeling board, place Santa Claus in the center, and sculpt formwork around him, all from the same plasticine.
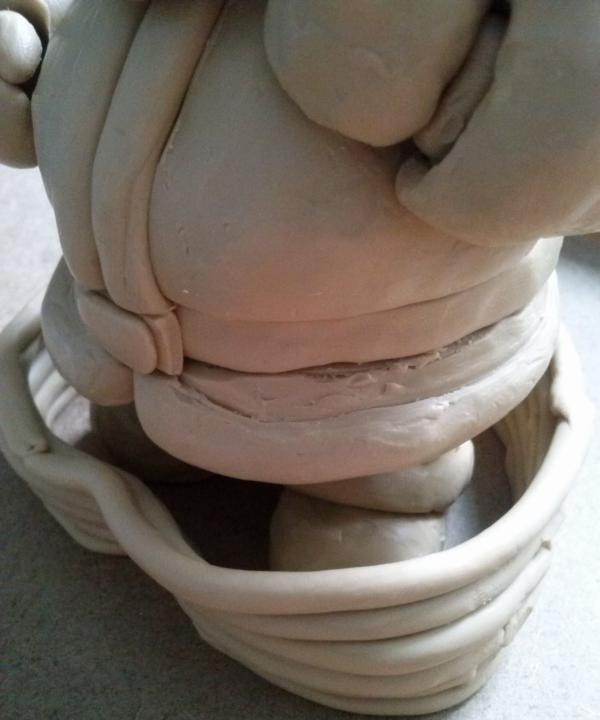
Using the “sausage” method, we build up the walls according to the height of the figure.
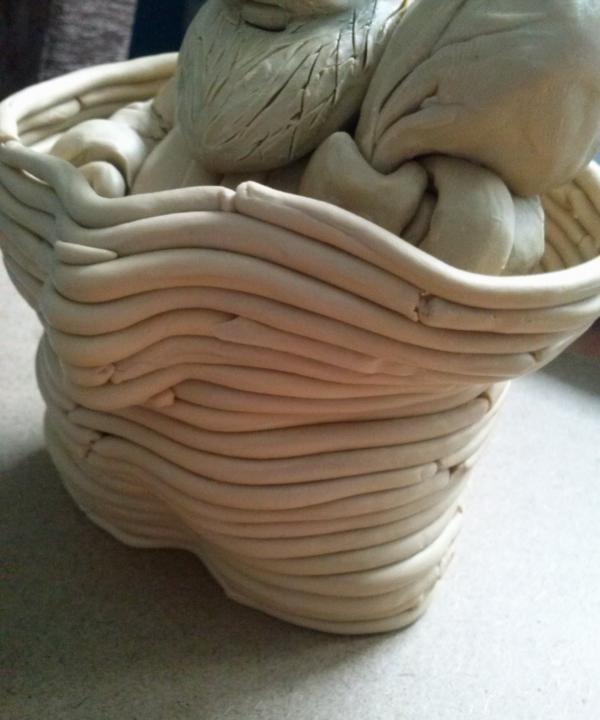
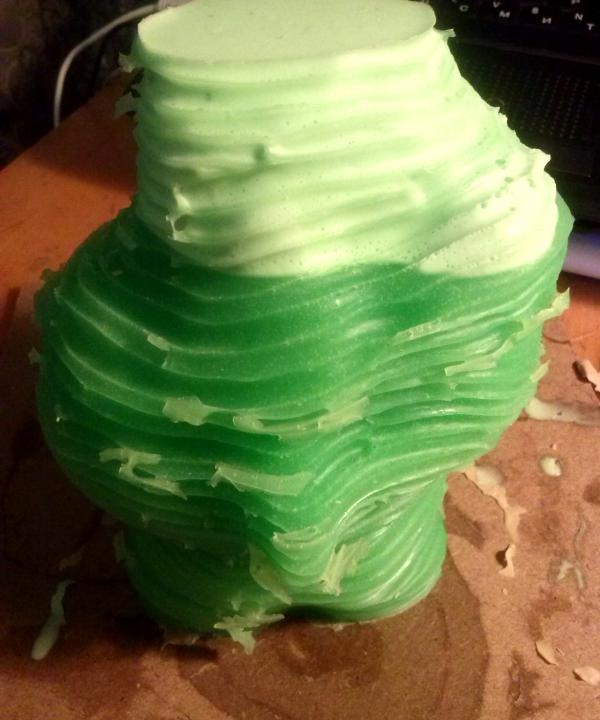
We cover the resulting miracle with sheets of plasticine and rub it in thoroughly, leaving no gaps.Silicone has increased fluidity and flows even into places where not every microbe can crawl. We pay special attention to the place of contact between our giant and the “mother board” - if it leaks there, we will not be able to save the work. Now mix the compound.
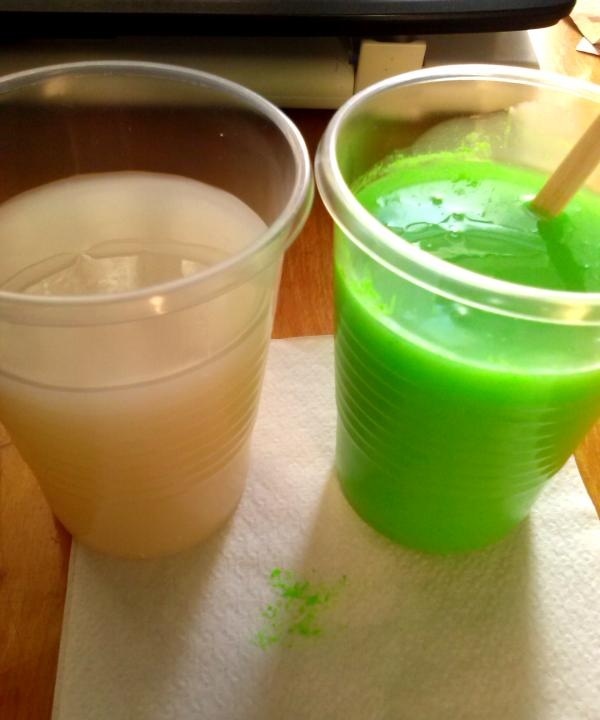
In this case, it is food-grade silicone (we search Google by region of residence, because the compound presented in the work is unique and is not sold, but is “snatched” in parts by the author from the company at his place of work). Option – Platinum23 (on the Ukrainian market it has sanitary and hygienic certificates on the possibility of use for food products with a processing temperature of no higher than 100 C). Silicone is translucent and consists of two parts - A and B. Mix according to the instructions (in the example, 1 to 1 by weight, not by volume). To assess the quality of mixing, a dye is added to one of the components. The latter may be of a non-food nature at the stage of replacing plasticine with plastic, and must be edible when making a copy from a plastic figurine. After mixing, pour the resulting mass into the formwork and wait for the silicone to set. When we find rubber instead of liquid in the formwork, we free it from the shackles of plasticine.
The print is ready. Using a knife, carefully so as not to damage the plasticine model, cut the print. We see that the model is still damaged, we take a deep breath, put it aside and continue. This is what the print should look like.
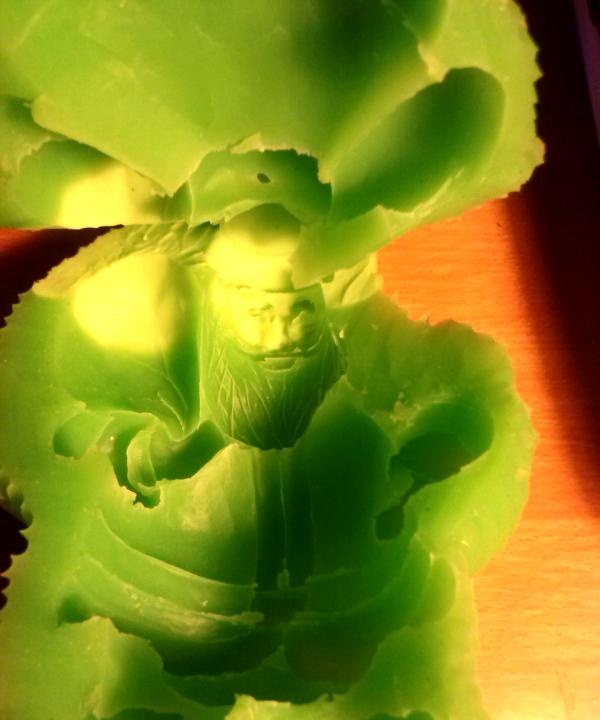
It is advisable not to cut it completely, but to leave some part connected - this will make it easier to compare the halves if necessary.
Next, mix the injection molded plastic. The example uses AcsonFast19 injection molded plastic. After kneading, we will have about 3-5 minutes to pour the still liquid plastic into the mold.Naturally, before this, the print must already be compared and tied with elastic bands (thread, tape, etc.) into one whole. “Where should I pour it?” - you ask. Having compared the halves, you and I will discover that you can only pour into one place - into the feet on which Grandfather stood at the stage of molding the silicone. After pouring in the plastic, close these holes with whatever you like (pour the remaining silicone while kneading onto a flat, clean surface and after hardening we will have an improvised “plug”) and press firmly but gently. You will need to hold it like this for about 5 minutes (to make it easier, the “cork” can be tied to the mold). Open and remove the plastic copy.
It is rough and in some places may have the sculptor’s fingerprints (they can be used to find you if you do something wrong and someone is poisoned by your creation). Therefore, use sandpaper to carefully wipe away all irregularities, defects, prints, etc. You won't be able to polish the plastic. You will have to coat it with epoxy resin, which after hardening is completely inert and safe for humans. The example used is MagicKrystalFast jewelry resin. It will give Grandfather a shine and eliminate all the undercuts. The resin is mixed according to the instructions and applied in a thin layer using a brush. After mixing everything according to the instructions and letting the resin harden, we create a new formwork.
Since chocolate is a fragile material, our shape should be more voluminous this time. The formwork is made of clapboard, glued together with the same epoxy resin. The figurine is screwed with a self-tapping screw to one of the walls so that Grandfather Frost is in the thickness of the space and the silicone evenly envelops him. Next, we repeat the molding stage.Remember that the dye when mixing silicone at this stage should only be food grade. We get a silicone mold, but larger in size, according to the new formwork. We remove the plastic Santa Claus and lubricate the print from the inside with vegetable oil using a brush. Just like plastic, pour melted chocolate. After cooling, remove Santa Claus.