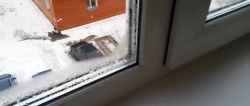
What prompted this work was condensation on the toilet flush cistern, a constant puddle under it, and fighting it by placing and squeezing a rag. Condensation occurs due to the difference in temperature in the room and the cold walls of the tank itself, because... The water supplied for flushing is usually cold. Searches in the vastness of Google and Yandex led to nothing - everywhere the same thing “...poor ventilation and pour warm water into the tank...”. After all, it’s simple - install a layer of waterproof insulation on the border between warm and cold, separating them from each other, and tell condensation ciao! Unfortunately, I came across your site after I had completed this modification, so I can’t provide detailed photos (I’ve been using this modification for more than a year, I’m more than happy with the result (!), so I’ll try to talk about the work as clearly as possible. To eliminate condensation, a minimum of costs will be required , and a little accuracy.
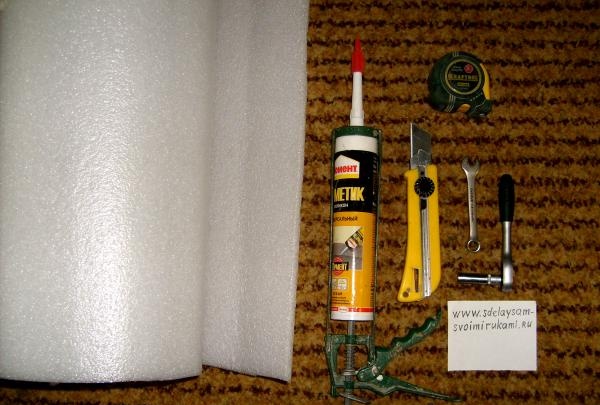
The following tools and materials were used:
1. Stationery knife, scissors, tape measure, wrench and 10mm socket.
2. Foamed polyethylene, thickness 8 – 10 mm, 1 m.p. (used as insulation and sold in any hardware store)3.Sanitary silicone sealant.
How to fix defogging toilet tank
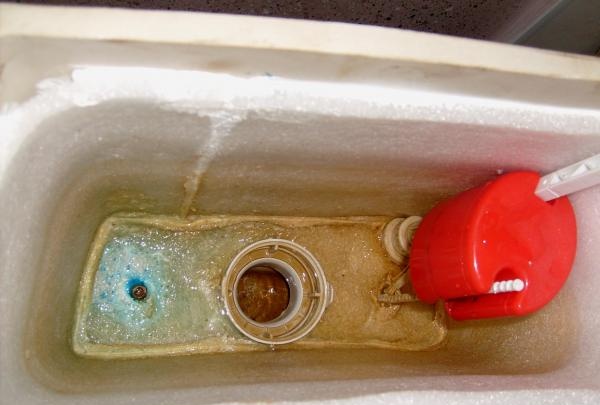
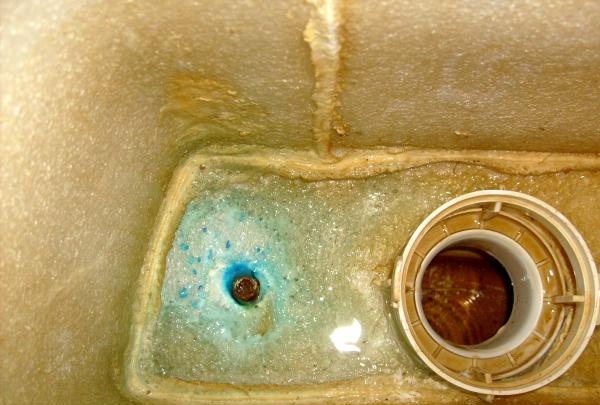
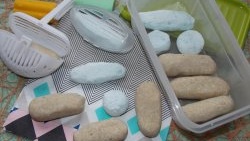
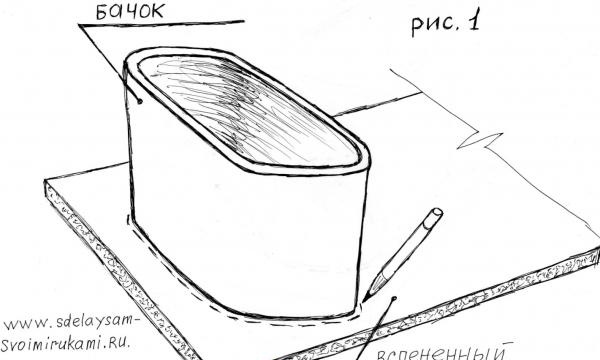
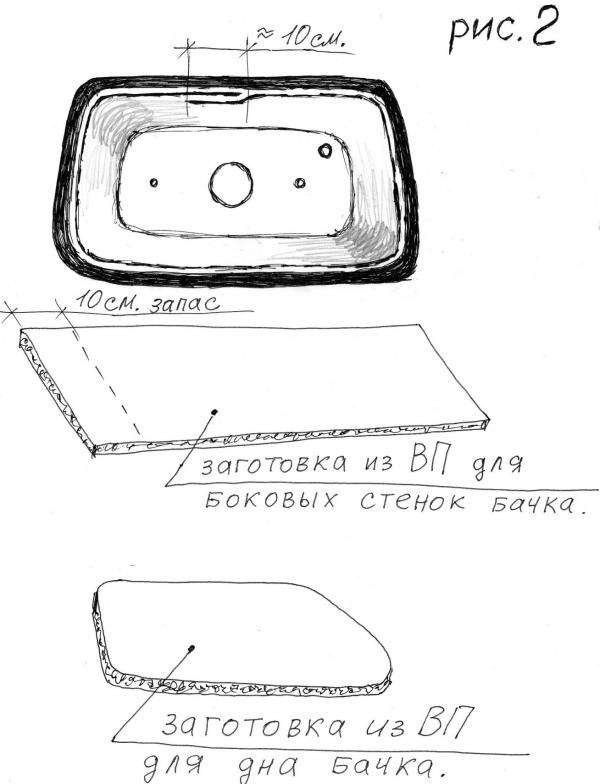
We start by removing the flush tank. Turn off the water supply, unscrew the hose supplying water to the tank, and using a wrench and a socket (mounting options are available) 10mm, remove the tank from the toilet. Next, remove and unscrew all the flushing equipment inside the tank. We wash the inside of the tank with any detergent, wipe it dry and set the tank aside to dry thoroughly. Now it’s time to prepare the patterns for our tank liner made of foamed polyethylene (hereinafter referred to as VP). Lay the VP on the floor, place the tank as it stands on the toilet shelf. Outline the bottom of the tank from the outside and cut out the blank with scissors.
Insert the bottom blank into the inside of the tank, and carefully pressing it around the perimeter, outline the VP again so that the VP lies on the bottom with a small gap in relation to the vertical walls of the tank. Next stage. Using a tape measure, measure the height of the tank wall from the inside, from the cut out bottom liner to the top edge of the tank, subtract 2 - 4 cm from the resulting size so that during final assembly it is possible to replace the top cover with the button. We also measure the perimeter of the VP workpiece from the inside for the walls, making an arbitrary allowance (about 10 cm) for more precise trimming.
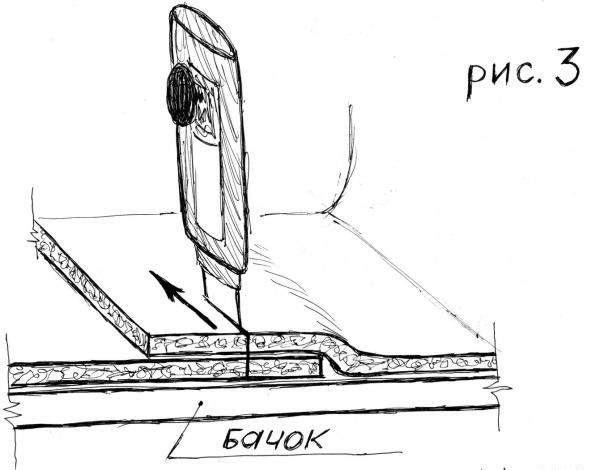
We put the VP for the walls inside the tank and, carefully pressing it along the inner surface, use a utility knife to make a through cut of the double VP at the joint.
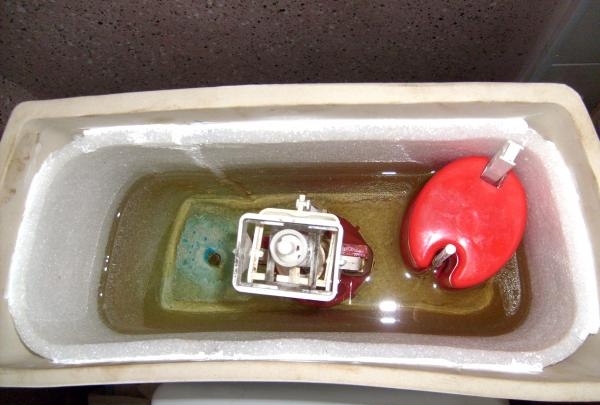
Next we begin the assembly.We apply sealant in a zigzag pattern to the bottom of the tank, around all the holes for the fittings (no need to cut any holes yet!) and put the VP bottom liner in place. Be sure to apply sealant around the perimeter between the bottom liner and the side walls. Then apply, also in a zigzag, sealant to the side walls of the tank and carefully insert and straighten the inner liner from the VP, be sure to pass the silicone along the vertical joint. Now that both parts of the VP are in place, carefully apply sealant at the junction of the bottom part of the VP and the side, because what is important to us is COMPLETE TIGHTNESS between the liner and the tank. Now you will have to use the toilet for a day using a bucket of water; the silicone must dry for at least 24 hours. But it's worth it. After the silicone has dried, you can begin assembling and installing our insulated tank in place. Use a utility knife to cut all the holes for the internal fittings, before installation, apply sealant along the edges of the holes (don’t forget about the mounting bolts) and install everything in place, including the tank itself. Before turning on the water, if possible, give the tank another 1.5-2 hours for the sealant to dry. IMPORTANT! Adjust the water level below the glued liner! Not counting the drying time, the work took 1.5 - 2 hours. That's all.