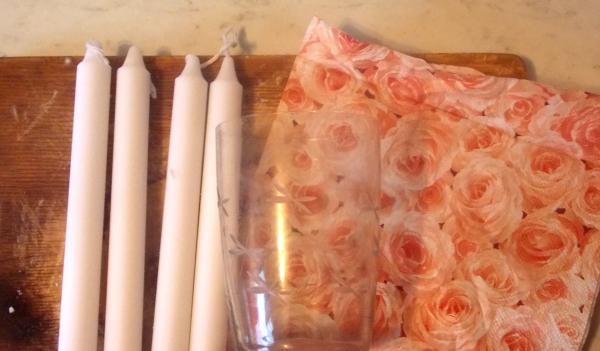
• 4-5 stearin suppositories.
• A glass (you can take a regular glass one, or a disposable one).
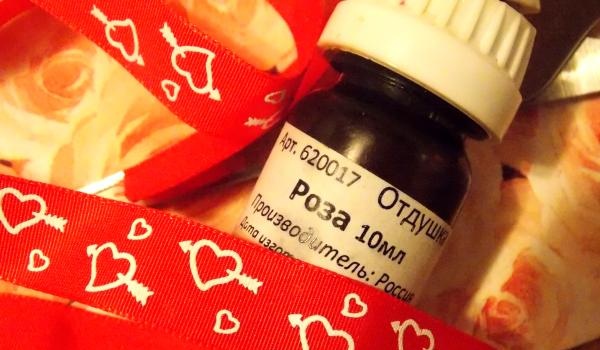
• Cosmetic fragrance (in this case, “Rose” is best suited).
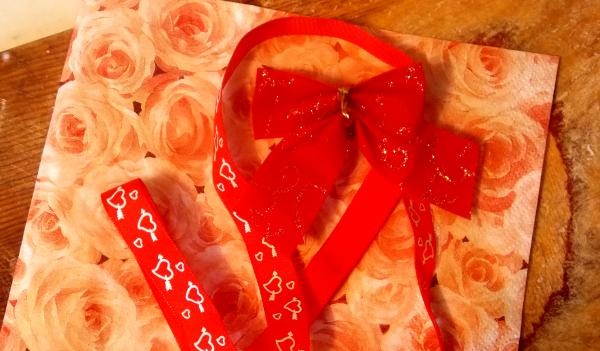
• Napkin for decoupage.
• Ribbon and bow for final decoration.
In addition, you will need certain tools and utensils:
• Melting container.
• A pot of water.
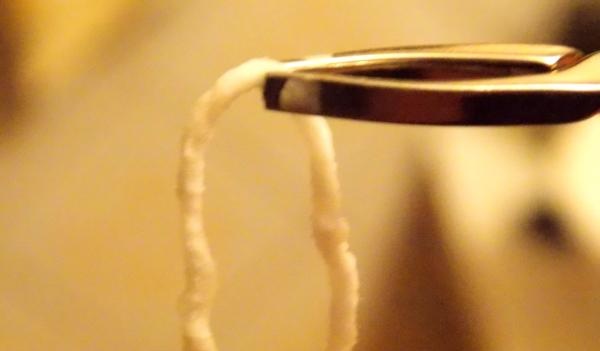
• Tweezers or tweezers.
• Tea spoon.
• Pencil.
Preparing to melt candles. If you take a plastic glass, you don’t need to prepare it in any way. But keep in mind that the candle made in it will need to be trimmed, since such a glass is not straight, but tapers towards the bottom. If the glass is glass, lubricate its walls and bottom with some cream or cosmetic oil. This should be done to make it easier to pull out the candle. Place a water bath. Break the candles into small pieces.
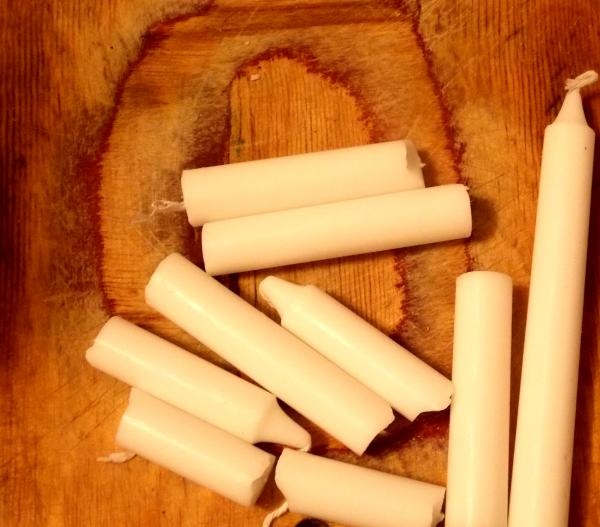
Leave one of the pieces longer than all the others - you will need to pull the wick out of it. Therefore, keep in mind that the length of this piece should be the same as you want the candle to be. Stearin melts very quickly, so after 5-6 minutes you will get a clear liquid. To make the material melt faster, you can stir it lightly or lightly shake the melting container. When the stearin has melted, take tweezers and carefully remove all the short wicks, and the long one last.
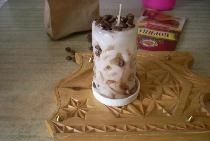
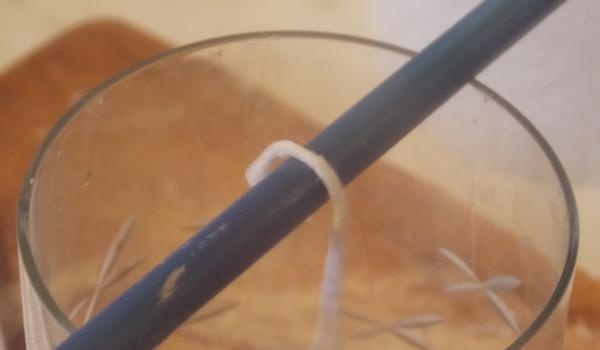
When you take it out, place one end at the bottom of the glass and secure it with a drop of stearin exactly in the center. Then place a pencil on top of the glass and simply throw the other end of the wick over it.
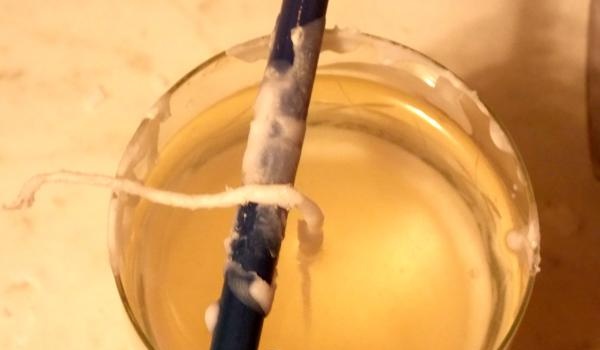
Without removing the stearin from the heat, add cosmetic fragrance (from 15 to 30 drops, depending on the desired intensity of aroma). After this, immediately remove the stearin from the water bath and stir a little. Pour the entire melted mass into a glass and leave until the candle hardens.
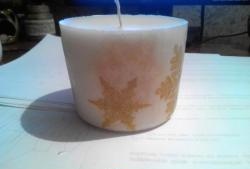
When the candle has completely cooled and hardened, remove it from the glass.
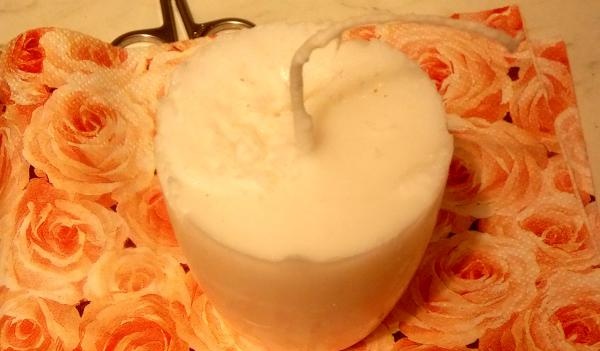
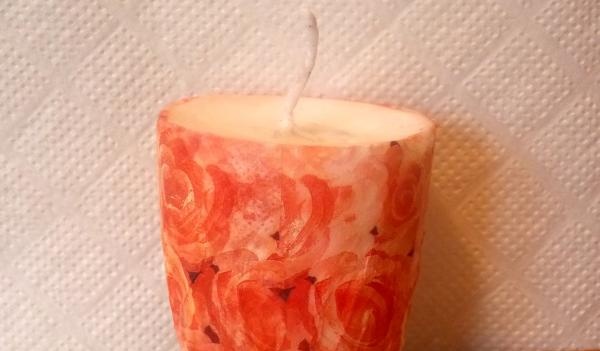
Adjust if necessary. Now take a napkin and separate the topmost layer with the pattern. Place it on the candle with the pattern facing outwards. After this, heat a teaspoon over the fire and, pressing well, apply it to the napkin.
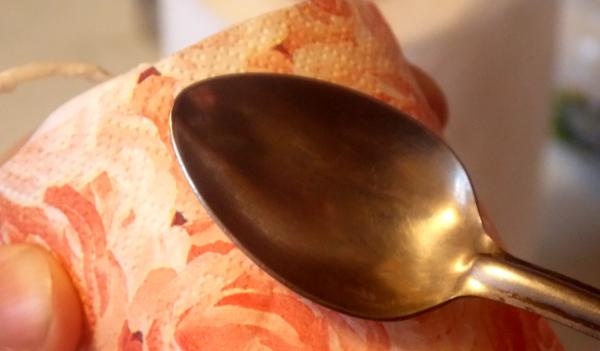
Since the spoon is hot, the stearin underneath will melt and the design will be imprinted into the surface.
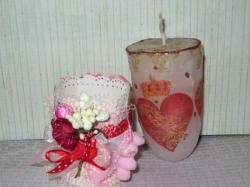
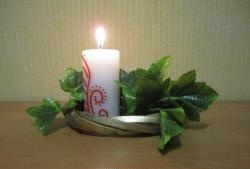
Typically, a decoupage design is covered with glue on top for greater strength. It is not recommended to do this when making a candle in order to avoid unpleasant odors when it burns. Thus, when you have decorated the entire candle with a pattern, you only need to leave it for a while until the pattern completely hardens and secures.Then tie the candle with a ribbon with hearts and decorate it with a bow.
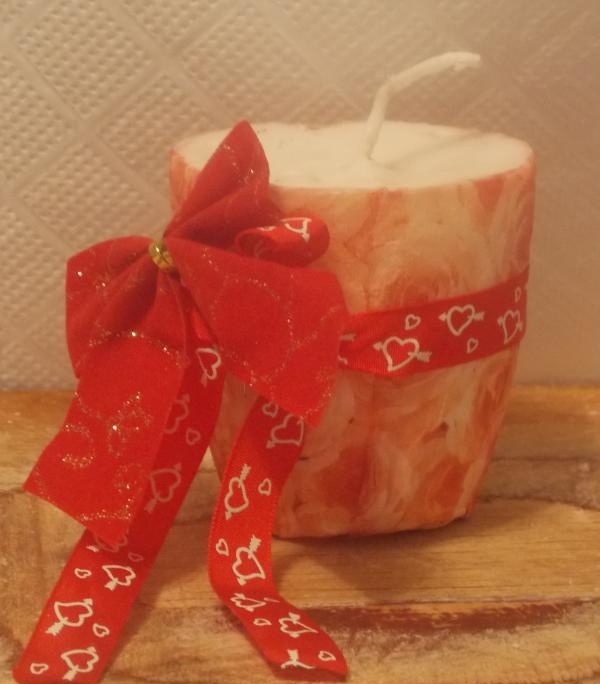
This candle is guaranteed to be an excellent decor for a romantic evening.