- Cardboard (white and red).
- Pencil.
- Scissors.
- Polyethylene.
- Wire.
- Decorative eyes.
- Glue.
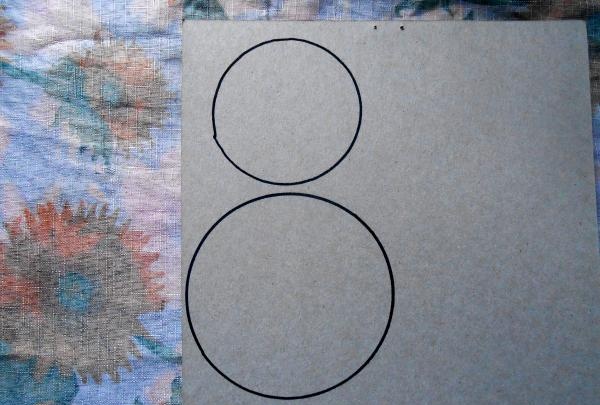
First, we take cardboard and draw two circles of different diameters on it. One circle should be smaller, the second larger.
In the center of each circle we draw another circle, again of a smaller diameter.
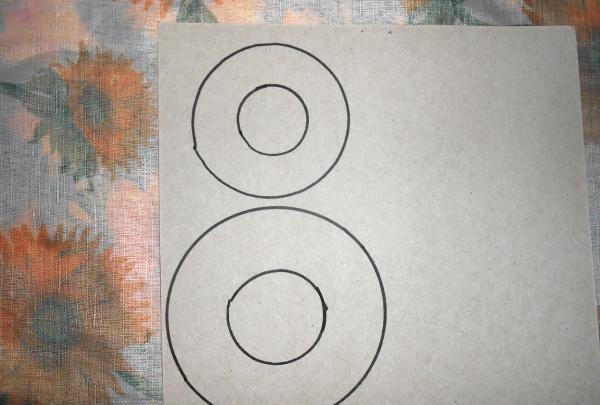
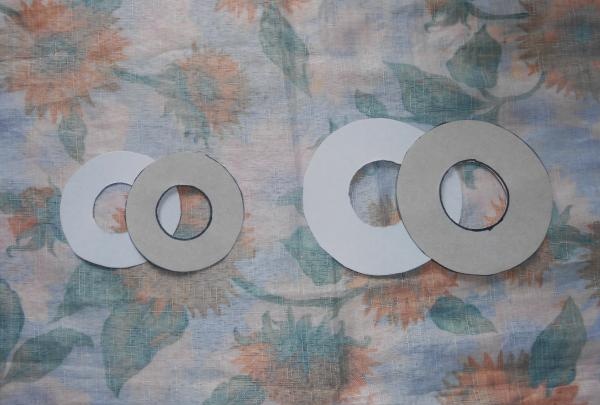
Let's cut it out. As a result, you should get two rings of a smaller diameter and two rings of a larger diameter.
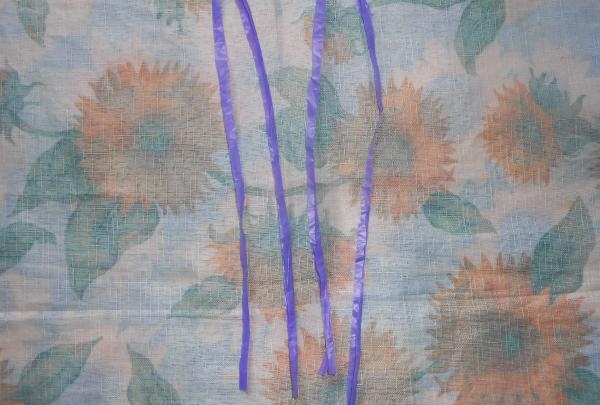
Now let's take polyethylene of any color. I took the lilac one. Cut it into strips 0.5-1 centimeter wide.
Take two rings of smaller diameter, put them together and make a pompom. Just start wrapping the ring with our stripes. The more turns you have, the fluffier the pompom will be.
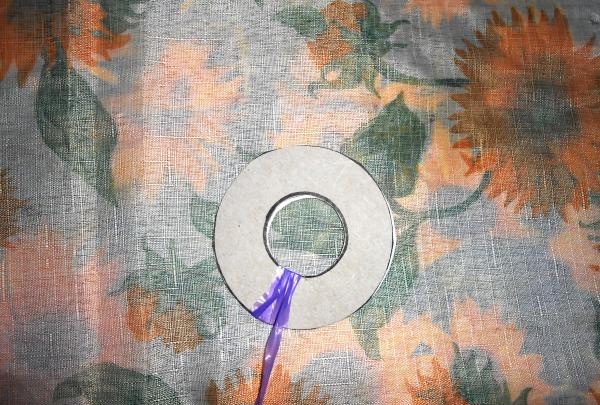
As soon as you run out of strips, take another one, apply it to the place where the strip ended and wrap it around the ring again. We continue to do this until the hole inside becomes small.
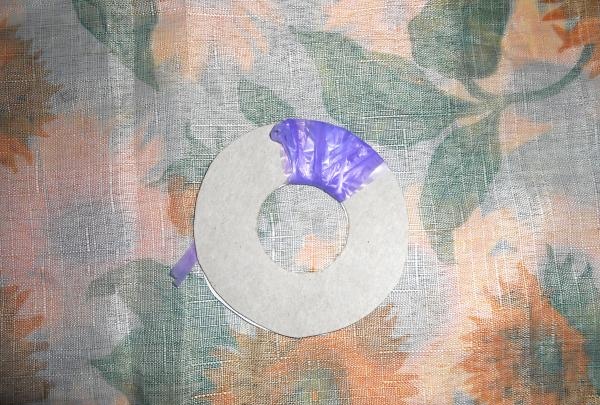
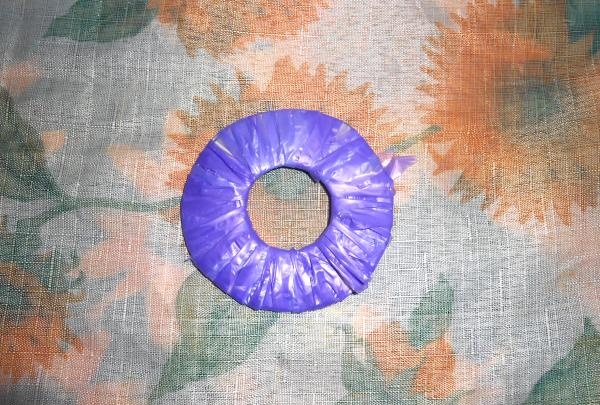
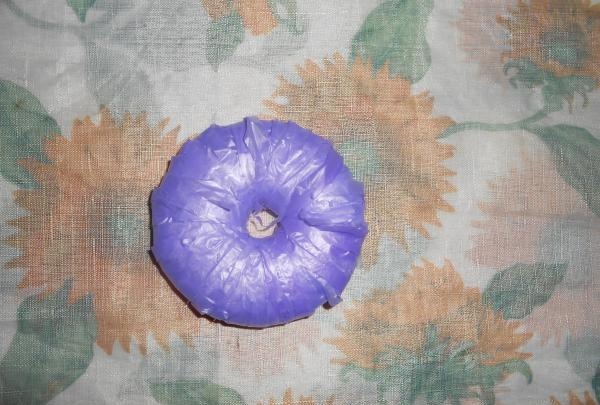
Now you need to use scissors to cut the strips.We cut our ring in a circle, without cutting the cardboard discs.
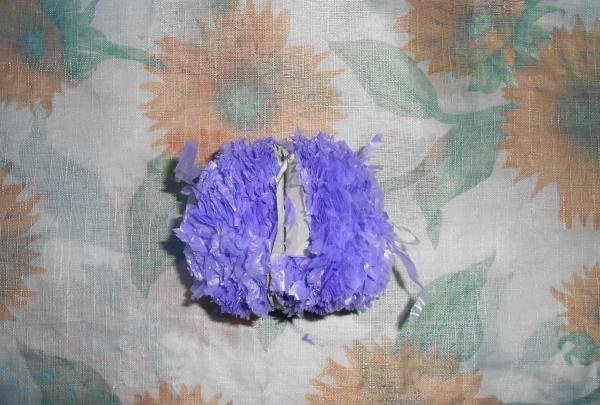
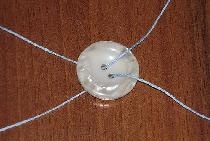
Now we move the cardboard disks a little, insert a thread between them and pull our pom-pom together, tie it, leaving the ends. We tear the cardboard rings and take them out; we no longer need them.
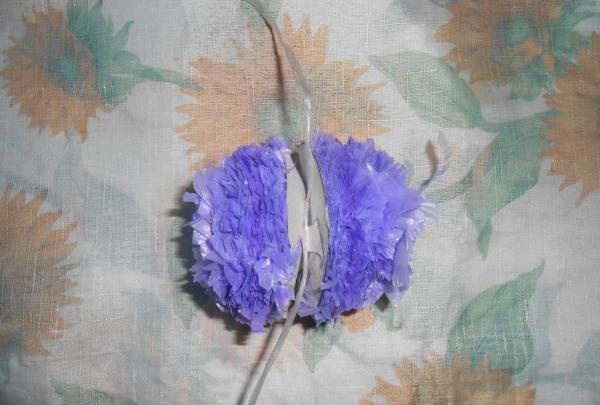
Use scissors to trim the protruding threads. The pompom is ready. This will be the chick's head.
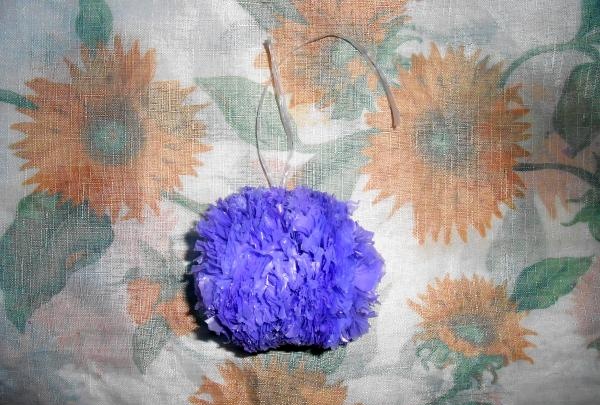
Now let's work on a larger ring. The principle of operation is the same, only we leave a larger hole.
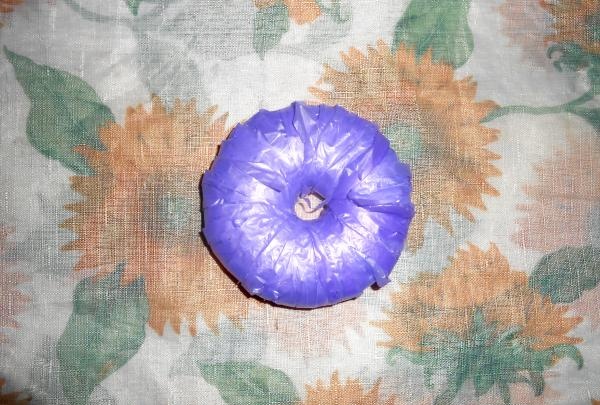
Take a wire 24 centimeters long. Let's fold it in half, but the ends should be connected to each other in the middle. We secure them with tape.
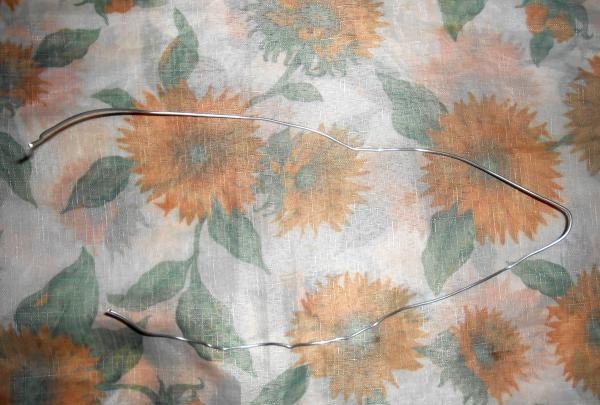
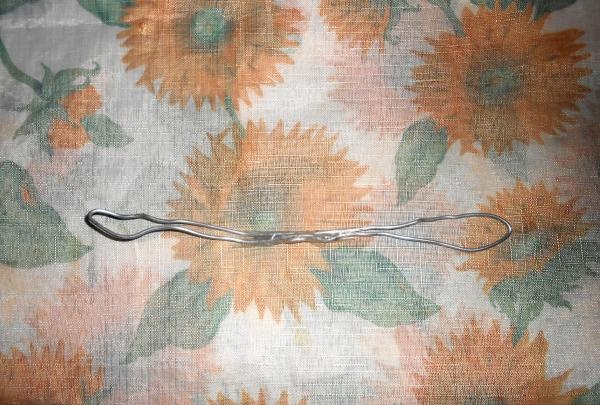
We pass the wire through the ring. Now you can cut the threads on the ring around the circumference in the same way as on the previous one. We tie it with thread, leaving tails, and cut off the excess. That's it, this pompom is ready - it will be the body of the chick.
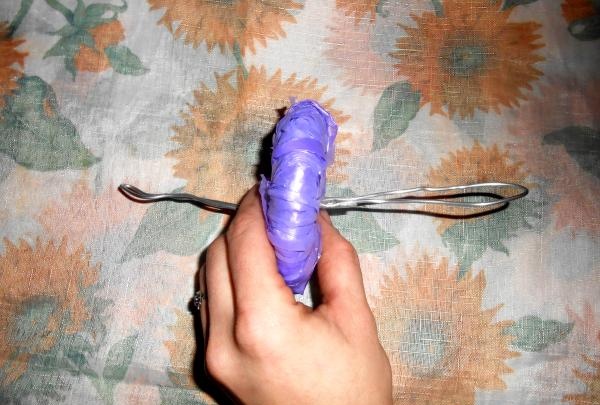
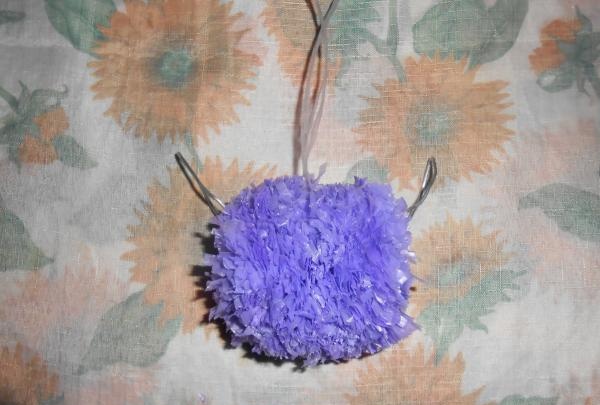
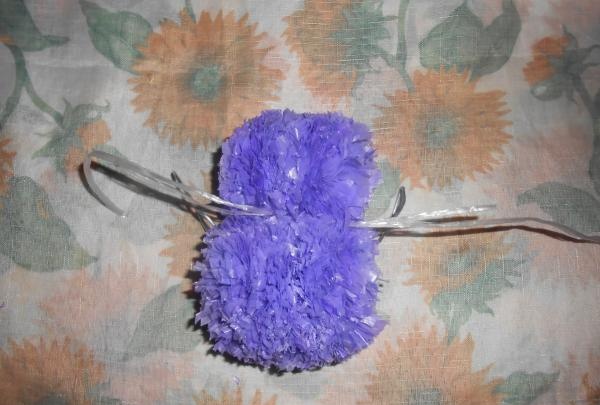
Now we tie the ends of the remaining threads, connecting the pompoms together.
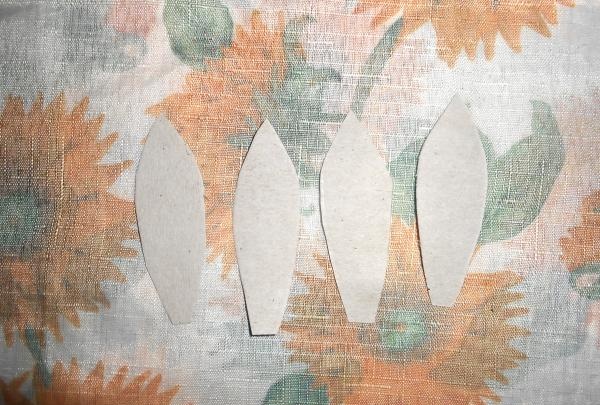
Let's take cardboard and cut out four wings from it. Lubricate the two blanks with glue and glue them to the wire so that it is between them. Let's first give the wire the shape of the wings. We do the same with the second wing.
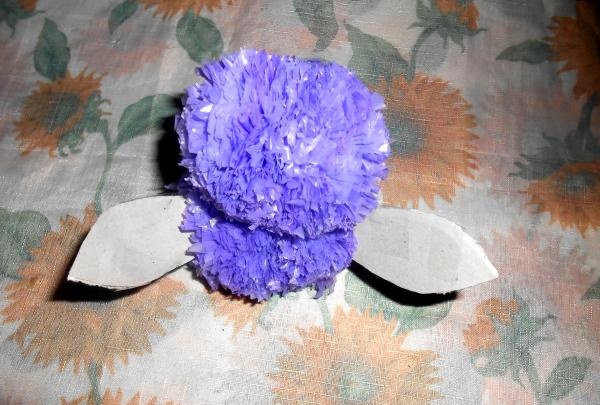
Now we will need polyethylene again. We cut strips 3 centimeters wide, fold them in half and cut the fringe along the edge.
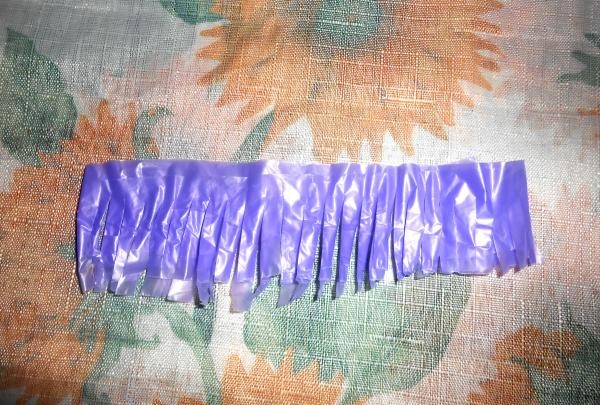
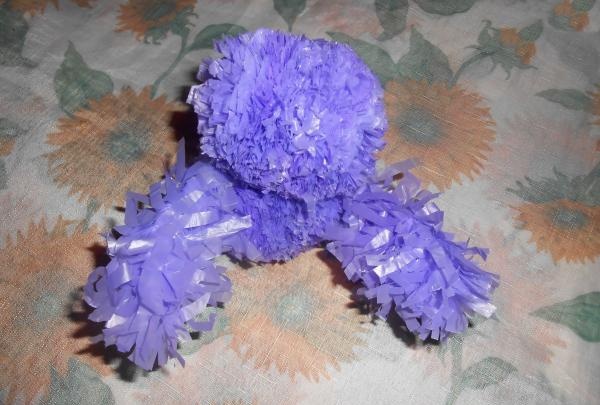
Straighten the fringe. Using glue, we fix one end on the wing and wrap it around the entire wing (you can also fix it with glue in several places), and glue the other end in the same way.
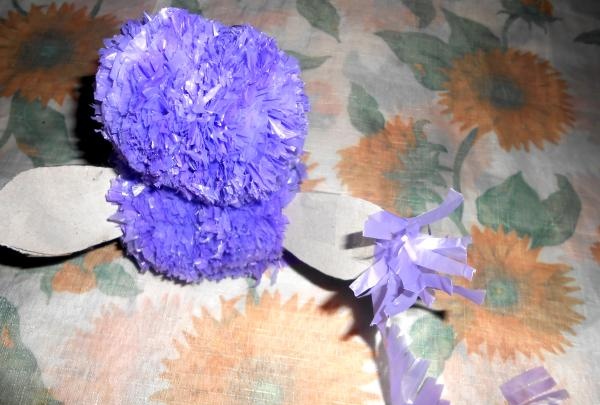
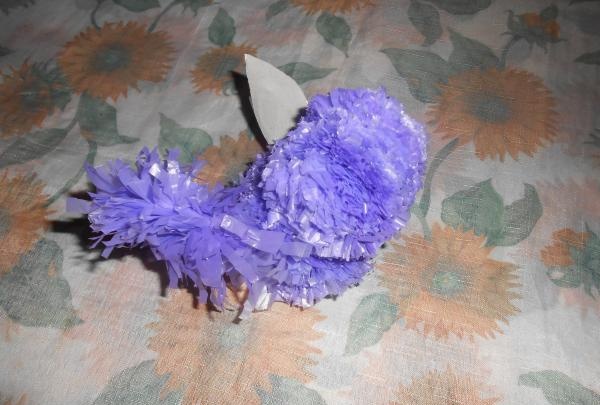
We make the second wing in the same way.
We take red cardboard. Cut a 2x3 cm rectangle out of it. Make a cone and trim the edges.
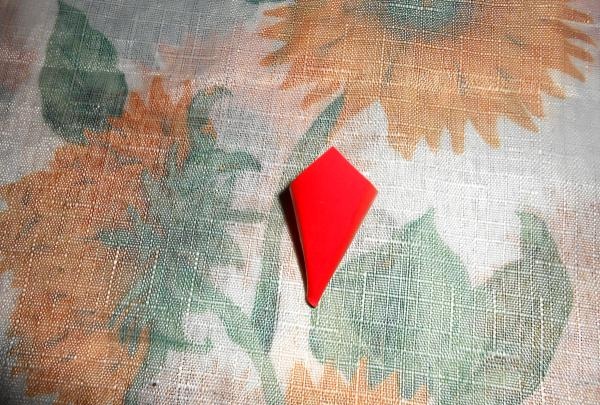
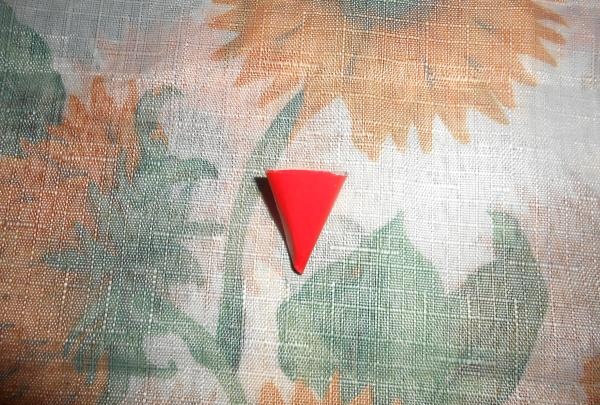
Glue the beak to the head.
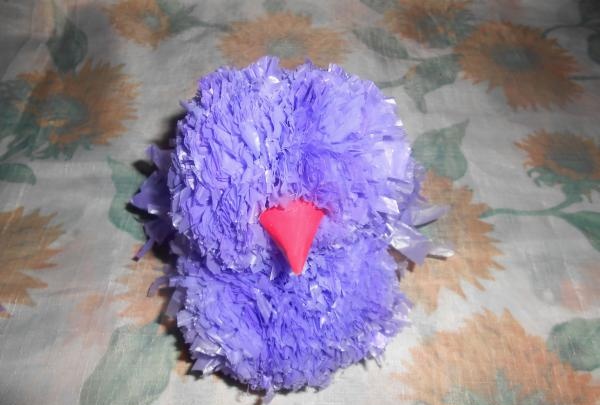
Now you need to glue on the decorative eyes. If you don't have such eyes, don't despair.They can easily be made from a blister (packaging for tablets), beads and white cardboard, or simply from colored paper.
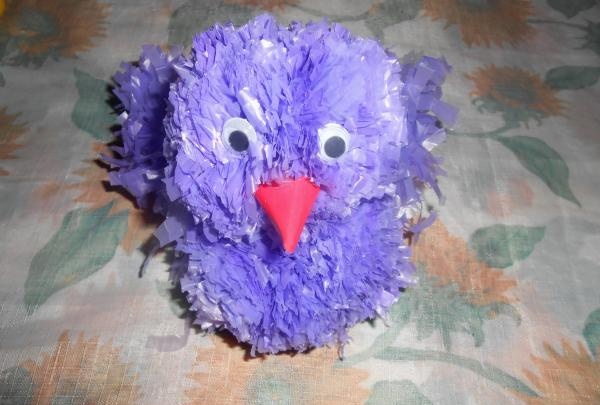
Our chick is ready.
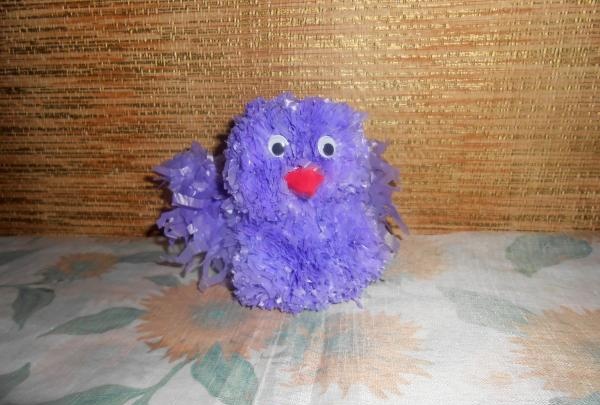
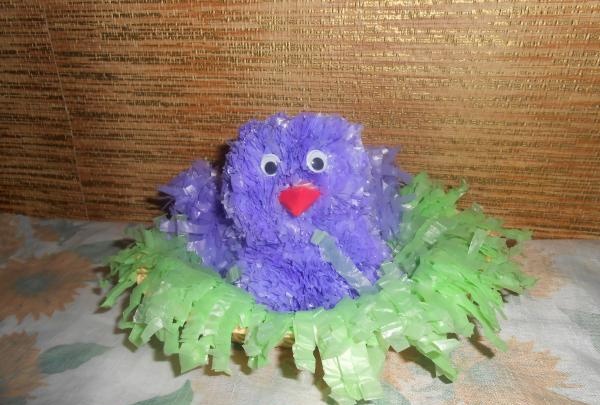
You can put it in a nest, add sweets, fruits, wrap it beautifully and give it to your child for any occasion.

Goodbye.
