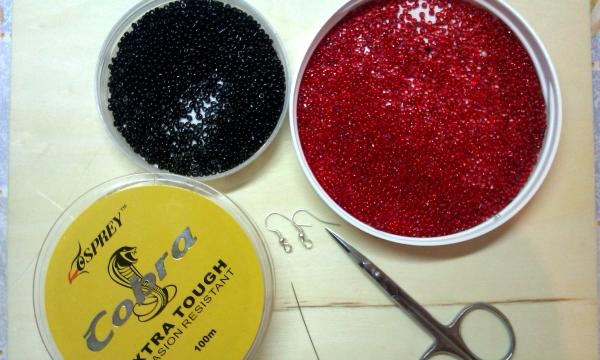
Necessary materials:
- red beads No. 10 – 3 g;
- black beads No. 10 – 6 g;
- fishing line 0.2 mm – 4 m;
- ear wires – 2 pcs.;
- bead needle;
- scissors;
- round nose pliers.
And so, let's begin our master class.
1. In order for you to feel comfortable and not have your hands hurt from work, you need to properly prepare your workplace. Remove all unnecessary items from the table. Prepare all the necessary materials immediately.
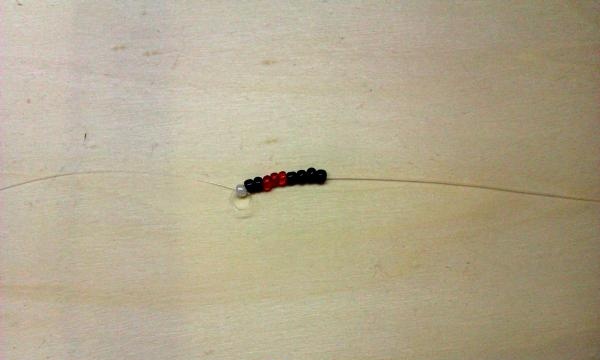
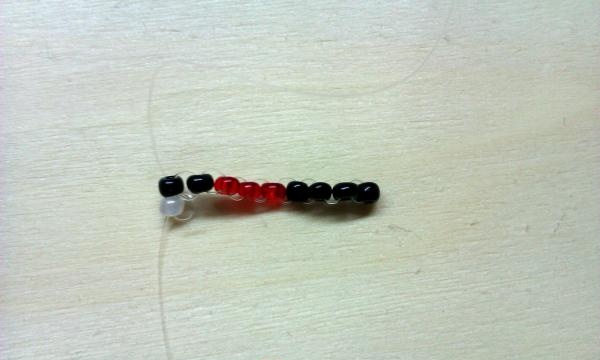
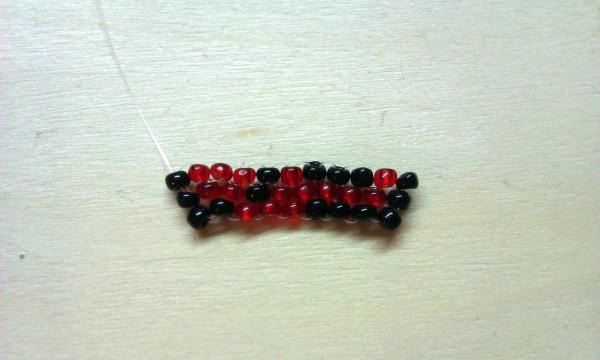
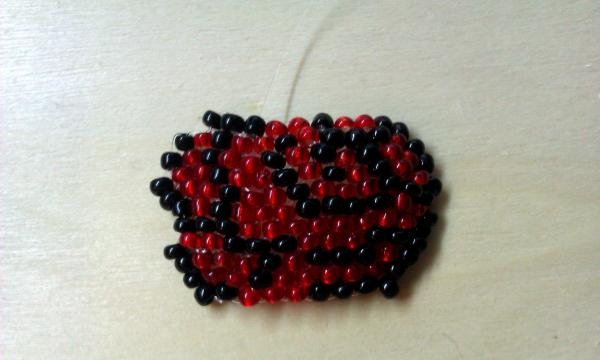
2. Beading technique “Brick stitch”, in fact, is not very complicated. But for beginners it can create difficulties. Therefore, I will focus on correct weaving to tell you in more detail. First you need to measure 1 m of fishing line and thread it through a needle.To prevent the collected beads from dangling, we will make a stop bead. It's best to take it in a different color. In our case it will be white. We pass through it several times so that it is firmly fixed. Now let's start our weaving. We collect the following number of beads on the fishing line: 2 black, 2 white, 4 black.
3. Now hold well the side of the fishing line that has all the beads on it. Now we need to kind of “build houses” so that the beads stand in a column, that is, with the hole facing up. Insert the needle from below into the second bead, as shown in the photo.
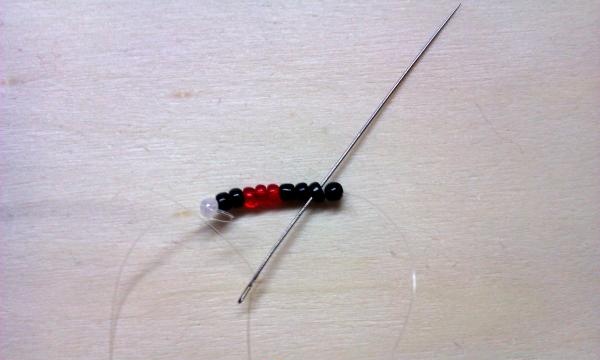
Then we go to the third, only from above.
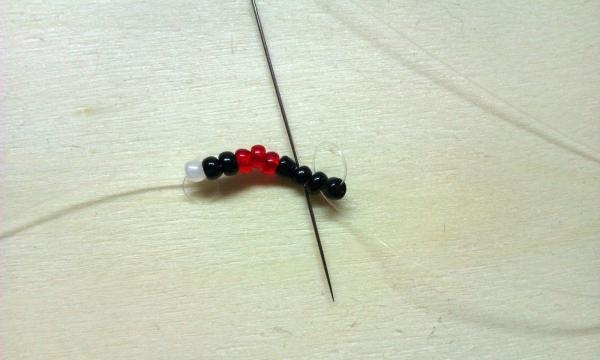
And so we weave until the end of the row. It turns out that we seem to be making a snake in our movements. In the end you should get this result.
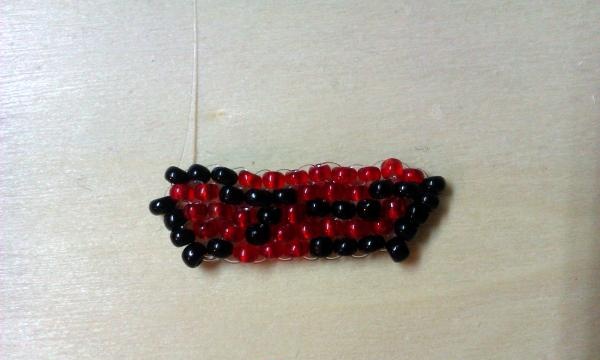
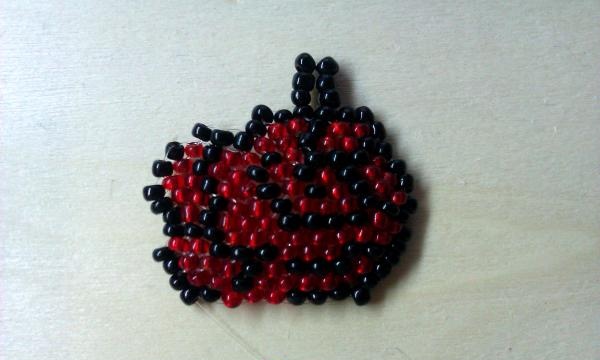
4. While weaving the earrings, we will both add and subtract the amount of beads. It's not at all difficult to do this. We put 1 black and 1 red beads on the needle. Now we won’t go through the beads. We are only interested in the fishing line above them. We take the collected beads out through the first opening of the fishing line and insert the needle into the second collected bead. It should look like this.
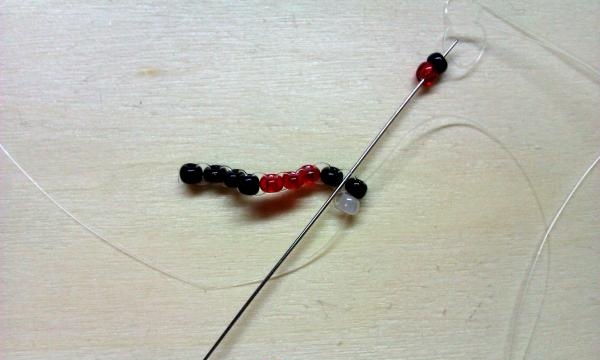
At the end of the row, in order to add one bead, you need to add two different beads to the row. That is, it turns out that we add 1 black and 1 red bead to the last opening of the fishing line, but each in turn.
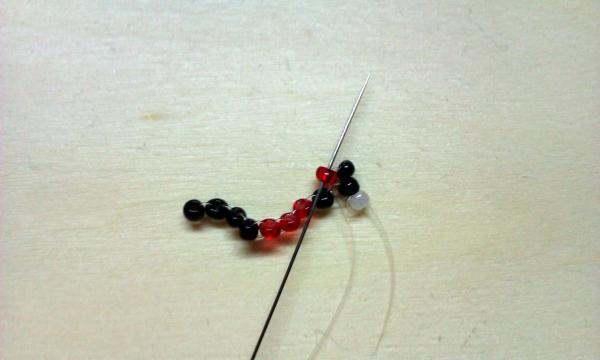
In order to reduce the beads, you need to add only one bead at a time, both at the beginning and at the end, into the opening of the fishing line. Follow the diagram below.
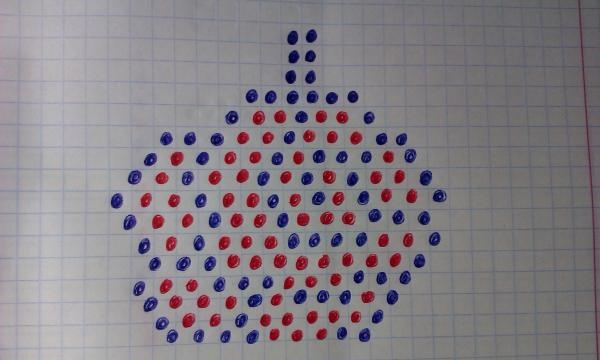
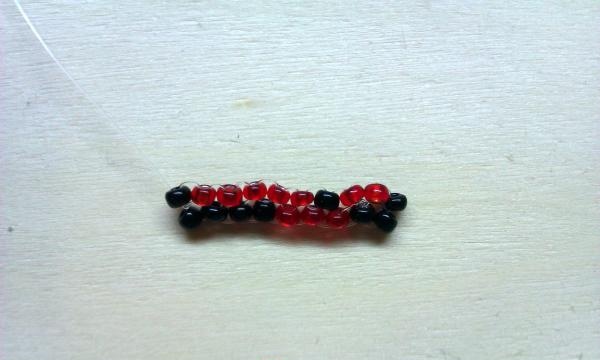
The flower base is ready. You need to make a loop to attach the earrings. Add 6 black beads in the center and close into a loop. This is roughly what the whole process looks like.
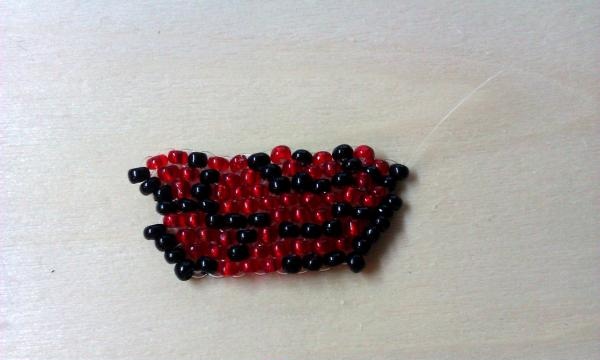
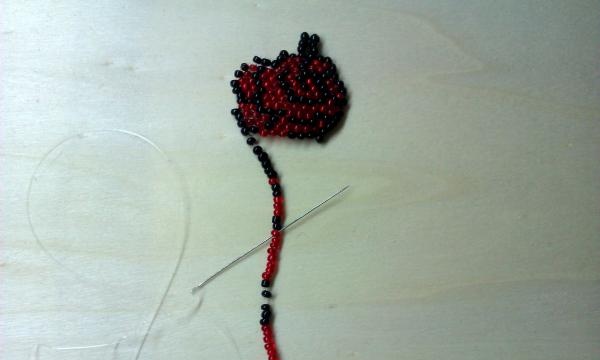
Now all we have to do is make a fringe to give the flower a velvety feel. The color scheme can be at your discretion. Any variations will look good. The photo below shows how to fix the fringe. At the end of each row you need to make a ring, passing the needle through the first red bead out of 8.
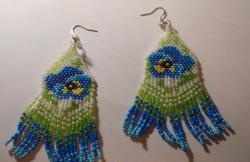
That's it, the earring is almost ready. All that remains is to attach the hook with the help of round nose pliers. And here is the result.
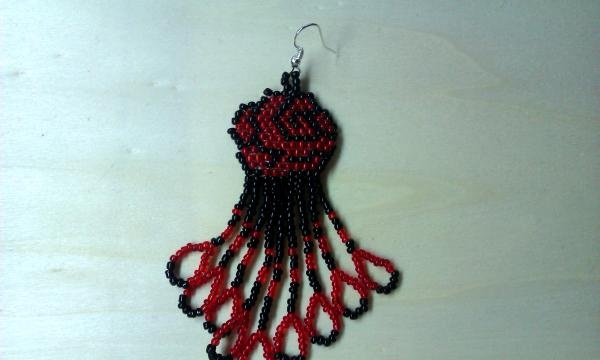
Make the second earring using exactly the same principle. And you will get such beauty.
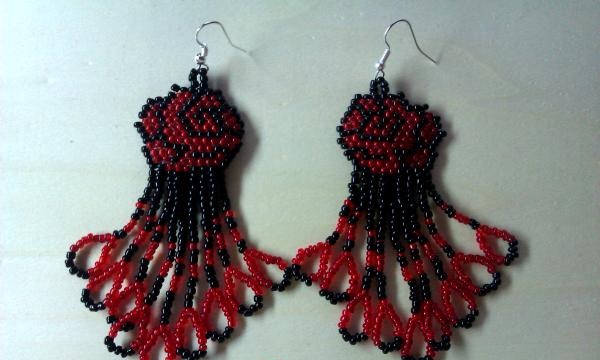
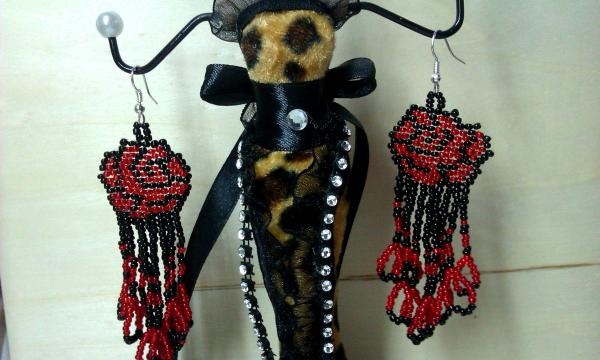
Always be unsurpassed and beautiful. Wear these earrings with pleasure.