If you have long dreamed of such an accessory in your kitchen as a bread box, but did not know what it could be made from or how, then after watching this master class, you will understand that you will not need special tools and materials to make your dream come true.
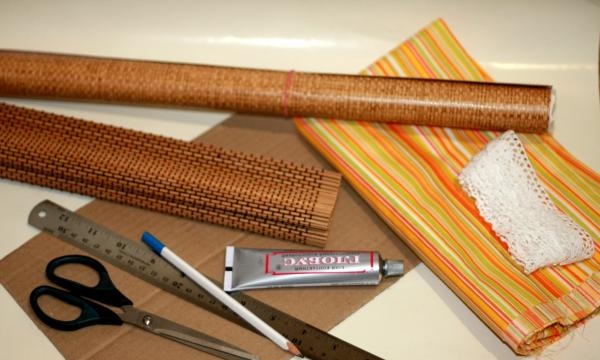
So, let's begin. What we need in our work:
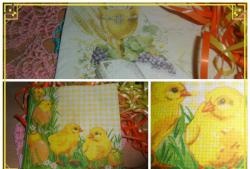
1. Any bamboo napkin.
2. Durable cardboard.
3. Self-adhesive film.
4. Scissors.
5. Glue.
6. Lace.
7. Fabric.
8. Pencil, ruler.
9. While working, I decided to purchase a small wooden handle (not shown in the photo).
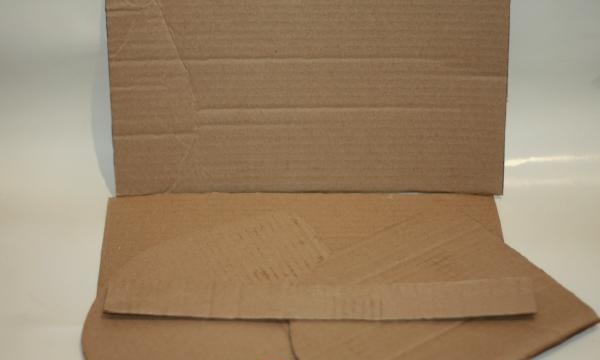
First, you need to decide on the size of the bread bin. Based on the size of your bamboo napkin. My napkin is 30 cm wide. The bread box will be 28 cm wide so that the napkin lays beautifully on top, 17 cm high and 20 cm deep. It will be more clear later. I cut out a bottom of cardboard measuring 28x20 cm, a front wall of 3.5x28 cm, a back wall of 17x28 cm and 2 side walls of 17x20 cm. Moreover, the side walls must be rounded so that the bamboo napkin lays smoothly.
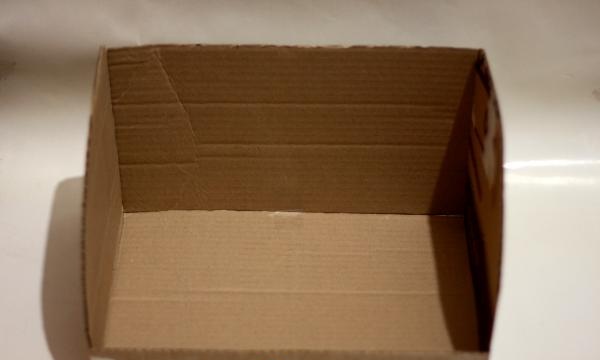
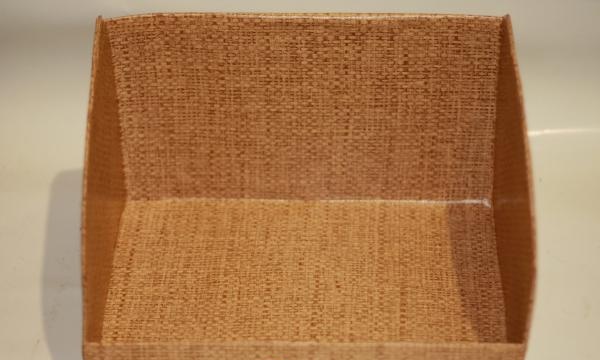
Let's assemble our frame.At this stage, our bread box looks like this.
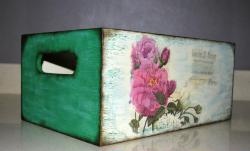
We cover the frame with self-adhesive tape. I chose self-adhesive to match the rattan color; you can choose any color that will harmonize with the interior of your kitchen. So, we glue the inside of the bread box.
Now let's glue it on the outside.

Now our bread box has acquired a more attractive appearance, and it has also become much stronger. Let's start processing the bamboo napkin. I need to cut it into 2 parts, one of which is equal to the height of the front small wall, i.e. 3.5 cm.
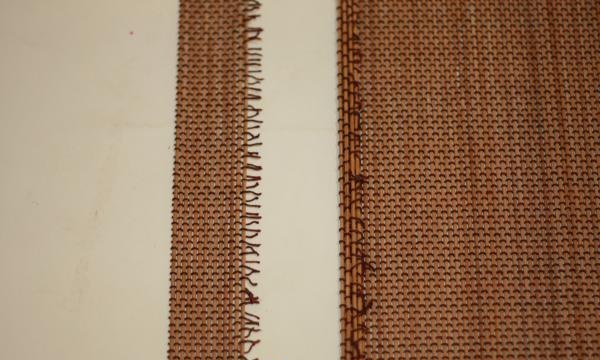
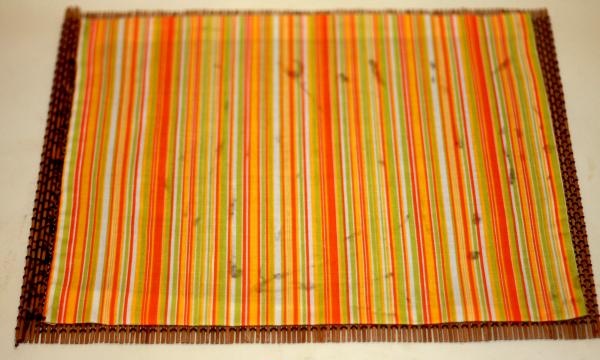
Tip: before cutting the napkin, glue the threads that hold the napkin together at the cut site so that it does not unravel. We glue the fabric onto the larger part of the napkin. Some napkins are sold with fabric on the back side, in which case you can skip this step. This will be the inner part. I have transparent glue, after drying it will not be visible.
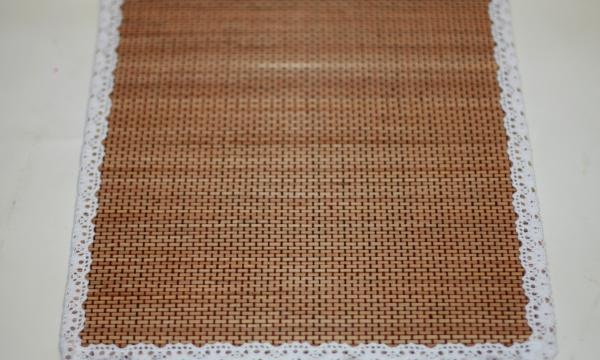
And also, for a more aesthetic look, we will cover the sides of the napkin with lace.
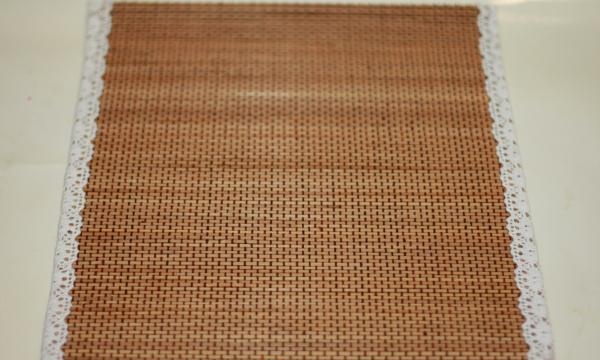
Glue the lace onto the side of the napkin that will be in front.
We still have the second part of the napkin that we cut off. Glue it to the front wall of the bread bin.

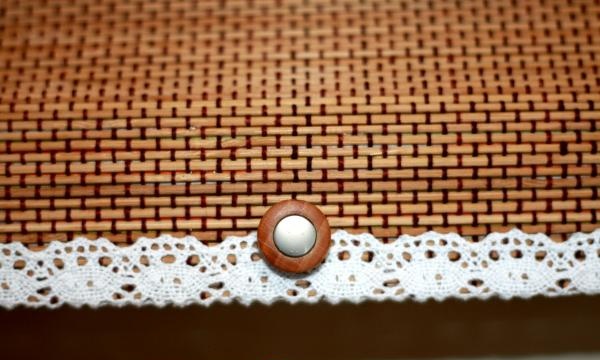
We cut the threads (if you have them), and process the cut, gluing the lace. We got such a neat cut.
Let's begin the final stage of work. We glue a napkin to the back wall so that it lies smoothly on the sides of our bread box, fabric down. At this stage, you will understand why the bread box needs to be made a couple of centimeters smaller in width than the napkin. Our bread box is almost ready.
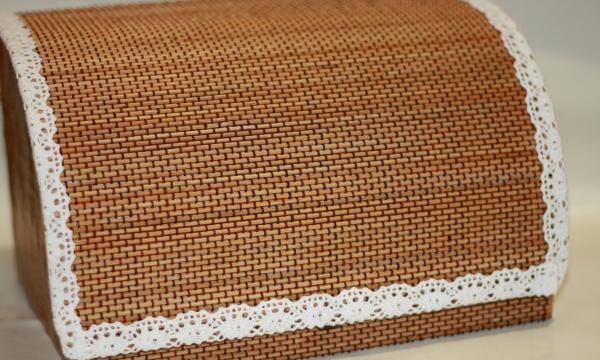
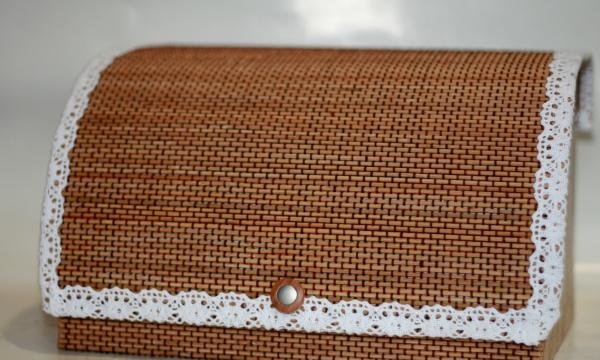
It seemed to me that something was missing, and in the first construction supermarket I came across, I bought a small handle and put it on glue.
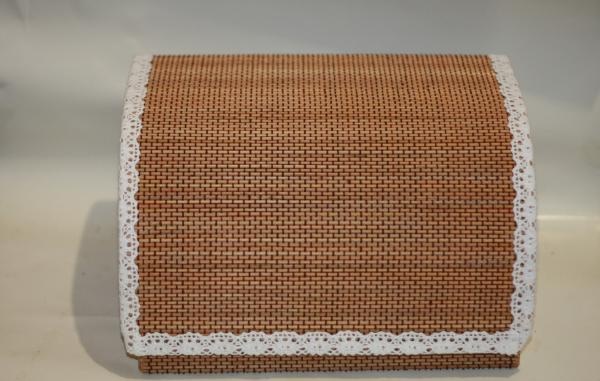
The bread box is now ready for use.

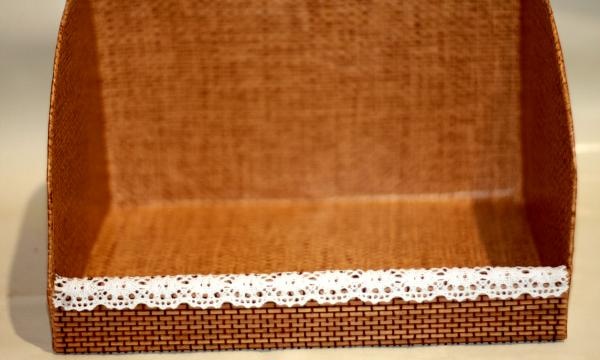
This is what it looks like from the inside.
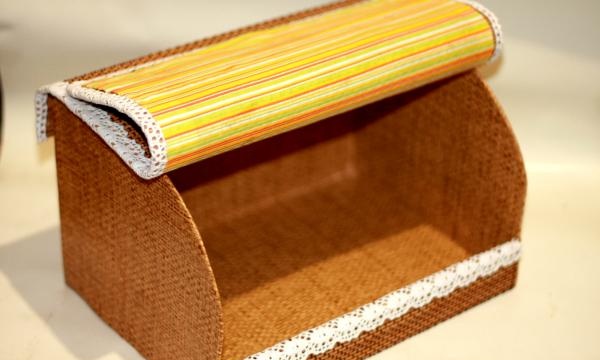
In conclusion, I would like to add that the bread in such a bread box does not dry out at all (tested).