- ready-made elastic band for hair of any thickness.
- a bright pink satin ribbon, the width of which is 2.5 cm.
- scissors.
- a gun for working with hot glue.
- tweezers with a curved edge.
- outline for fabric with glitter.
- green satin ribbon.
- candle or lighter.
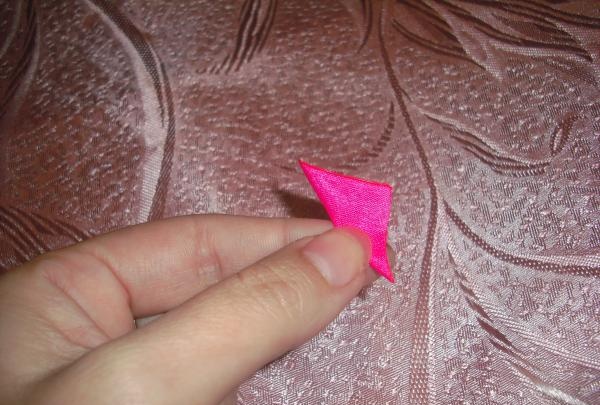
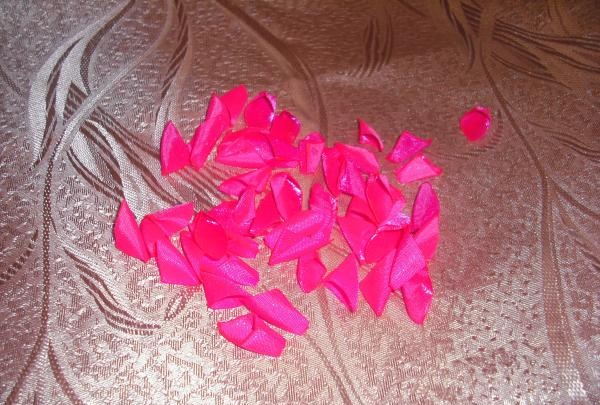
Sequence of flower creation. Cut the bright pink ribbon into small pieces. Their sides are 2.5 x 2.5 cm, 50 of them will be required.

Fold the two sides of one of the corners together to form a triangle, leaving the wrong side of the tape on the outside. We clamp it with tweezers and singe the edges with fire, gluing them together.
Then we straighten the resulting part, and place the created seam exactly in the middle of the workpiece.
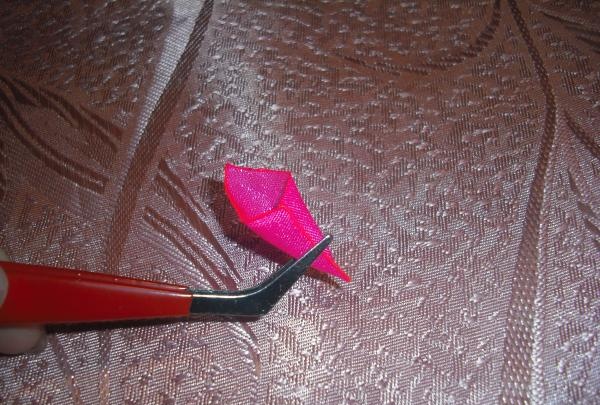
We get a small bag. We pinch the bottom corner with the edges of the tweezers, stepping back a little from the edge. Then we cut the fabric to the point where the tweezers are attached and singe the sections.

We get such a petal. From the remaining blanks we create the same ones, following the same sequence.
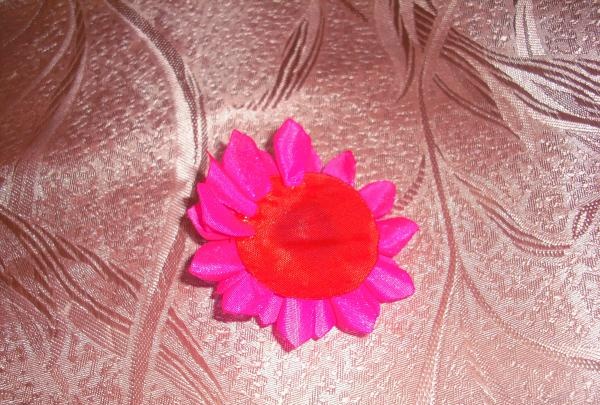
Next, cut out a circle with a diameter of 4 cm from a wide ribbon.We select the color of the ribbon in accordance with the shade of the petals. We singe the edges of the resulting part to avoid shedding. Now we glue the prepared petals around the entire circumference.
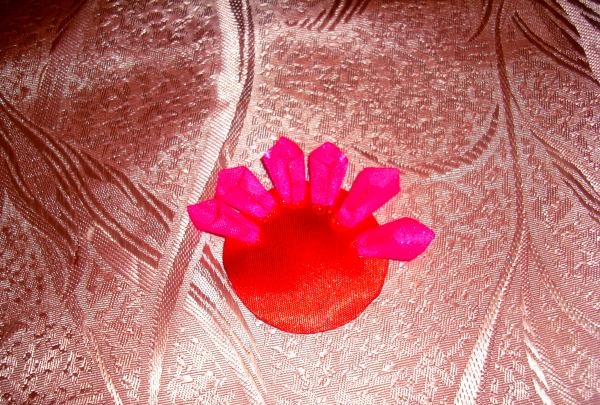
Gradually distributing them in a circle, forming the first row.
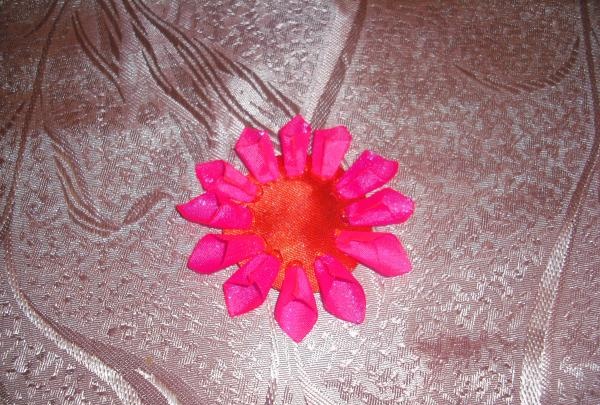
Then we attach the petals of the second row, placing them in the spaces between the parts of the previous row.
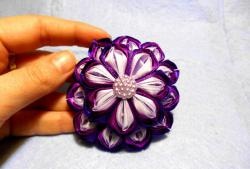
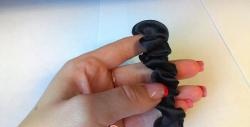
Now we prepare the middle of the flower. To do this, take one petal and twist it into a tube, using hot glue to secure it.

Then we glue other petals around this tube, evenly attaching them around the circumference. We fasten a total of 15 parts in this way.
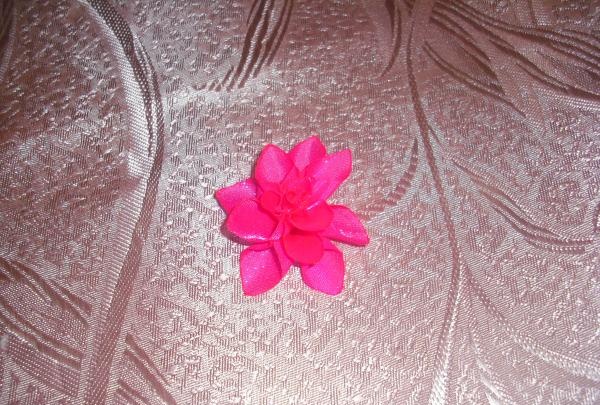
We get such a center, which we glue in the center of the prepared flower base.
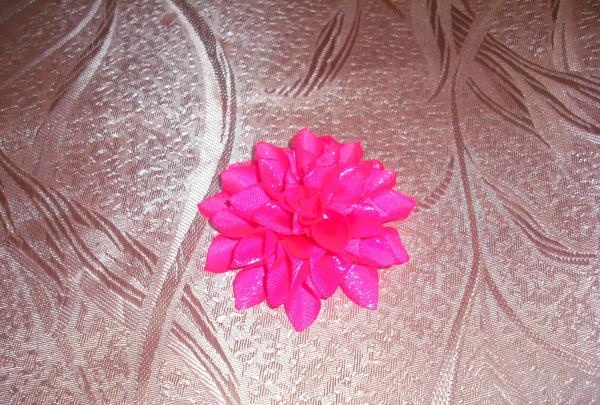
Next, turn the flower upside down. And glue another row of petals, placing them tightly one to the other.
Thanks to this row, the flower will turn out more lush and voluminous.
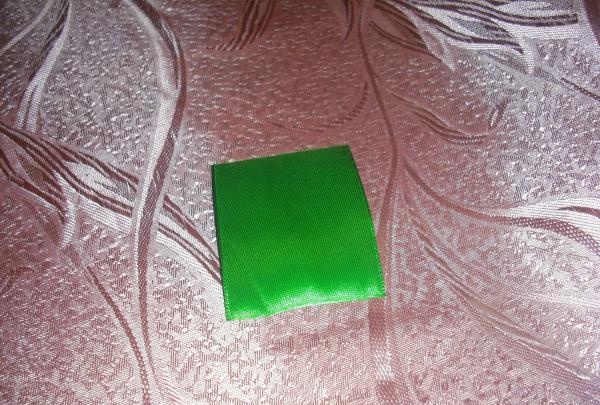
Now we prepare leaves for decoration from the green ribbon. To do this, take a rectangle with sides 6.5x5 cm.
From it we cut out leaves connected at the base.
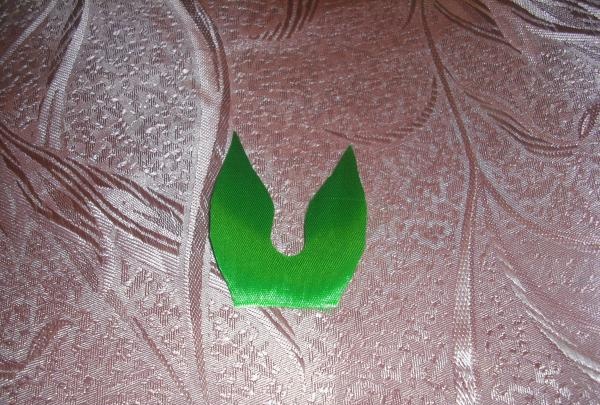
Carefully singe all existing cuts.
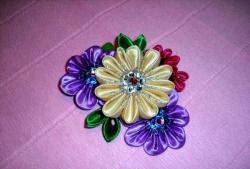
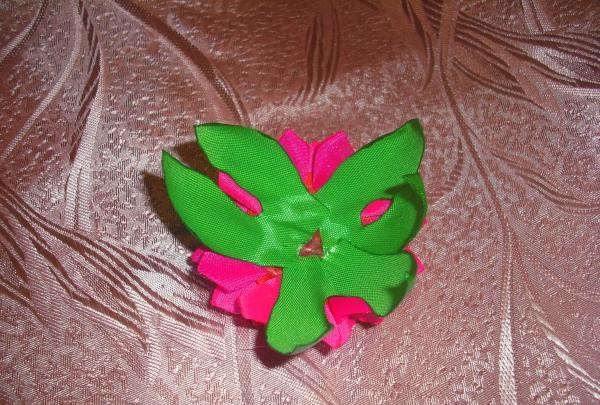
We get these leaves, you will need 3 of them. Next we attach them to the base of the flower.
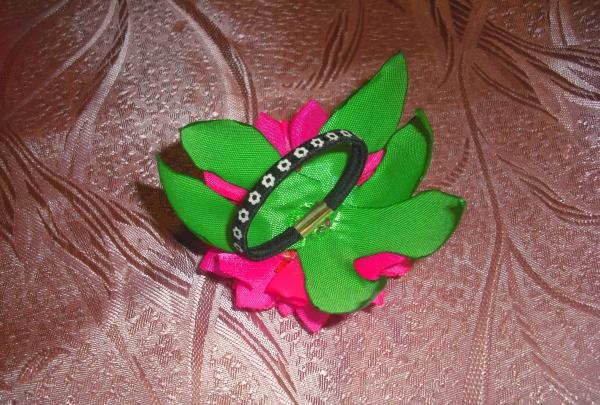
Then we glue the elastic band, attaching it to the center of the flower.
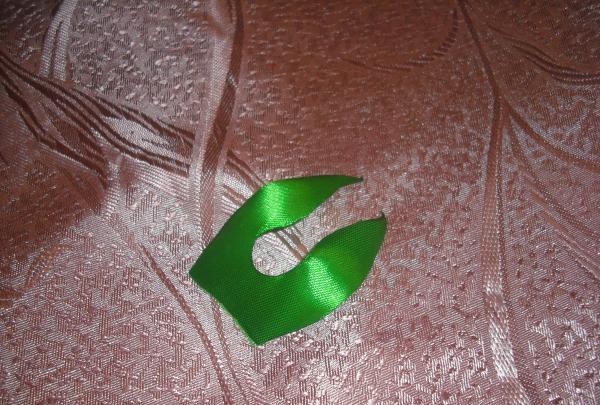
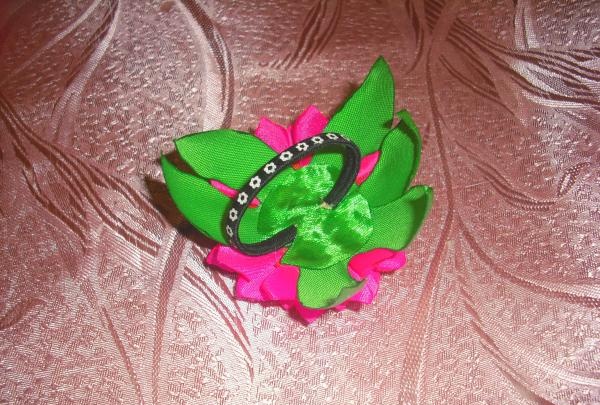
Then from the green ribbon we cut out a small oval-shaped piece with two notches, which we use to cover the junction of the flower and the elastic band.
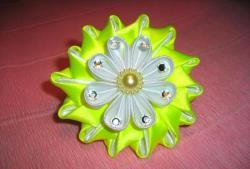
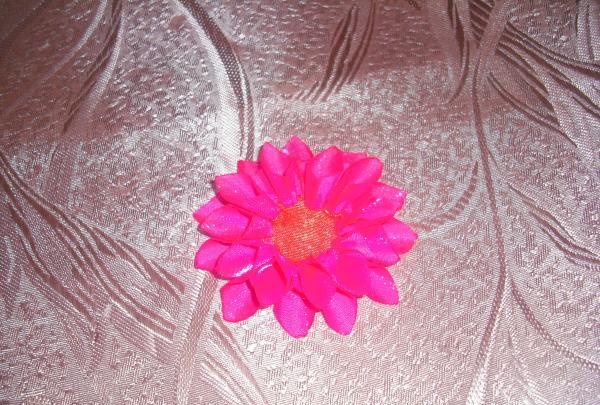
After this, we turn the flower face up and apply a glitter outline along the edges of all the bright pink petals.
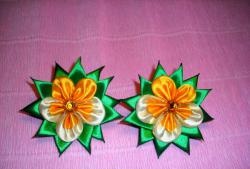
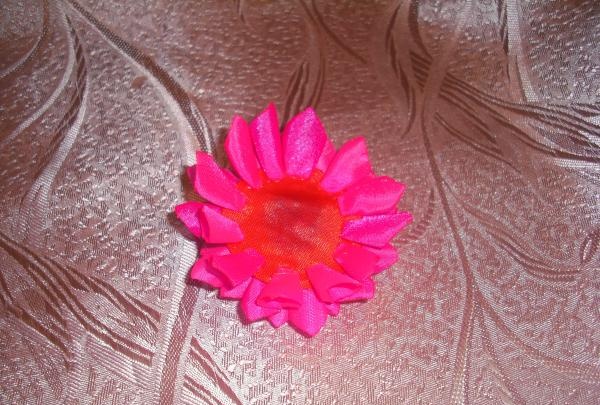
We get such a charming chrysanthemum!