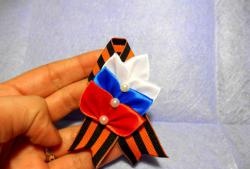
To create a brooch “Star” you need:
- a piece of St. George's ribbon.
- scissors.
- lighter.
- glue gun.
- one silver bead.
- steel blank for a brooch.
- satin ribbons in three colors: orange, red and black.
- a spool of thread and a needle for handwork.
Making a brooch.
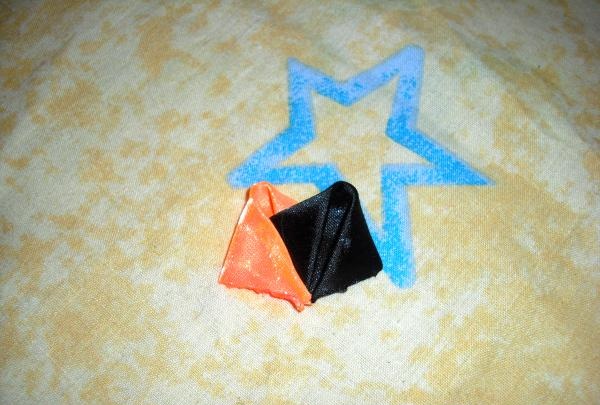
First, we prepare ribbons 5 cm wide, take black and orange ribbons and prepare parts from them. All their sides should be 5 cm.
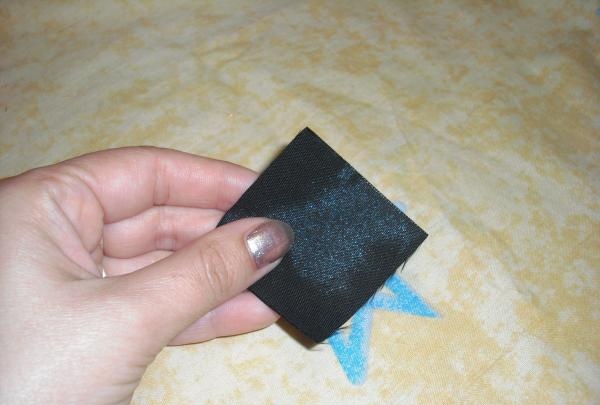
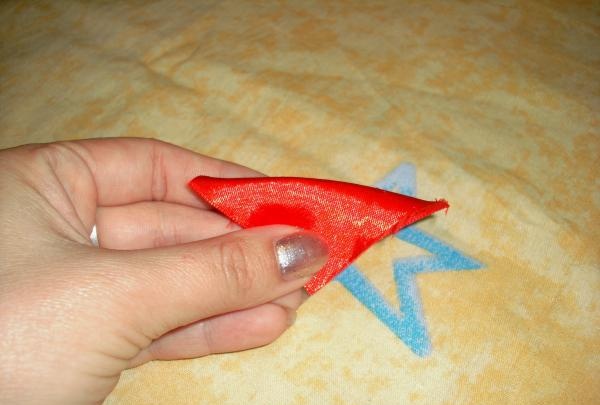
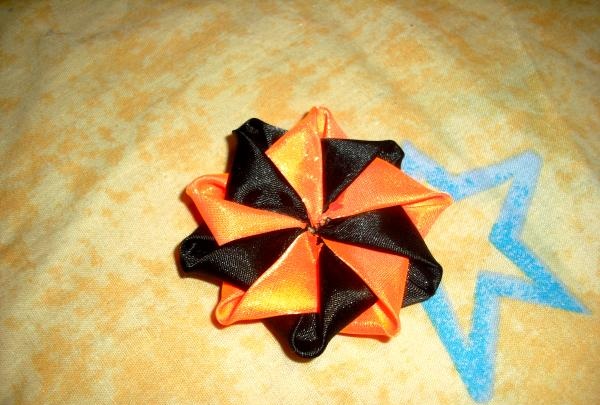
Now we create petals for the main flower from orange and black blanks. To do this, we fold each part into a triangle using addition.
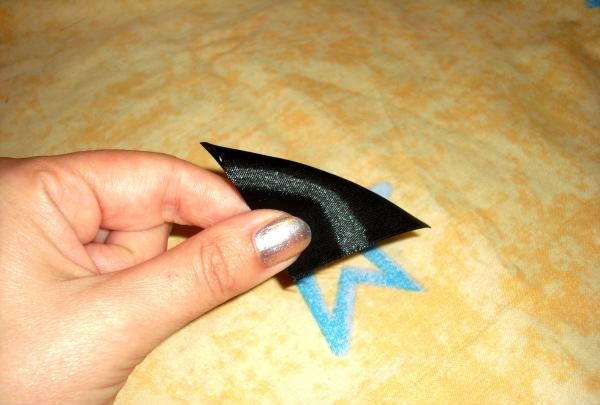
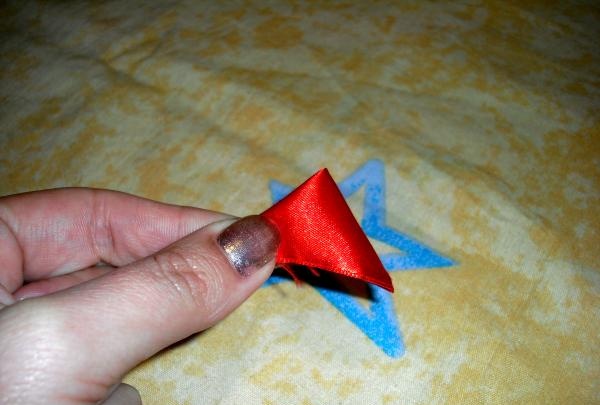
Next, we turn the triangle with its longest side up, while holding the part by the opposite corner. Next, the corner is on the right side, carefully bend it towards the center, it is important to ensure that all the cuts are completely aligned.
On the left side we perform the same action, precisely combining the slices.
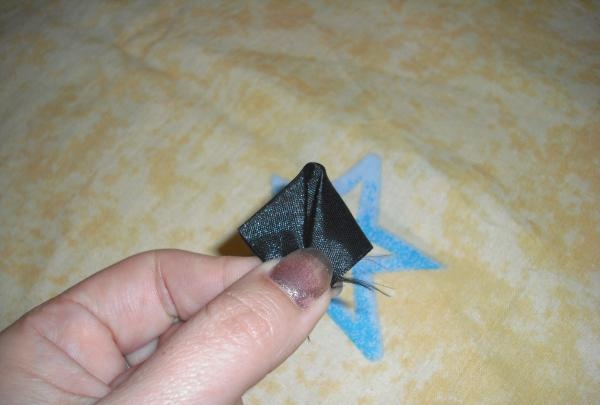
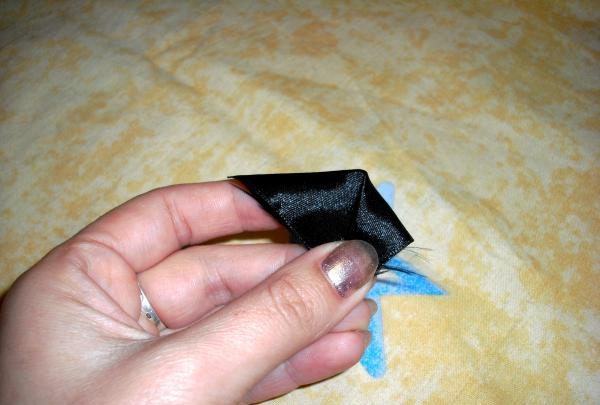
Now all the sections have been assembled on both sides of the part; we carefully singe them with the light of a lighter.
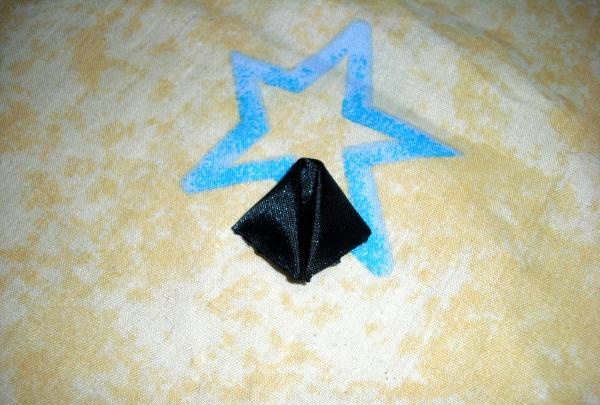
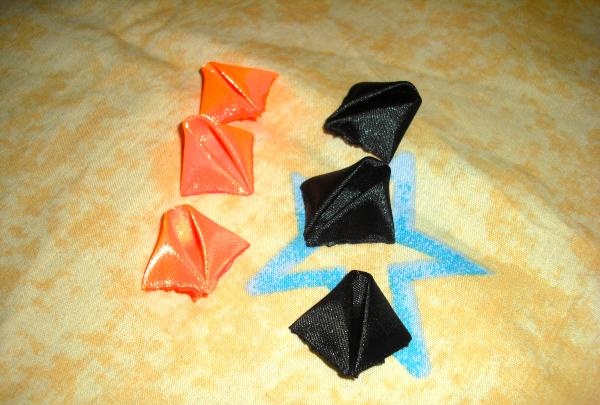
We get such a part; we create them from black and orange blanks.
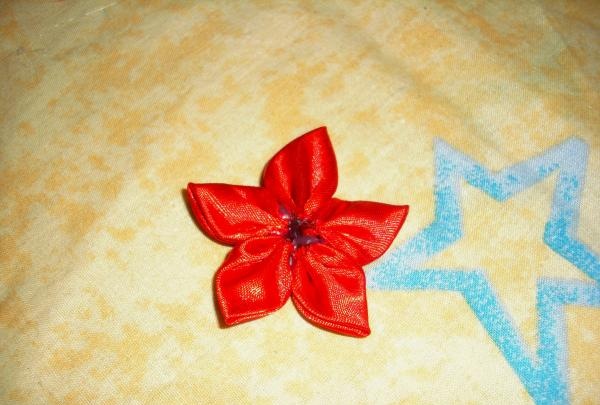
Then we put them aside from work, starting to prepare the parts for the star. To do this, take squares from the red ribbon and also create a triangle from it.
Then we fold it in the middle two more times, getting a triangle with several folds.
Now we thread the thread into the eye of the needle and sew a simple stitch along the entire edge with raw edges.
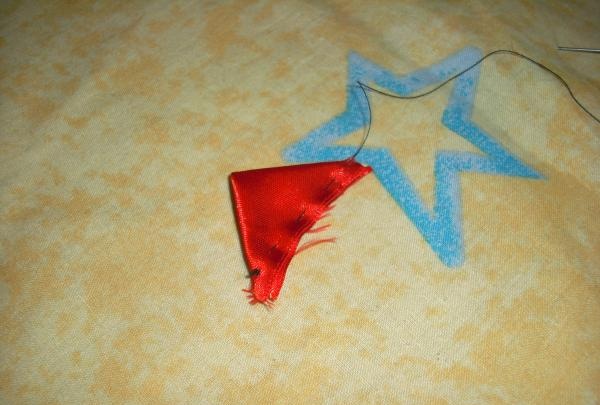
Then we pull the seam tightly so that the fabric folds into small folds. Secure the stitching with several tacks and cut the thread. The sections of the part are gathered at one point, we scorch them with a flame, soldering them into one lump.
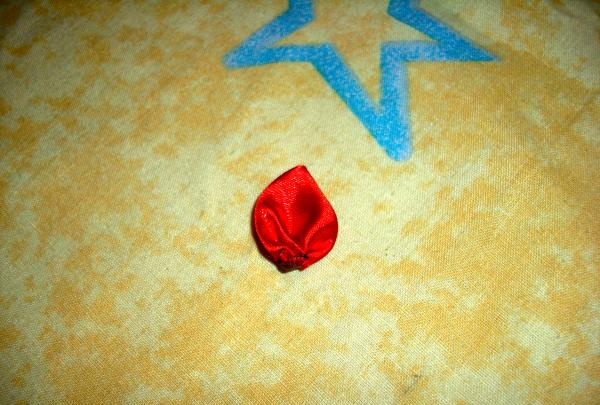
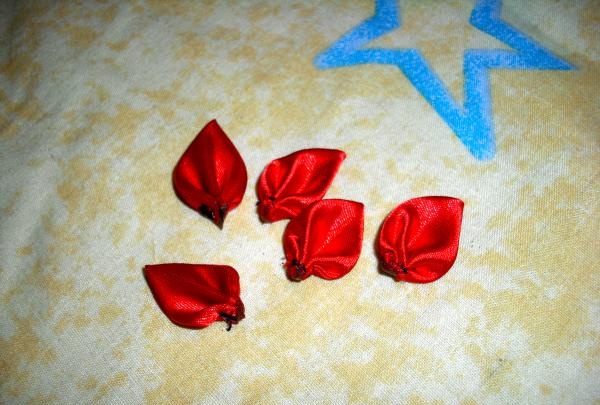
We get such a petal; 5 pieces of similar parts are required.
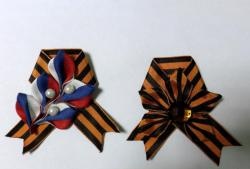
Now we begin to connect the main flower from the black and orange parts that were temporarily put aside.
Alternating black and orange parts, glue them together, placing them in the fold line in their center. We use hot glue to connect.
We gradually form them into an even flower.
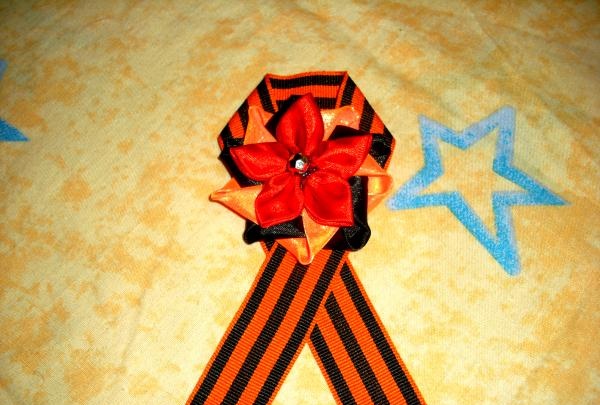
Next, we assemble a star from red parts with sharp corners.
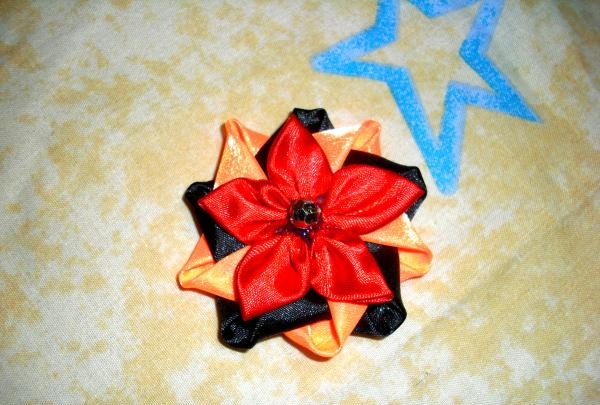
Now we glue these two parts together, placing one on top of the other, and attach a bead to the center of the star.
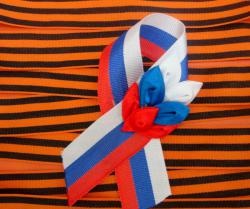
Now we prepare the base for the brooch using the St. George ribbon. To do this, we make a large loop from a piece of ribbon 31 cm long. We roughly divide the entire length in half. Stepping back 3 cm from the middle, carefully bend the edge on the left side.
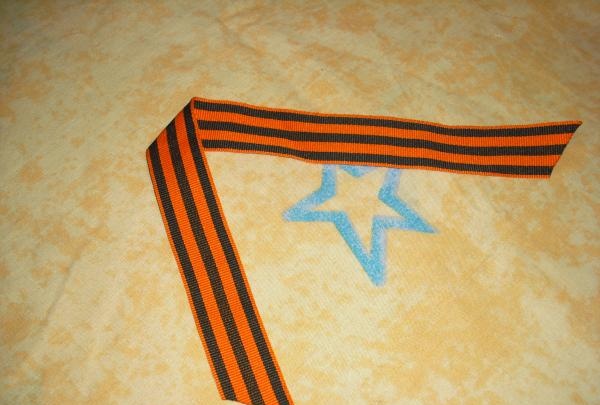
Then we fold the right edge, placing it over the left tip.
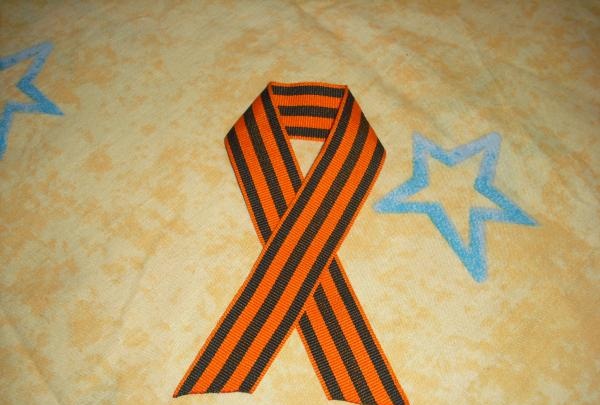
We carefully glue each bend, securing all folds. Then we attach the prepared star in the center of the loop from the St. George ribbon.

We unfold the decoration with the base up and glue the steel brooch blank in the middle.
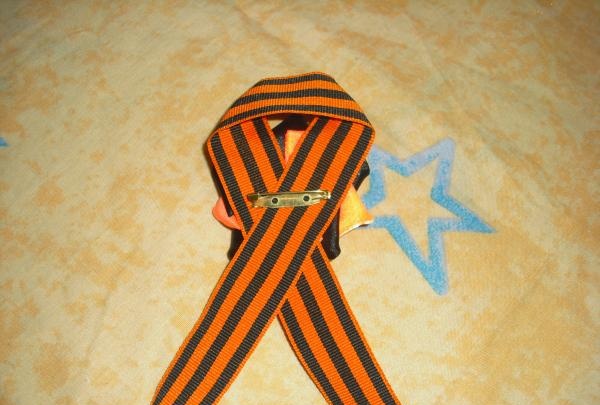
The “Star” brooch is completely created!