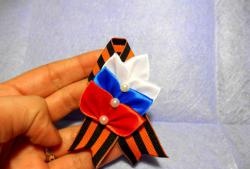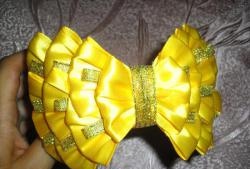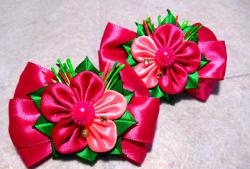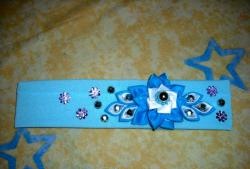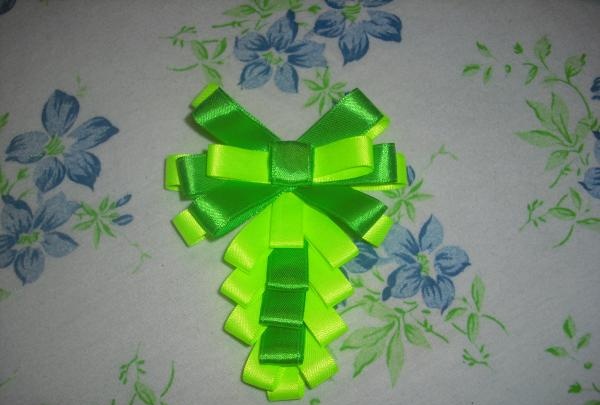
To create such a frill brooch you will need:
- a ribbon 0.7 cm wide, light green in color.
- blank for a brooch.
- glue gun.
- green satin ribbon 2 cm wide.
- scissors.
Description of work.
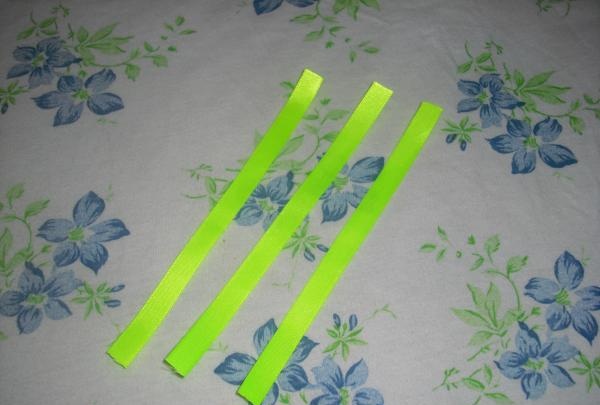
Cut three long strips from light green ribbon to create the base of the brooch. All segments must reach 16 cm.
Then we take each tape separately and glue the edges together, aligning them in the middle of the part. We also glue all three segments together.
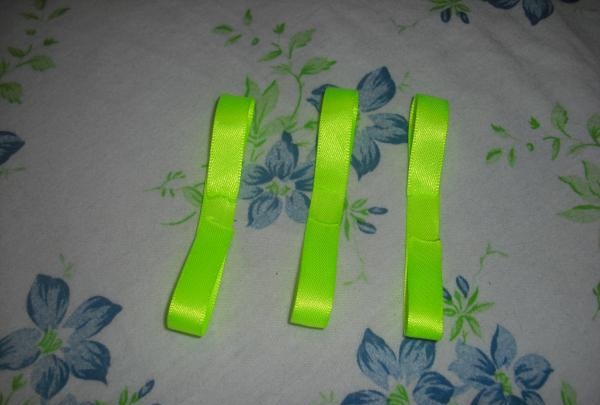
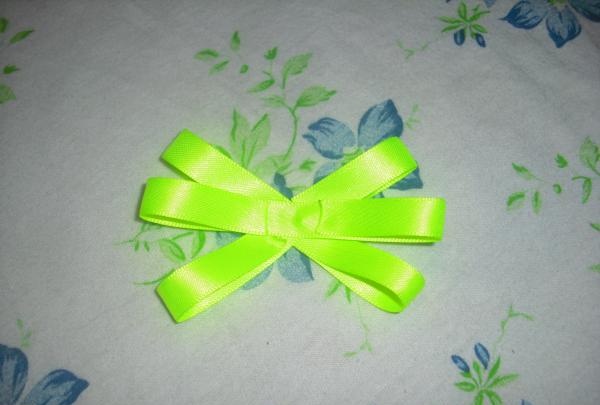
We receive such blanks. Now we collect a bow from them, placing one on top of the other, crossing them in the center.
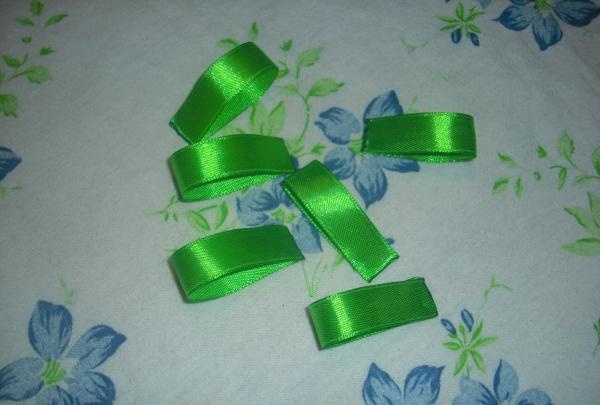
We put the resulting part aside and begin to create blanks for the main bow. We prepare 6 identical pieces of green tape, each 8.5 cm long. Then carefully singe the cuts on all the pieces. And using a glue gun we connect the two edges of each piece together, creating loops from them.
Now we attach these parts on top of the light green bow, aligning them, but retreating 2-3 mm from the edges.
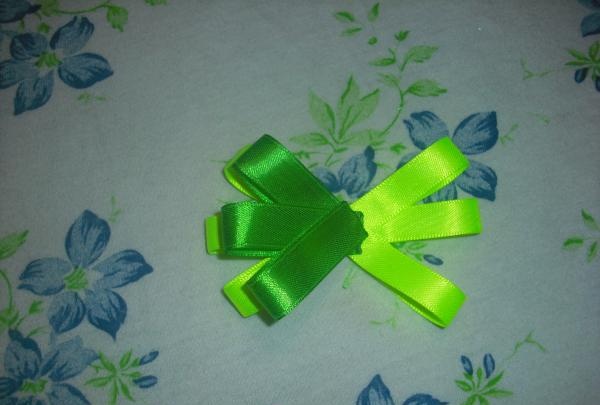
We attach the loops on the second side of the bow in the same way.
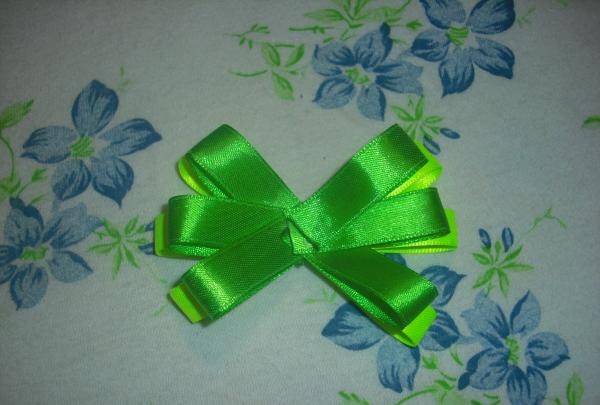
We get this double bow. Next, cut out two strips of light green ribbon, each 5 cm long.
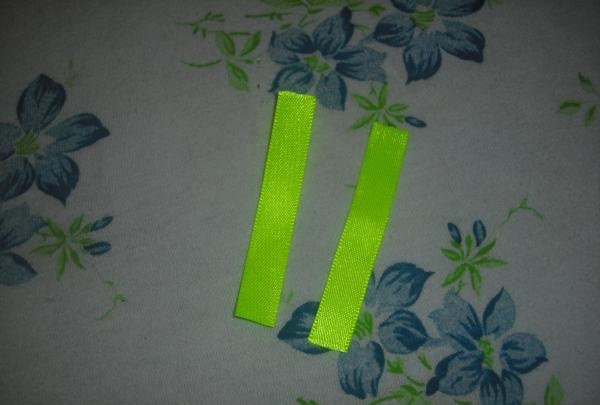
We singe their sections and glue them together into two loops. Then we attach these parts to the prepared bow, but placing them strictly diagonally and along the center.
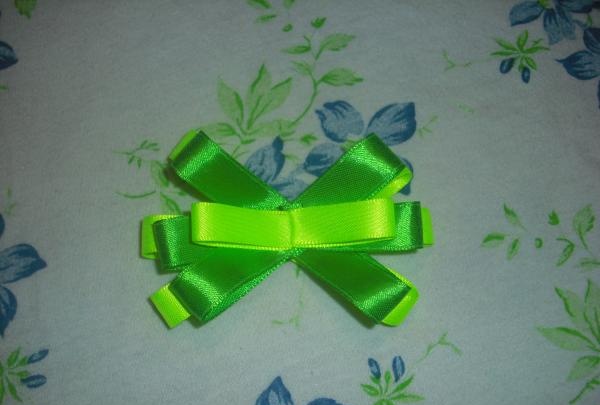
We put the created bow aside and prepare a voluminous tail for it. To do this, cut 4 pieces 7 cm long from the green ribbon and burn the edges. We form loops from the three, and leave the last strip as a straight piece. Then we cut 10 strips from a light green ribbon, each 6 cm long. We also singe all the existing sections and glue them into a loop shape.
Now we place a piece of green ribbon vertically, it will serve as the basis for the tail of the brooch and glue 3 light green loops on the lower cut, folding them like a fan.
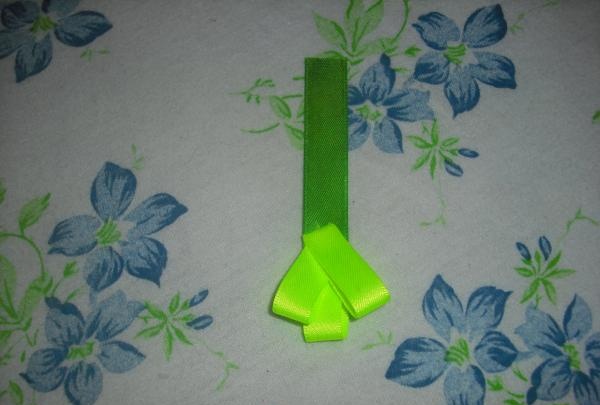
Next, we attach one green loop along the base strip. We take two light loops and cover with them the place where the previous part was glued, directing them in different directions.
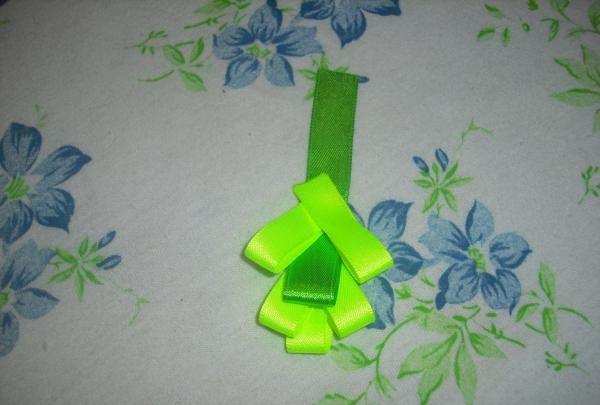
It remains to gradually attach the last two green blanks, covering their sections with details from light green ribbons.
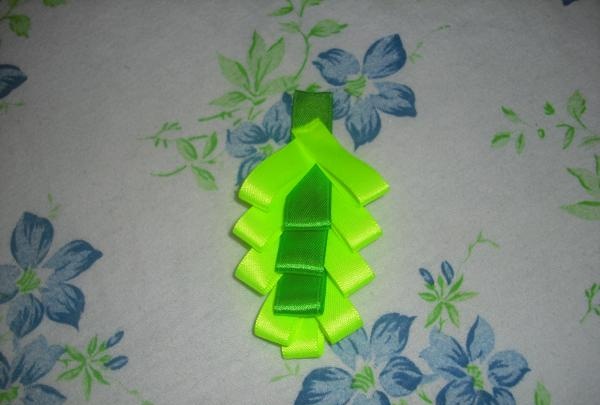
Then we complete the created row of green blanks with an attached loop of light green ribbon.
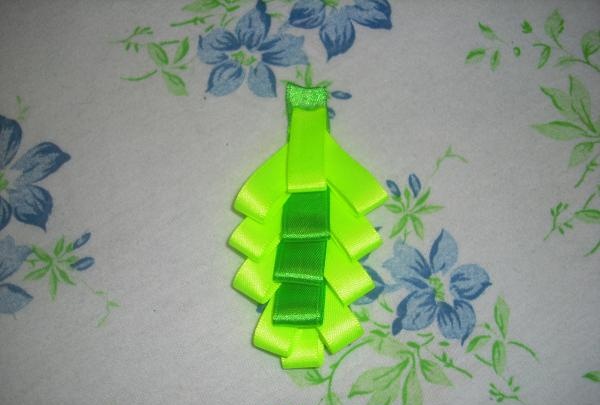
We get this tail for the brooch. We attach the previously set aside double bow to it. And in the center of the bow we glue a button wrapped in ribbon.
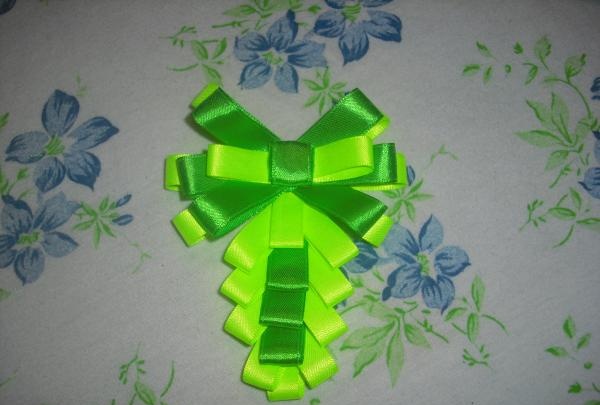
We unfold the part with the wrong side up and glue the steel brooch blank.
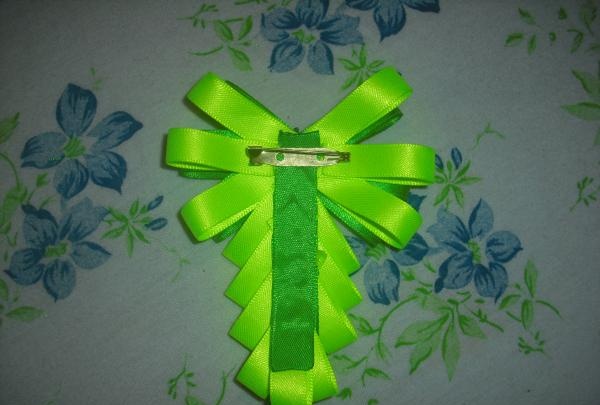
The frill brooch is ready!

