To make an elastic band you will need materials:
- satin ribbons 2.5 cm wide, dark and light pink.
- scissors.
- glue gun.
- needle and thread in the color of the ribbons.
- satin ribbon 1 cm wide in a green shade.
- medium-sized hair elastic.
- three shiny beads.
- two wooden balls with a large hole.
- a large ribbon needle with a large eye.
- a little thick fabric to match the colors.
- lighter.
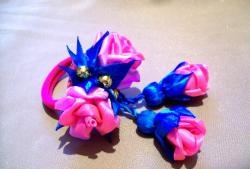
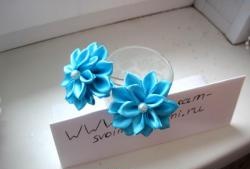
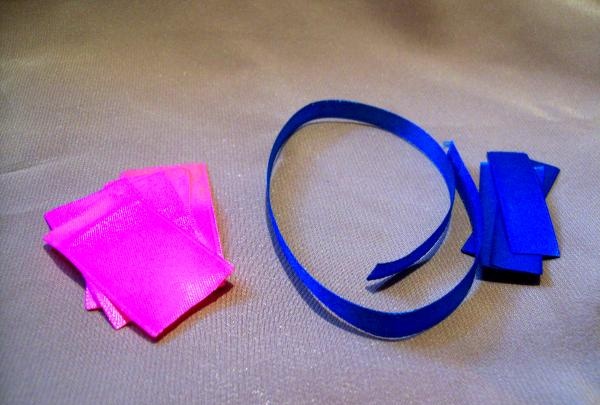
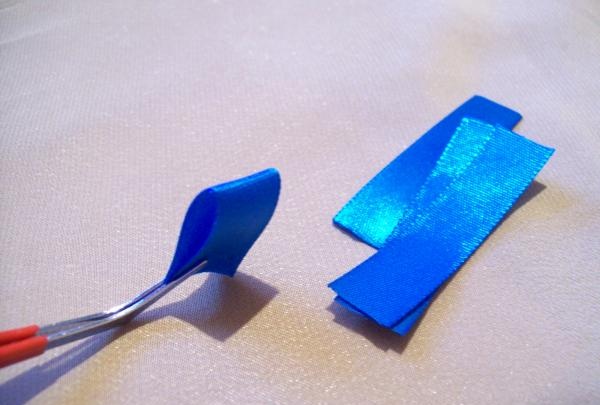
The decoration consists of two roses with a diameter of 5 cm and two buds hanging on cords, and they are 3 cm in diameter. Let's start working with a bud. We take a dark pink satin ribbon and cut off 5 strips of 5 cm each. But for green ribbons we take 4 strips of 5 cm each. And for the cord we cut it 30 cm. For it you can use a ribbon 0.5 cm wide.
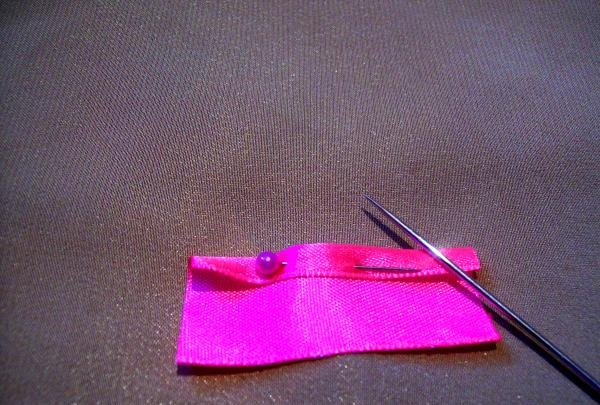
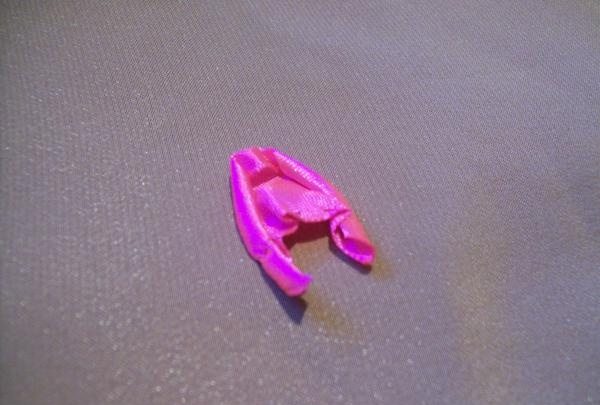
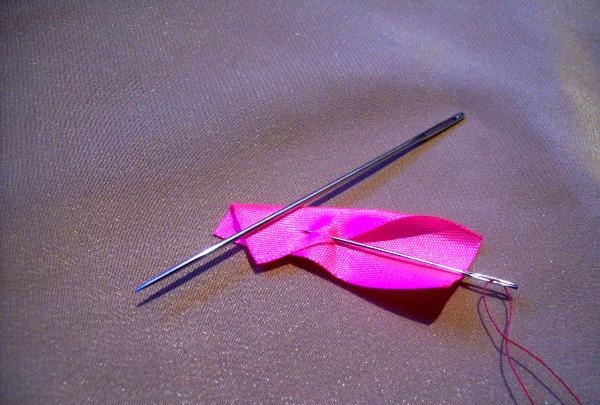
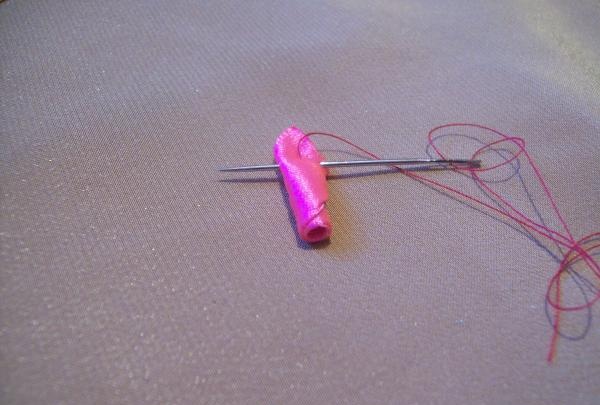
Take the pink strip and lay it out lengthwise, face down. Fold the top edge towards you a little and press it with a needle. Now we need a large needle, place it on the upper corner with a bend, at an angle of 45 degrees.
And starting from the very corner, we scroll the tape along the needle until the upper corner of the twist is in the middle of the strip. We take out a large needle, and a small one in the color of the ribbon, secure the twist along the bottom edge with small stitches. In the opposite corner we do the same twist.

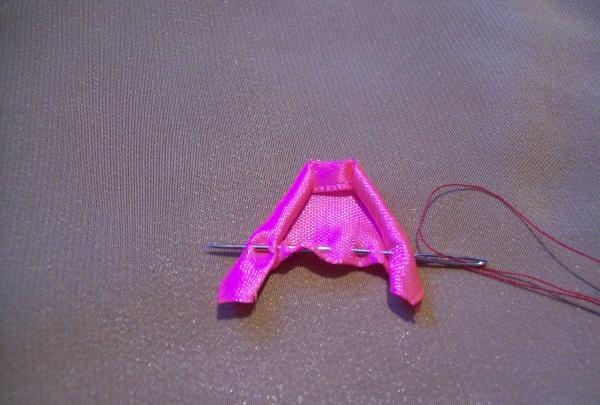
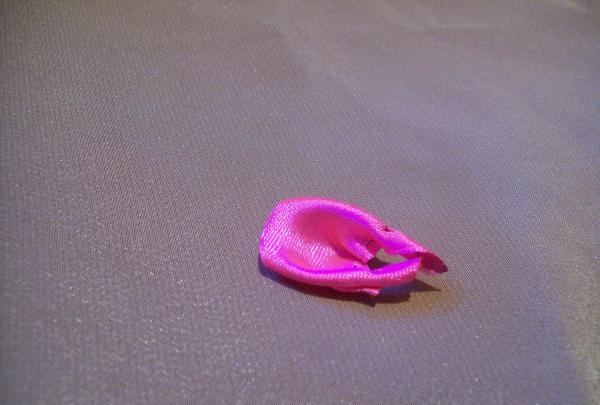
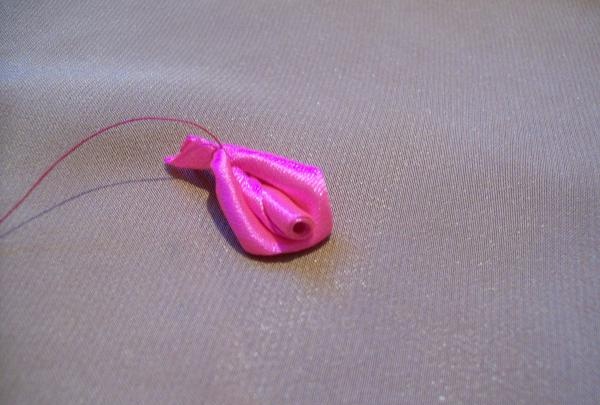
By pulling the thread, we slightly connect the resulting two strands to each other and secure it.
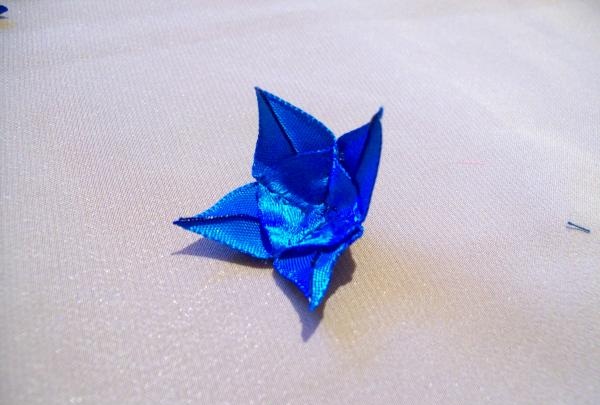
We unfold the resulting petal to the front side and straighten it a little.
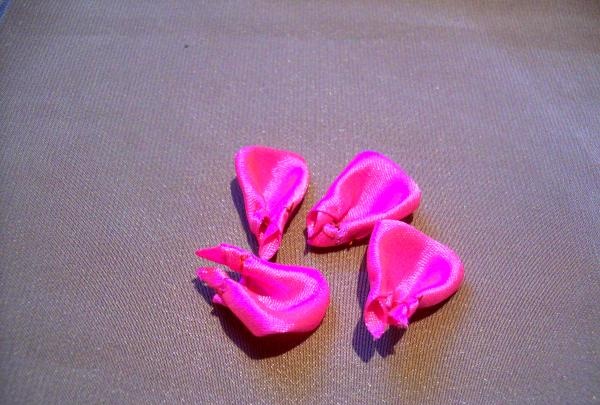
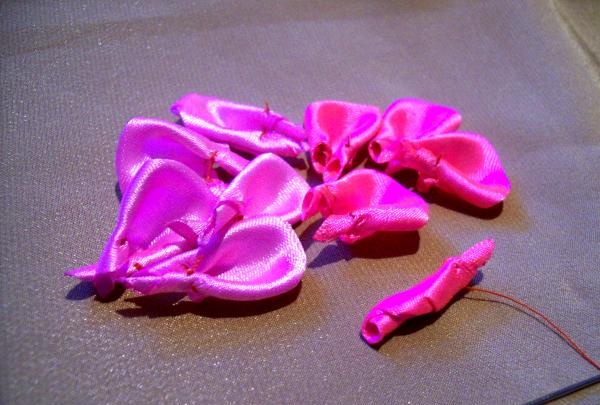
In this way we sew 4 petals for a rose bud.
We twist the fifth petal differently. We place the strip along the length from the wrong side. And we bend the top edge towards ourselves along the entire diagonal of the strip.
And we twist it along the entire length, and secure the resulting tube.
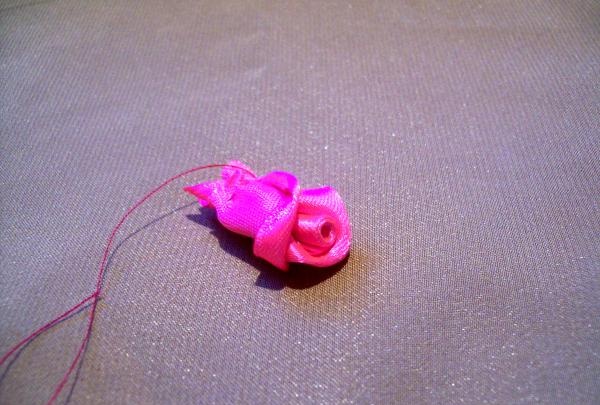
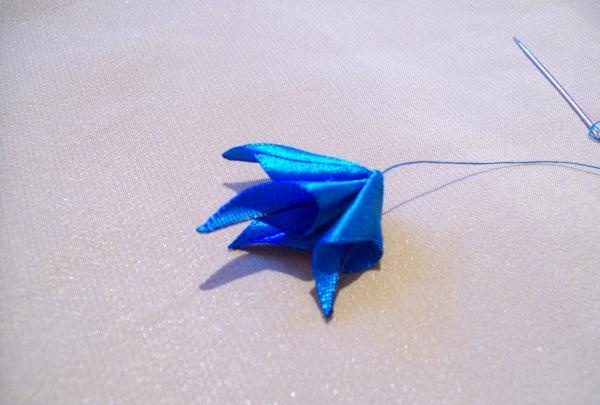
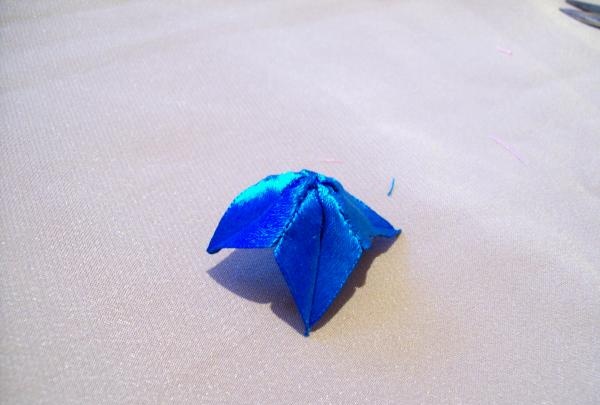
We use this tube-shaped blank as the base-middle of the flower. And with a needle and thread we begin assembling the bud. We attach one petal to the middle and secure it.
We continue to connect the petals one by one, placing them in a circle, securing them with a needle and thread.
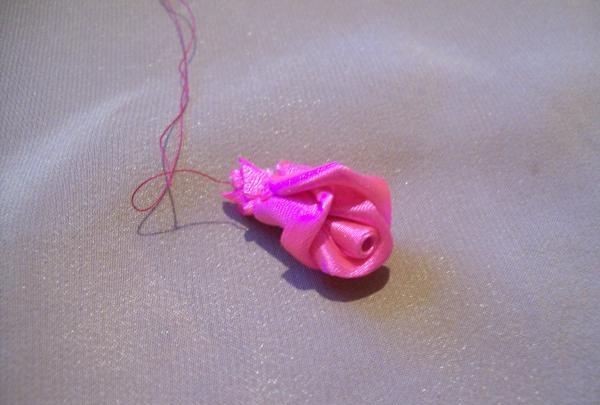
But don’t forget that our decoration has two buds.
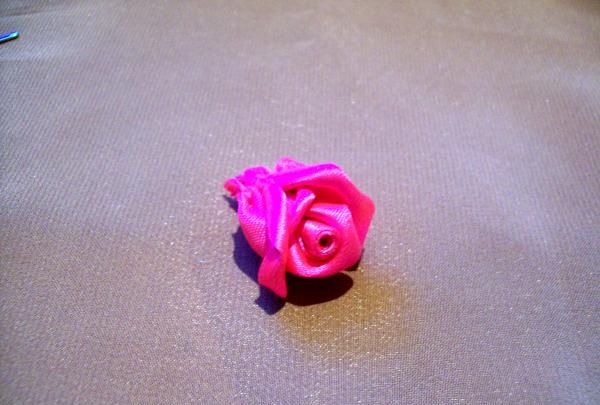
Now let's start working on the roses. For one flower we take 2.5 cm ribbons, but you will need 10 pieces 5 cm long, 5 pieces of dark and light shades of pink. We twist them similarly to the petals for the buds. We make the middle tube dark.
Let's start assembly. We will use the tube and 4 petals of a dark shade first. And then we sew on the remaining light petals.
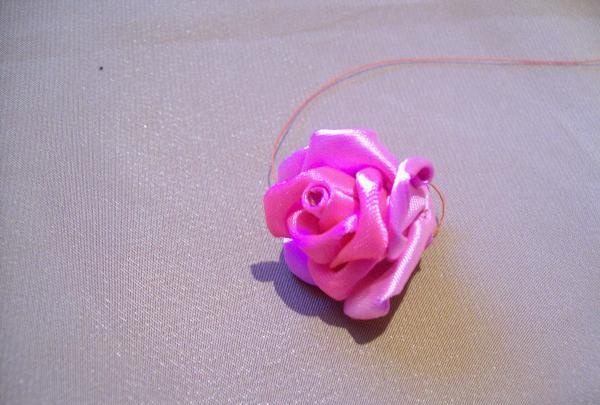
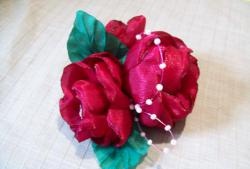
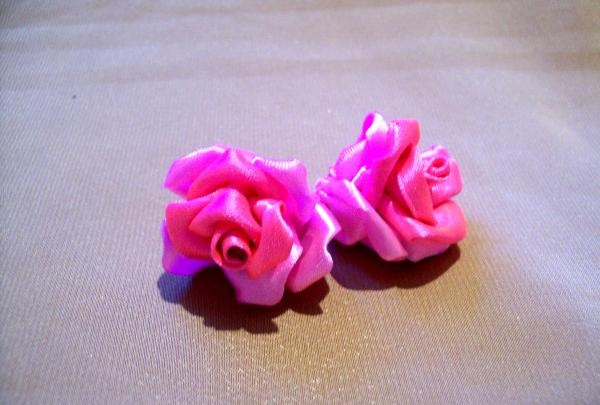
This way we got two roses.
It's time for green ribbons. For two buds, the mode is 8 strips 5 cm long. And for two roses there will be 8 pieces of 6 cm each. First, we make separate leaves in the kanzashi style. Take the strip and fold it in half, right side inside.
We place the fold of the strip on the left side of ourselves, and start cutting on the right side. We start from the bottom corner, moving towards the opposite top corner, not reaching the fold 3 mm. And we connect this cut using a lighter.
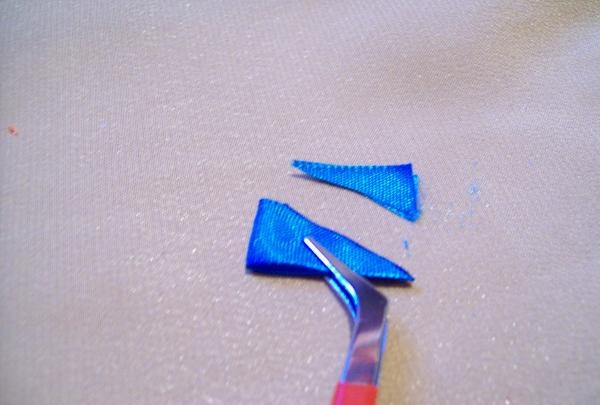
Turn it right side out and get a bag with a small hole in the bottom corner.
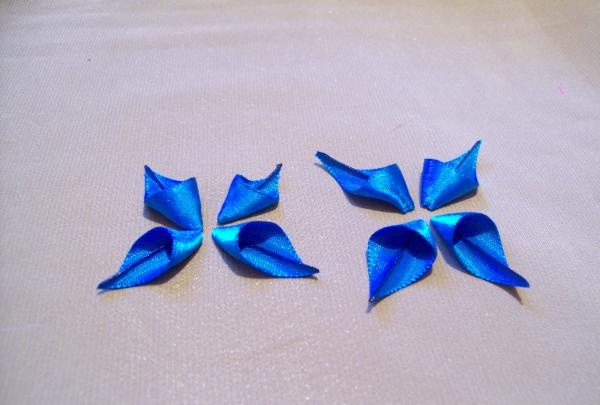
Now we fasten 4 leaves together to the bottom of the bag with thread in the same color as the ribbon.
And on the wrong side we sew the side edges of the bundles of adjacent leaves.
The result is a blank sewn in the middle on the wrong side and with four sharp corners.
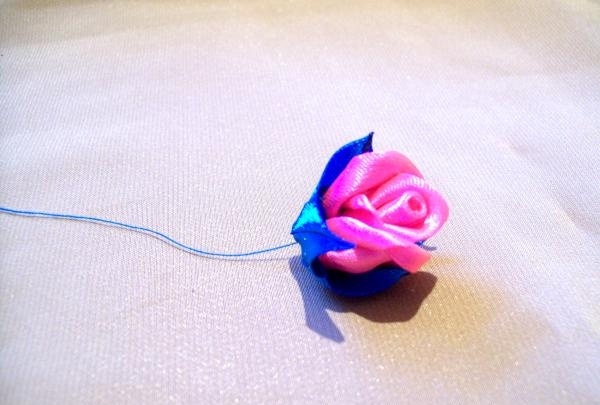
We take the bud and connect it to the leaf blank with a thread, leaving a tail on the front side for further work.
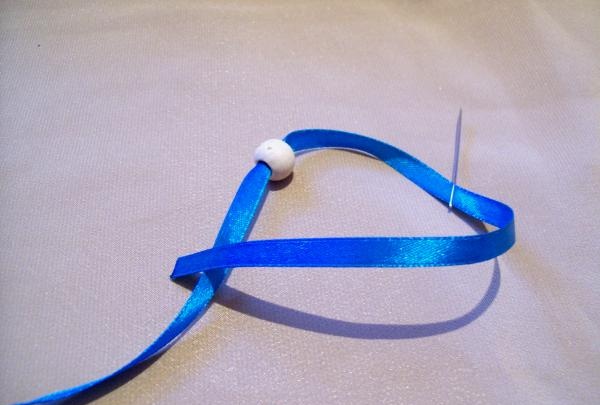
We also make a lace for the bud. Take a thin ribbon 30 cm long and a wooden bead.
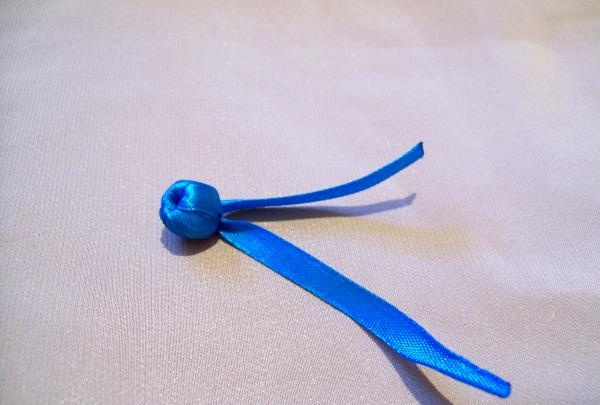
Using a ribbon needle, we wrap the bead with a green ribbon, leaving two tails in the same direction.
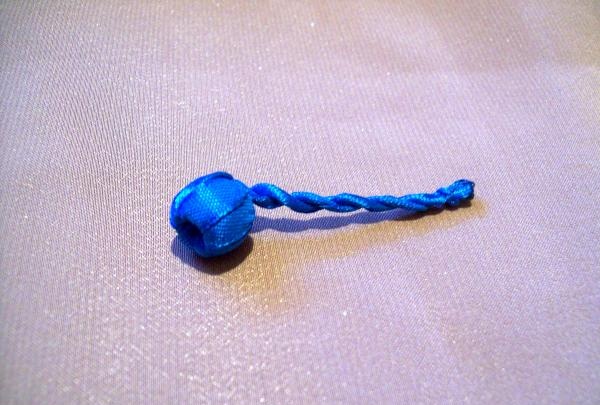
One by one, twist each remaining piece of tape with your fingers in one direction. Then we connect both twists together, relax them a little and they twist together with each other, making a beautiful tourniquet.
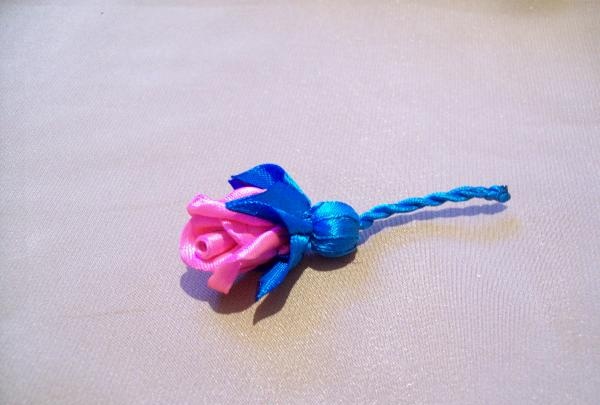
We sew this blank to the bud with leaves using thread. Now the bud on the cord is completely ready, but do not forget that we have two buds.
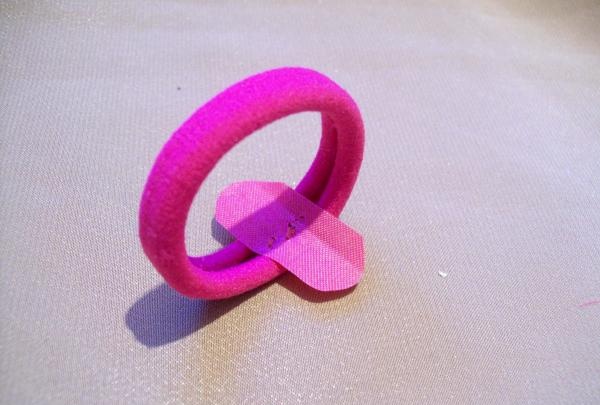
Now we take a hair elastic and sew a small strip of thick red fabric to it.
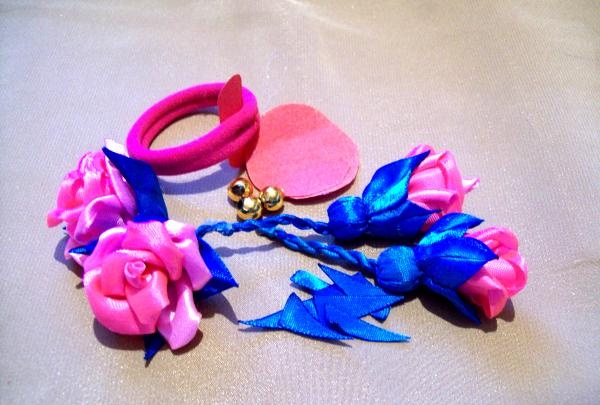
For complete assembly of the decoration, all blanks are assembled. It remains to add 2 circles of thick red fabric with a diameter of 3.5 cm. And three more shiny beads, as well as several triangles cut from a green ribbon for leaves.
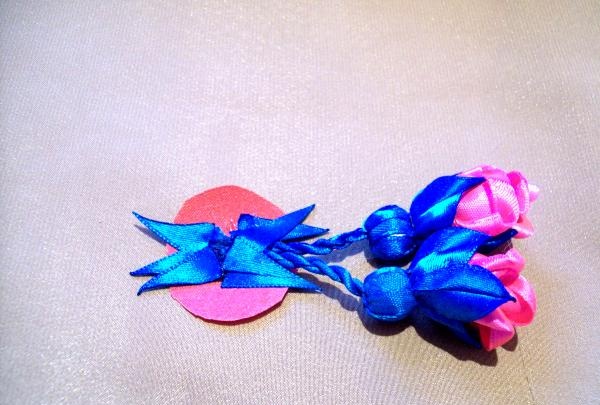
Let's start the assembly. We take one red circle and use a glue gun to attach two buds to it by the edges of the cords. And we cover the gluing places with green corners.
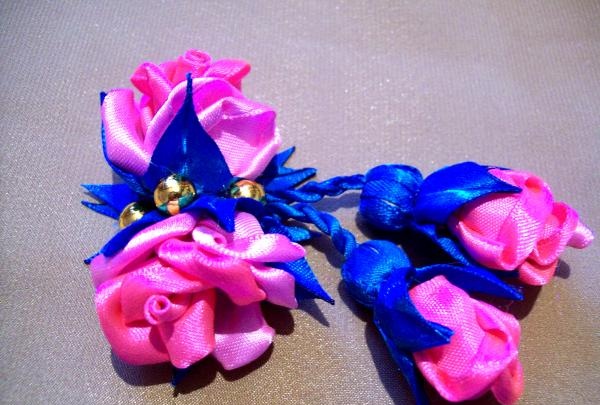
Then we glue two roses, pointing them away from each other. The buds should hang, on one side, between these rosettes. And in the space between the roses we glue 3 shiny beads.
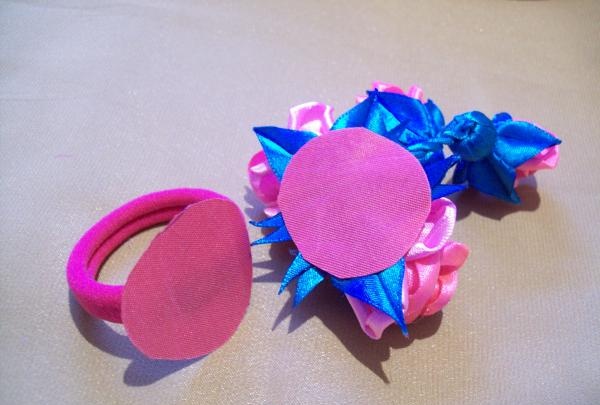
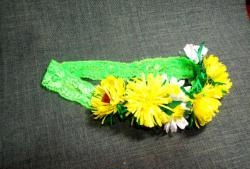
Glue the elastic band with the stripe to the second red circle. And all that remains is to connect both circles - the basics - together.
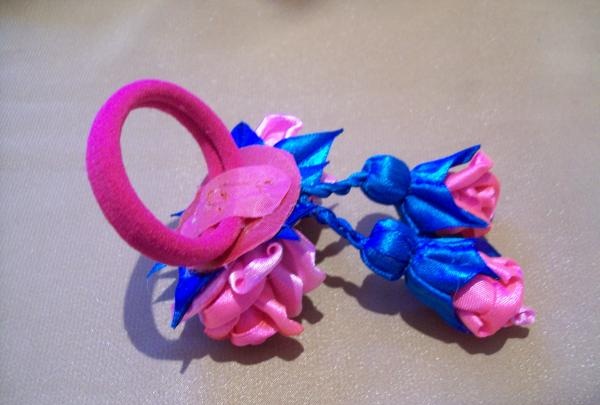
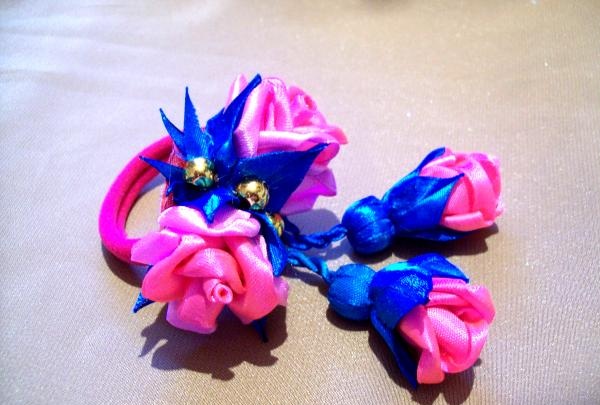
And with this our decoration is ready. Good luck to all.