To complete the work you will need:
- apparatus for burning fabric.
- elastic headband.
- scissors.
- satin ribbons of white, green and yellow, 2 cm wide.
- needle and thread.
- a little yellow nylon tape.
- decor in the shape of a ladybug.
- iron ruler 2 cm wide.
- a piece of glass.
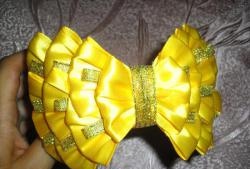
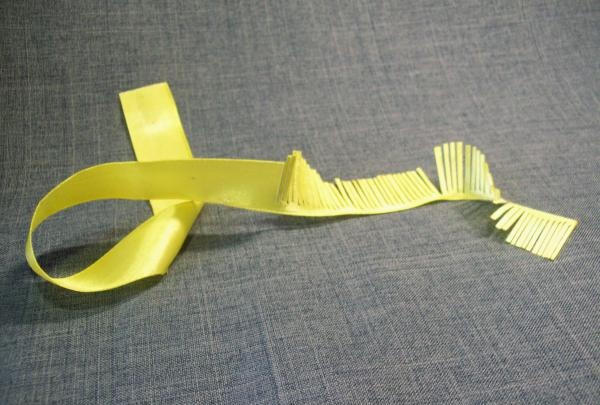
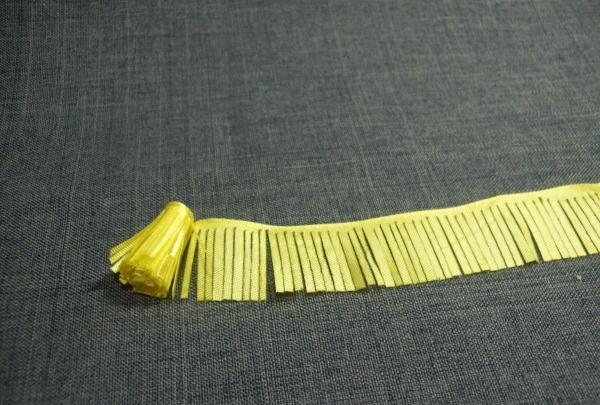
And let's start working with the yellow tape. Cut 4 strips 30 cm long. Then, using a ruler and a hot needle, we cut off one edge of the strip. Then you need to make a fringe, leaving the second edge of the ribbon intact. In this way we process all 4 strips.
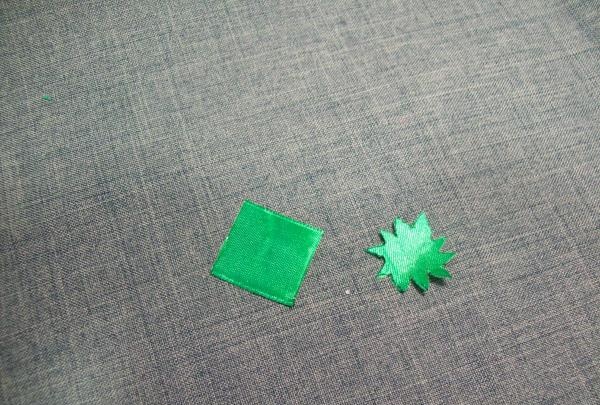
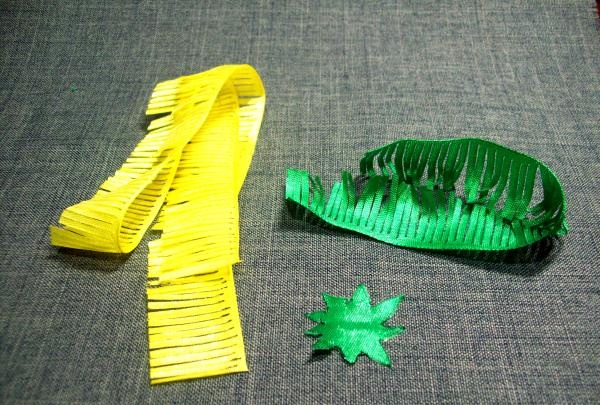
Then we will prepare 7 squares of green ribbon. And from them we randomly cut out circles with sharp teeth.
For dandelions you will also need a fringe on a green ribbon 40 cm long. We do it in the same way as the yellow one.
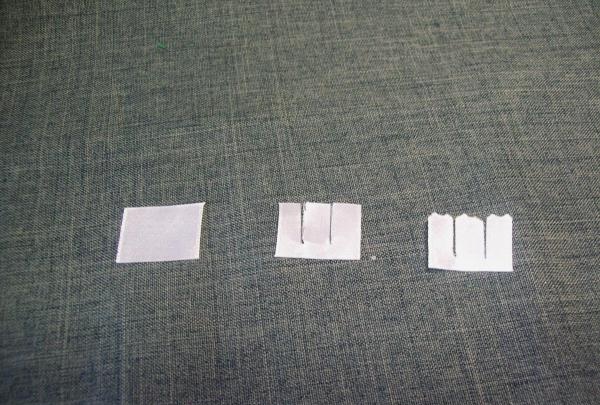
For daisy petals, take a white ribbon and cut 15 strips of 2.5 cm each. Then we make 3 petals on each piece. Cut it out like a fringe. And finally, use a needle to make a small tooth on the upper edges of the petals.
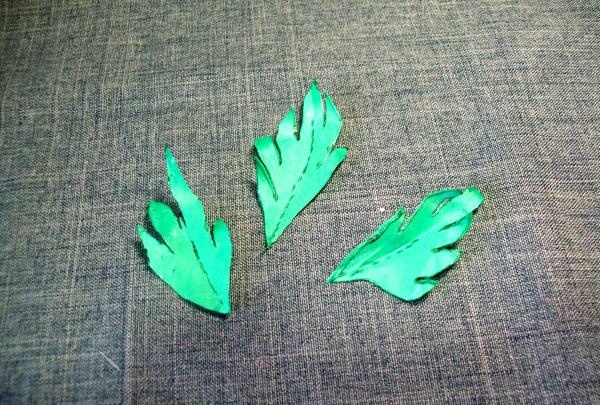
But for daisies you will need leaves. Cut 6 strips of 4 cm each and use a needle to burn the carved edges.Add the middle vein with dots using a hot needle.
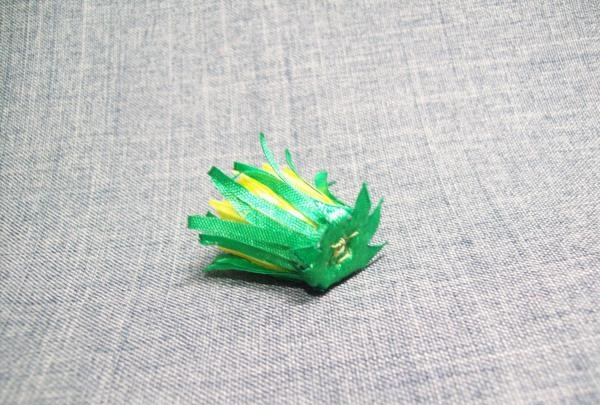
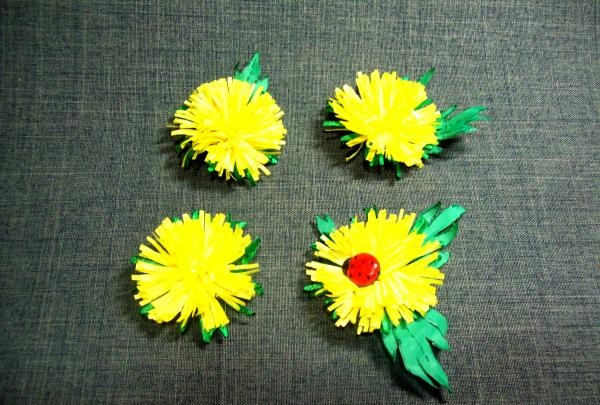
And now let's start assembling the flowers. Let's start with dandelions. We roll the yellow fringe into a roll, connecting the uncut edge exactly.
Use a needle and thread to secure the bottom of the dandelion well. Then we cut off 10 cm of green fringe and sew it along the edge of the flower.
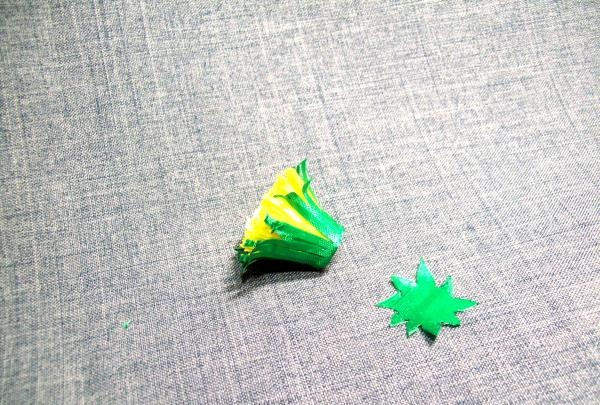
And it remains to cover the resulting bottom of the dandelion with a sharp green circle.
The flower is assembled using a needle and thread; you just need to straighten it from above.
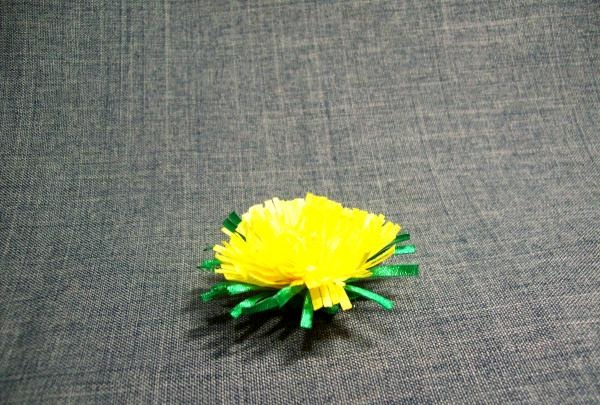
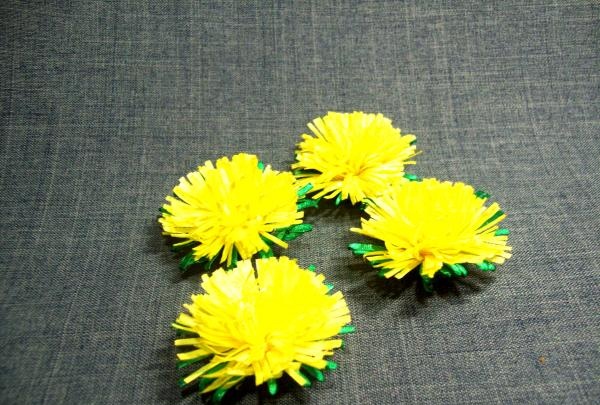
Four dandelions are ready.
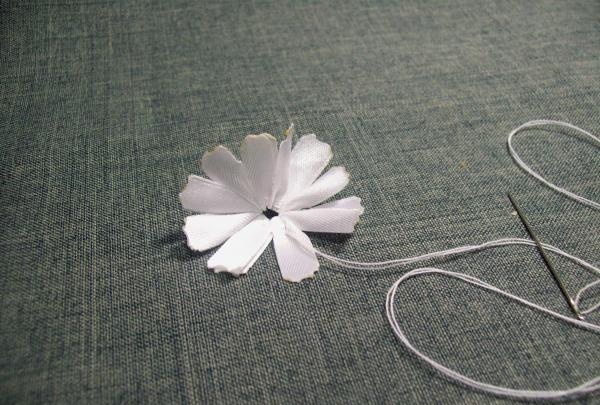
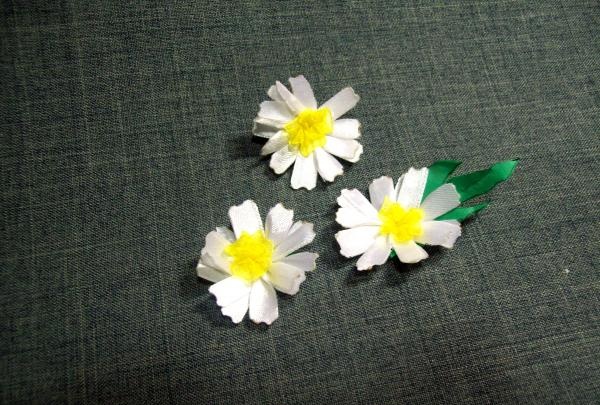
Let's now move on to assembling the daisies. We will only use a needle and thread. For one flower we take 5 white blanks. We fold them into a strip, capturing one small part of the previous workpiece. Using a needle, sew along the entire bottom edge with small stitches.
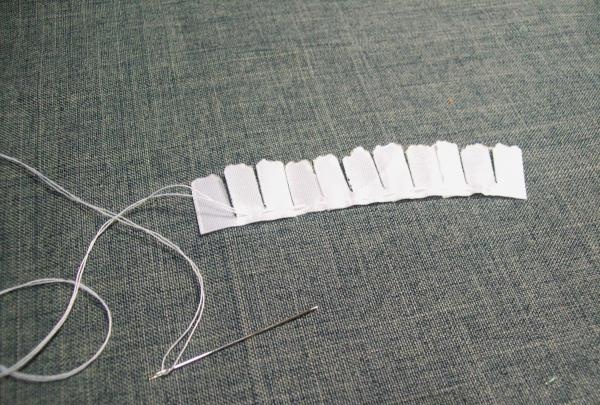
We connect it in a circle and tighten the thread, leaving a small hole in the middle of the flower.
Without cutting the thread, we string a strip of yellow nylon tape onto a needle.
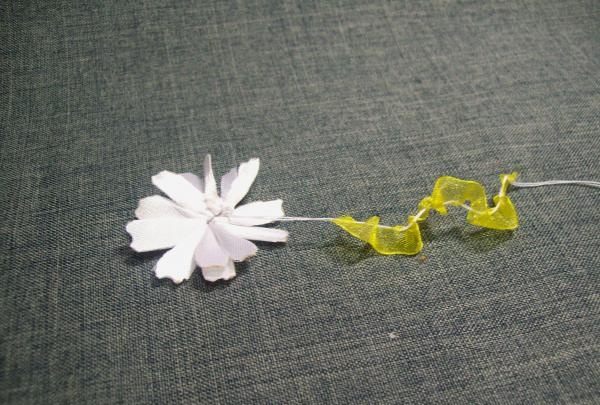
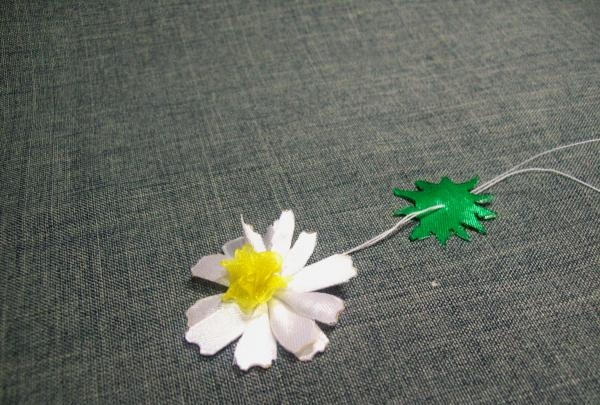
Then we tighten the thread again and sew the resulting center into the center of the daisy. We will use this thread further. Now we will sew a green sharp circle to the bottom of the flower.
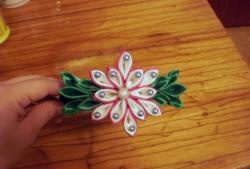
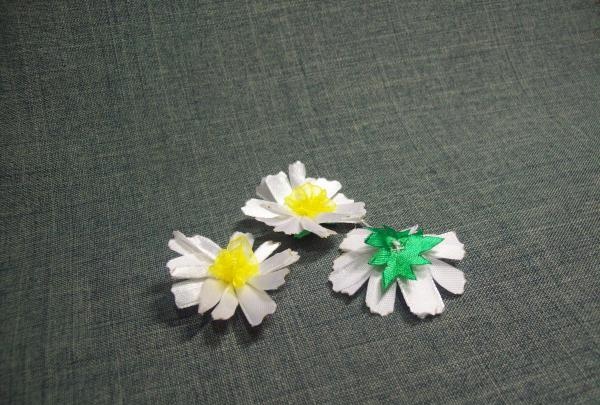
We make three daisies.
Now we will sew leaves to the finished flowers. We attach 2 leaves to two dandelions and sew a ladybug onto one of them. Next we attach one leaf to the third flower.
On daisies we sew a leaf onto just one flower.
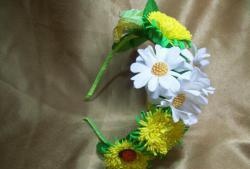
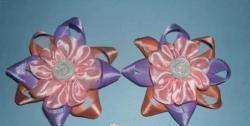
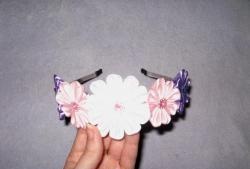
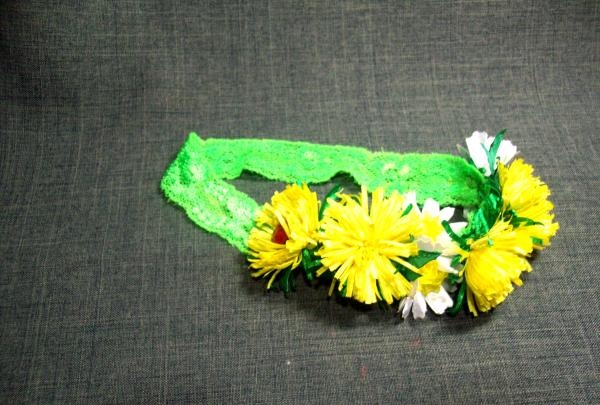
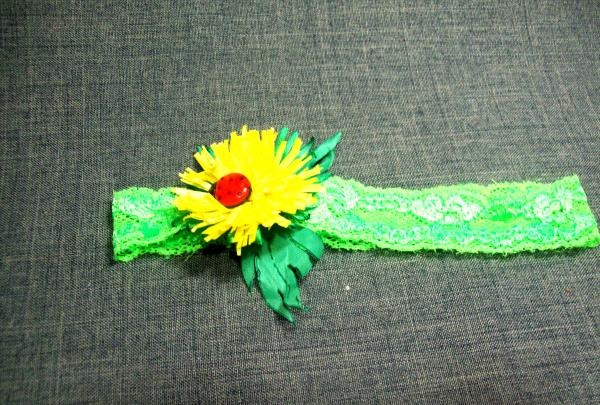
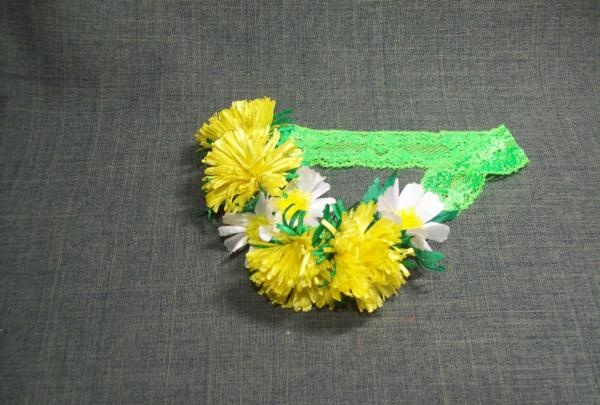
All that remains is to sew all the flowers onto the headband. First we attach the dandelion with the ladybug, we direct the leaves to the edges of the bandage.
Nearby we sew another dandelion with one leaf, which we place in the middle of the base. Next, we attach two daisies side by side, placing them at the edges of the bandage.
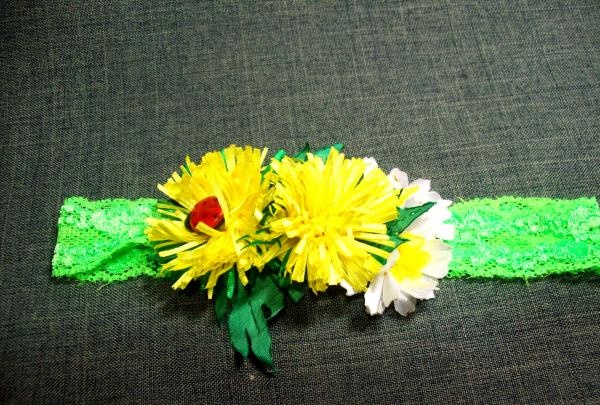
Next in line will be a dandelion with two leaves. And then we sew on the last dandelion.And at the end there will be a chamomile with a leaf, which will be directed to the middle of the bandage.
The bandage is ready, the main thing is not to leave large gaps between colors. When stretched, they will increase even more.
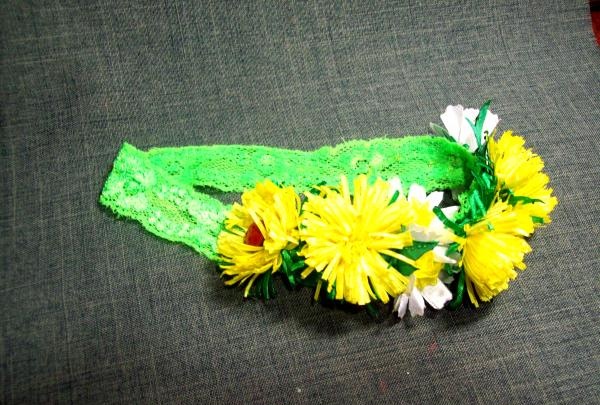
Good luck to all!