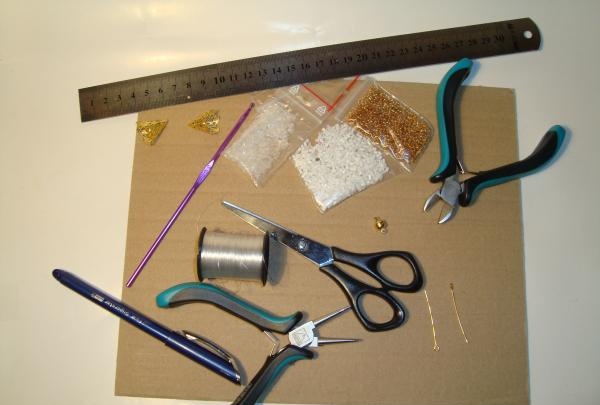
For work we will need:
- beads of several shades,
- rhinestones, pearls,
- fishing line,
- hook,
- ruler,
- cardboard,
- scissors,
- pen,
- wire cutters,
- round nose pliers,
- pins with eyes for beads,
- lock,
- 2 cones.
Let's get started.
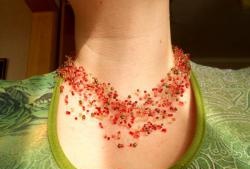
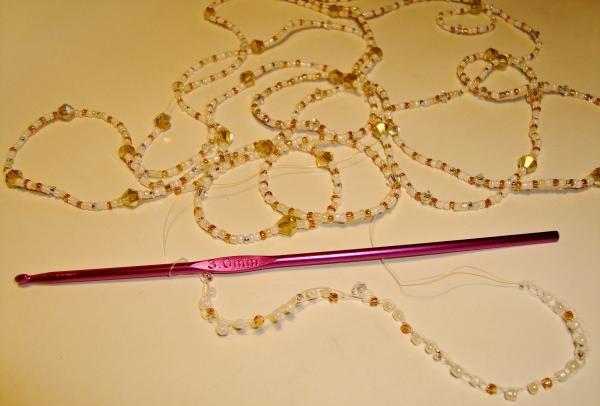
According to my calculations, I need to string beads onto a fishing line 3 meters long. I alternate white, cream and gold beads. I randomly insert white and gold rhinestones between them. We don't cut the line!

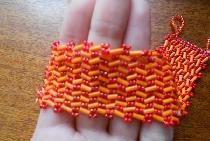
Then the most interesting process begins, in which you will show creativity. We begin to literally crochet a bracelet. This knitting with fishing line differs from knitting with threads only in that in each loop when knitting you add a bead, the ones that we just strung on the thread. I crochet number 3.If you want a larger bracelet, you can use a larger hook. I add beads to each loop of the chain. You can make the bracelet very airy and knit it like this: 2 air loops are empty, add beads to the third. You can add one bead at a time or several beads to one loop of the chain. In general, experiment! As I already said, I knit one bead into each loop of the chain. Do not tighten the loops.
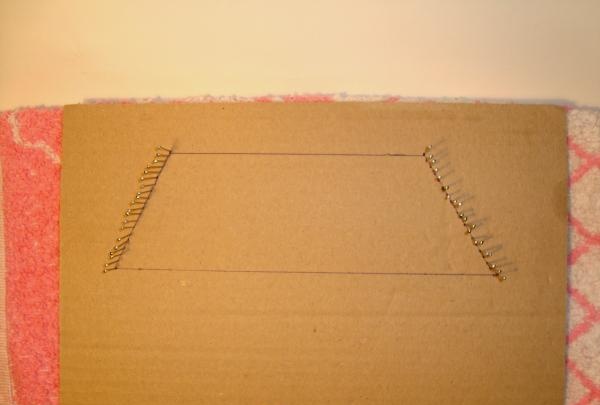
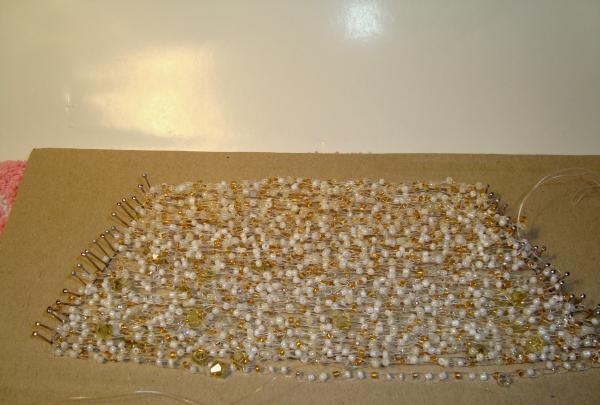
We knit until the pre-collected beads and rhinestones are gone. At this stage, the thread can already be secured and cut. Now we need to form a bracelet from this long chain. To do this, take cardboard and draw a trapezoid. The top (short) side will be equal to the diameter of your hand minus 1 cm for the lock (and in my case another minus 1.5 cm for the pearls). The bottom (long side) will depend on how bulky your bracelet is. The greater the volume, the wider the trapezoid should be. Place something soft under the cardboard, it will be more convenient to work in the future.

We stick needles on the sides of the trapezoid; the number of needles should be the same on both sides. I have 20 needles on each side.
Well, now comes the most painstaking work. It is necessary to place the bracelet evenly and without tension on the needles.
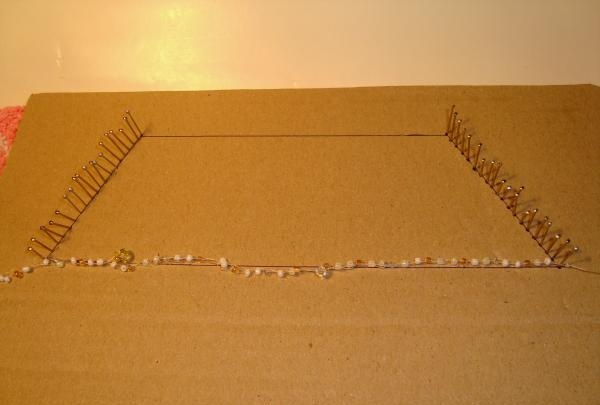
Slowly, one row at a time, string the beaded fishing line onto the needle, gradually building the shape of the bracelet. For more volume, you can string several rows on one needle. This is what should happen.
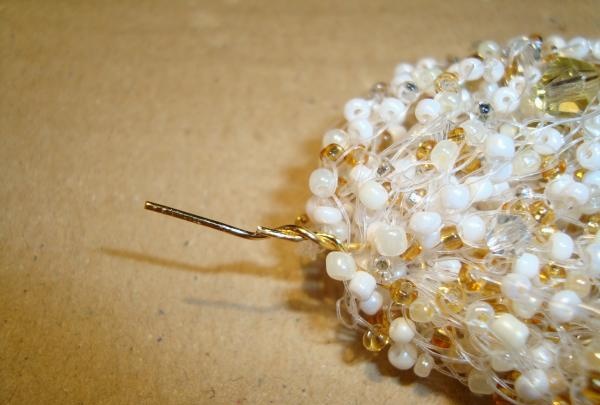
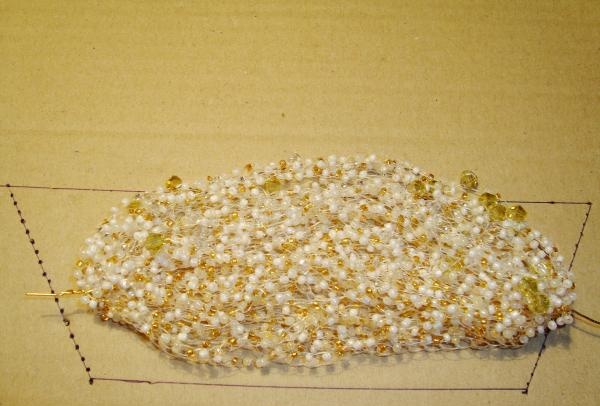
Now we take a bead pin, make a large loop at the end, but so that there remains a long, even tail, and collect the threads of the bracelet into this loop on one side, gradually removing the bracelet from the needles. The pin was removed and tightened.
Do the same on the other side.
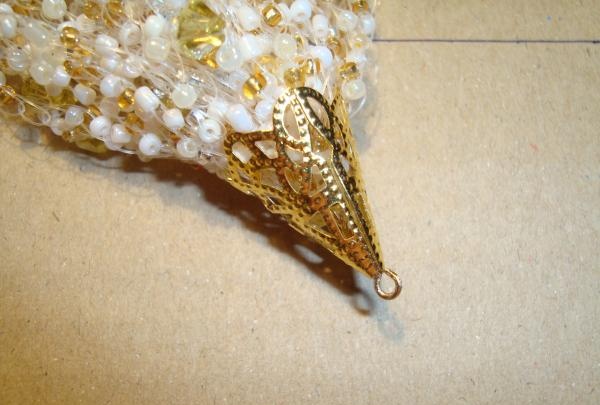
We put metal cones on the long, even tail of the pin.
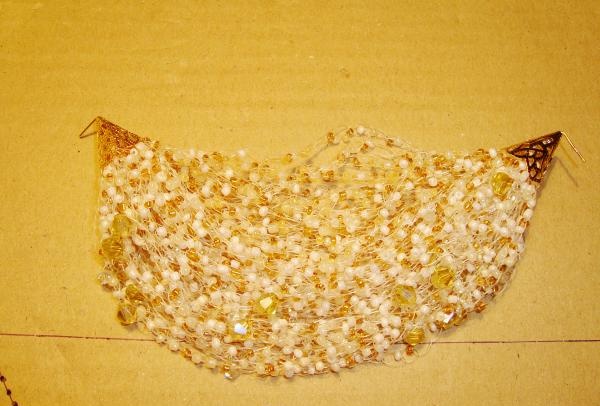
Using pliers we make a loop.
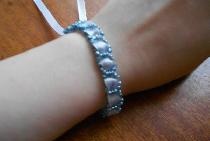
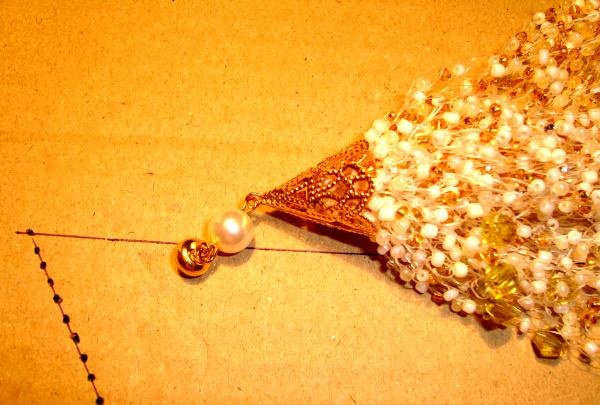
Using pliers and another bead pin, attach the pearl and lock to the bracelet.
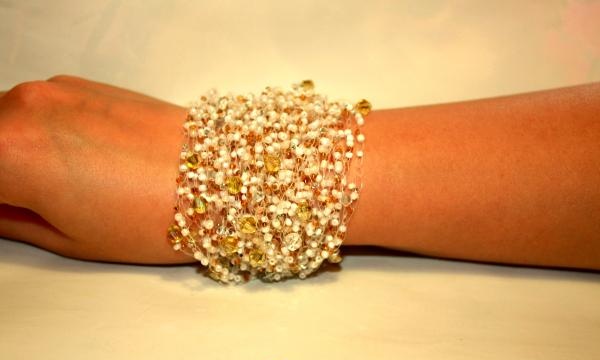
Do the same procedure on the other side. And our bracelet is ready!
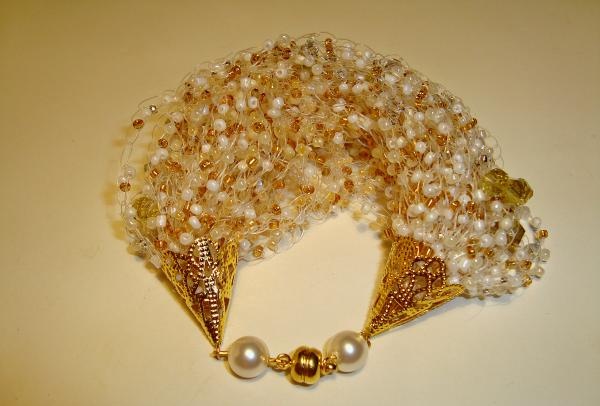
It's a pity that the photo doesn't convey the beauty of the bracelet, especially in bright light. But I think that those who have dealt with beads know how beautiful any products made from them look.