Do it yourself
Life hacks, master classes, useful tips, recipes.
home » Electronics » DIY electronics » Converting a fluorescent lamp to an LED lamp

In connection with a big scam to instill thoughts about the need to install energy-saving lamps at home, many began to install them en masse in their homes. But soon you notice with surprise that the durability of such lamps is a maximum of half a year, the brightness and temperature of the light do not stand up to criticism, and the price, even for non-branded energy-saving lamps, is 10 times higher than for conventional incandescent lamps. Of the fluorescent lamps purchased last year, more than half have already burned out.


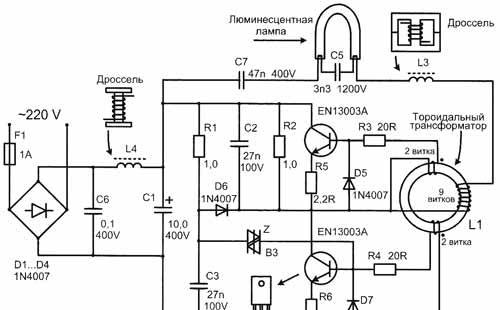
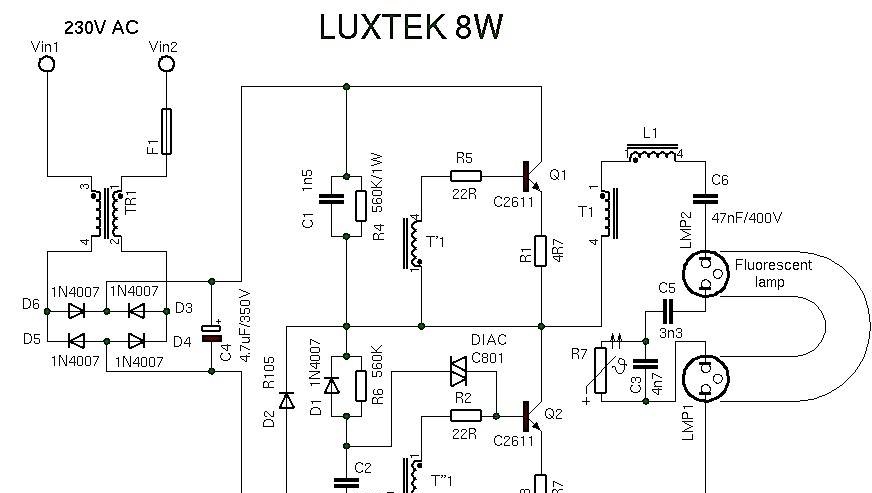
Typical diagram of an energy-saving lamp converter.


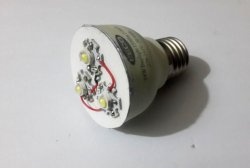
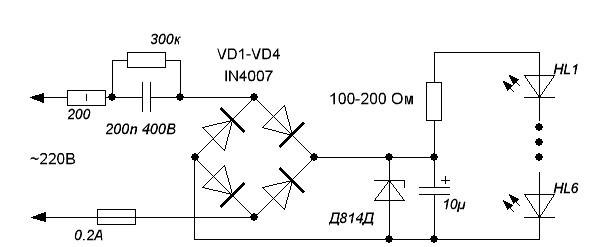
If you also have used lamps lying around at home, you can remake them by removing the internal board of the converter and replacing it with a voltage reduction circuit for power supply LEDs. Supply current LEDs We set the resistor to 100-200 Ohm, within 20-50mA.


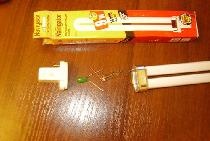
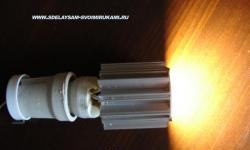
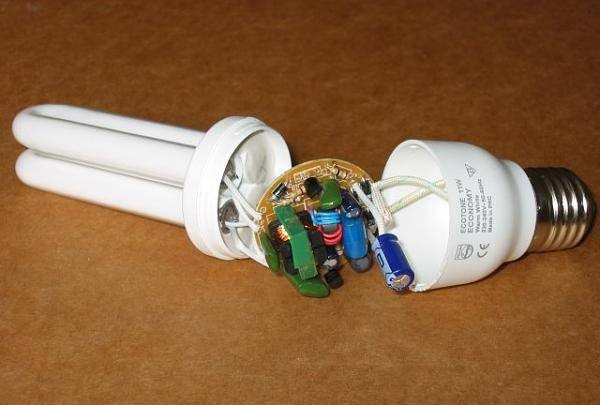
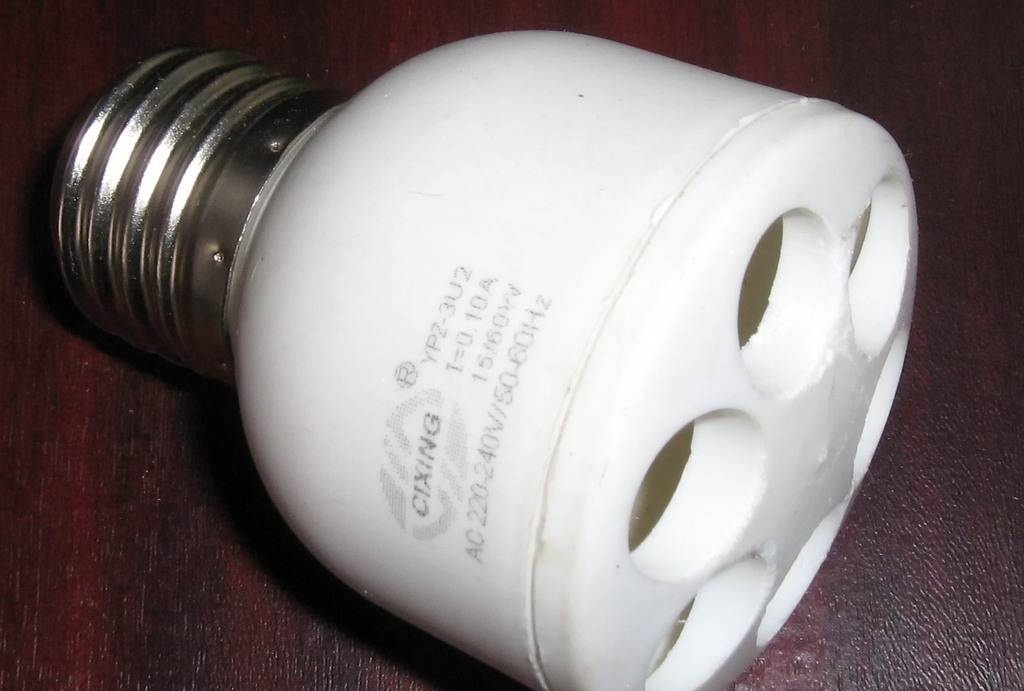
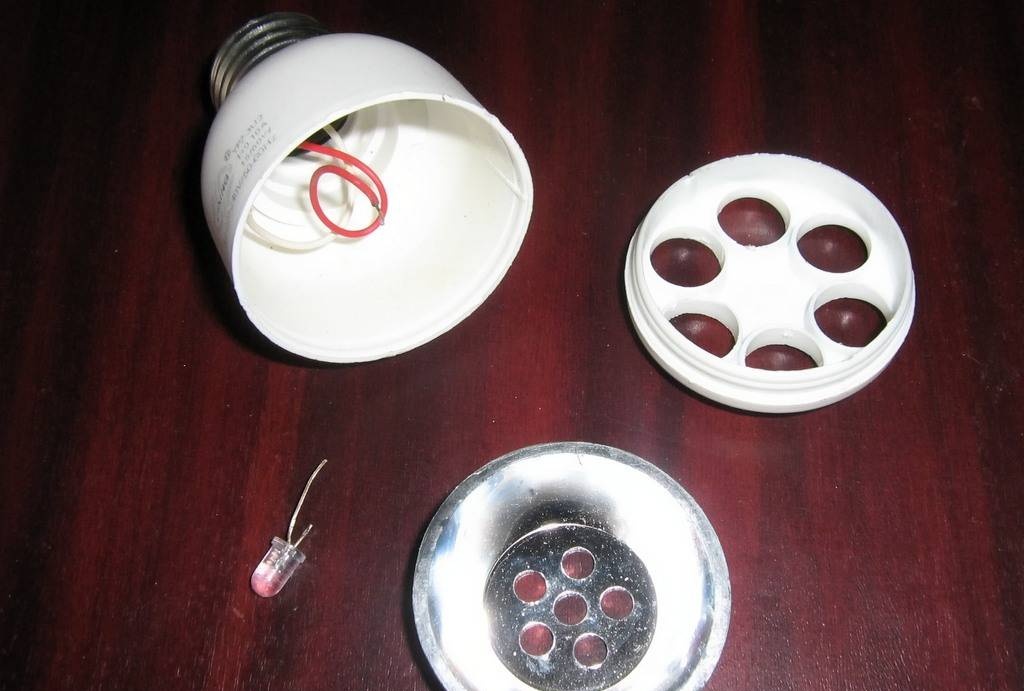
So, we disassemble the lamp, removing the converter board and the glass bulb (as a rule, it is this that burns out the fastest). What remains is a cartridge with a capacious base. There we will place the assembled circuit with LEDs and a reflector.


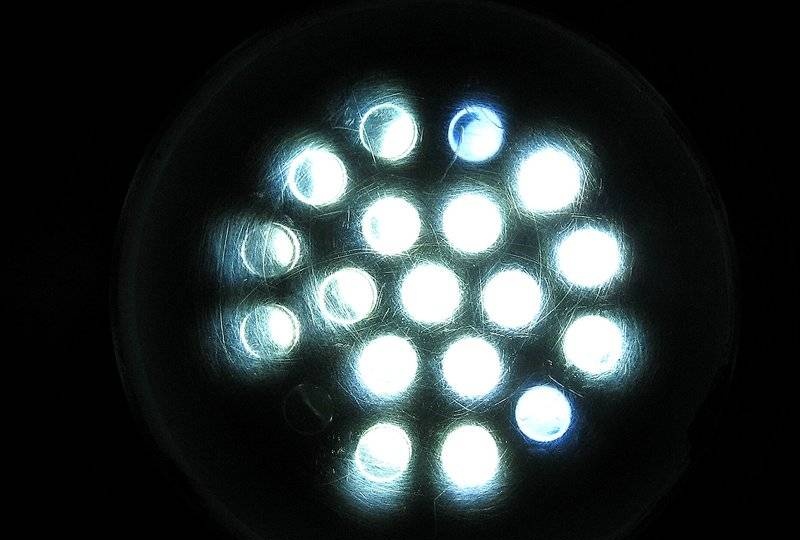
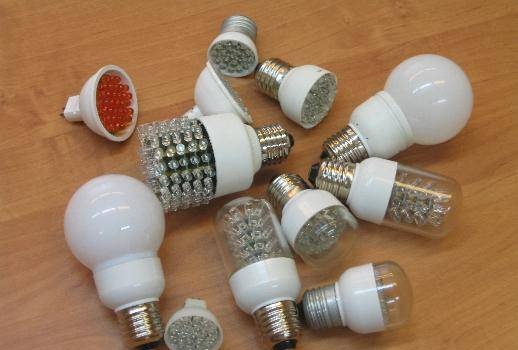
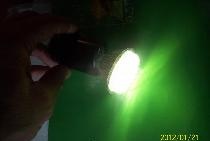
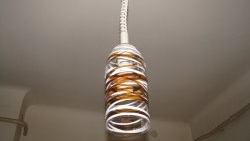
 LEDs, of course, will not give the same brightness as a fluorescent lamp, but if you buy not consumer goods for $0.1, but branded ones, the brightness of 6 pieces will be at a fairly decent level.

These LED lamps are already being produced in industry, but their price is still higher than that of energy-saving lamps.


come back
Comment
  • bowtiesmilelaughingblushsmileyrelaxed relaxedsmirk
    heart_eyeskissing_heartkissing_closed_eyesflushedrelievedsatisfiedgrin
    winkstuck_out_tongue_winking_eyestuck_out_tongue_closed_eyesgrinningkissingstuck_out_tonguesleeping
    worriedfrowninganguishedopen_mouthgrimacingconfusedhushed
    expressionlessunamusedsweat_smilesweatdisappointed_relievedwearypassive
    disappointedconfoundedfearfulcold_sweatperseverecrysob
    joyastonishedscreamtired_faceangryragetriumph
    sleepyyummasksunglassesdizzy_faceimpsmiling_imp
    neutral_faceno_mouthinnocent
3+three=
Comments (10)
  1. Nub
    #1 Nub Guests 21 May 2011 18:25
    3
    Respect to the author!!! Only there is one small request - you can indicate the full markings and nominal values ​​​​for all elements, otherwise it is not entirely clear what a 300k resistor is or, for example, a 1-watt DC resistor (what does 200 mean). In general, I would like more details!!! Thank you very much in advance!!!
  2. NOTFRONT
    #2 NOTFRONT Guests 21 May 2011 19:16
    0
    Read a book like "Designation of elements on radio electronic circuits." 200 is 200 ohms.
  3. TRP
    #3 TRP Guests October 21, 2011 11:42
    5
    Hmm... 12V at 6 LEDs, not enough? The operating current of the zener diode is 10mA. It hasn't burned yet..? So turn on the zener diode..... wink barbarian.
  4. NOTFRONT
    #4 NOTFRONT Guests 21 October 2011 13:26
    1
    Go read books.Depending on the letter index, the stabilization current can easily hold up to 1A. and the stabilization voltage can be from 5.5 - 36 Volts. The circuit is working, albeit with low efficiency. This scheme has already become a “classic” in the transformerless conversion of electricity!
  5. Veent
    #5 Veent Guests October 22, 2011 00:15
    4
    The article is generally mysterious. The reflector holes do not align with the holes on the cover, and LEDs These have a lens, their light is directed in such a way, how can you illuminate a room with these? I saw LED construction floodlights and there are flat ones without lenses similar to smd LEDs they would be ideal, but this may only be suitable for a small redwood tree
  6. Alexander
    #6 Alexander Guests November 23, 2014 10:51
    7
    Hello, in general, to be honest, the circuit described above on D 814 is, to put it mildly, nonsense, and the lamp will ultimately have very low brightness, if I’m not mistaken, this zener diode is 12 V and 0.1 A. The connection diagram is not attached LEDs, a maximum of 12 V, you can put 3 of them in series and so 2-3 parallel branches of 3 diodes each, you get a maximum of 9 LEDs 30mA for each.. it will be a bit thin.
    I made it simpler, the rectifier is also on 4 diodes or on a ready-made bridge. input resistance is 10 ohms with a power of 0.5 W, a film capacitor in series is 1 µF 250 V. an electrolyte is placed at the output from the rectifier depending on the series connected LEDs, the drop on each is approximately 3 volts, therefore if you turn on 15 LEDs and put the electrolyte at 50 V 500 μV, this will be quite enough and the brightness will be decent, you can have several lines of 15 LEDs, increasing the capacitance of the capacitor in front of the rectifier.
  7. Yuri
    #7 Yuri Guests 11 December 2014 19:09
    3
    I feed 10 watt according to this scheme Light-emitting diode though not at full power, 70 percent to illuminate the steps I use it with a presence sensor, it shines very brightly.
  8. Edward
    #8 Edward Guests 12 February 2015 15:35
    2
    Quote: Nub
    Respect to the author!!! Only there is one small request - you can indicate the full markings and nominal values ​​​​for all elements, otherwise it is not entirely clear what a 300k resistor is or, for example, a 1-watt DC resistor (what does 200 mean). In general, I would like more details!!! Thank you very much in advance!!!

    So there, everything seems to be clearly described: a 100-200 Ohm resistor can be used for 0.25-0.5 W, at the input there is a 1 W 200 Ohm resistor. A 200n capacitor is 200 nanofarads (0.2 uF), 1n4007 diodes are used in any energy-saving device, it can be used instead nick Soviet KD105B, Zener diode D814B, DC output capacitor 10 μF, preferably at least 25 volts
  9. Michael
    #9 Michael Guests 14 April 2015 09:15
    5
    It turns out interesting: a reactance of 200n at 50Hz is 16k, while the short-circuit current is only 14mA, so how can you regulate the output current of 20-50mA?
  10. Sansanych
    #10 Sansanych Guests September 27, 2017 09:38
    2
    The most reliable voltage reduction devices are transformer ones. Switching the lighting network in an apartment or house to low voltage is not a problem. Option - switching a group or one socket to lower. eg The only inconvenience is to hide or disguise the power supply. And it (with a power of 250 watts, the size of a YaTP-0.25) is no larger than factory power supplies. The most important thing is to be safe.

How to make a 2 in 1 grinding and sharpening attachment for a drilling machine from a grinder gearbox with your own hands

Homemade processed cheese | Do it yourself

DIY drill stand

DIY tricks and tricks from experienced craftsmen

«Do it yourself - with your own hands» - a site of interesting homemade products made from scrap materials and items at home. Step-by-step master classes with photos and descriptions, technologies, life hacks - everything a real master or just a craftsman needs for needlework. Crafts of any complexity, a large selection of directions and ideas for creativity.

We recommend reading

Washing machine error codes