Converting an old fluorescent lamp into an emergency LED lamp for the garage. This very practical and economical lamp will certainly come in handy in any garage, especially one where the power is often cut off. You can also use it at home, because electricity is turned off not only in garages. The conversion is very simple and will not cause problems for most people.
To power such a lamp, for example, an old battery, which can no longer start a car engine, will be used, but for illumination at critical moments it will be quite suitable. You can also use an old battery from a computer's uninterruptible power supply. The battery from the uninterruptible power supply will be enough to operate this lamp for several hours (the operating time of the LED lamp depends on how well the battery is preserved and how strongly it is charged). See video of the lamp tests at the end of the article.
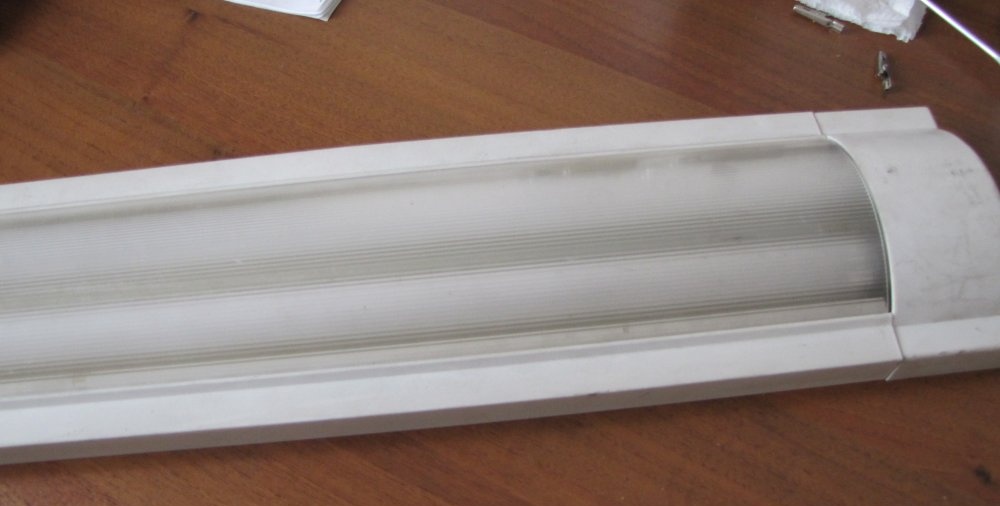
Converting an old fluorescent lamp to an LED lamp
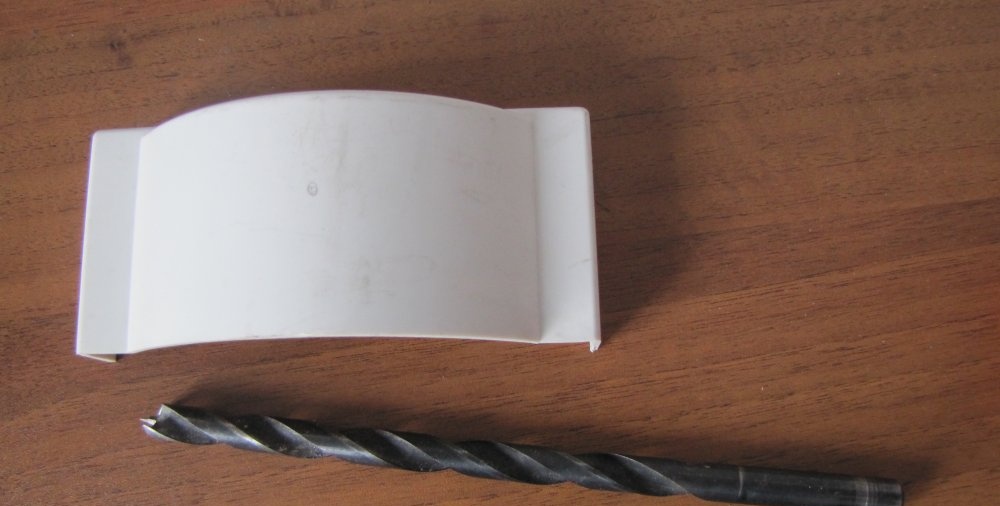
To work, we will need an old fluorescent lamp of any type and shape, for example, this one.
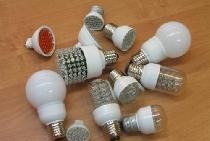
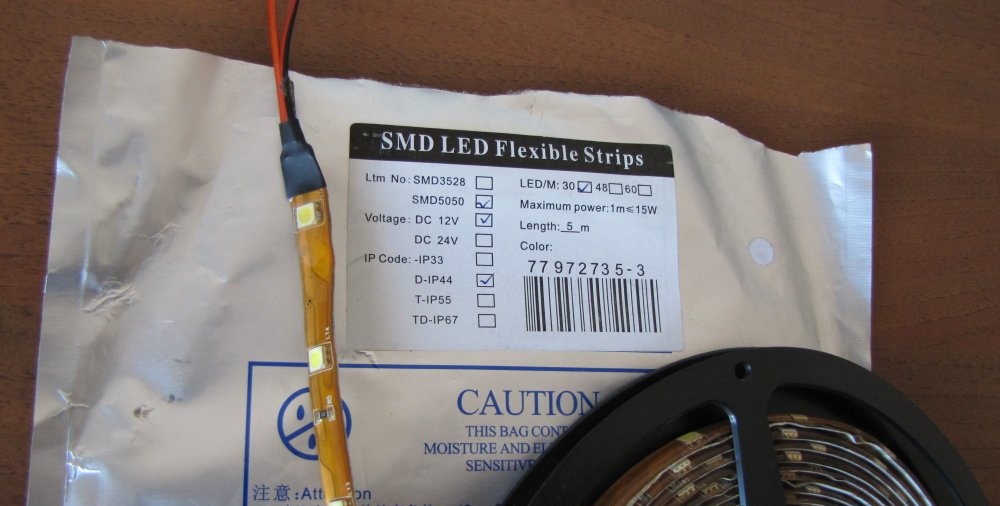
Any LED strip powered by 12 volts, as long as you like it, but preferably self-adhesive (this makes it easier to glue it to the lamp body).
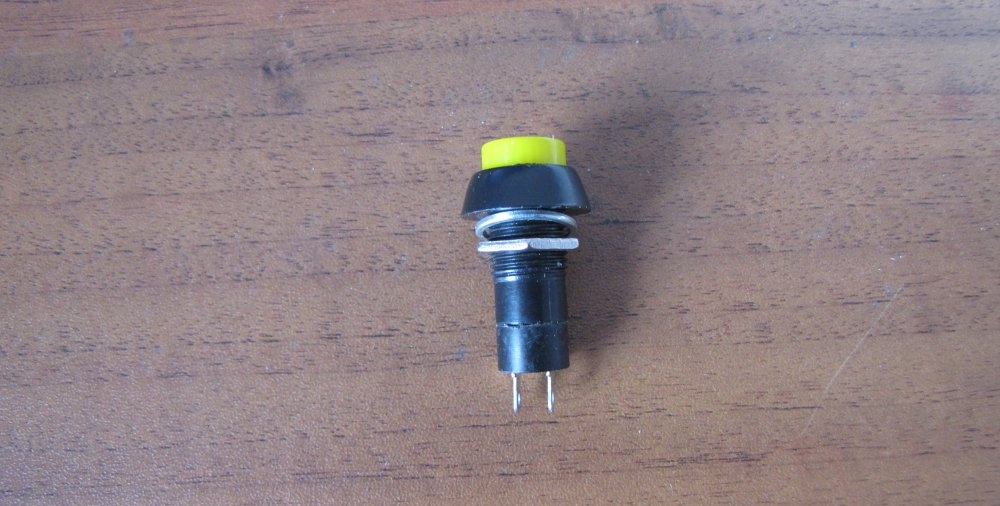
Locking button to turn on. But you can use any other device, as long as it is in good working order. Maybe a toggle switch. Or you can do without a switch at all, you just have to connect the wires to the battery every time.
The cable for connection must be copper, with a cross-section of at least 1 mm. Square. The length is as per your need, but the shorter the better.
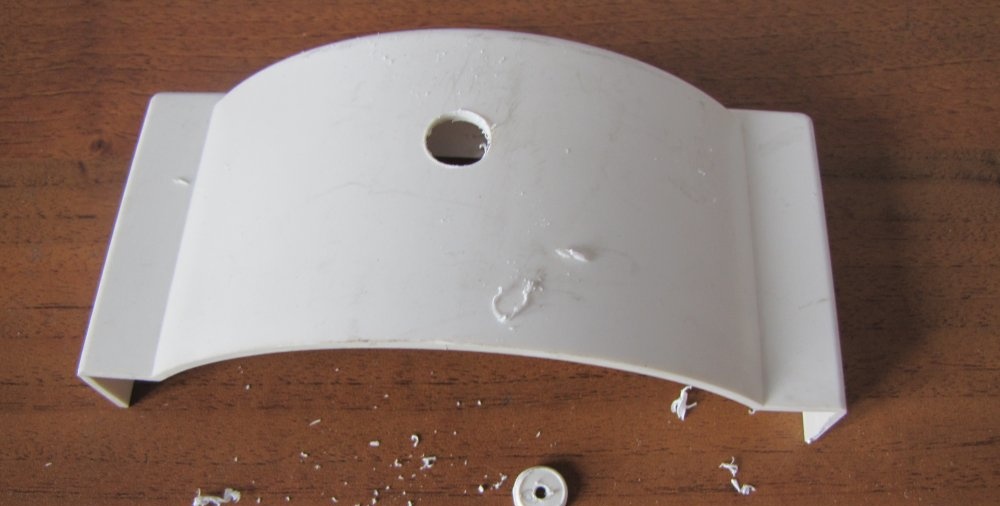
First, we disassemble the lamp and wash all parts with dishwashing detergent and dry. You'll be surprised how you got a pretty decent thing out of an old piece of junk.

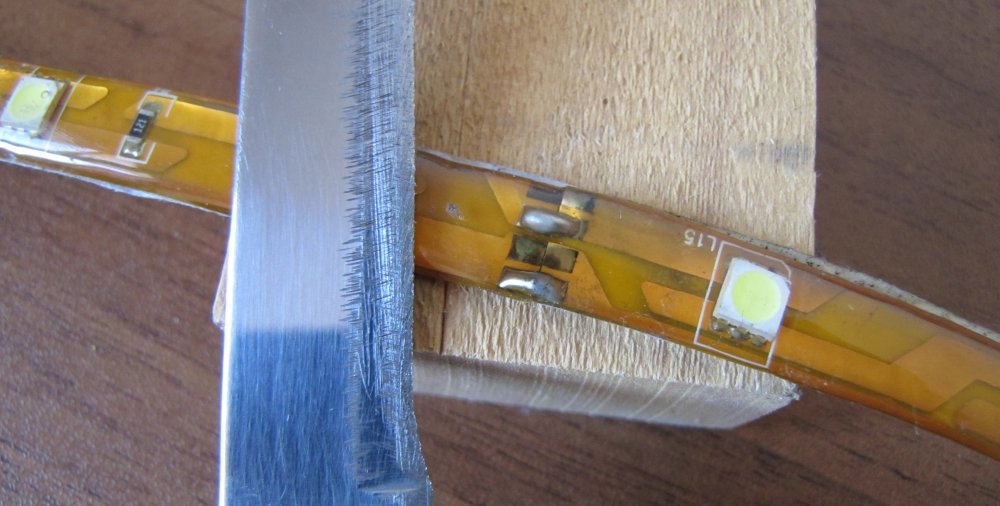
Next, we take the LED strip, try it on the lamp and cut it into pieces along the length of the lamp, but always in accordance with where it can be cut. The photo shows that the tape appears to have been cut and soldered. It is along this joint that you need to cut with a sharp knife on a piece of wood. The power of your future lamp, and hence the intensity of illumination, depends on the number of such pieces. I cut myself three pieces of 49 centimeters each. The power of the LED strip is 15 watts per meter and I get about 20 watts. For emergency lighting, I think it's enough. But if you want more, then please. You can seal the entire inner surface of the lamp with tape, fortunately there will be no heating (the tape does not heat up).
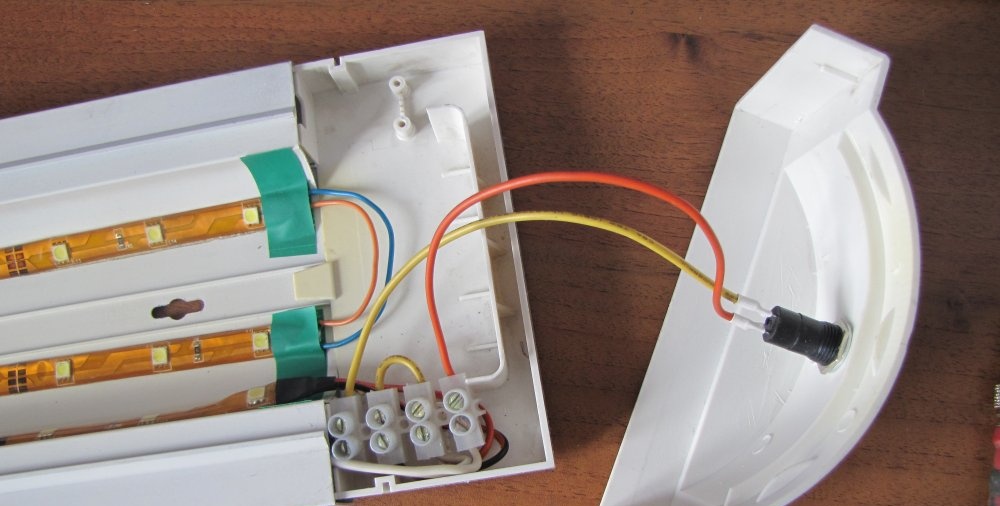
The next step is to solder the pieces of tape into an electrical circuit. Carefully clean the ends of the tape near the cuts with a knife and solder jumpers (pieces of copper wire) to the contact pads as in the photo.
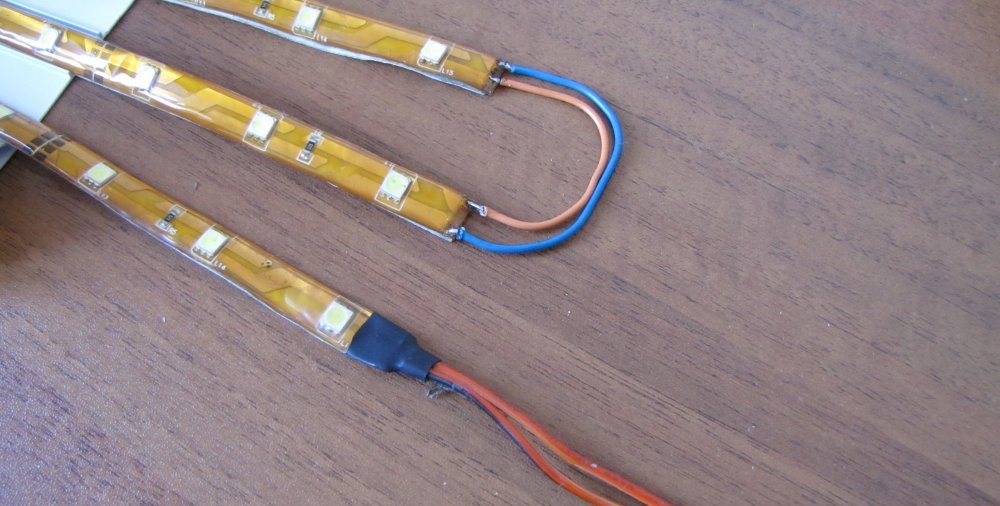
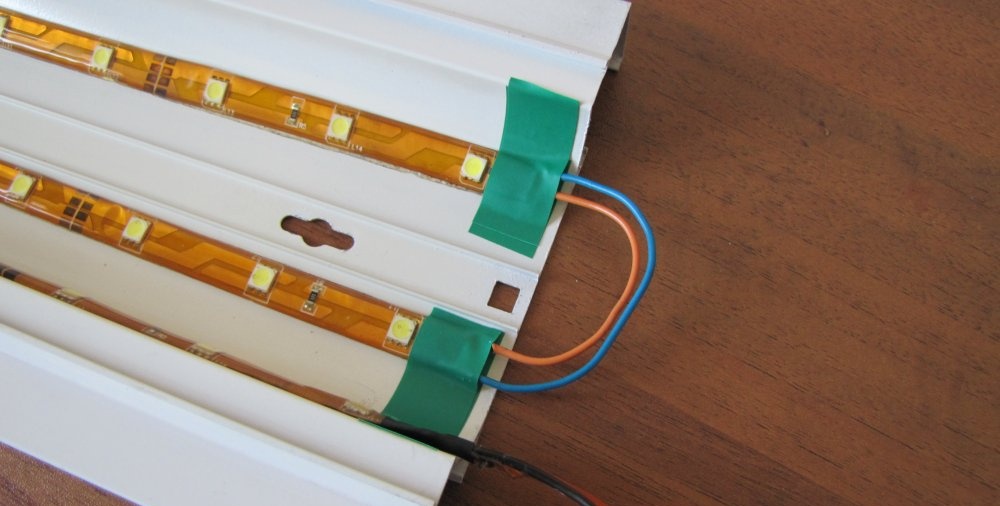
When all the pieces of tape are soldered, we glue them to the body of the lamp, having previously glued pieces of insulating tape to the places where the soldered jumpers will be located to avoid short circuits. Seal such places on top with more pieces of insulating tape. Instead of tape, you can treat the soldering areas with a glue gun. It will be even more reliable.
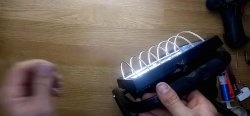
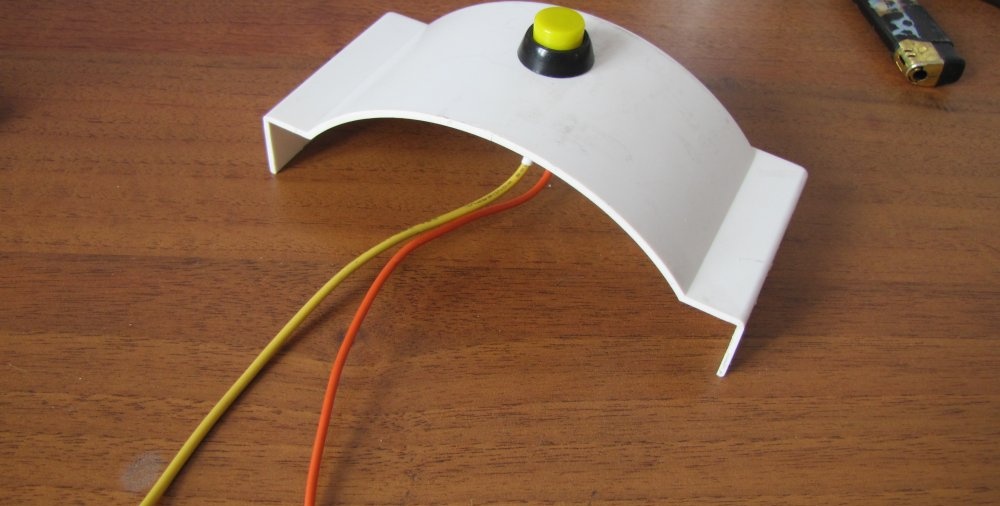
The next step is to assemble the electrical part of the lamp. We take the button and solder 10 centimeter pieces of wire to it. We protect the soldering areas with heat-shrinkable casing, heating it with a lighter.
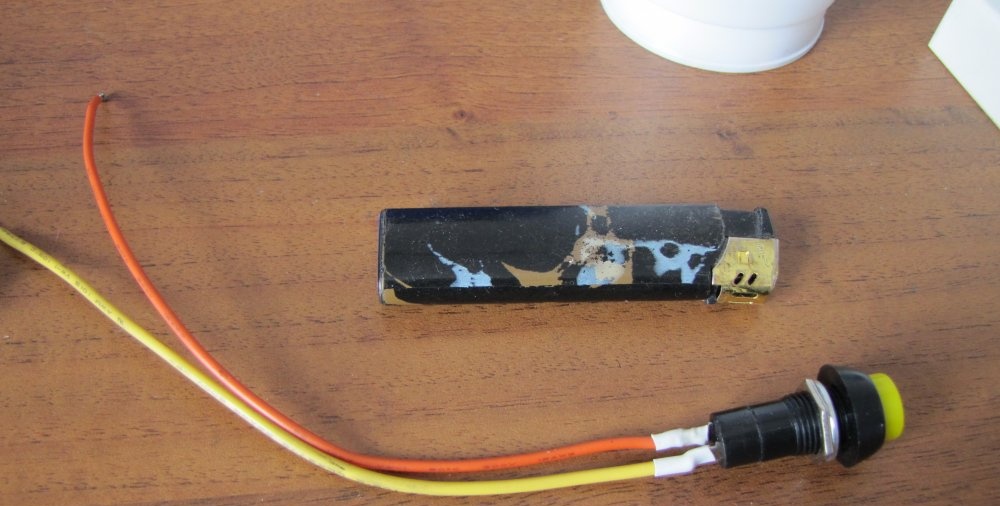
You can insert a button or toggle switch anywhere in the body as you like. I did this.
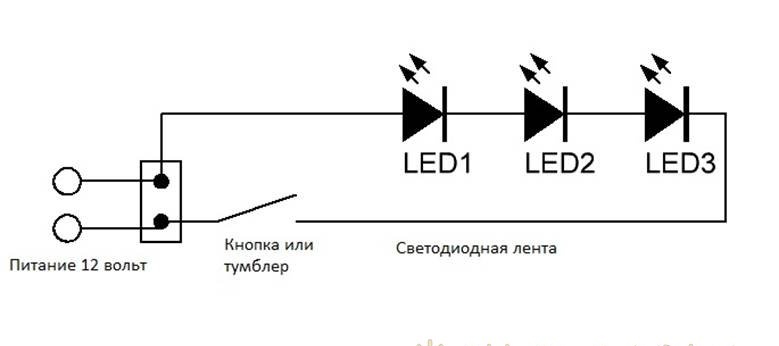
Next we assemble the diagram.
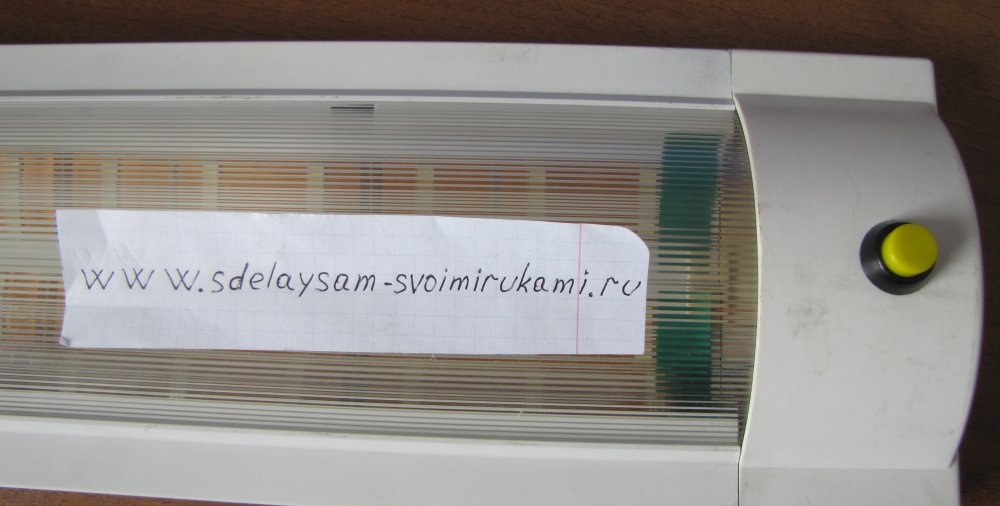
The lamp is assembled.
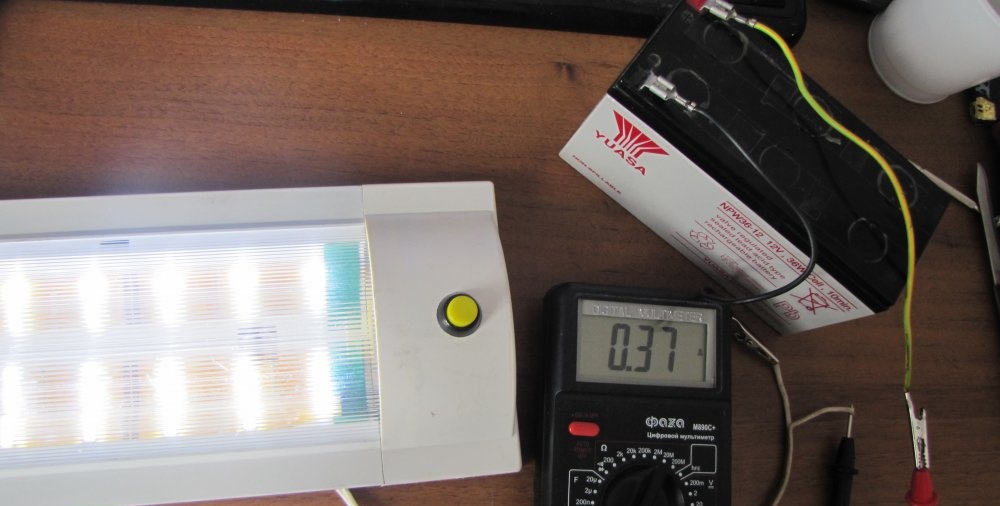
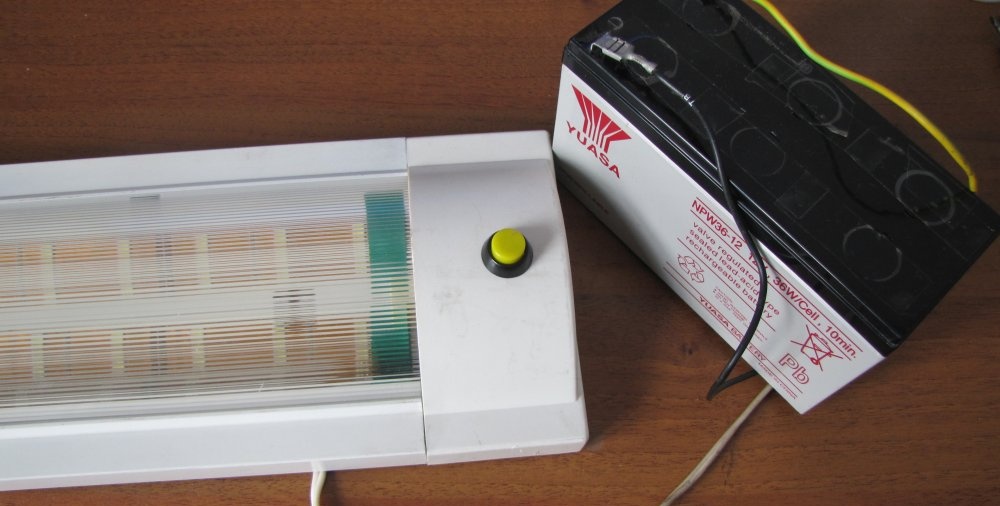
Now let's test it in operation by connecting it to a battery.
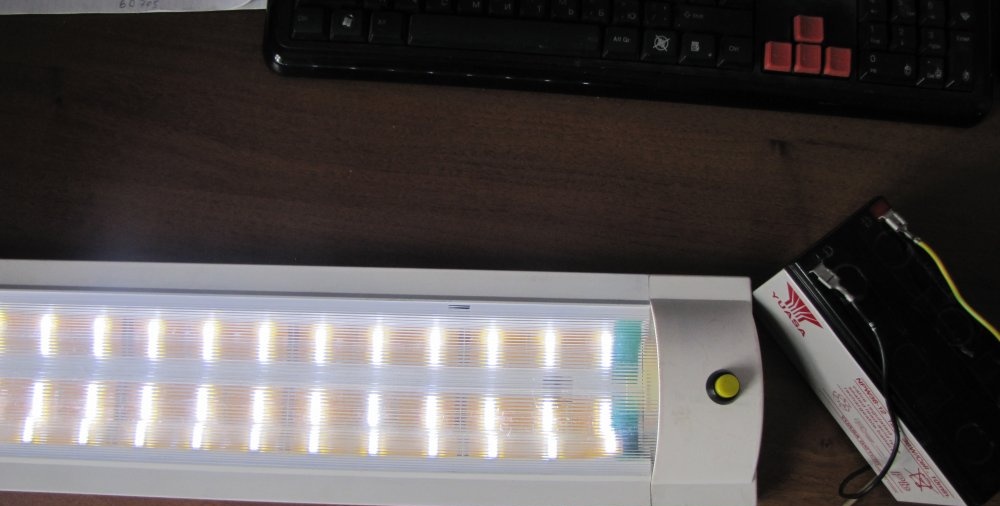
LED lamp in operation.
Now let's determine the load current using multimeter.
The current is 0.37 amperes, this is not much and a normally charged battery will last for many hours of continuous operation.