Do it yourself
Life hacks, master classes, useful tips, recipes.
home » Construction and repair » Construction » Roof gable made of OSB Plates
Now we will talk about how using OSB boards you can make a light and simple gable of the roof of a house. And so, since you asked yourself the question, how and where to make a fronton. Let's start with the pros and cons.
- OSB Boards are lightweight.
- Secondly, they are eternal.
- Thirdly Available.
- Fourthly, Easy installation
- And finally, fifthly, Aesthetic.
Well, among the minuses:
- Fire hazardous
- And... yes, that’s probably all...

Let's get to work.

How to sheathe OSB Boards

How to sheathe OSB Boards

How to sheathe OSB Boards

How to sheathe OSB Boards

How to sheathe OSB Boards


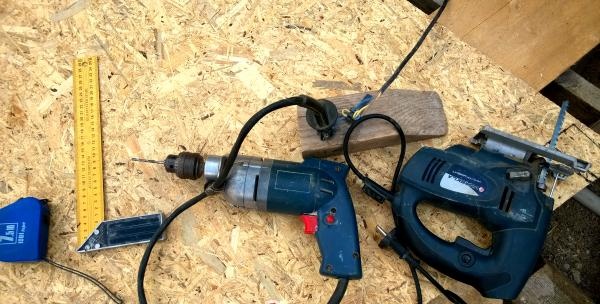
You can attach the OSB board to a wooden base using wood screws and simple power tools. The electrical tools we need are a screwdriver, a jigsaw, a drill, a gun with silicone (for sealing joints and seams). Before sawing, don’t forget to measure once and cut once!

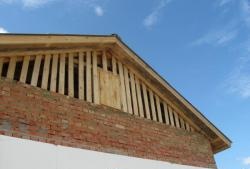
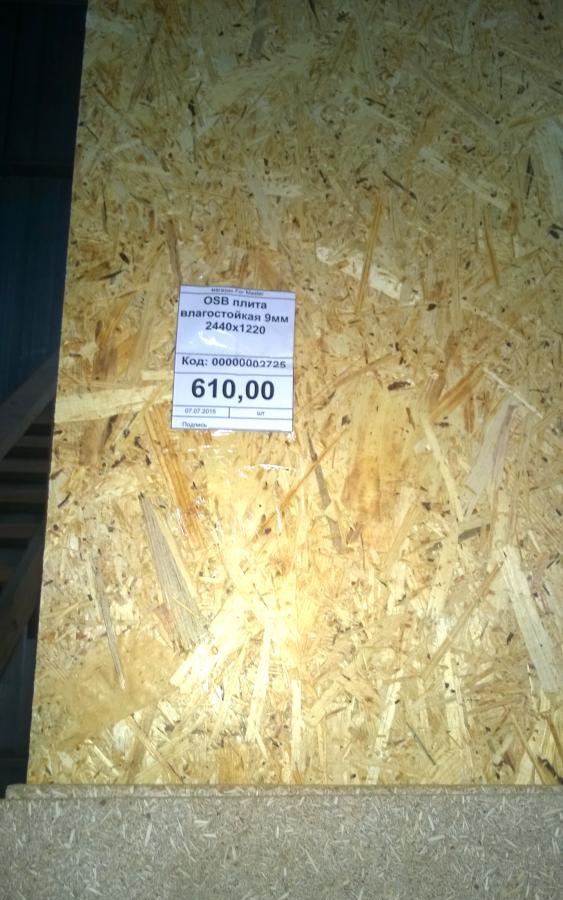
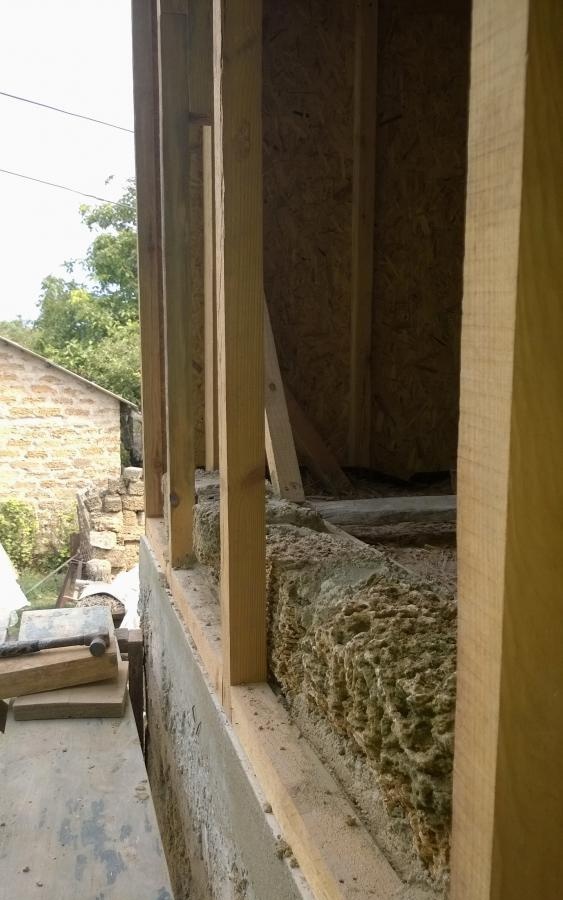
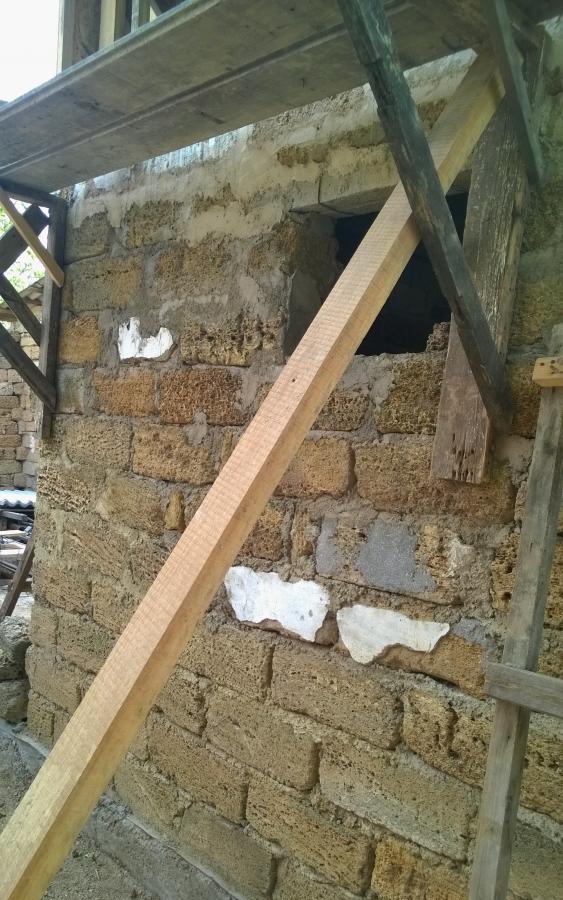
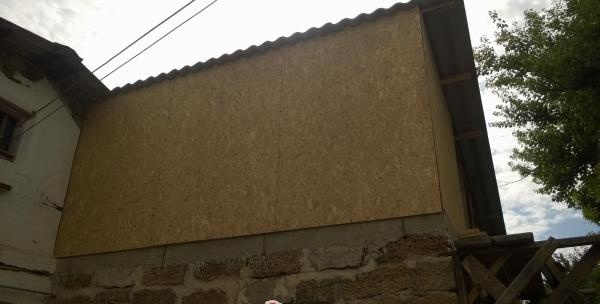
But do not forget that during any high-altitude work we will need the help of at least one assistant. Which will not only be able to hold the elements of the pediment but also secure it on the scaffolding. So we started talking about forests; forests can be completely different for everyone. These can be, as in my case, “Wooden corners” supported by appropriate racks as seen in the photographs.We must remember the dimensions of the OSB Board! In order to install the guides vertically in the center of the slab and calculate the edges of 2.5 cm. The standard sizes and the ones I used are moisture-resistant OSB board 9 mm 2440 - 1220. The OSB board is leaned with its smooth side against the guides made of 5 by 5 wooden beams and screws are attached to at a distance of 15 - 25 cm, from each other this is important since there should be no gap between the plate and the guide. If you leave a gap between the slab and the guide, then over time the slab may become deformed from all possible external influences. After you finish working with OSB, you can add siding on top of it. But more on this in a separate topic.
come back
Comment
  • bowtiesmilelaughingblushsmileyrelaxed relaxedsmirk
    heart_eyeskissing_heartkissing_closed_eyesflushedrelievedsatisfiedgrin
    winkstuck_out_tongue_winking_eyestuck_out_tongue_closed_eyesgrinningkissingstuck_out_tonguesleeping
    worriedfrowninganguishedopen_mouthgrimacingconfusedhushed
    expressionlessunamusedsweat_smilesweatdisappointed_relievedwearypassive
    disappointedconfoundedfearfulcold_sweatperseverecrysob
    joyastonishedscreamtired_faceangryragetriumph
    sleepyyummasksunglassesdizzy_faceimpsmiling_imp
    neutral_faceno_mouthinnocent
5+two=
Comments (1)
  1. Guest Andrey
    #1 Guest Andrey Guests 20 April 2018 19:40
    0
    I installed OSB on my pediment, it turned out very well. Fast and easy. And it’s been standing for a year now; the OSB slabs, although not protected by anything, are holding up. But I probably made a mistake; I took a small block for the frame. 40*40 is not enough. Minimum 50*50, and even better 40*90. Tighter.

How to make a machine for sharpening circular saws and more from a drill

Lightning Necklace | Do it yourself

Effective DIY mosquito repellent

Do it yourself - crafts and master classes | Page 5

«Do it yourself - with your own hands» - a site of interesting homemade products made from scrap materials and items at home. Step-by-step master classes with photos and descriptions, technologies, life hacks - everything a real master or just a craftsman needs for needlework. Crafts of any complexity, a large selection of directions and ideas for creativity.

We recommend reading

Washing machine error codes