Do it yourself
Life hacks, master classes, useful tips, recipes.
home » Useful and interesting » How to stick protective glass on your phone

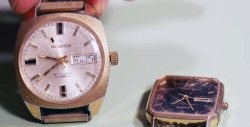
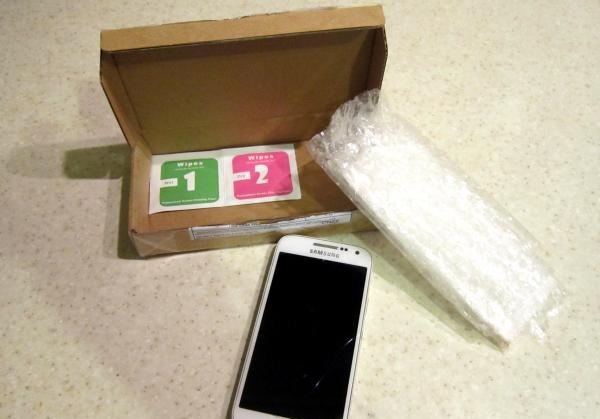
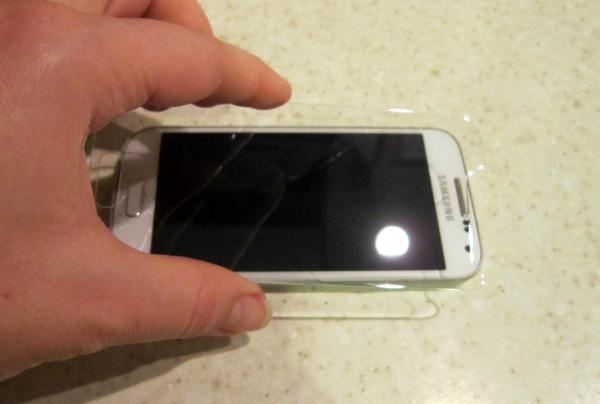
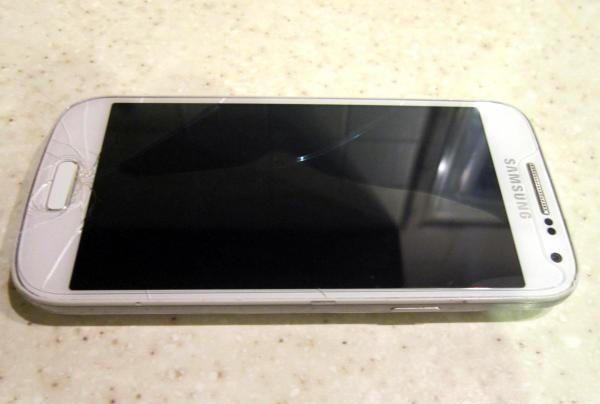
The Samsung i9190 Galaxy s4 mini was chosen as the “experimental” phone. The glass of the device was cracked, which has not yet been replaced. To protect the screen from dust and moisture getting inside, as well as from further cracking, it was decided to temporarily stick a protective glass on the phone. Glass has a number of advantages over film:

  • the ability to protect the glass of the device from cracking when dropped with the display facing down;
  • scratch resistance;
  • ease of gluing;
  • excellent fixation with the screen;
  • aesthetic appearance.

Preparation of the workplace

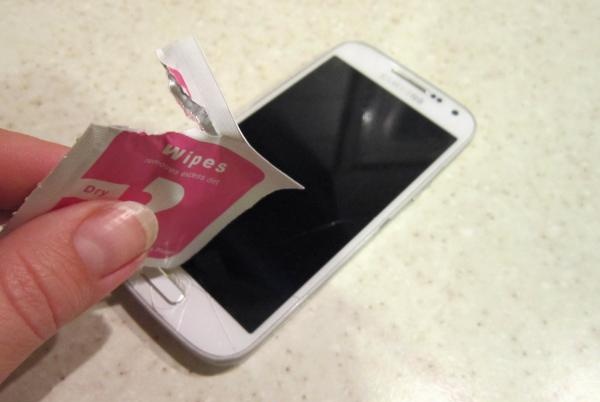
In order to save money, glass was ordered from one of the Chinese sites. It came with two napkins in individual packages:

1. wet, with cleaning and degreasing impregnation;

2. dry non-woven.

If such wipes are not included in the kit, they can be replaced with a regular alcohol wipe (or a cotton pad soaked in vodka or alcohol) and a microfiber cloth. You may also need clear tape to remove tiny fibers from the screen.

The work area should be solid (such as a kitchen table) and well lit.Otherwise, dust and stains may go unnoticed when gluing glass.

how to stick protective glass on your phone

Preparing the phone glass

1. Wash your hands to avoid accidentally leaving greasy fingerprints on the glass and phone.

2. If there is a protective film on the phone, remove it.

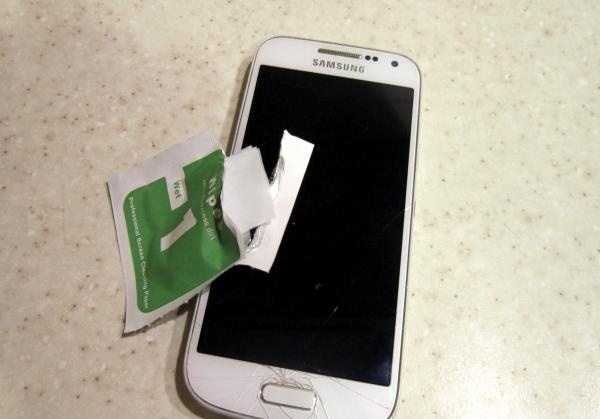
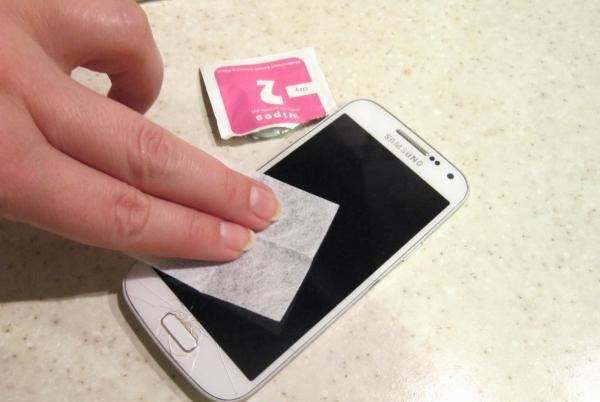
3. Take an alcohol wipe (in our case, it’s the wipe from bag No. 1) and wipe the entire phone screen centimeter by centimeter, without missing a single spot.

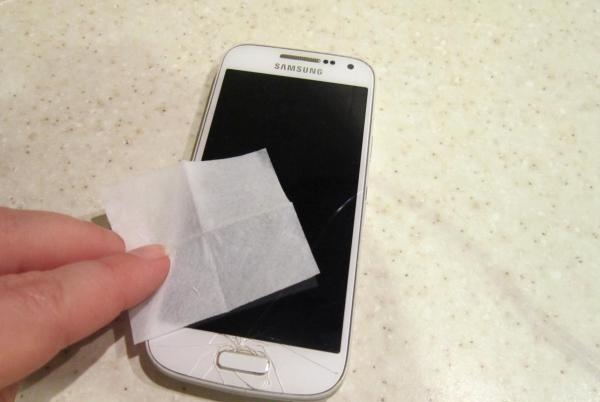
4. Take a microfiber cloth (we used a tiny cloth from package #2) and wipe the glass dry.

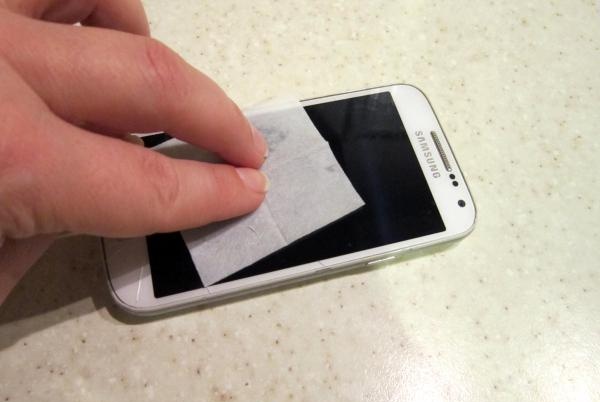
5. Look at the phone in the light to see if there are any untreated areas, dust particles or lint left on it. If any are noticed, they can be removed using the sticky side of ordinary transparent tape, followed by microfiber treatment.

how to stick protective glass on your phone

Glass gluing

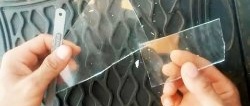
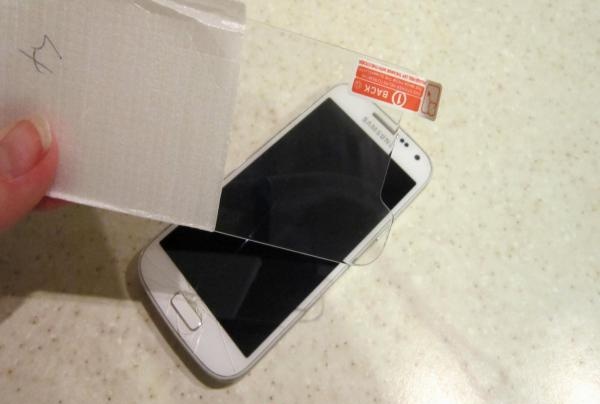
  • The glass has a protective film on one side, which must be removed by pulling the tab before gluing. The glass must be held by the sides at all times to avoid leaving marks on it.
  • Having freed from the film, this side of the glass needs to be brought to the phone screen, aligning it as much as possible with the edges of the display, buttons and speaker.
  • After making sure that all the guidelines are met and the glass is aligned with the edges, lower it onto the screen. The silicone coating of the protection promotes self-adhesive glass.
  • If you find any air pockets under the glass, remove them with a napkin by smoothing them through the adhesive protection.
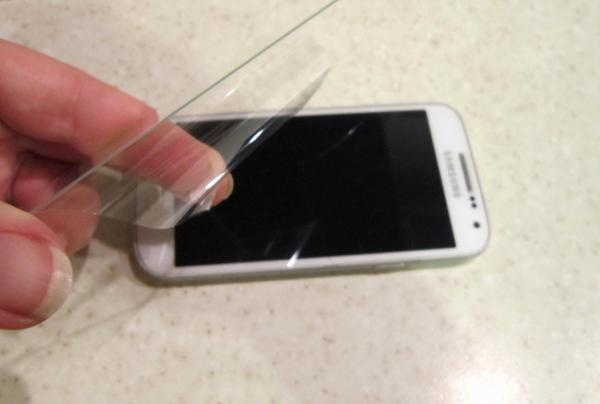
how to stick protective glass on your phone

Ready!

come back
Comment
  • bowtiesmilelaughingblushsmileyrelaxed relaxedsmirk
    heart_eyeskissing_heartkissing_closed_eyesflushedrelievedsatisfiedgrin
    winkstuck_out_tongue_winking_eyestuck_out_tongue_closed_eyesgrinningkissingstuck_out_tonguesleeping
    worriedfrowninganguishedopen_mouthgrimacingconfusedhushed
    expressionlessunamusedsweat_smilesweatdisappointed_relievedwearypassive
    disappointedconfoundedfearfulcold_sweatperseverecrysob
    joyastonishedscreamtired_faceangryragetriumph
    sleepyyummasksunglassesdizzy_faceimpsmiling_imp
    neutral_faceno_mouthinnocent
5+two=
Comments (4)
  1. Felicity
    #1 Felicity Guests 8 August 2017 17:51
    0
    I would like to add that if you are gluing for the first time - few people succeed, so you can lightly sprinkle the sticky layer of the film (lightly!) with a solution of water and shampoo. It turns out that the film will “ride” along the surface and will not stick immediately, which will give time to carefully adjust it in all corners).
  2. Nikita
    #2 Nikita Guests 21 March 2018 16:27
    1
    Interesting glass! It bends well.... it's an ordinary film, but glass is really "glass", hard, which does not bend. And with glass, the glue is located only along the edge, so it is glued only along the contour, and not over the entire surface like this film!
    1. Alexander Povolzhye
      #3 Alexander Povolzhye Guests August 7, 2019 08:12
      2
      There are protective glasses with an adhesive silicone layer along the contour (they are cheap but do not stick well) and there are with an adhesive silicone layer over the entire surface (they hold well but cost several times more than those with glue along the contour).
  3. Alexander Vasilievich
    #4 Alexander Vasilievich Guests 17 August 2018 17:18
    3
    Hello!
    Indeed, as Felicity noted, “few people succeed the first time.” But what if this “time” is the only one? And is there a high risk of getting poorly glued glass with lakes of air under it? But you can get excellent results the first time. But this requires an understanding of the essence of the process and appropriate equipment of the workplace.
    First, I will describe the essence of the process.Since all objects are plastic, when manipulating them, they are easily electrified. And while the old film peels off, the screen is rubbed with a napkin, the film is removed from the new glass, the surface of the screen and the new glass become electrified and manage to attract microparticles from the air. Microparticles fall from clothes, scalp hair... You never know where! We cannot see them with the ordinary eye. But by gluing glass or film to the screen, they begin to be clearly visible as air bubbles. And it will not be possible to remove such a bubble, because the microparticle has already “glued” into the adhesive layer of glass or film. The air would be squeezed out during ironing, but the particle would not. But it creates some kind of cavity for air.
    Therefore, the main requirement is to deelectrify the working volume, remove electrical charges from yourself, from clothes, from glass, from the screen.
    For this;
    1. Prepare a spray bottle. A very convenient bottle (25 - 50 ml) with a pressure sprayer made of ethyl alcohol (buy at a pharmacy). Fill an empty bottle with preferably distilled water with half a drop of Ferry. Read and consider Felicity's addition. Practice spraying thin layers on any item.
    2. Choose the table at which you will work. There should be no passing air flows or drafts capable of carrying dust.
    3. Wipe the table surface with a damp cloth with a small amount of Ferry. This will remove static from the table surface and remove and bind any remaining dust.
    4. Boil a kettle with a spout in advance and place it on the work table on an electric stove, 30 - 40 centimeters from the work area. So that it gives a stream of steam passing 40 - 50 centimeters above the table. This steam will remove static from objects in the work area.But don't overdo it. There should be no condensation in the form of rain or showers.
    5. Prepare all the components on the table.
    6. Wash your hands and preferably your face with soap a couple of times. When washing your hands, you “ground” yourself through a stream of water (and water conducts electric current) through the water supply system. And you will wash away microparticles of skin and fat from your face. This will not only give you clean hands (which is very important), but also refresh yourself before work.
    7. Perform all the operations described by the author of the article and use the add-on from Felicity. In 12–17 minutes, if you carefully read the article and recommendations, you will get beautifully glued glass without air inclusions.
    Tested many times by svoimirukami!

Electric burner | Do it yourself

Do it yourself - crafts and master classes | Page 20

Handbag and headband for girls | Do it yourself

Beekeeper's hat | Do it yourself

«Do it yourself - with your own hands» - a site of interesting homemade products made from scrap materials and items at home. Step-by-step master classes with photos and descriptions, technologies, life hacks - everything a real master or just a craftsman needs for needlework. Crafts of any complexity, a large selection of directions and ideas for creativity.

We recommend reading

Washing machine error codes