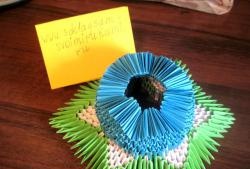
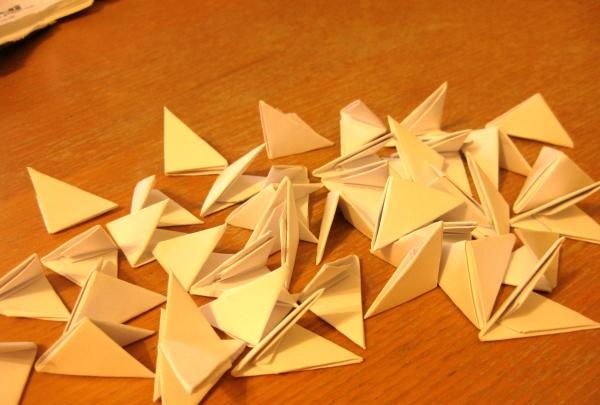
Step #1. To make a figurine you will need over 600 white modules. Size – 1/32 A4 sheet. The snowman's buttons, smile and eyes are made of colored modules. You can fold them in advance or fold them gradually, fastening the rows one by one.
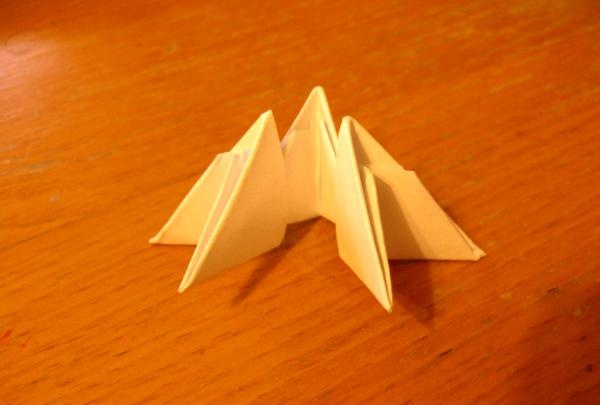
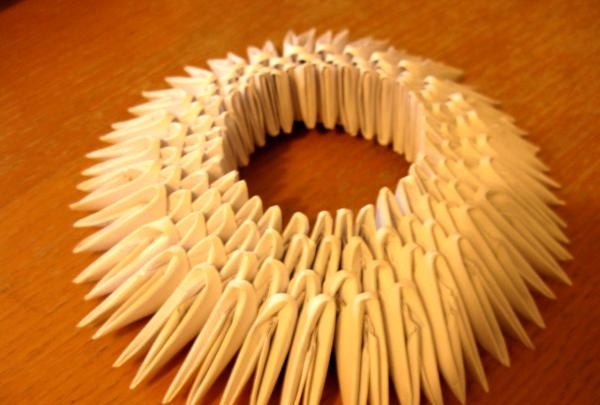
Step #2. First, fasten the two modules with a third one, as shown in the figure.
Then gradually assemble two rows, each of which will consist of 30 parts.
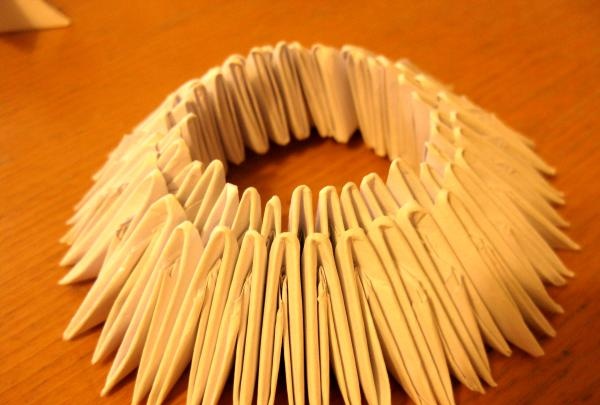
Close the row, creating an even circle. Start adding new modules. Make four complete rows.
Step #3. Prepare one blue or purple module. This will be a button. Insert it anywhere in the fifth row.
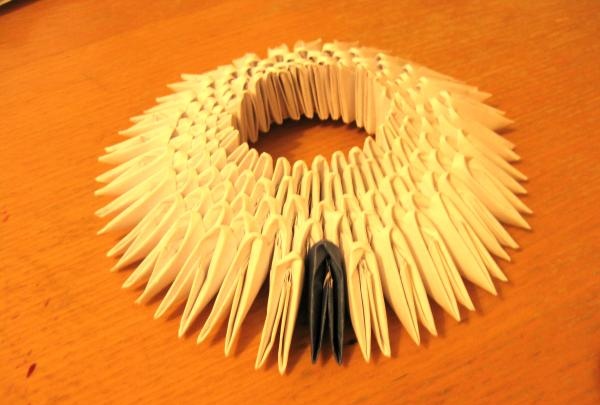
The sixth, seventh, eighth row will consist entirely of white modules. In the ninth row you will need to reinsert the colored triangle - the second imaginary button. The tenth and eleventh row are represented only by white parts.
Step #4.In the twelfth row, the modules must be secured with the reverse side. You should get a pattern that resembles horns. This circle will separate the first lump in the snowman figure from the second.
Fasten the thirteenth and fourteenth rows in the standard way.
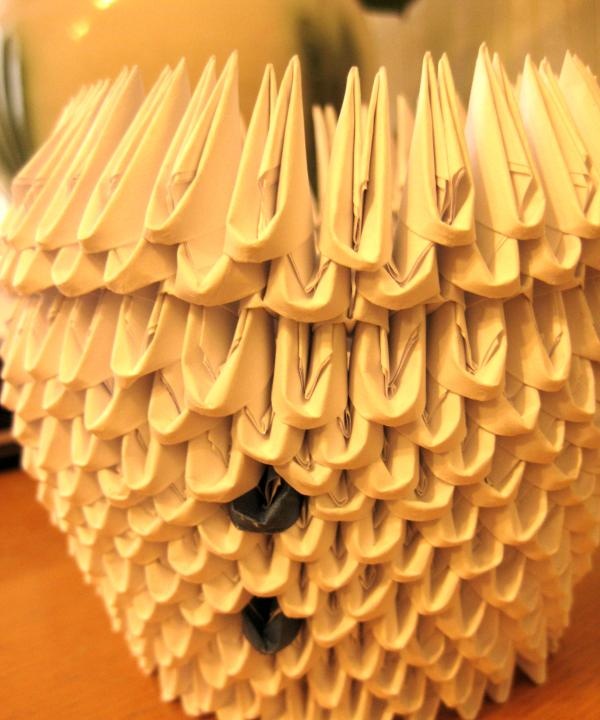
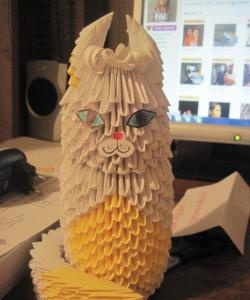
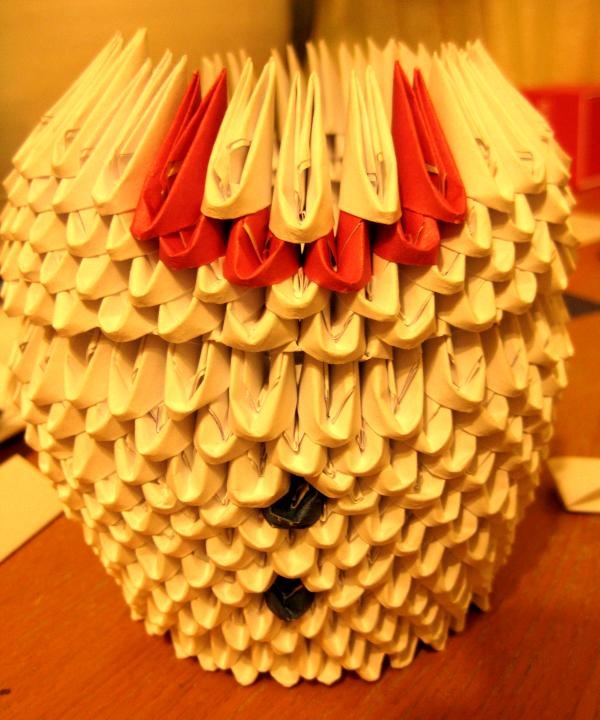
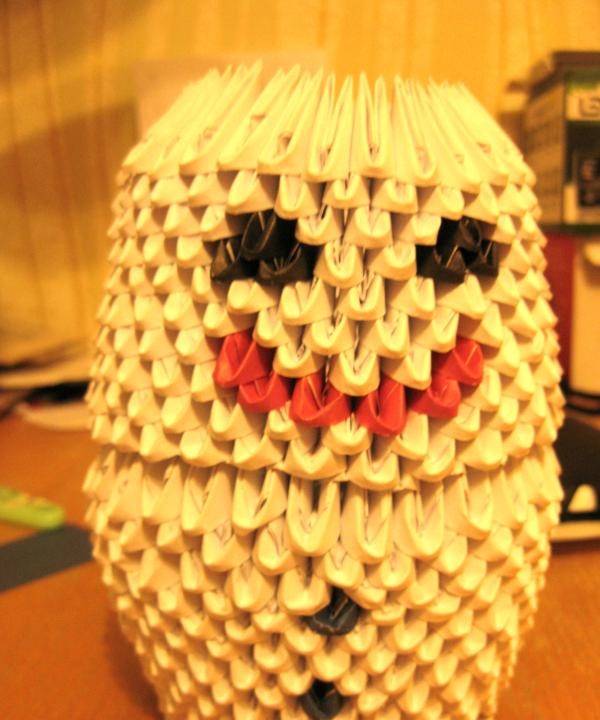
Step #5. In the fifteenth row, directly above the previously created buttons, insert four red modules. They will represent the snowman's mouth. The remaining triangles in the row are white.
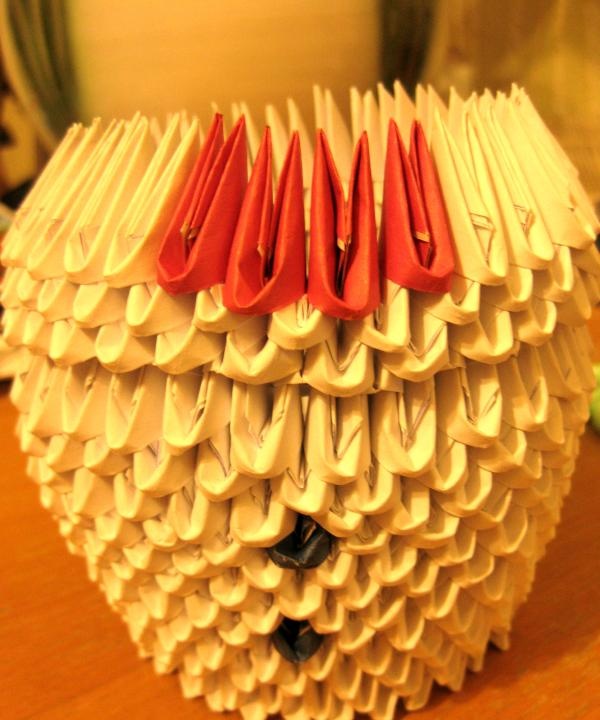
The outermost red modules are attached to adjacent white and scarlet parts. This will be the 17th row.
Next, two full circles are assembled from the usual colorless triangles.
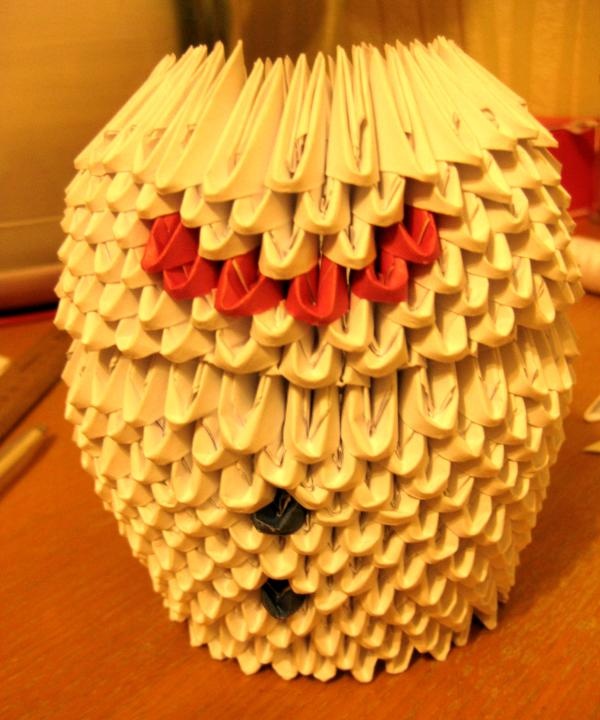
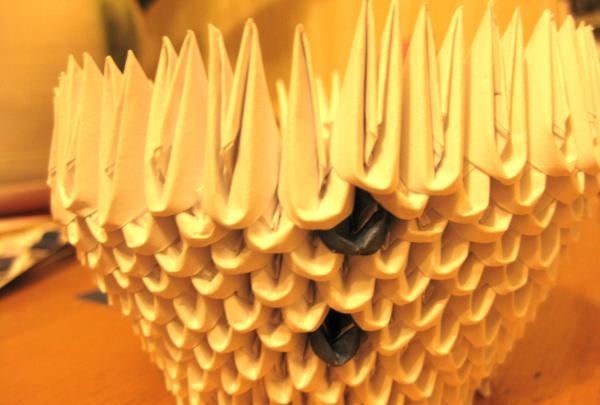
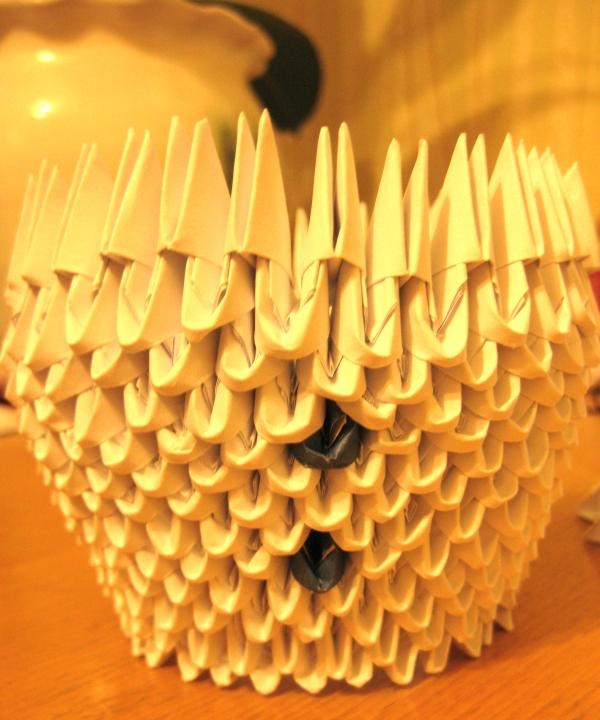
Step #6. In the 19th row above the right corner of the snowman’s smile, insert two black modules, then two white ones and again two black triangles. The remaining parts in the row will be snow-white. In the 20th row, fasten the black parts with modules of identical colors.
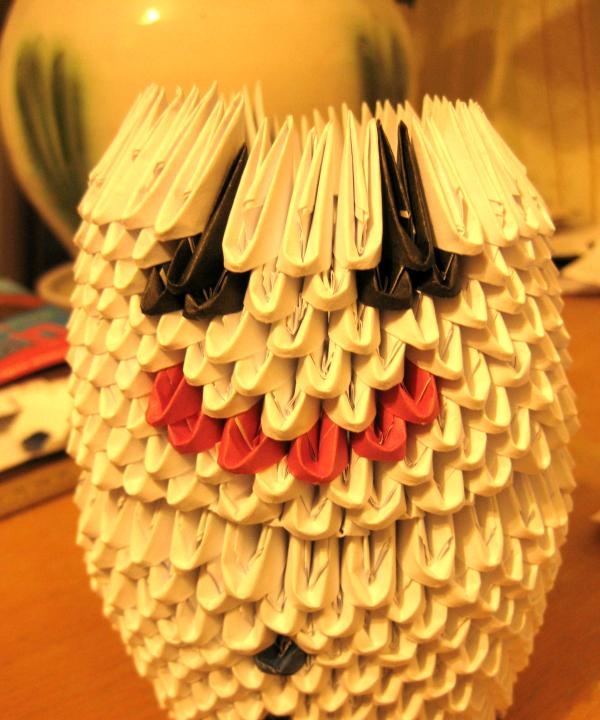
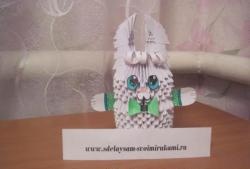
You have collected the snowman's eyes. It remains to fasten two more rows, which will consist only of white triangles.
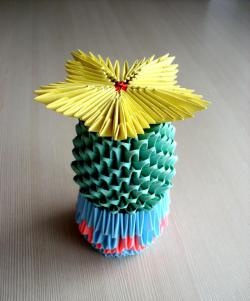
Step #7. Decorate the snowman with bright green ribbon. Make a cone nose and a hat out of paper.
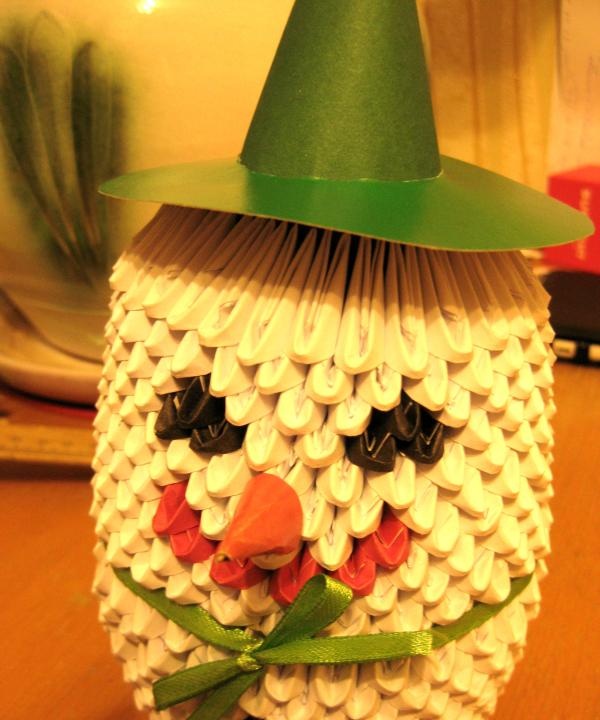
New Year present ready!