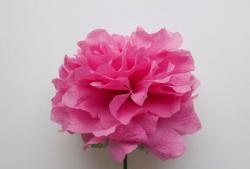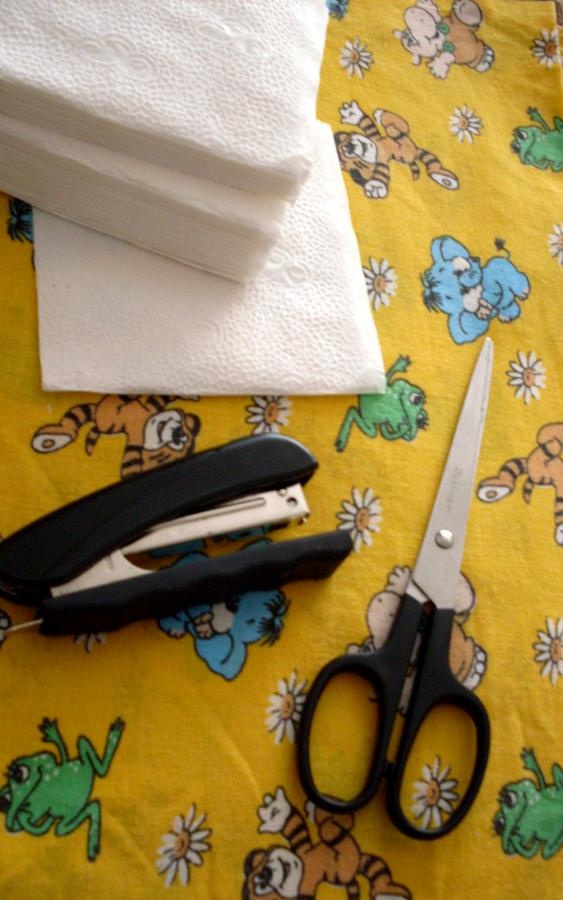
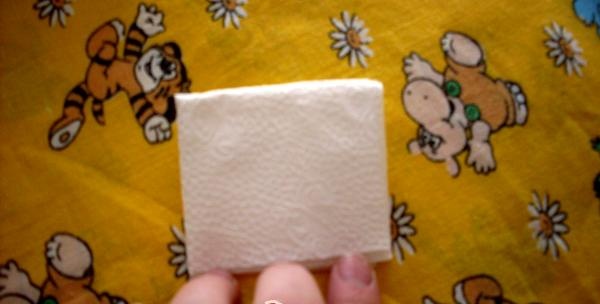
We take one napkin, or maybe half of it, and fold it exactly in half to make a rectangle like this.
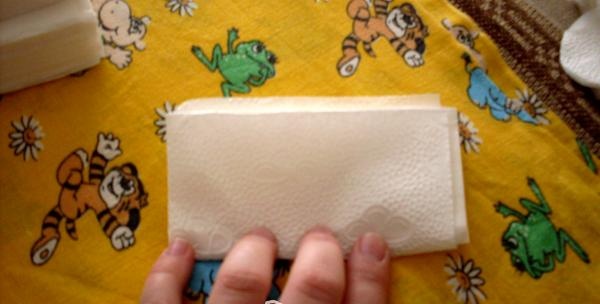
We also fold it in half and we get a square.
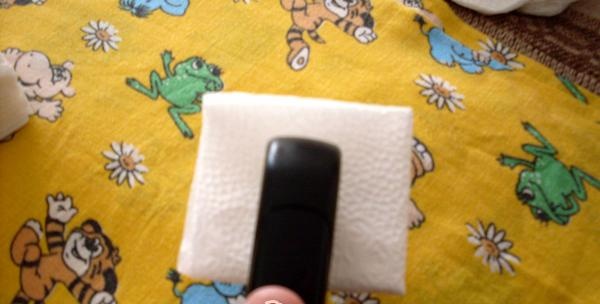
We fix it with a stapler bracket exactly in the middle of the element.
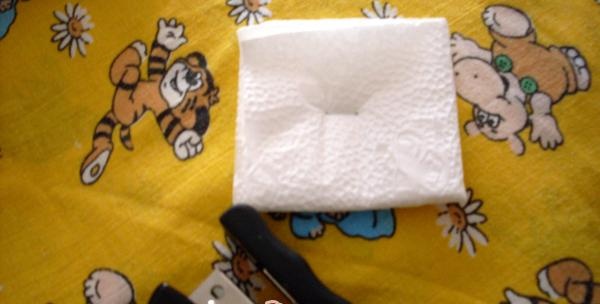
This is what it looks like after stapler.
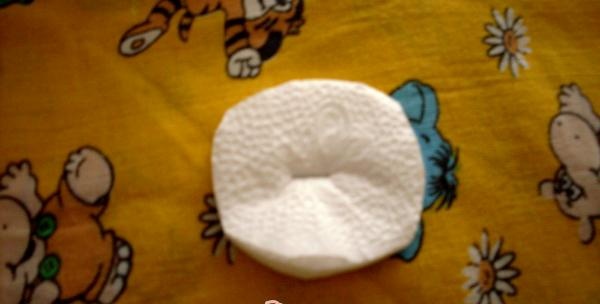
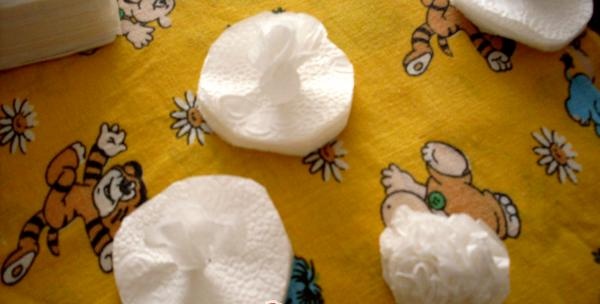
We take scissors.

and cut the edges of the workpiece so that it becomes round.

It turns out like this.
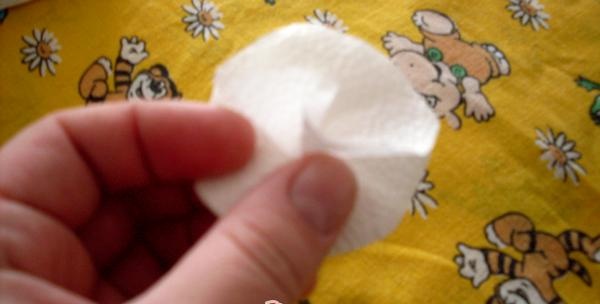
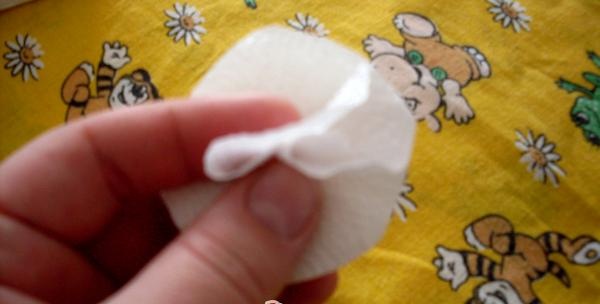
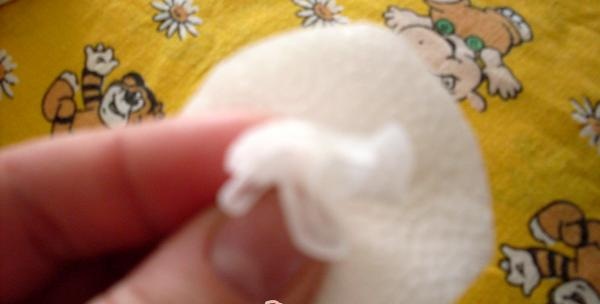
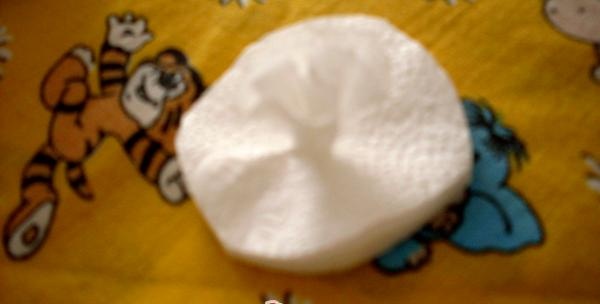
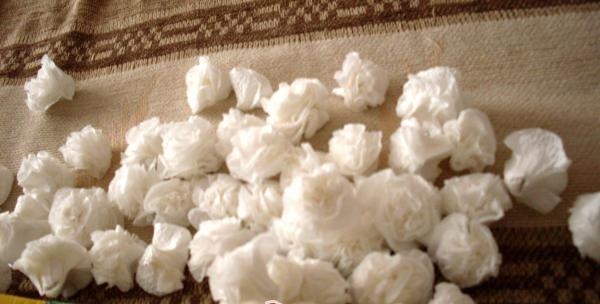
We make so many of these blanks that we have approximately enough to make the size of the craft we need, but you can adjust the size yourself. Next, we take the round blank in our hands, hold it in one hand so that pieces of the napkin do not come off from the lower part where the bracket is attached, and lift the top very first layer of the napkin and fix it with our fingers like this, and so lift it up and fix it layer by layer so that As a result, the petals turned out like those of a carnation and this is what you should get.
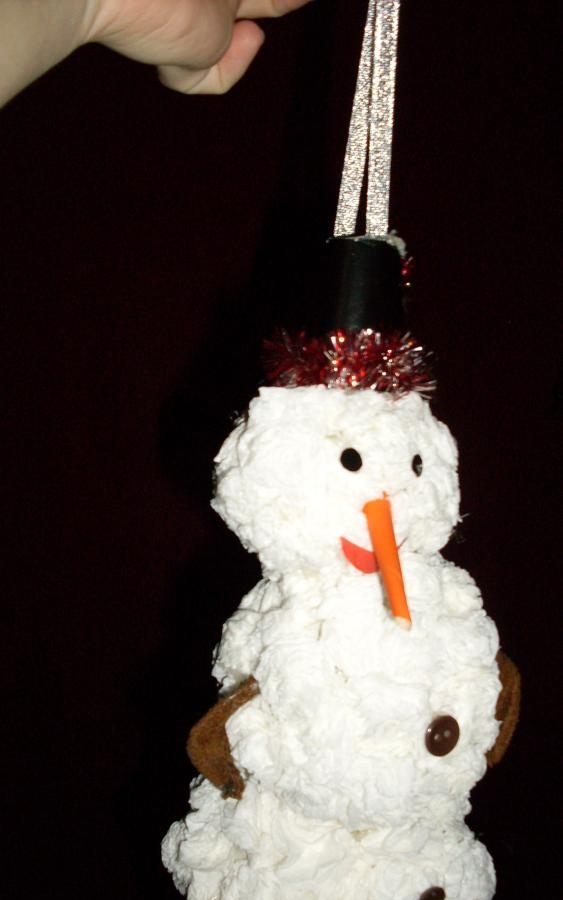
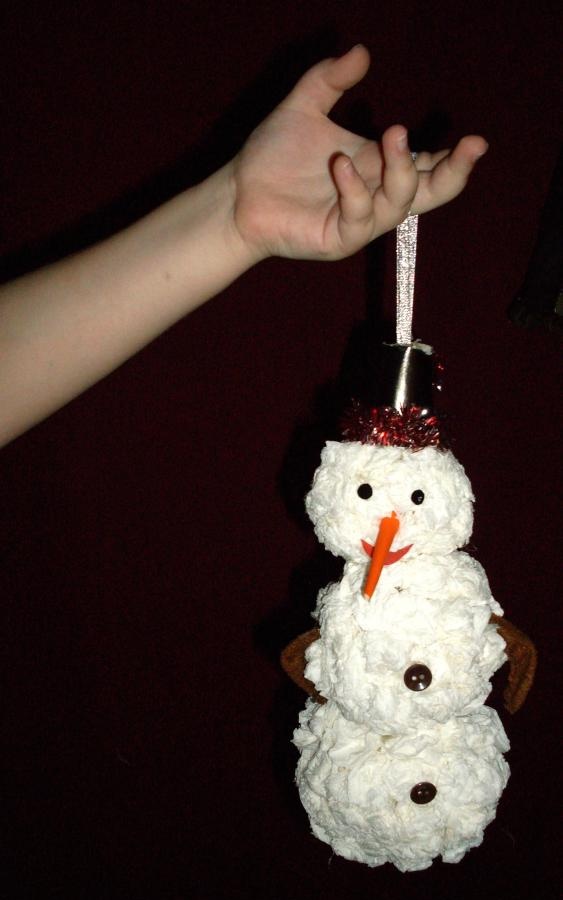
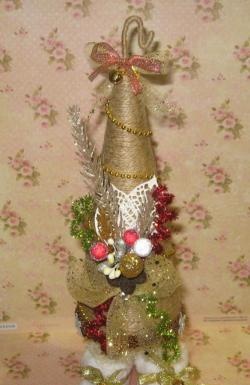
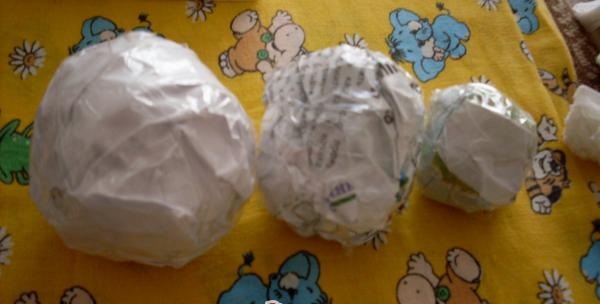
The first stage has been completed and we move on to the next second stage.We make balls from any unnecessary waste paper available at home, and roll out 3 balls, one larger (or smaller) in size than the other, and cover them with tape.
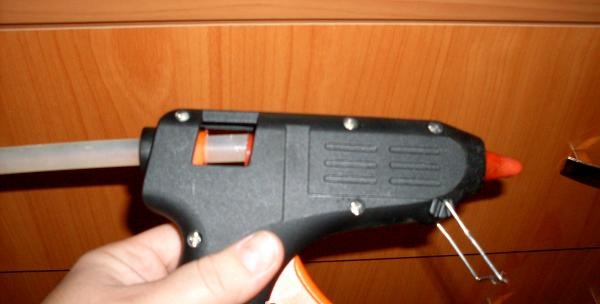
The third stage is the primary assembly of our blanks. You will also need a glue gun (in my case, it's hot glue).
First, we cover the balls with flower blanks made from napkins.
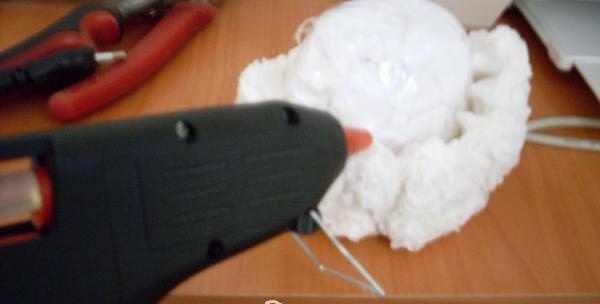
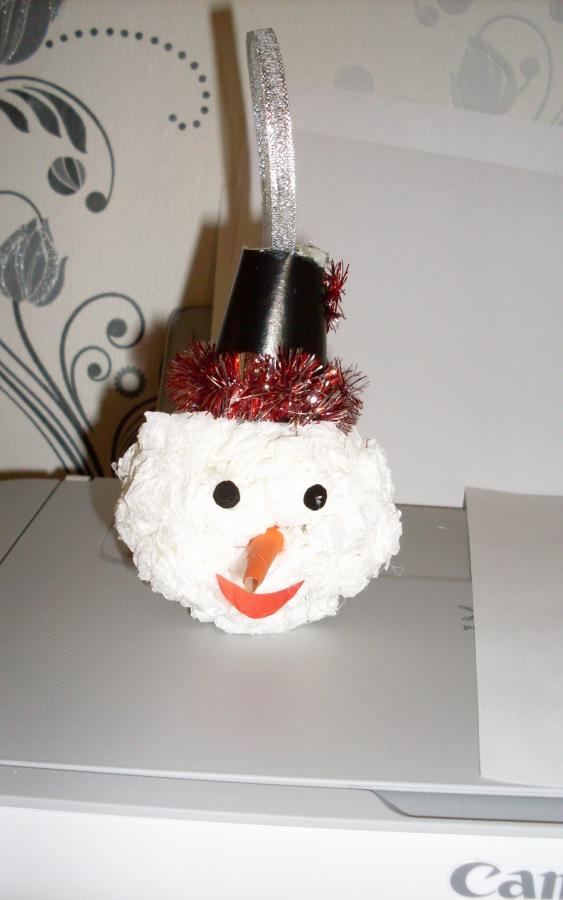
and then we glue the three blanks and the snowman’s body is ready. There are little things left, but they also need to be done. These are eyes, nose, mouth, hands, buttons, a bucket on the head and a braid by which the workpiece can be hung.
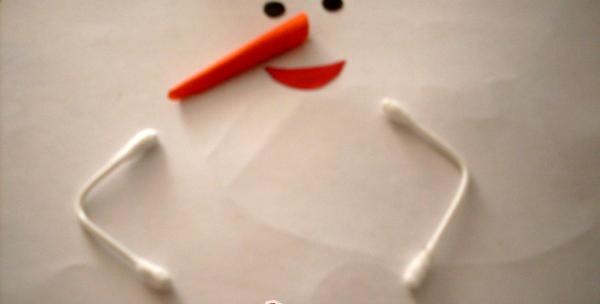
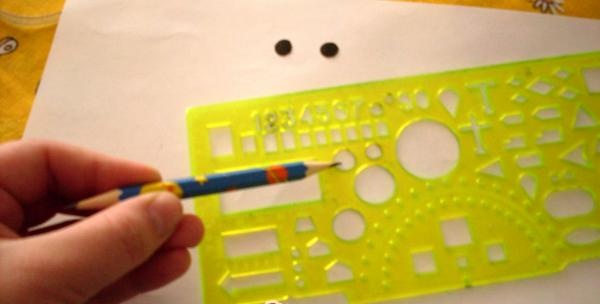
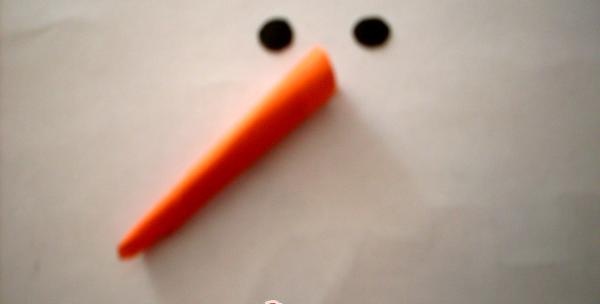
We make the eyes from black cardboard using a ruler.
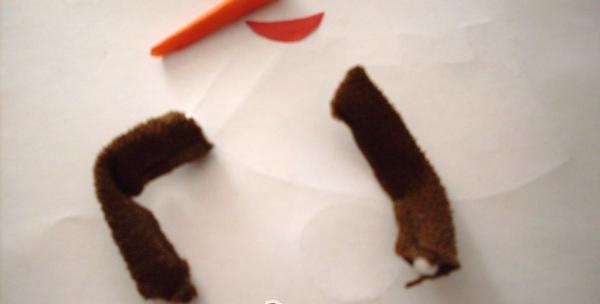
nose made of orange colored paper, mouth made of red colored paper.
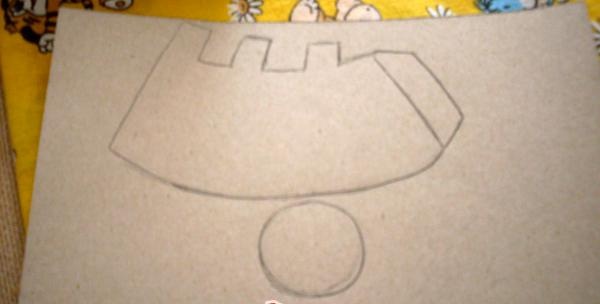
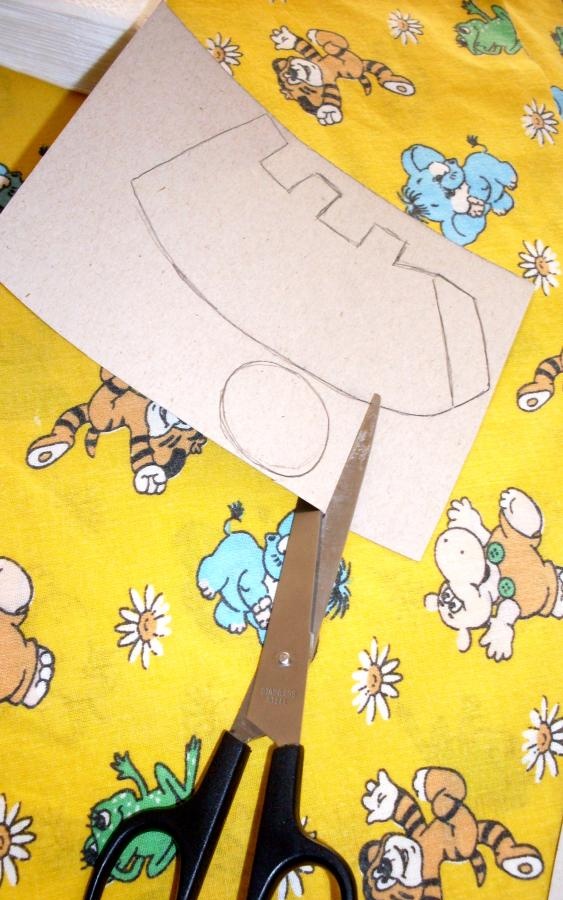
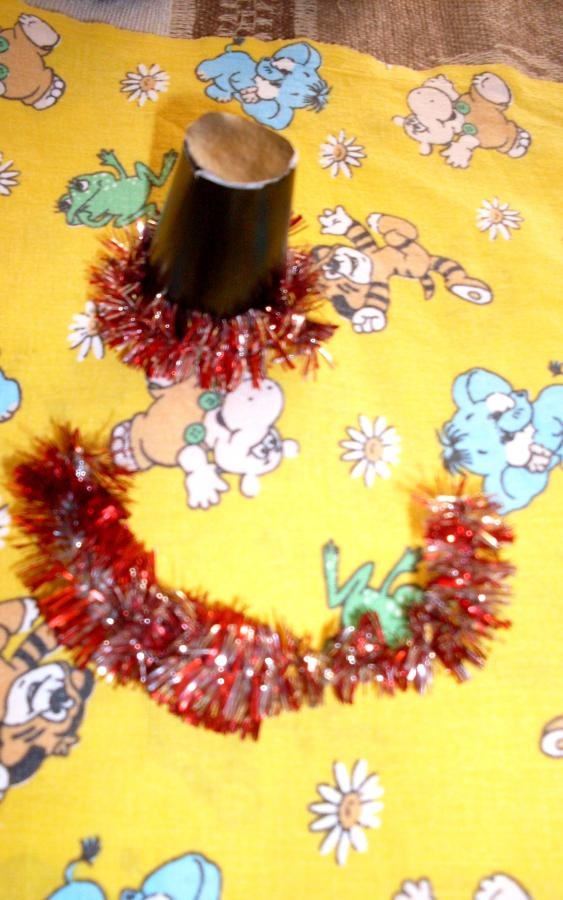
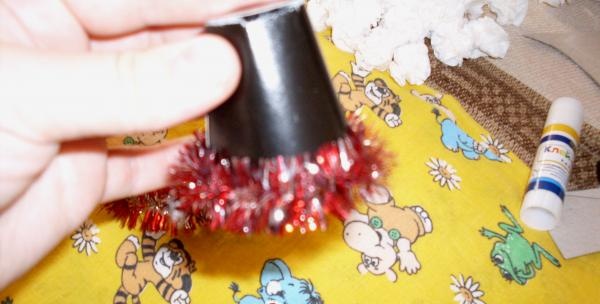
I drew the blank for the bucket in a way that I advise you to do the same.
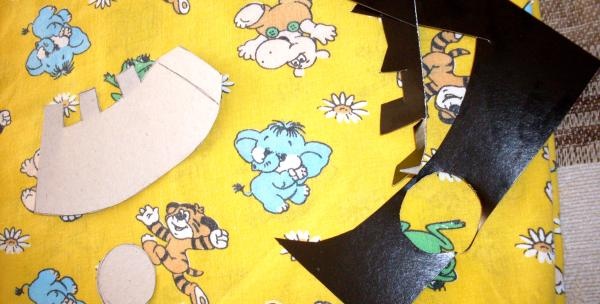
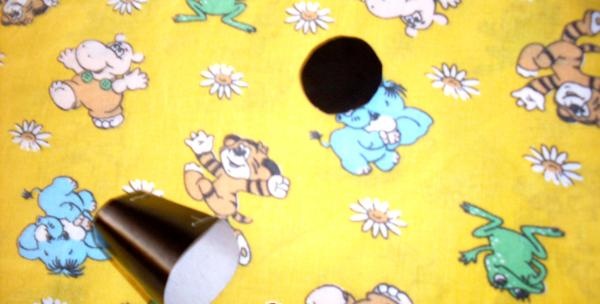
Then we cut out and assemble, gluing the ends of the paper with glue.
You can decorate with tinsel.
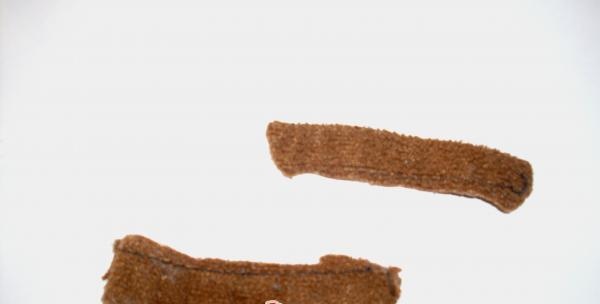
Hands can be made from cotton swabs covered with fabric and we do the final assembly using a glue gun.