Not a single guest can ignore such an original product that was made with their own hands. On the eve of the holiday you can decorate your home. This will be an amazing decoration for the room.
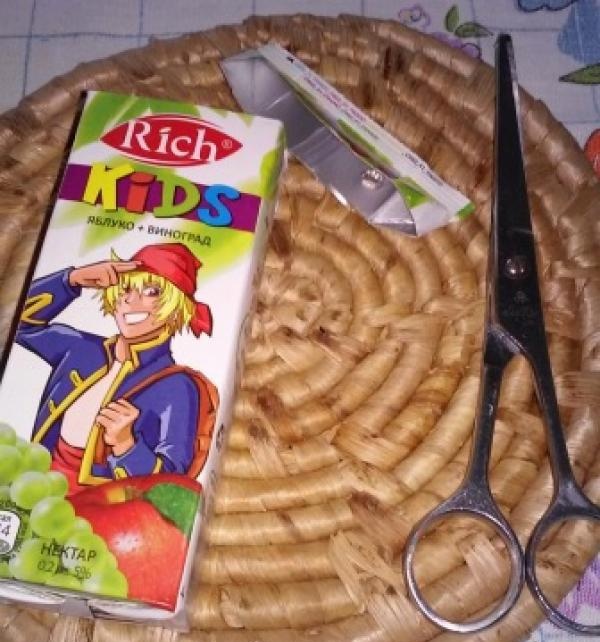
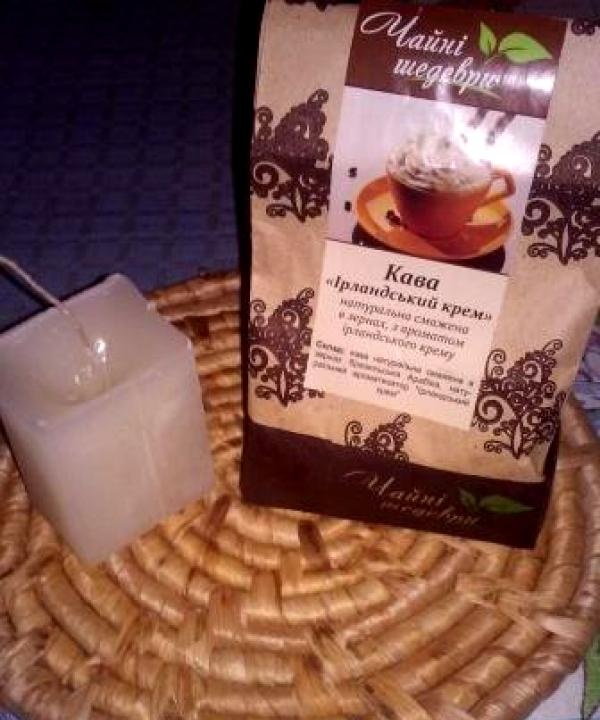
To make such an original craft with your own hands, you need to purchase 3 candles, coffee beans and a pack of small juice. Choose a juice box whose shape you like, since the future candle will harden in this cardboard box.
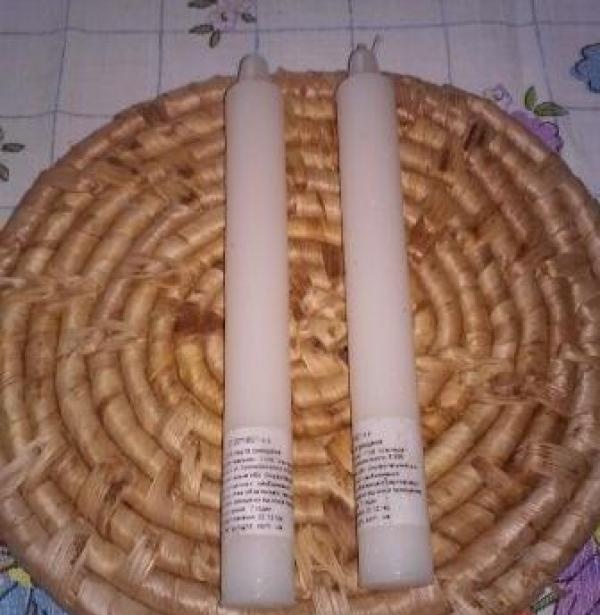
Don't get too hung up on what kind of candles to buy for crafts. As a result, the product will be decorated with coffee beans. Therefore, it is better to stock up on ordinary white candles, which are inexpensive, about 15 rubles apiece.
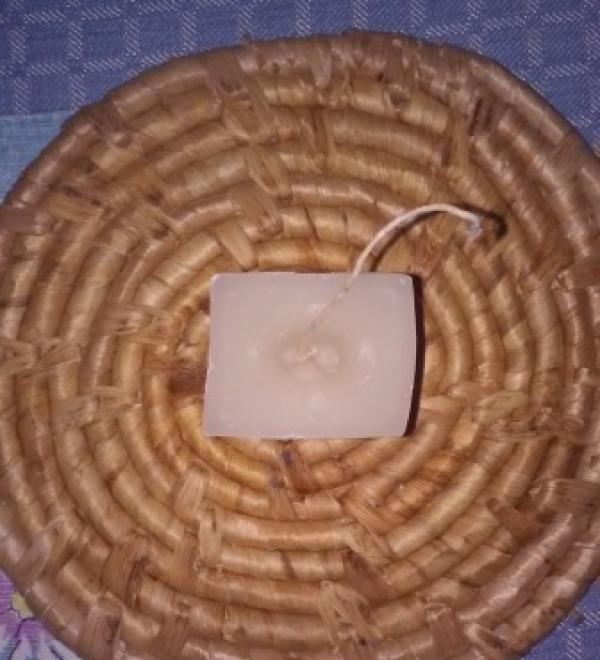
The craft will harden in this cardboard juice box. As a result, it will have a rectangular shape.

1. We begin to prepare the mold
First you need to prepare a box in which the candle will harden. To do this, you need to cut the juice packaging, as shown in the photo.
2.Working with candle material
Two candles must be grated on a coarse grater. In addition, you can chop it with a knife, whichever is more convenient for you. The main task is to grind the candle.
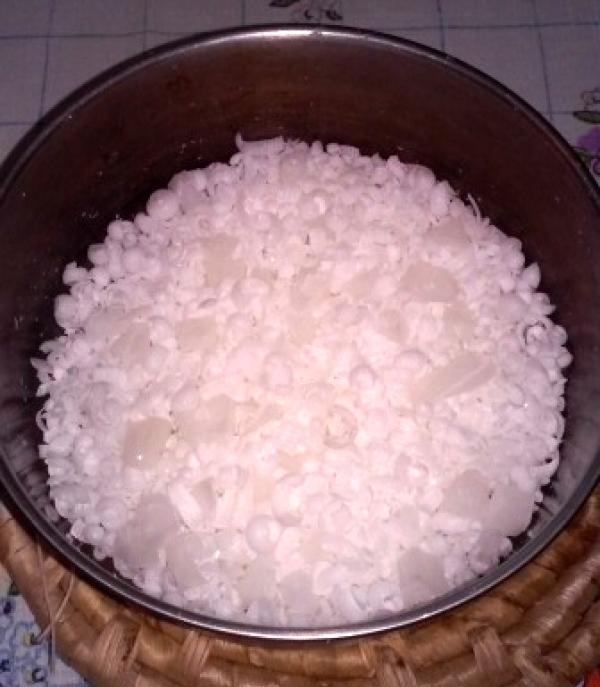
Never throw away the wick. It will be useful for a new craft.
3.Paraffin heating
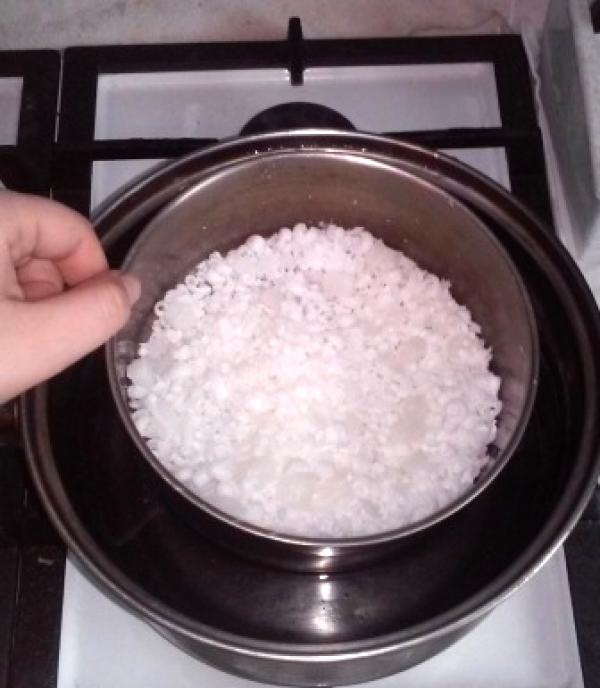
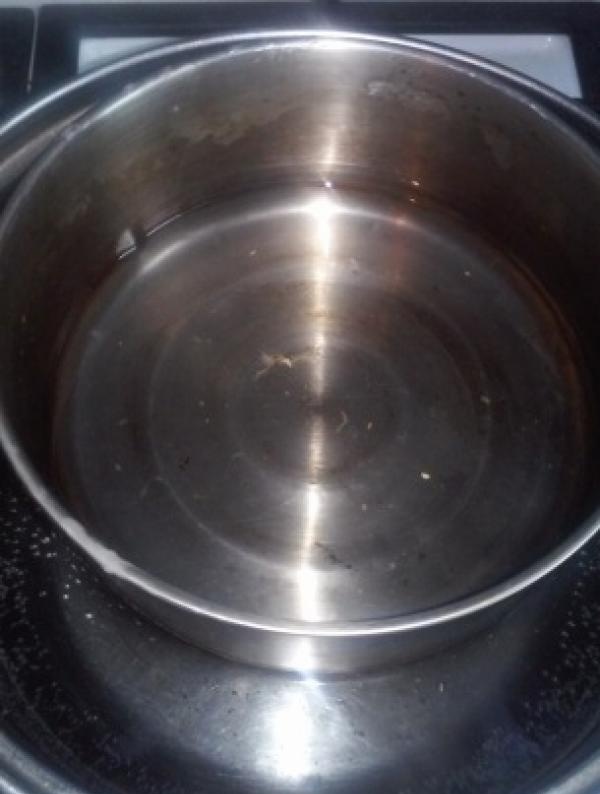
Once the paraffin has been crushed, it must be heated. This should only be done using a water bath. To do this, you need to heat a large pan of water in advance. When it boils, place a bowl of paraffin on top of the water. In fact, you don’t need to pay special attention to how the material melts; it won’t burn in any case. This process will take approximately 5 minutes.
4.Continue to prepare the form
While the paraffin is melting in a water bath, you can continue preparing the rectangular shape for the candle.
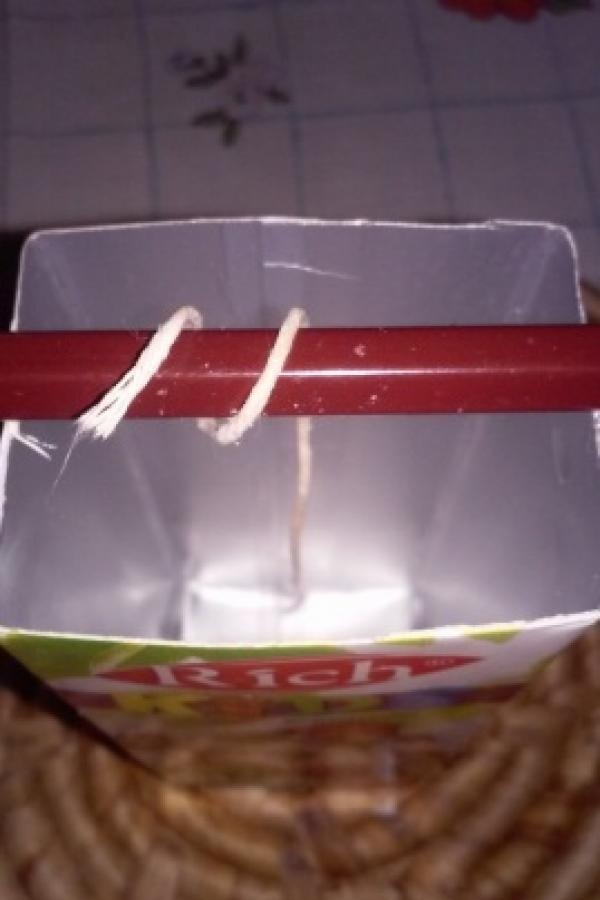
Take a wick and a simple pencil or pen. Wind the rope as shown in the photo. The wick must be in the center, there is no need to tie anything.
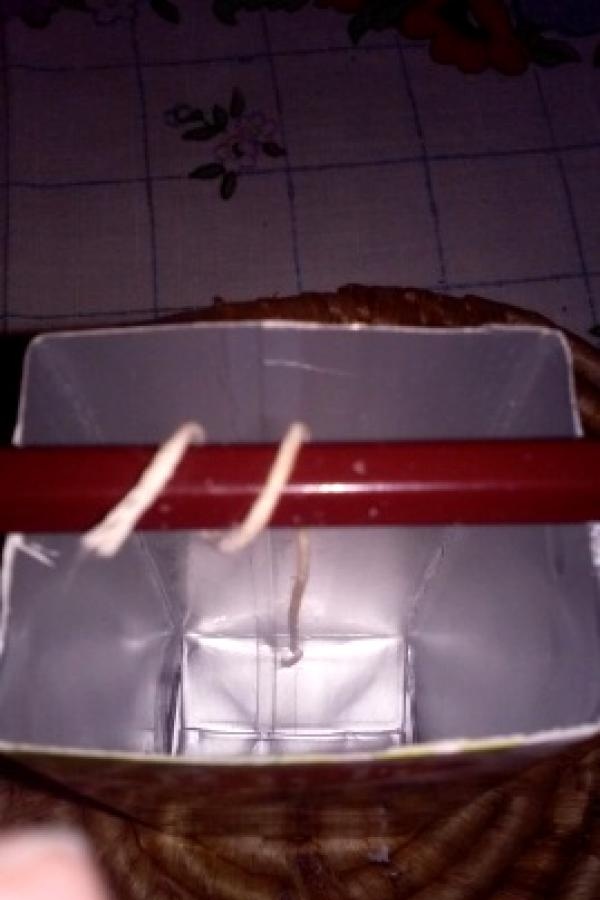
It should reach the bottom edge of the cardboard box.
5.Filling
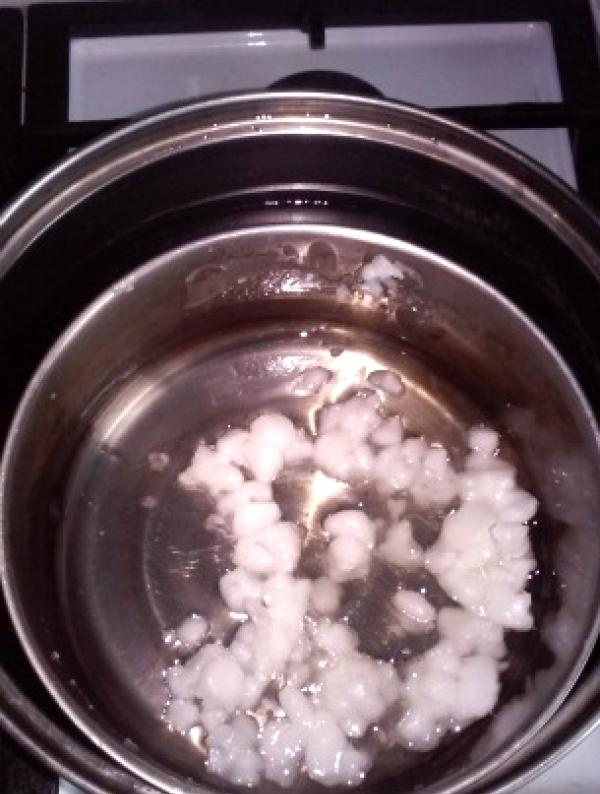
Meanwhile, the paraffin has completely melted. It became transparent, a little thicker than water.
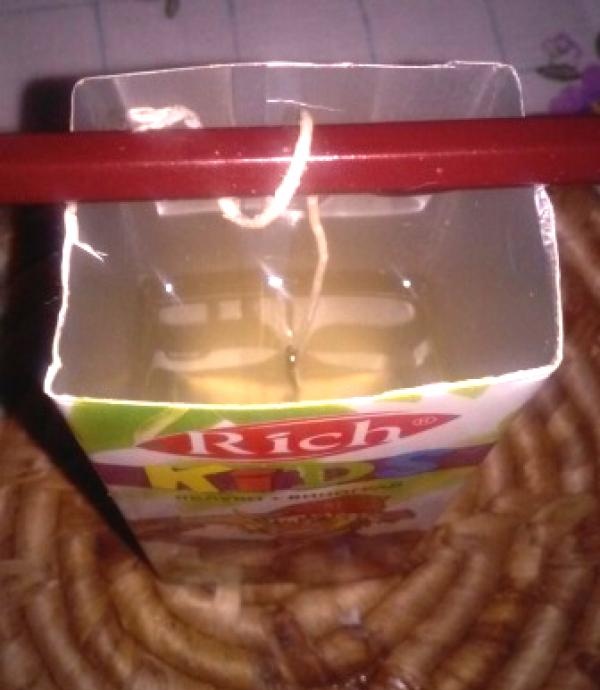
Carefully remove the bowl and pour the liquid into the box.
Please note that the cardboard form does not need to be lubricated with anything beforehand.
Then we put the craft away for about two hours in a cool place. In a warm place, paraffin will harden longer.
6.Formation of a candle
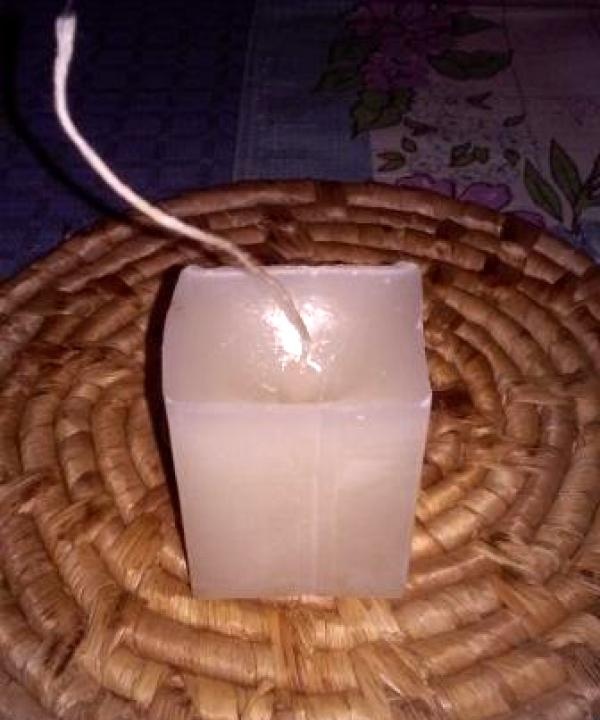
Once the paraffin has completely hardened, you need to remove the finished candle from the mold. To do this, we will use a stationery knife. Carefully cut the cardboard from top to bottom on one side.In fact, detaching the craft from the mold is not difficult. Unfortunately, the box in which the product was made will not be suitable for the next use.
7.Craft decoration
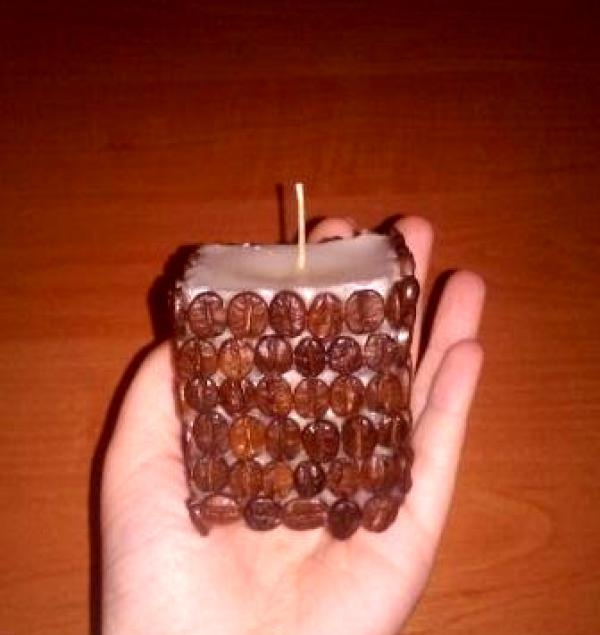
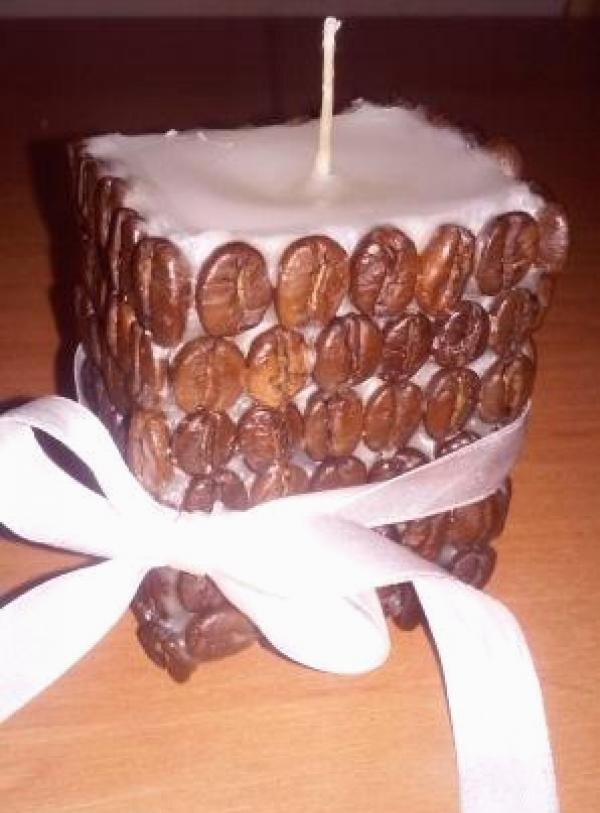
Grate the remaining candle. And melt it again in a water bath. Now you can start designing your product using coffee.
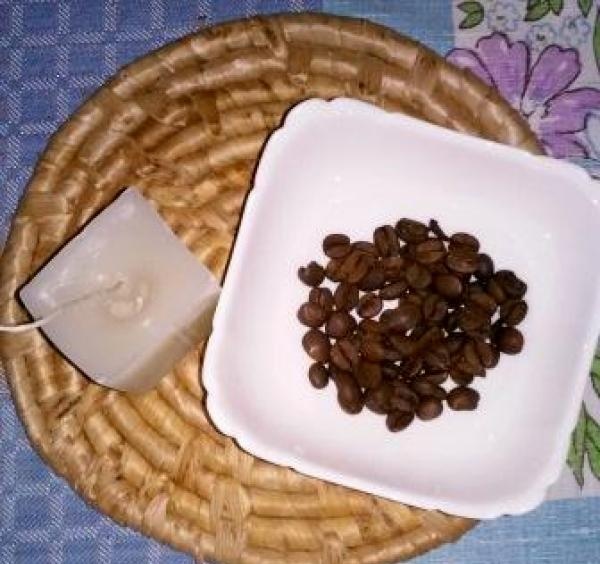
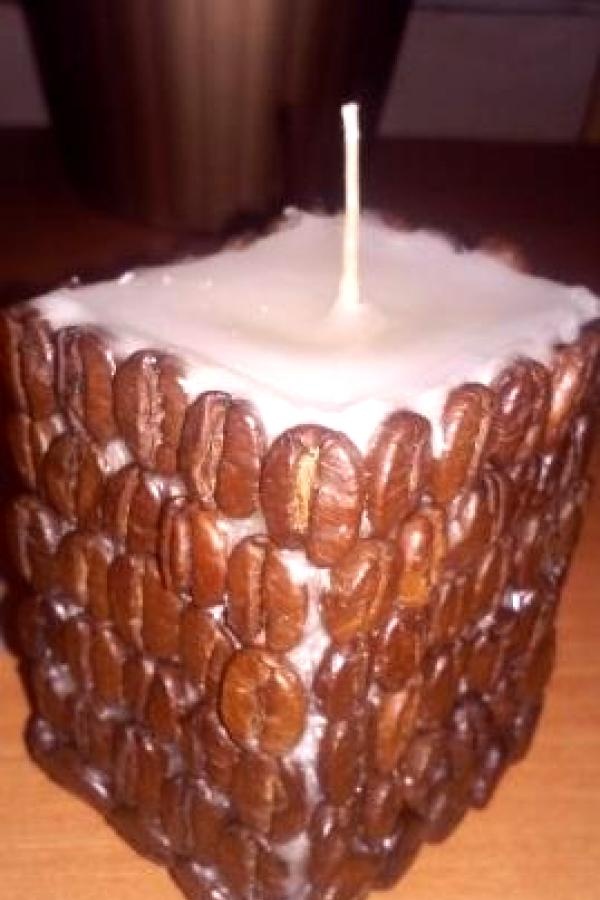
In order to fix the grains on it, I used paraffin. You just need to dip the brush into hot paraffin, apply it to the surface of the craft and attach the decoration.
While working, I encountered this problem. The middle of the candle simply “sank” and a dimple formed. Having decorated the product, I poured the remaining paraffin into the middle and set it to harden again.
The result was a candle like this with your own hands, the photo of which is shown below. It will complement any interior. In addition, such a product turned out to be inexpensive, practical and original.