All children love Kinder Surprise eggs. And, most likely, not because they are sweet, but precisely because of the surprise that is hidden inside. After all, it is always so exciting to open the package, eagerly getting to the toy to find out what will be there this time. What about children! Many adults look at these chocolates with curiosity and would not mind unpacking a couple of them themselves.
What if this “Kinder” is not the standard sizes that are on store shelves, but much larger? The child's delight will know no bounds. In addition, you can put anything inside: your favorite toys, a wide variety of sweets. This is a great option for a holiday gift.
You can make such a surprise with your own hands. It's not difficult at all, especially if you know all the secrets and subtleties. The egg is made from paper using the technique papier mache, or rather mashing. Alternatively, you can do this present personalized, which will be doubly pleasant.
Necessary materials
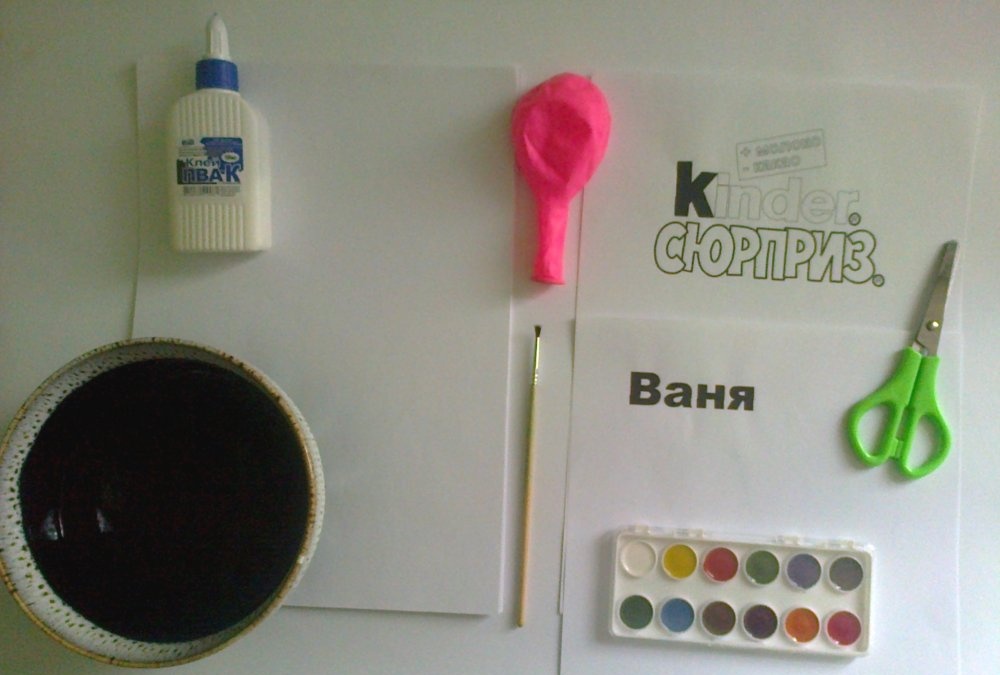
During the work you will need:- - balloon;
- - paper;
- - scissors;
- - paints;
- - printed inscriptions (color or black and white);
- - brush;
- - water;
- - PVA glue.
Stages of work
So, let's start making Kinder Surprise. It should be borne in mind that although this work is not difficult and even beginners who have never worked with papier-mâché can do it, it will take a lot of time. About 4-5 days. Since you will need to dry all the layers of paper well so that the testicle does not become deformed later. Therefore, you need to start not on the eve of the celebration, but a little earlier. We will make Kinder in this order.
1. Inflate the balloon. Tie tightly with thread. Leave the thread longer and do not cut it short. We will still need it.
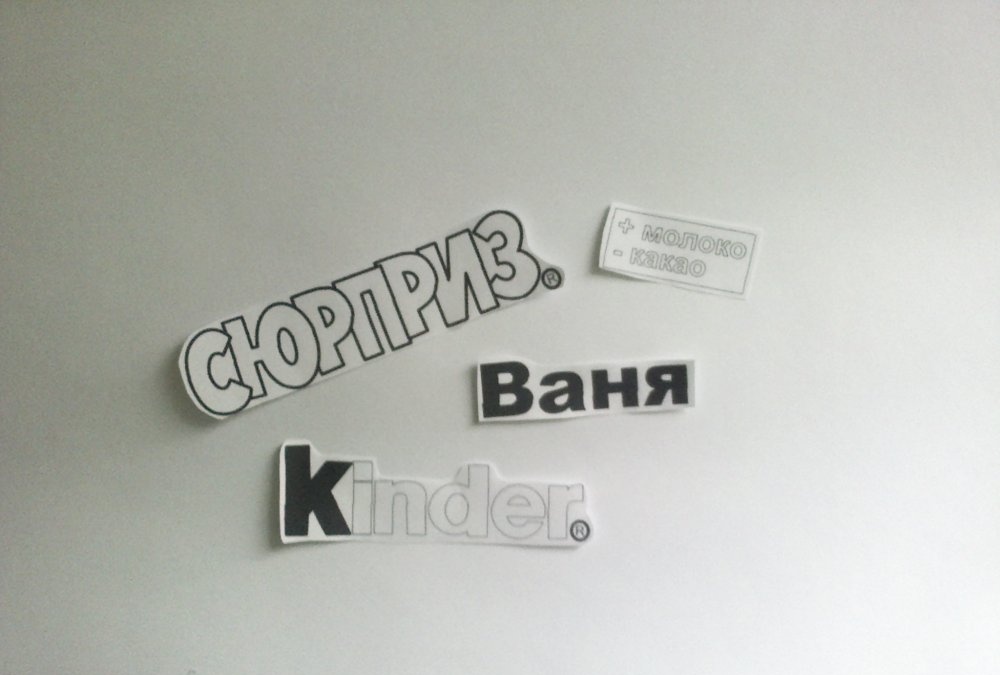
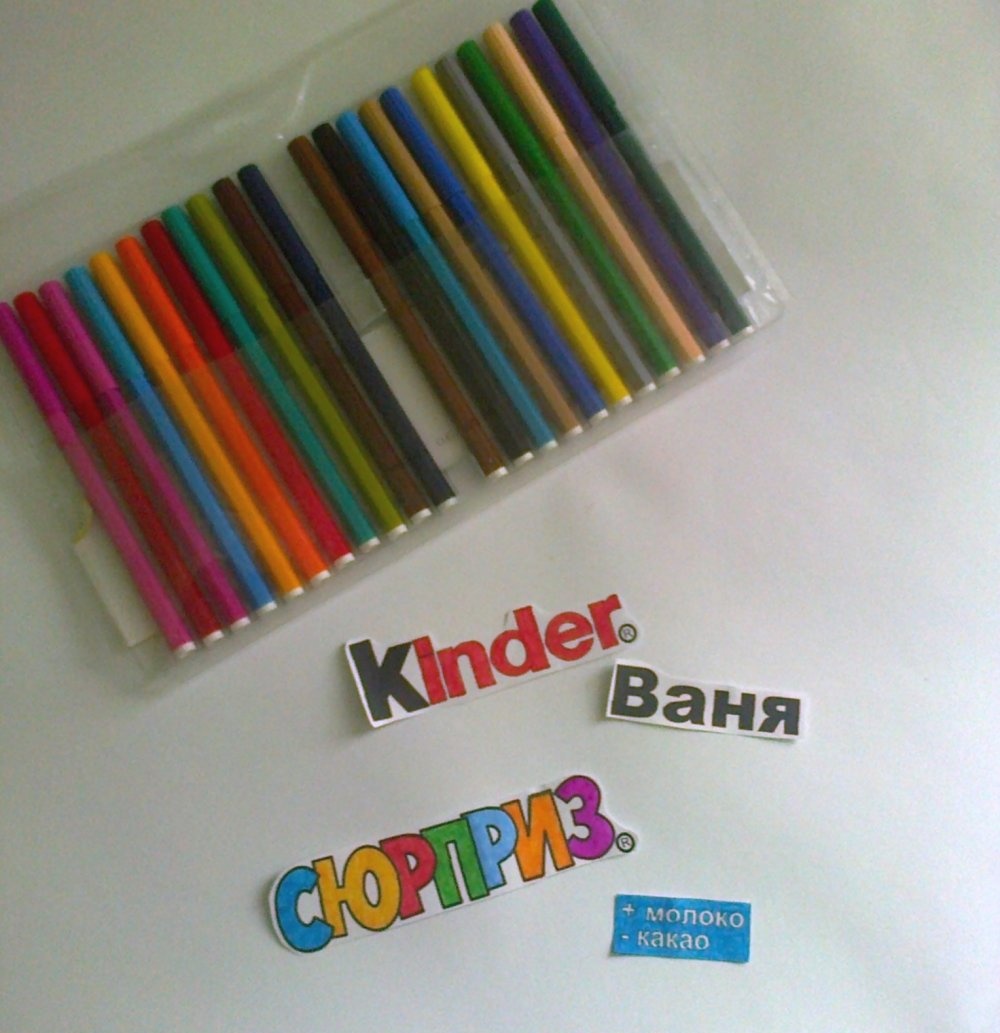
2. Cut out the inscription “Kinder Surprise”, each word separately. If you have a color printer, you can immediately print the letters in color. If not, take black and white ones and color them yourself. You can also print the name of the child or the person you will give the gift to. We also carefully cut it out.
3. Cut the paper into small squares. Approximately 2x2 cm.
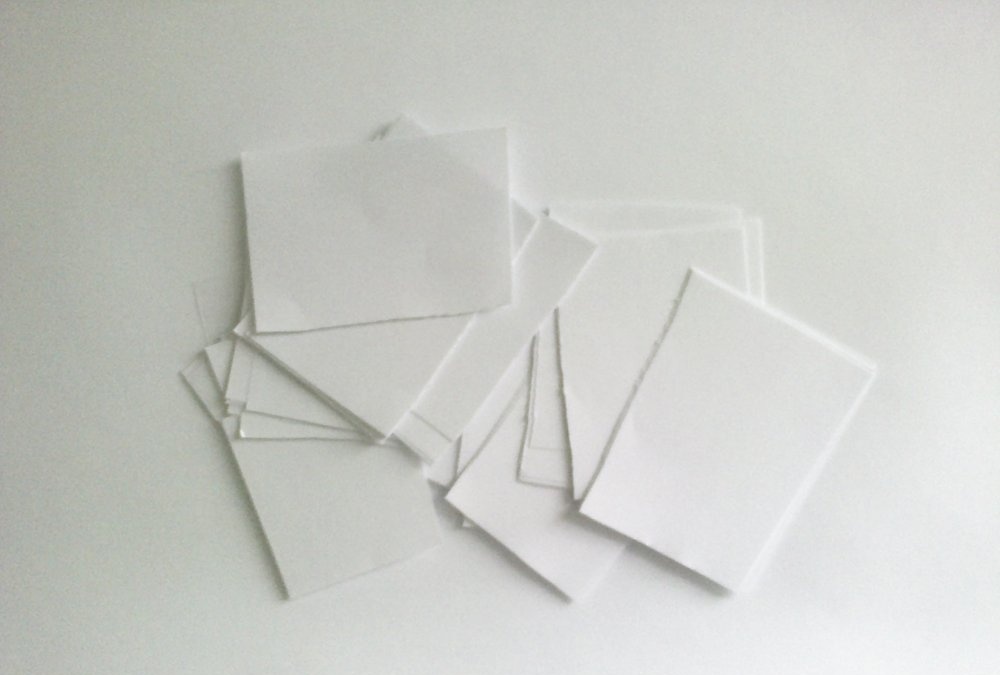
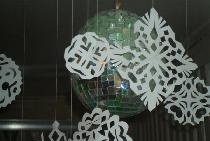
4. Glue the first layer of paper to the ball using ordinary water. Place the prepared pieces of leaf in a bowl of water. Apply one piece of paper to the ball with a slight overlap. For convenience, you can place the ball in a mug or jar with the “tail” down. Cover the entire ball with paper, leaving only its tip uncovered. The ball will then need to be removed through this hole.
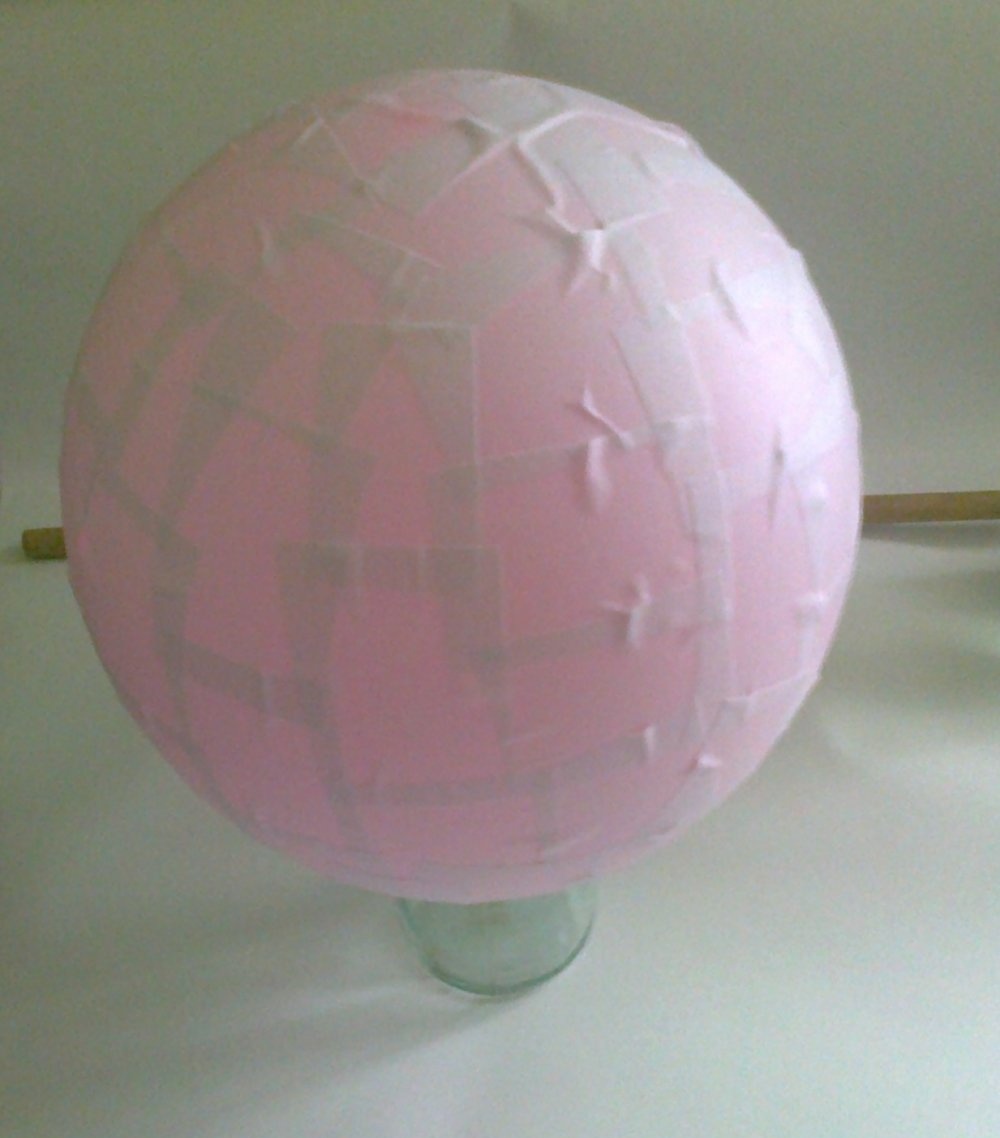
5. While the paper is still wet, we immediately begin applying the second layer. Here you will already need PVA glue. It will saturate the paper well, and it will become an excellent solid base for Kinder.Grease the prepared pieces of sheet generously with PVA and apply in the same way, overlapping. You can use a brush, but it's easier to do it with your hands. You need to try to smooth out the resulting wrinkles as much as possible.
6. Leave the workpiece to dry, hanging it by the thread with which the ball is tied. It should dry completely. This will take a night, or maybe even a day. During the drying process, the PVA is slightly deformed, but this is not critical.
7. When the first layer has dried, we begin to apply the second. To reduce the cost and simplify the process, you can use not only A4 sheets, but also any other paper: toilet paper, napkins, paper towels. The inner layers will not be visible, and with the help of a soft material it will be possible to correct the resulting irregularities, and it will be more convenient to work with it.
Advice: It is better not to use newspapers and printed materials. The paint will get wet and then bleed through the top layers. And this can ruin all the work.It is now better to replace PVA glue with flour paste. Working with him is much easier and more convenient. It doesn't stick to your hands, but glues perfectly. You need to take the paper, generously coat it with paste with your hands, overlap it and smooth everything over the top.
Paste recipe:- - 2 tablespoons of flour,
- - 200 ml of water.
Gradually add water to the flour, mixing it thoroughly so that there are no lumps. Place over low heat and cook, stirring constantly, until thickened. The paste should not boil.
You can store the flour paste in the refrigerator. It does not lose its adhesive properties for 3 days. But it’s easier to cook fresh every time. It's a matter of five minutes.
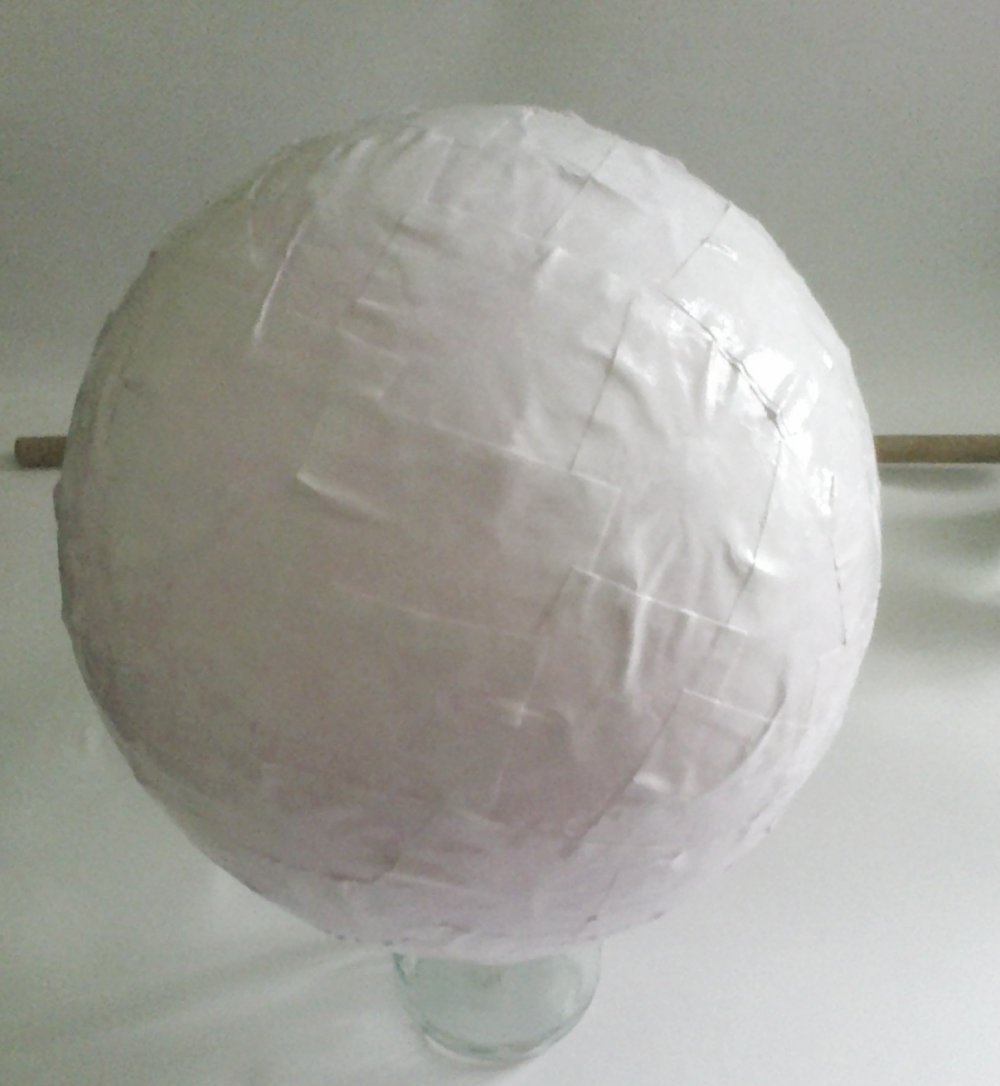
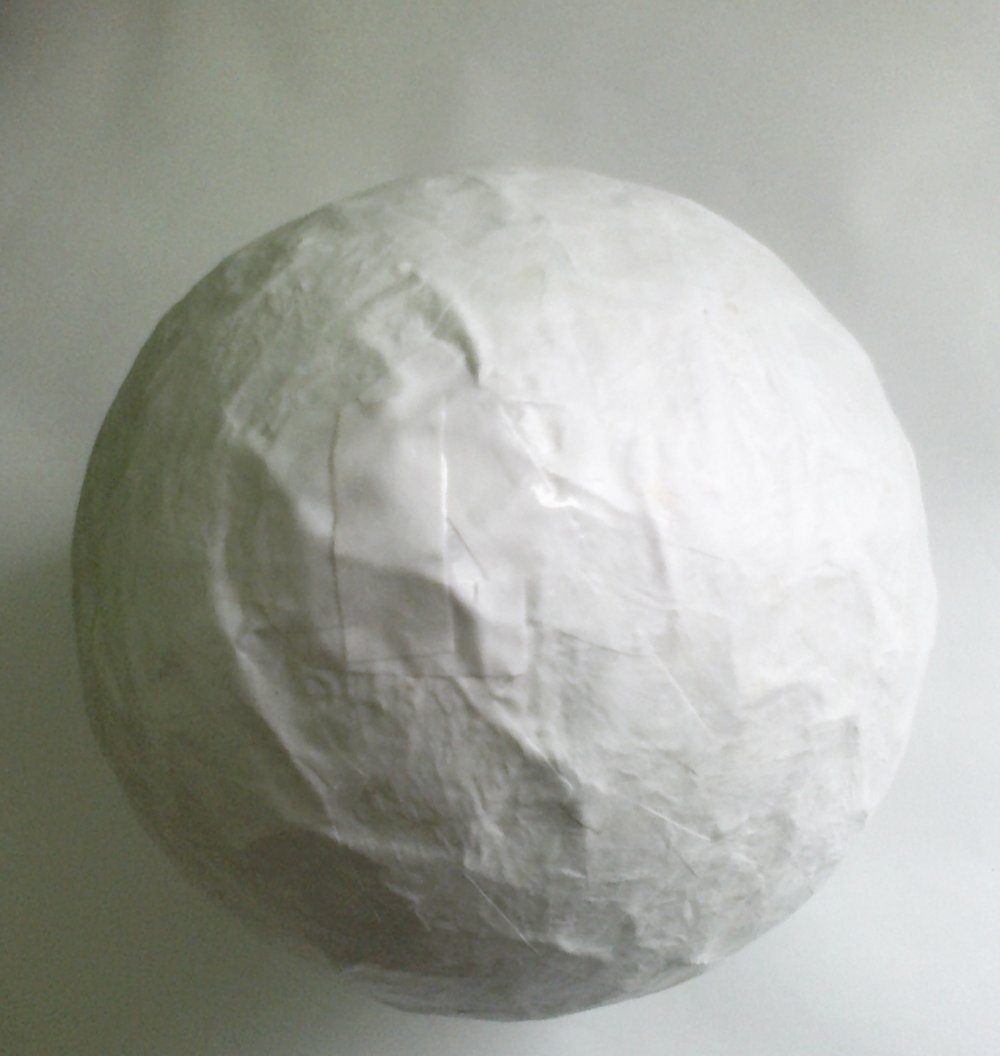
8. Hang the egg up to dry again. When the third layer is dry, apply the fourth layer in the same way and dry again.In total, it is better to make at least 4-5 layers so that the Kinder ultimately holds its shape and does not sag under the weight of the gifts inside it. The last layer should be made of white paper.
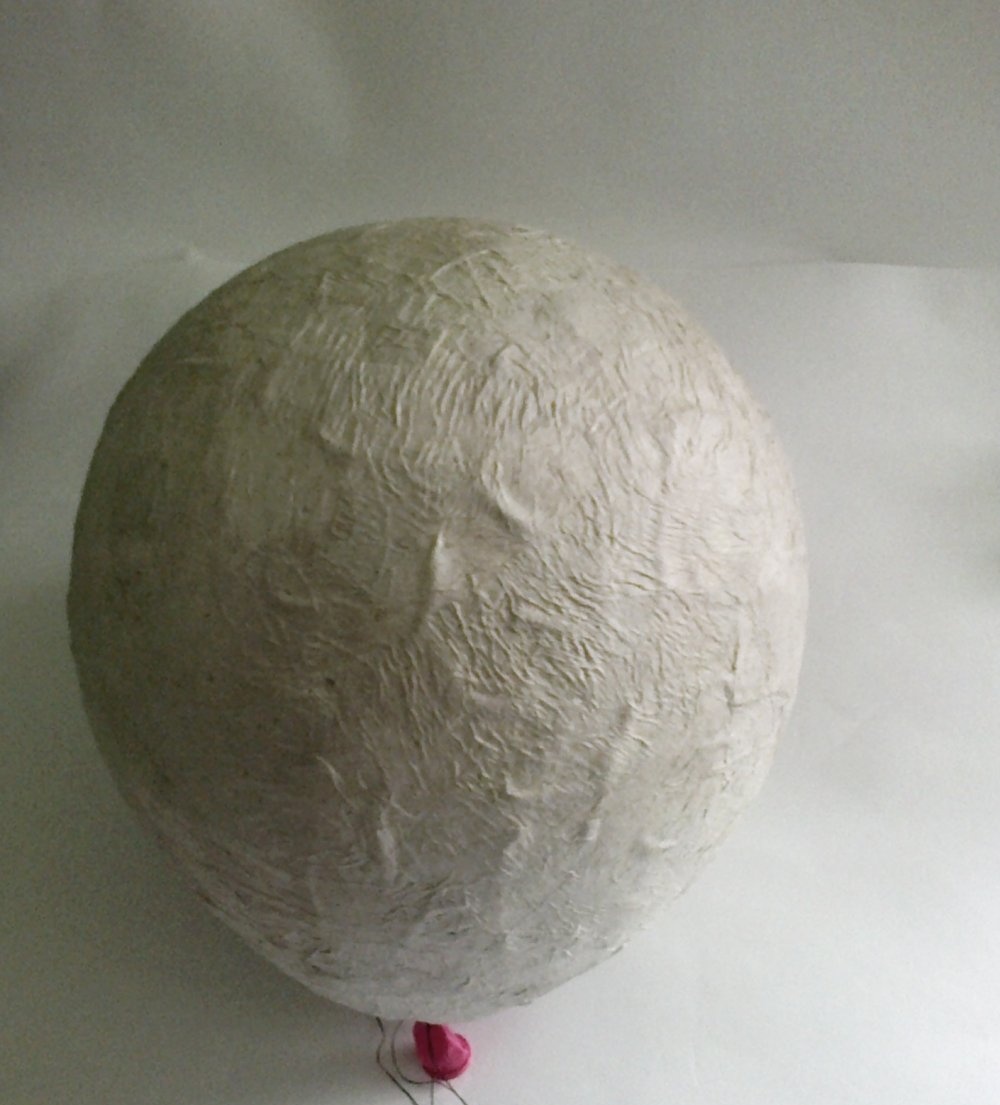
9. When the last layer of papier-mâché has completely dried, remove the ball. Just hold it by the “tail” and cut it with scissors. It deflates and is easily separated from the paper.
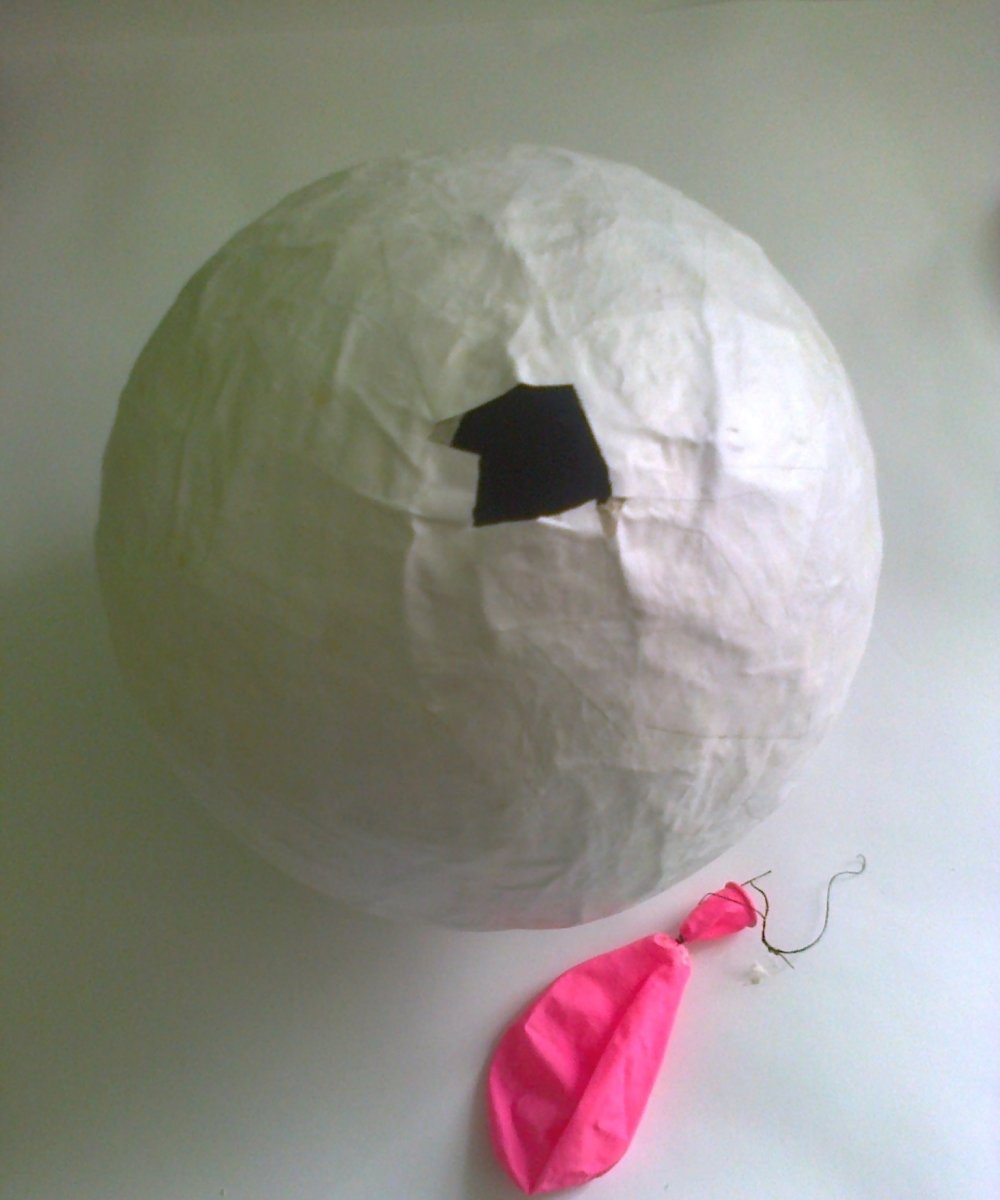
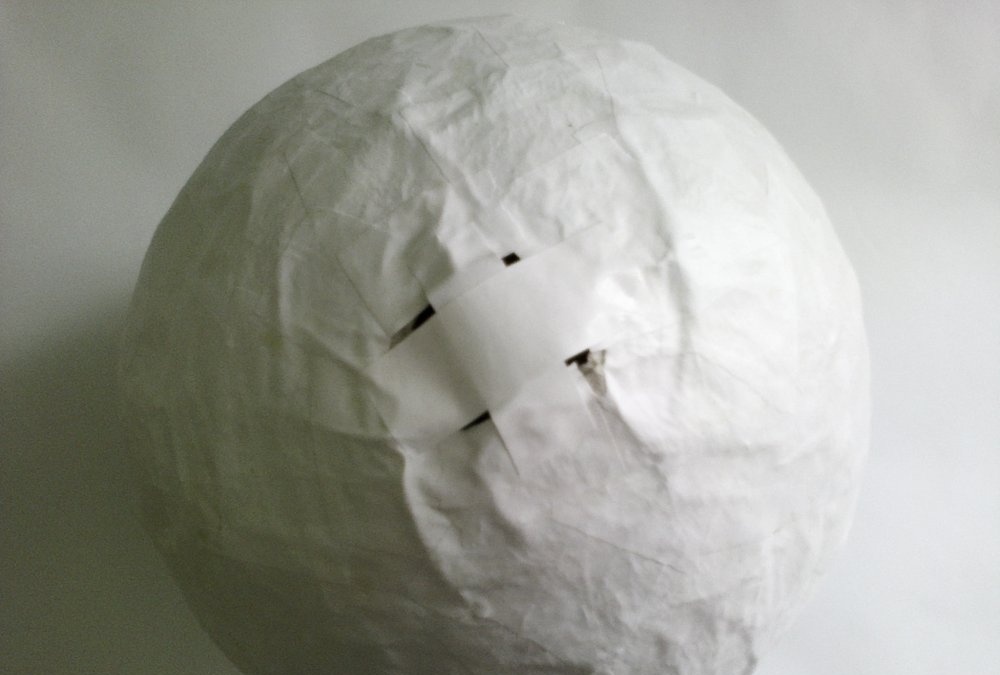
10. Seal the hole remaining on top. To do this, cut out two oblong strips of white paper and several squares. First, glue the strips crosswise with PVA glue, forming the top of the egg. When they dry, close the hole tightly, in several layers, with squares of paper. Leave to dry.
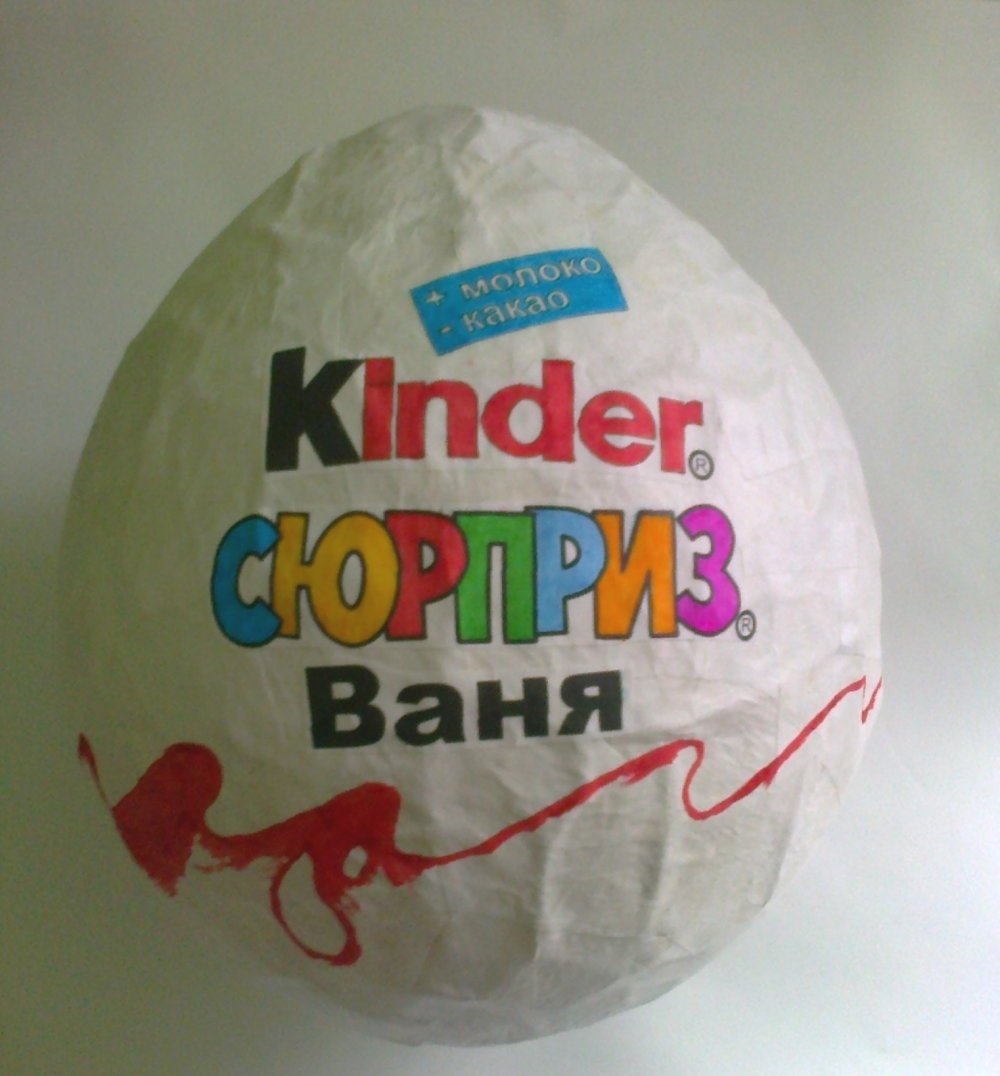
11. It’s time to decorate the blank. We paint the inscriptions. This can be done with paints, felt-tip pens or pencils.
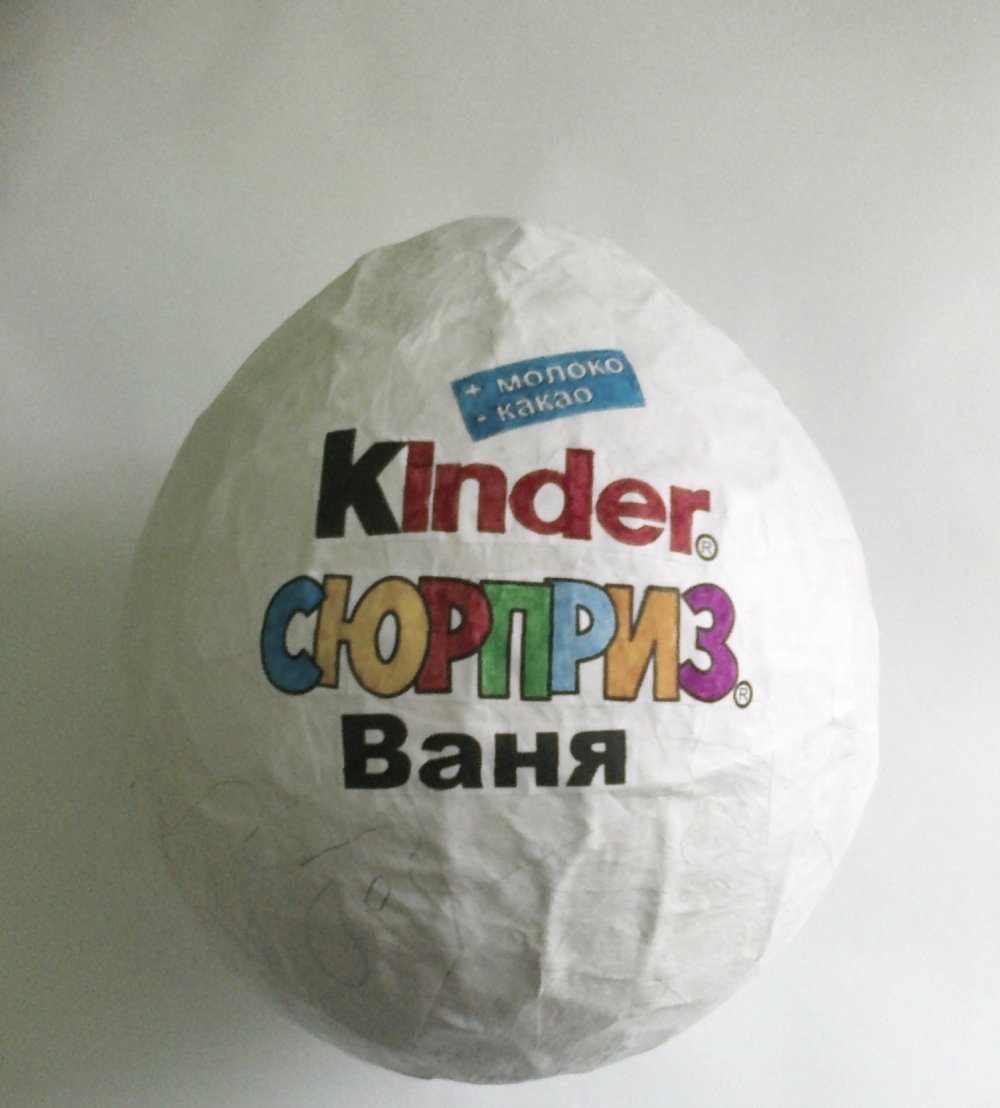
12. Use a simple pencil to mark the egg. Carefully glue the inscriptions with glue, smoothing out any irregularities.
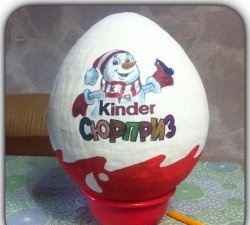
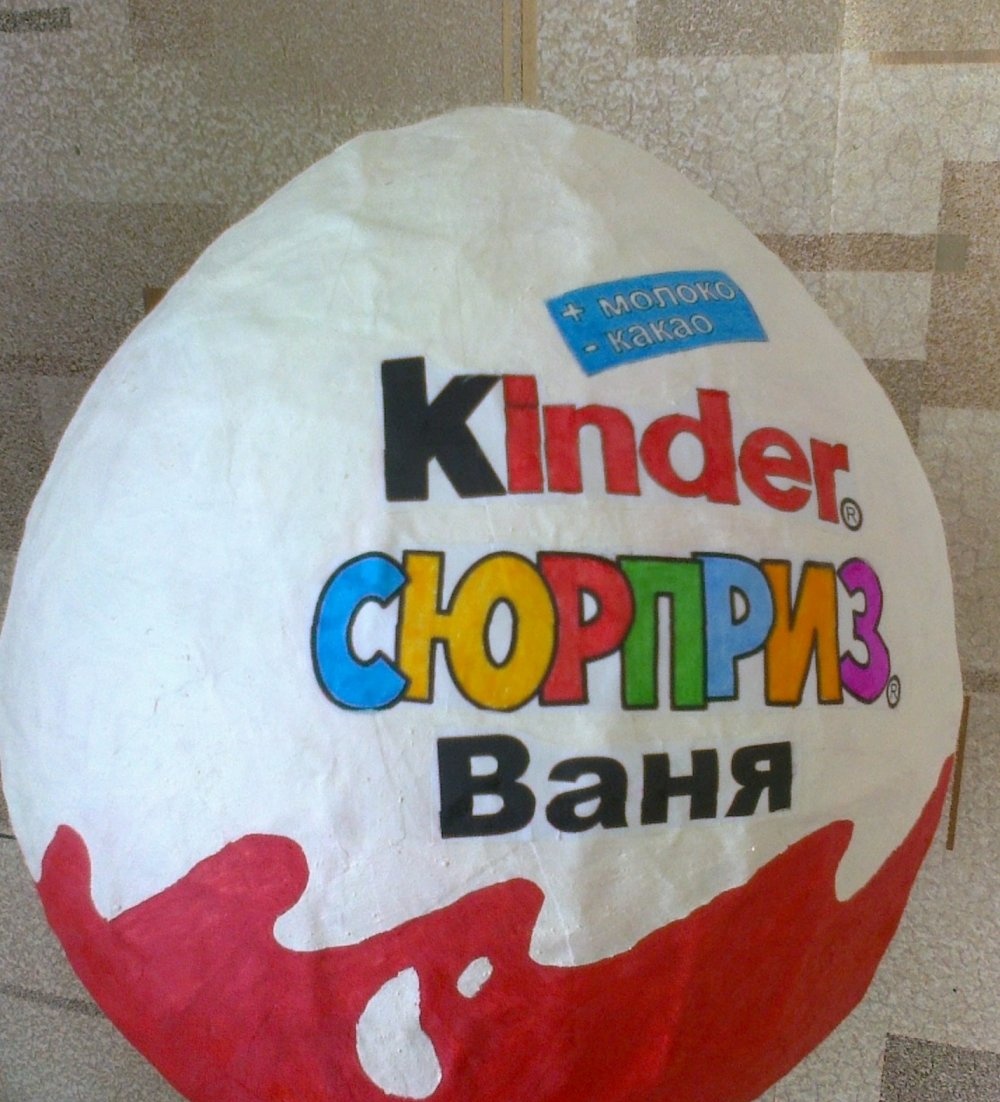
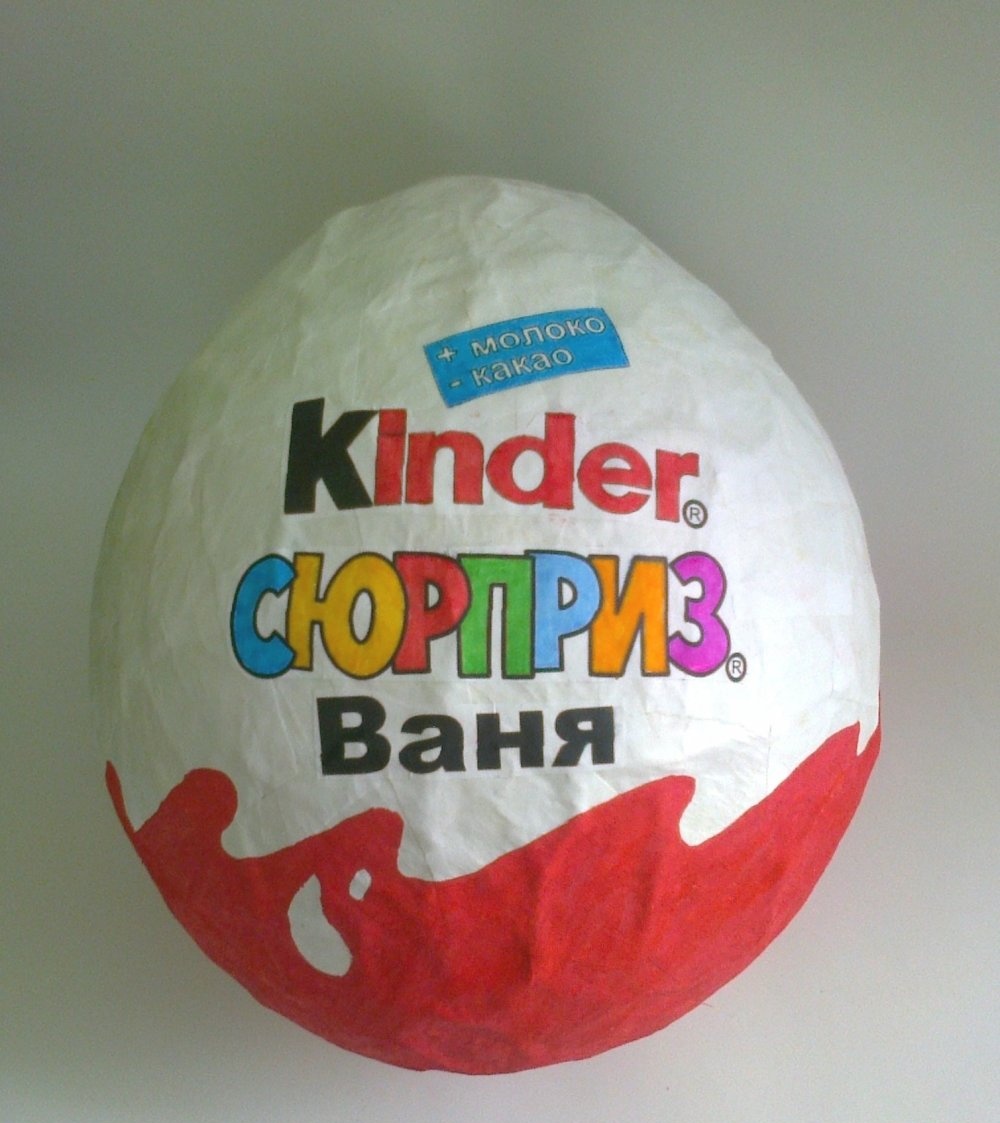
13. Color "Kinder". The lower part is red, and the upper part is white. The top definitely needs to be painted. This way it will be smoother and brighter. White paint can be mixed with PVA glue. Gouache is more suitable for work, but if you don’t have it, then you can use watercolor.
14. When the paint has dried, cut a hole in the back in the form of a window through which the egg will be filled. This can be done with a blade or a utility knife.

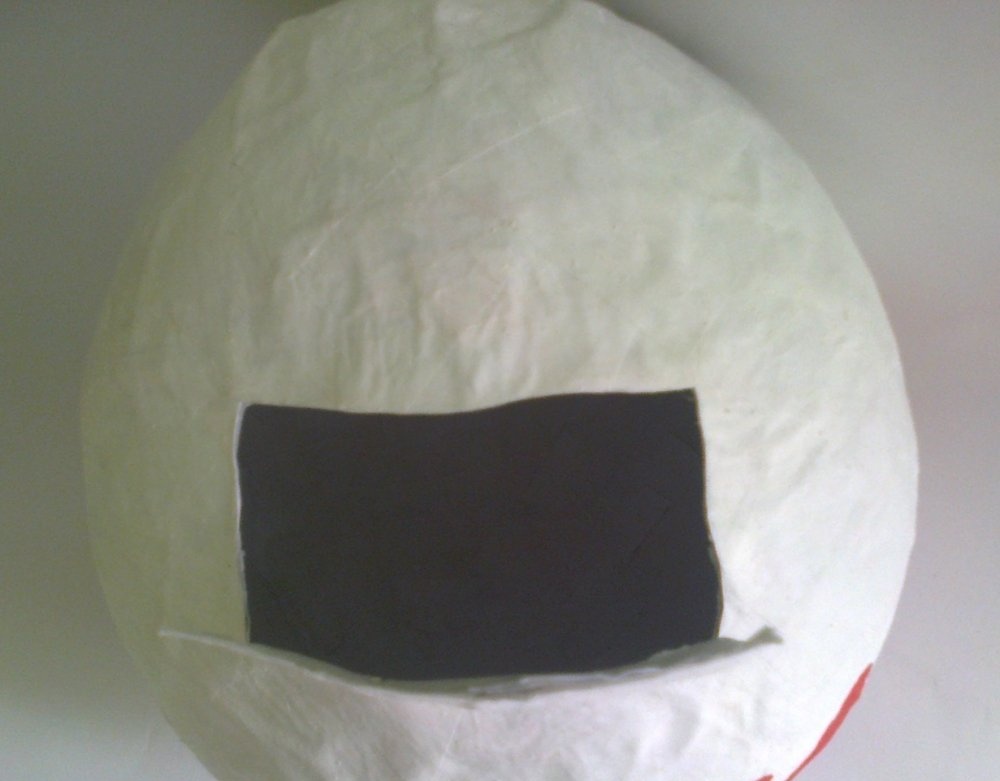
All. Kinder Surprise is ready. This is how easy it is to surprise a child or an adult. Make your dream come true or just have a fun holiday filled with love.