For work we take:
- plastic suede in white and green colors.
- the glass is transparent.
- any candle.
- scissors.
- toothpick.
- oil art paints.
- a piece of foam rubber.
- thin wire.
-glue gun.
- thin green paper for creativity.
- toothpick.
- cardboard.
- paper tape.
- lighter.
- Curling Hair.
- red sequins and a decorative heart for decoration.
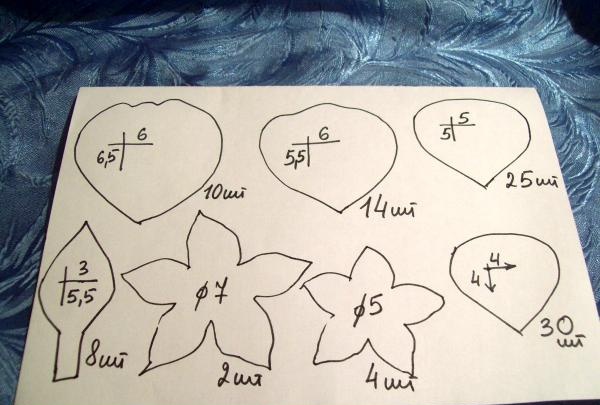
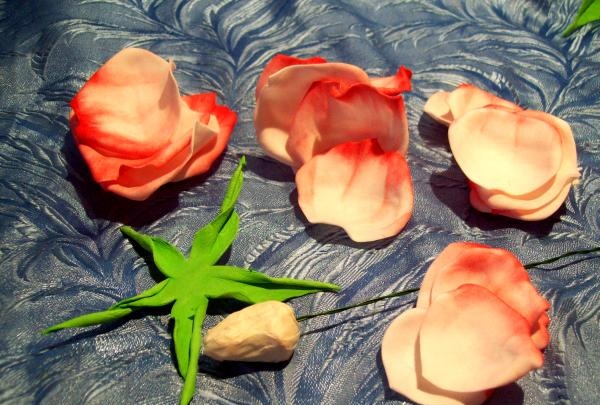
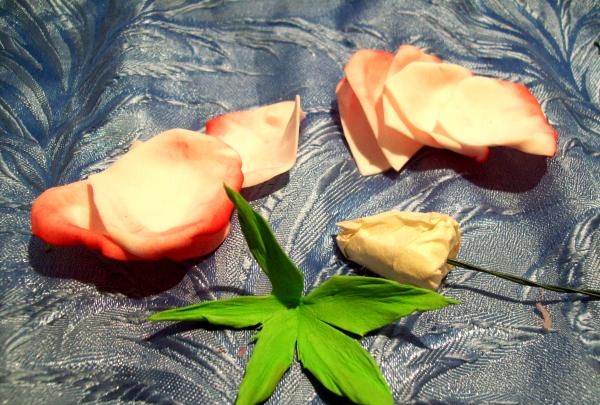
For ease of use, let's first draw the templates. Flower petals look like large droplets. Two small sizes 4 x 4 and 5 x 5 cm. The average petal is 5.5 x 6 cm in size, the upper part has one wave. The largest petal has three waves and its size is 6 x 6.5 cm. The leaves are 3 x 5.5 cm similar to a boat, but on a stalk. The sepals look like stars with a diameter of 7 and 5 cm.
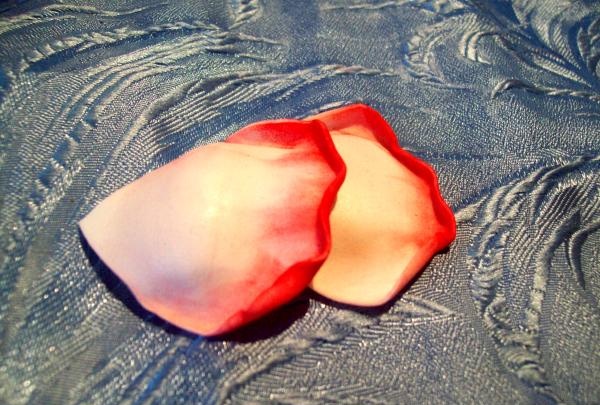
On white suede, using a toothpick, we trace large petals, 10 and 14 pieces, according to the templates. Small ones need 25 and 30 blanks. We carefully cut everything out.

Next you need to tint the wide edges of these blanks red.We will use art paints and a piece of foam rubber. It needs to be processed on both sides.
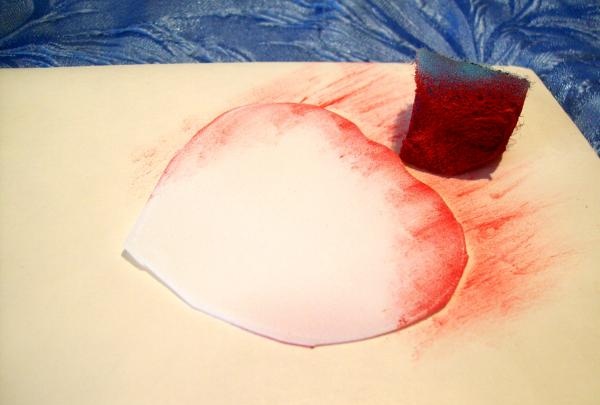
Change the color of all petals at once.
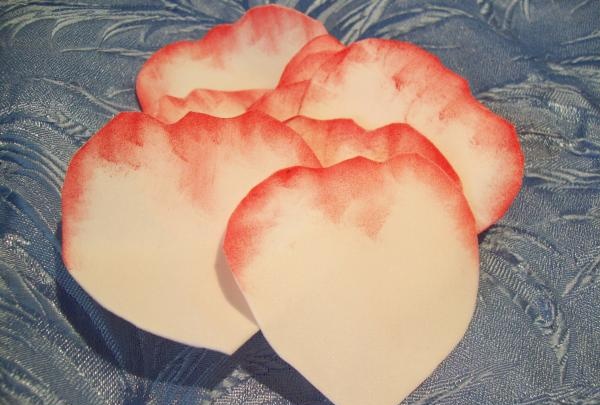
Now we knead the fabric of the petals with our hands, making it soft. We fold each piece like an accordion and scroll it with our fingers, and then straighten it again.
And in this way we process all the petals.

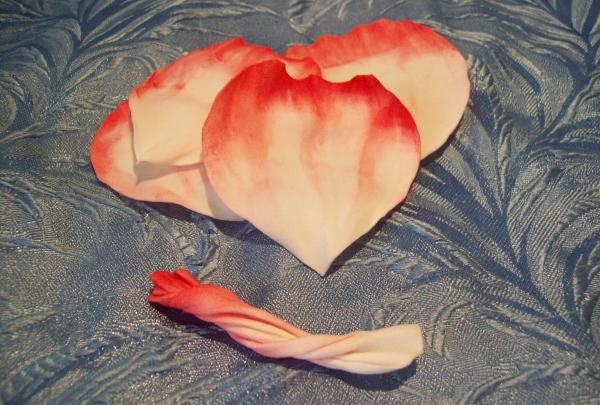
But now we will give them a new form. Since foamiran becomes plastic when exposed to heat, we will use a hair curling iron. Place the middle part of the petal on the heated device for a few seconds. We place the workpiece and curling iron horizontally. On the warm part of the petal, immediately make a depression with your thumbs.
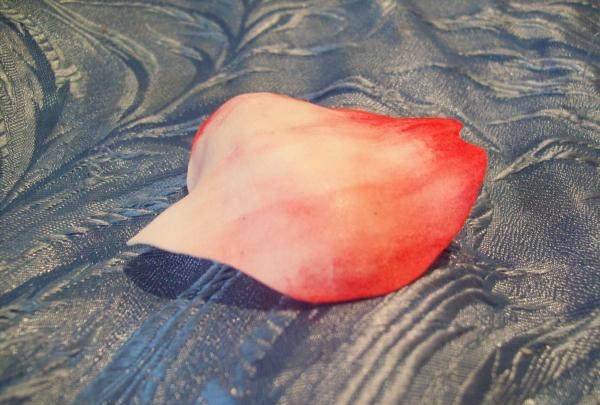
Now we place the petal with the indentation down and, using a lighter, make bends along the edge of the workpiece. When exposed to heat, the suede itself bends towards the fire. On large petals we make two bends, leaving the middle wave free.
The slightly smaller petals have the same bends, but the middle wave can be turned in any direction.
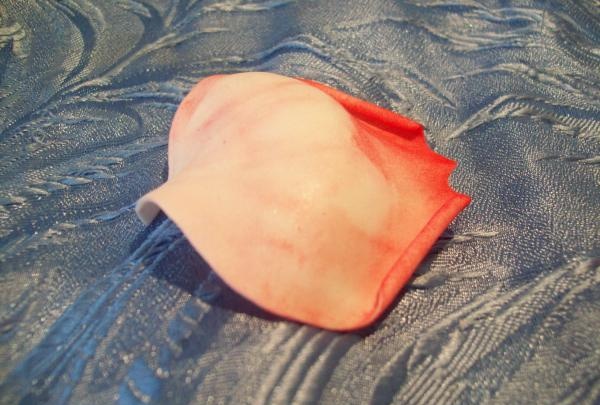
Now let's move on to the small petals. The fold will be along the entire top edge. This can be done in several steps.
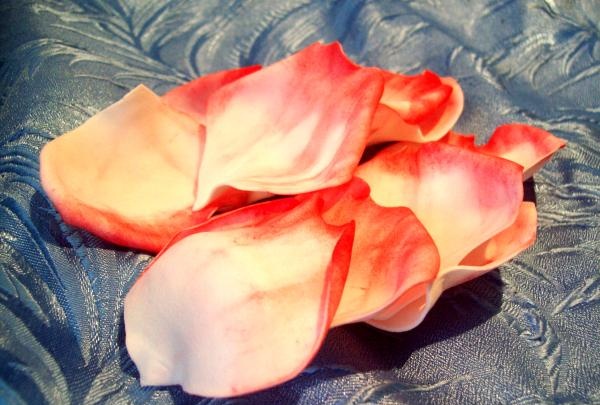
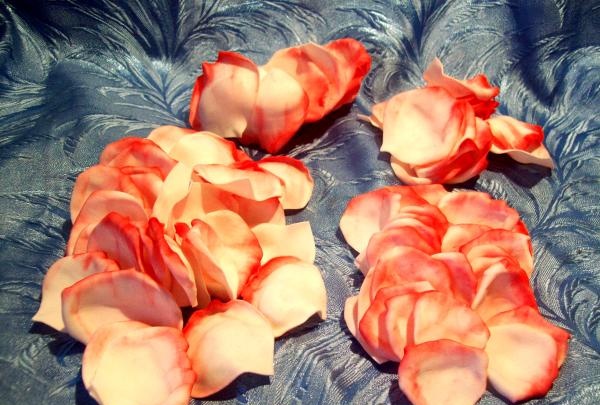
In this way all the petals have a new shape.
Now we take green suede. Using the template, cut out 2 large and 4 small sepals. And we will process it right away. We put all 5 corners of the workpiece together and scroll with our fingers.
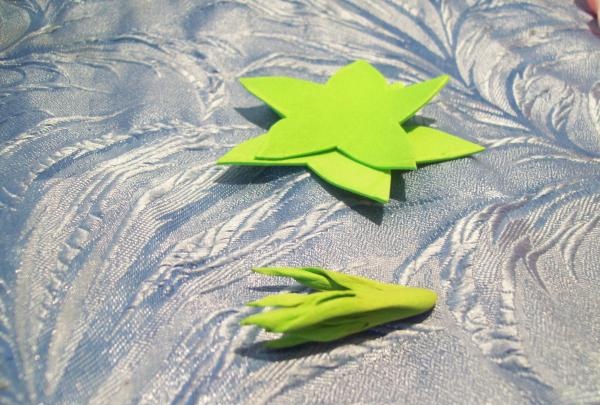
But we don’t open it completely, leaving the resulting curves.

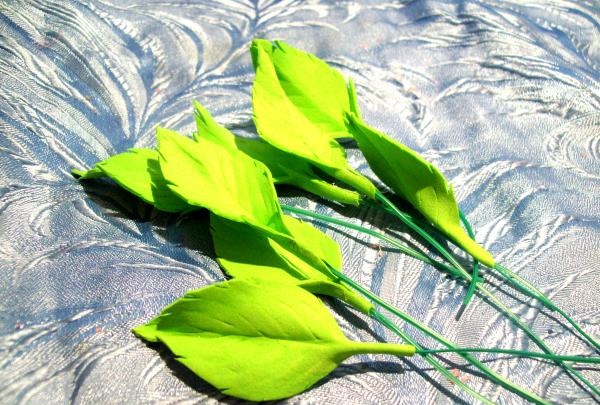
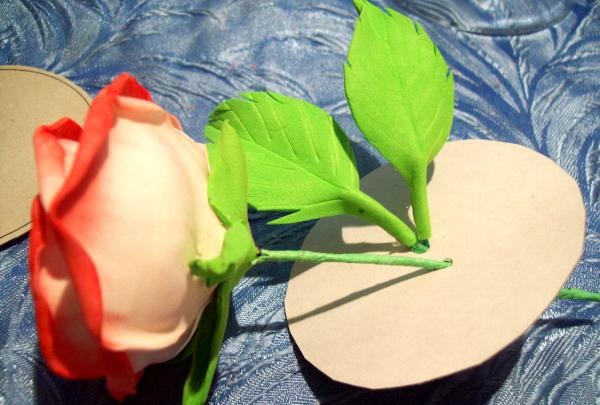
It's the turn of the leaves. There will be 8 of them. We also cut out according to the template and draw veins with a toothpick.
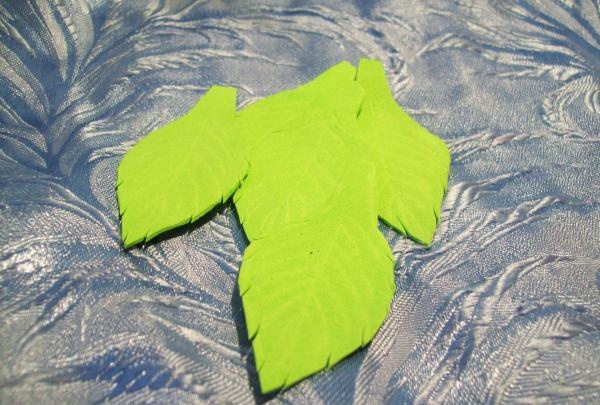
Use scissors to make small cuts along the edge. Then fold each sheet in half vertically and bring the fold to the heat of the curling iron. Then they quickly pressed him with their fingers.

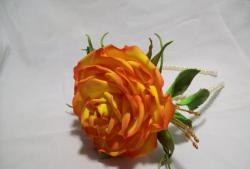
Now let's start assembling the large rose.We need supplies. The largest 5 and 7 pieces are slightly smaller, 8 pieces are the next size and 5 are the smallest. You need 1 large sepal and a flower base on a wire. It was made from paper tape in the shape of a drop, and the wire was secured in it using a glue gun.
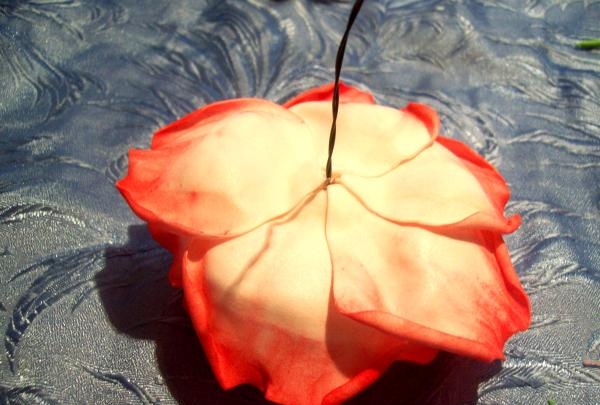
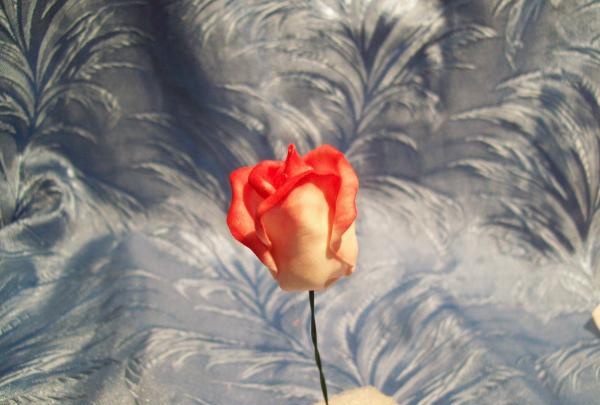
Let's start with the smallest pieces. Lubricate the first two petals completely with glue and press them tightly against the base on opposite sides. We fasten the remaining 3 blanks in a circle. Apply glue from below and above the middle.
The next 8 parts need to be placed in one row, so we will fasten them with one part overlapping another. Apply glue only to the middle of the workpieces.
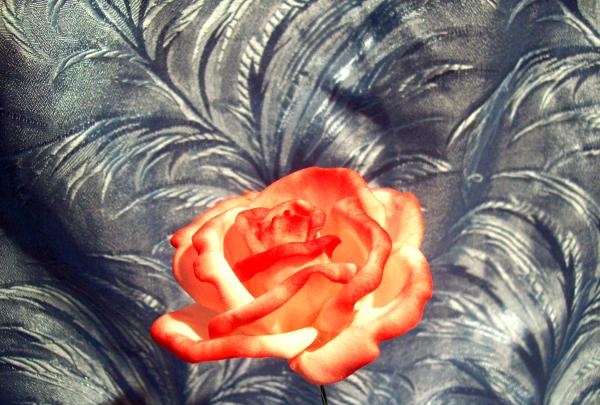
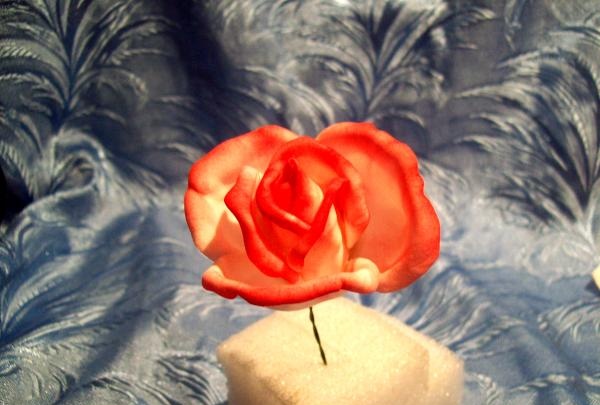
In the third row, large petals will begin to appear. There are 7 of them. We arrange it in a circle in a fan, but apply glue only to the bottom of the workpiece. The rose opens up.
And to glue the largest petals, turn the flower with the wire up. And now we place the last 5 petals in one circle. We will glue only the bottom of the part.
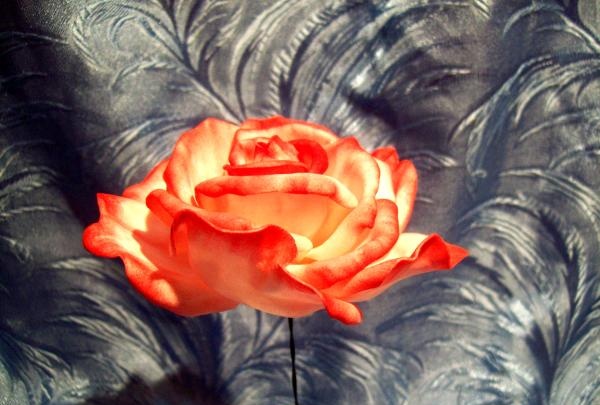
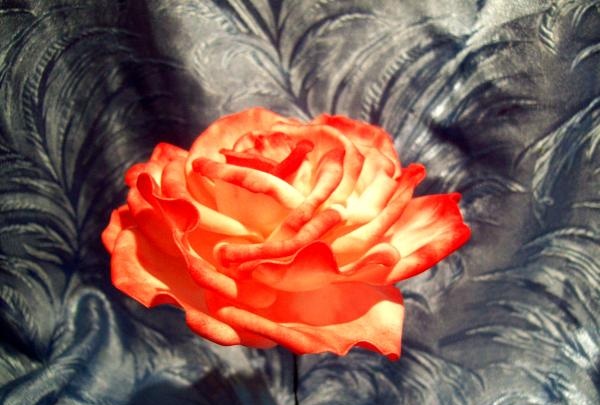
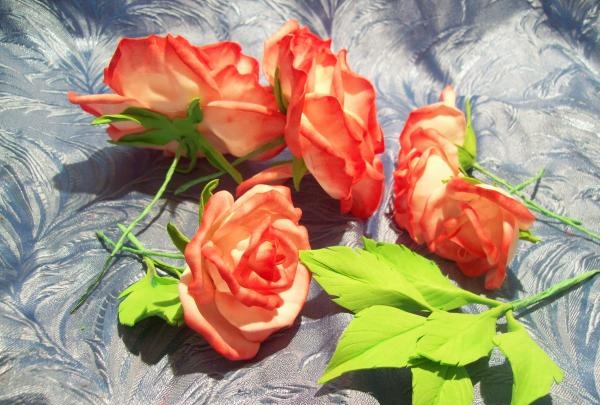
The result is a lush, open rose.
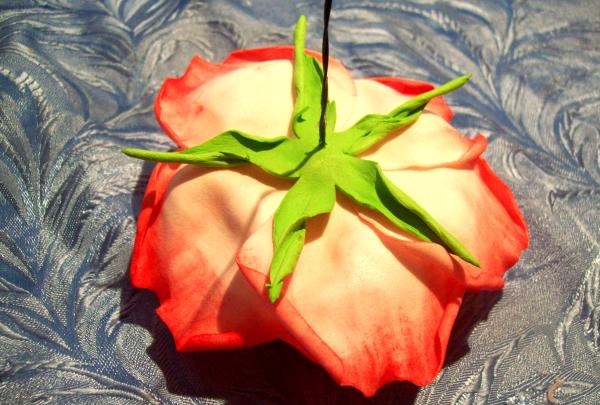
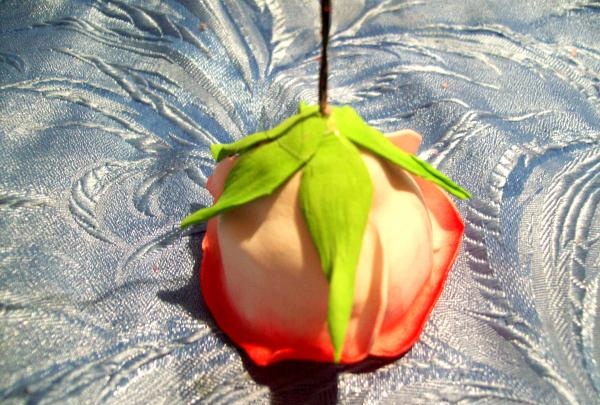
All that remains is to secure the green sepal.
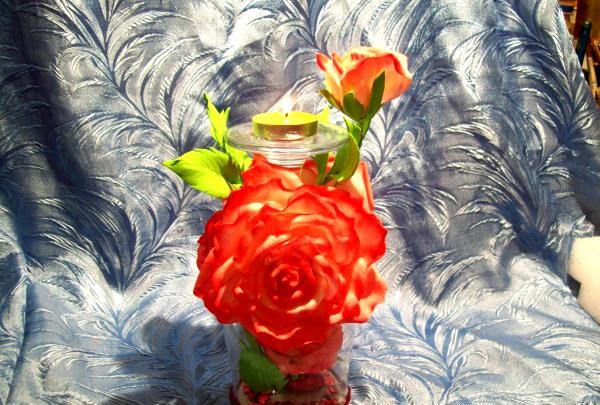
But our candlestick contains two large roses.
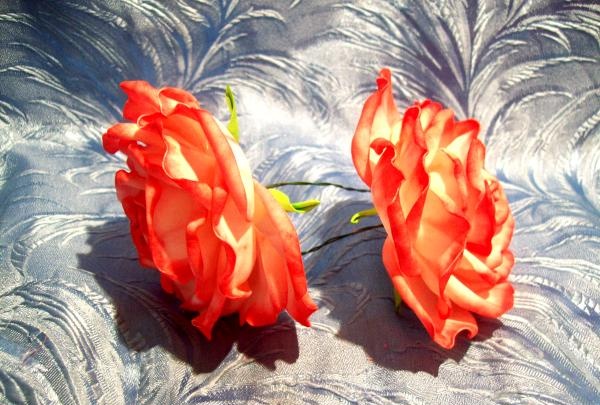
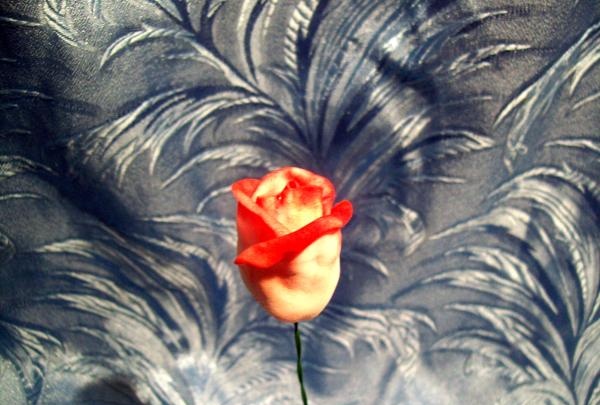
We still have small petals. We will make more roses. For one we take 3 larger petals and 5 small ones. One tape base and green backing.
There will be only two rows here. We glue small petals tightly pressed to the base in a circle.
And we glue the remaining 3 parts in a circle to the bottom of the workpiece.
We secure the green part by threading it through the wire.
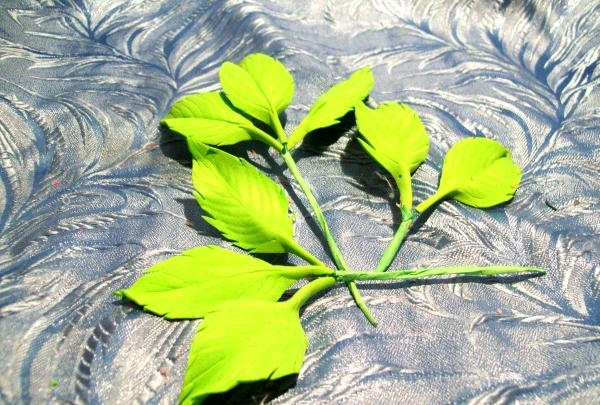
There will be 3 of these roses. And another rose will be a little larger than these. Because in the first row there will be 5 petals, and in the second there will be 6 blanks and we will secure it inside the glass. But now let's return to the leaves. We stretch the tails with our fingers.We cut the wire 8 cm long and glue the leaves onto it using these tails.
Now we collect these leaves into bunches. You will get two 3 blanks each and one of two leaves. And we will cover the joints with green paper.
Now all the parts are ready for assembly. Two large roses, 3 small ones, one medium one and leaves.
Let's start assembling. Take a glass and trace the neck twice on cardboard. And we will not cut along the contour. One circle will be slightly larger than the intended line, and the second will be smaller than the marking.
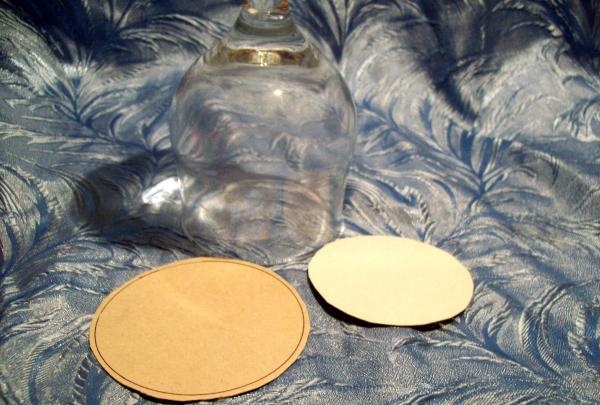
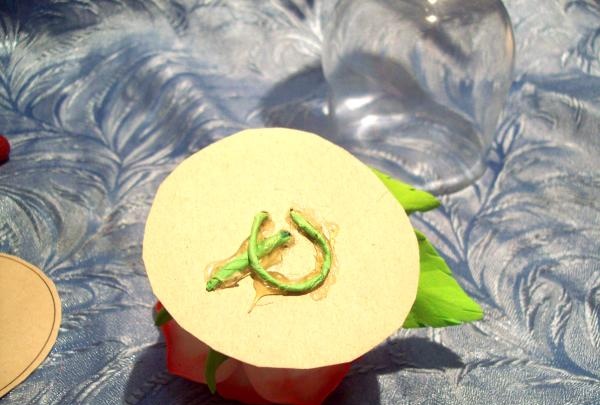
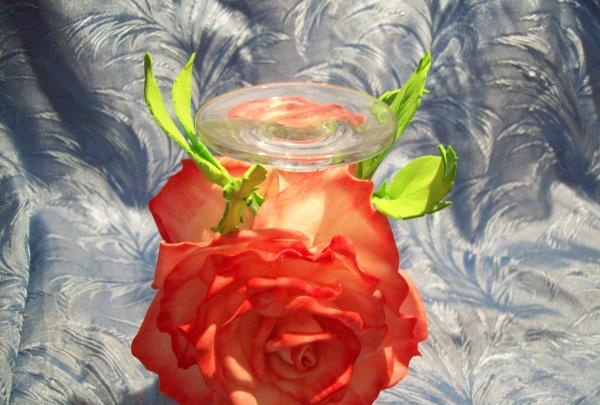
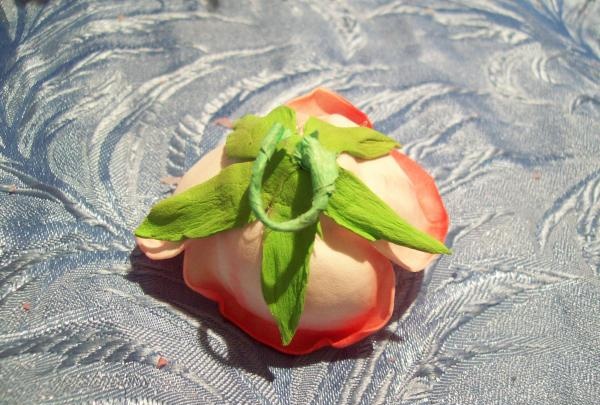
Take a smaller circle and make two small holes in the middle. We insert a medium-sized rose into one hole, and place a double leaf next to it.
We try on the height of the rose on the glass, twist the rest of the wire into a ring from the wrong side. We bend the wire of the leaf and secure it with a gun.
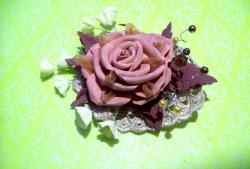
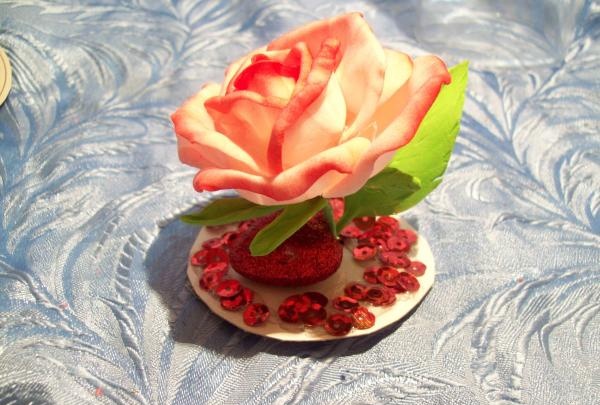
Then we turn it over and decorate the front side with shiny sequins and a heart.
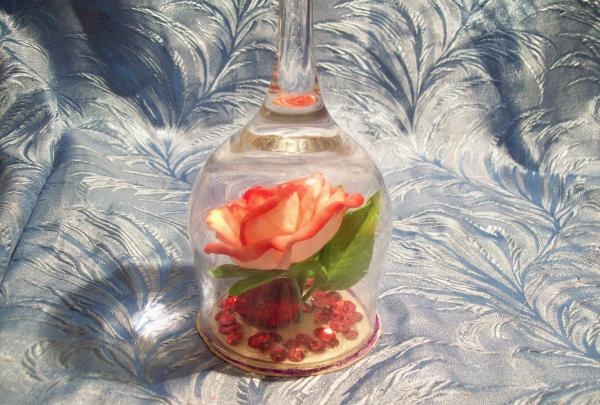
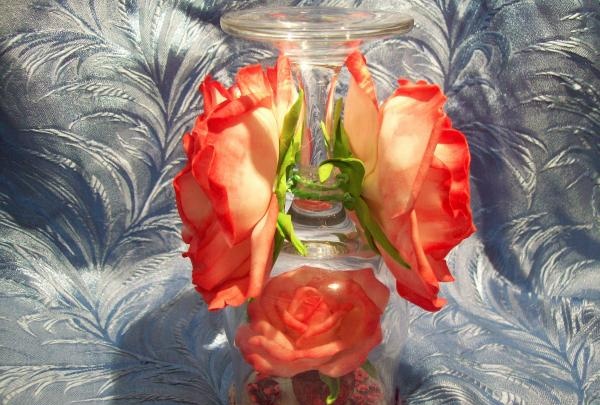
Then we glue this circle onto the second one, which is larger. Lubricate the free edge with glue and glue the glass well. Place it upside down so that the rose is inside the glass. This will now be the bottom of the candlestick.
We rise higher to the leg. Here we attach the first large rose. We do not cut the wire, but twist it around the leg and apply hot glue for better fastening.

We will place the second flower on the opposite side of the stem of the glass and secure it well.
Now we take a sprig of 3 leaves and glue it between the roses. But the top edge of the leaves should touch the former bottom of the glass.
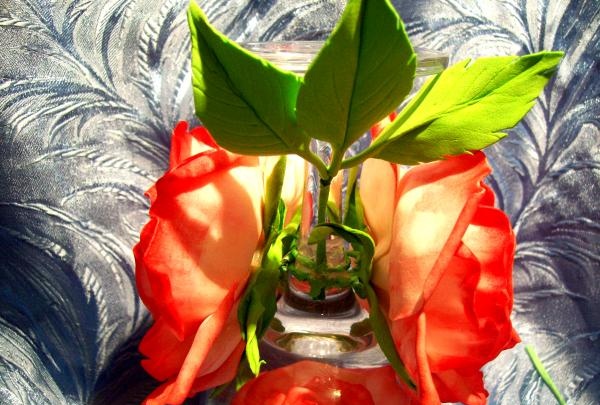
We place the second branch on the other side of the flowers.
But on this side you need to add a standing small rose. We also glue it well.
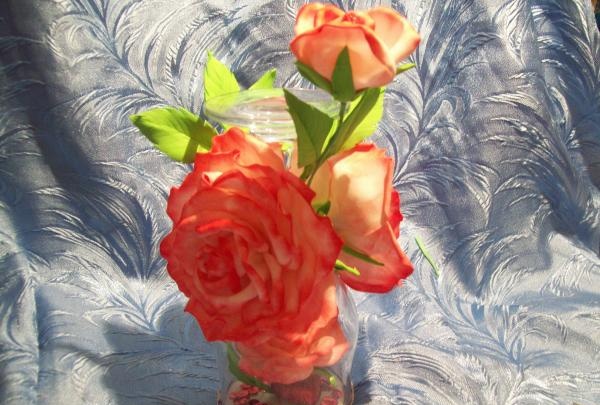
There are two small roses left, so we twist the wire into a ring towards the sepal.
We apply glue to this twist and press this flower between two large roses, closing all the joints.We attach the second flower in the same way, but on the other side. The candlestick is assembled, all that remains is to place and light the candle.
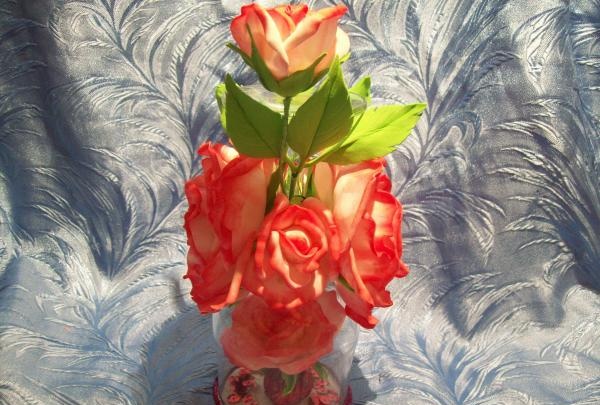
Good luck to all!