Do it yourself
Life hacks, master classes, useful tips, recipes.
home » Handicraft techniques » Knitting » Knitted toys » How to knit a toy Winnie the Pooh?
Many of us love to crochet. But often not everyone realizes what magnificent toys can be made using threads and an ordinary crochet hook. In this article we will look at one of the fascinating master classes: we will talk about how to make a toy Winnie the Pooh from a Disney cartoon (there is also our domestic cartoon about Winnie the Pooh, but there the bear is brown, and in ours it will be yellow with a red blouse ).
So, for work you need to prepare:
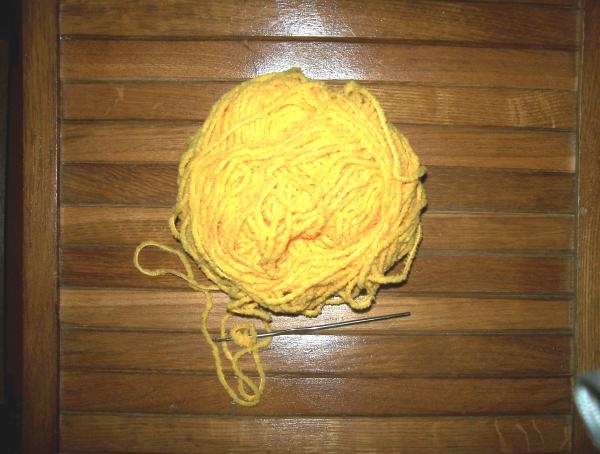
  • a skein of yellow fancy thread;
  • a hook of a suitable size;
  • filler;
  • beads needed for the eyes and glue;
  • red threads.

The time we need to make the toy is about 2 hours. Vini's size is 25 cm.
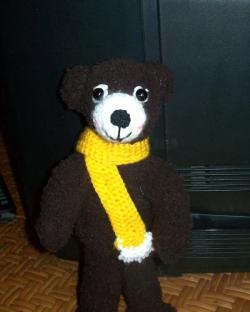
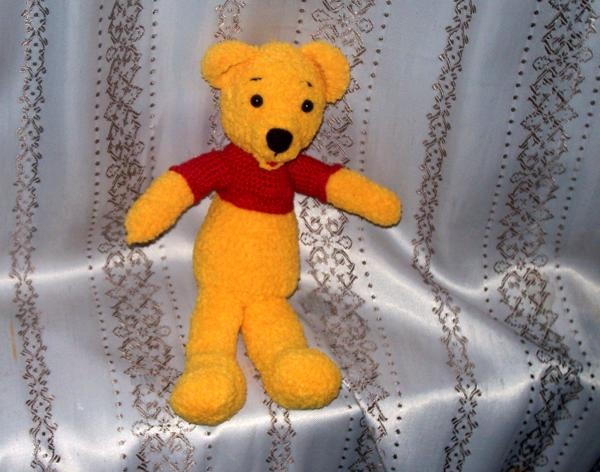
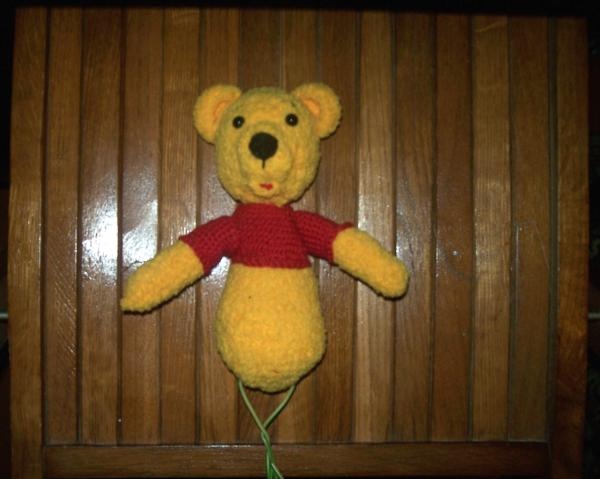
This is what our toy will look like at the very end of the work.
How to knit a toy Winnie the Pooh

Stages of work:
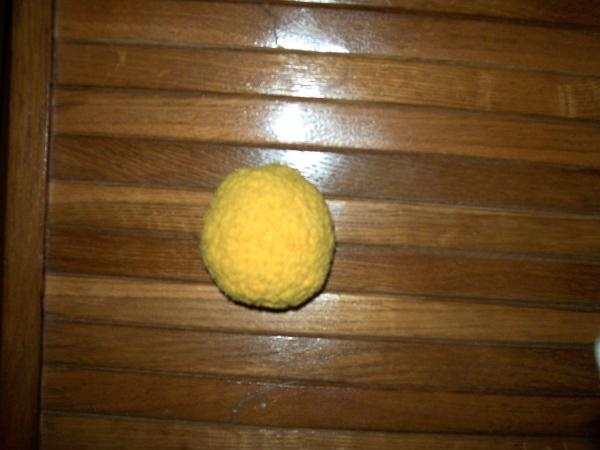
Stage one. The head part of the toy.
Take yellow threads and start knitting in the round.
How to knit a toy Winnie the Pooh

When the diameter of the circle reaches 4 cm, you can stop adding loops and knitting the walls of the head, knitting finish at a height of 6 cm.
How to knit a toy Winnie the Pooh

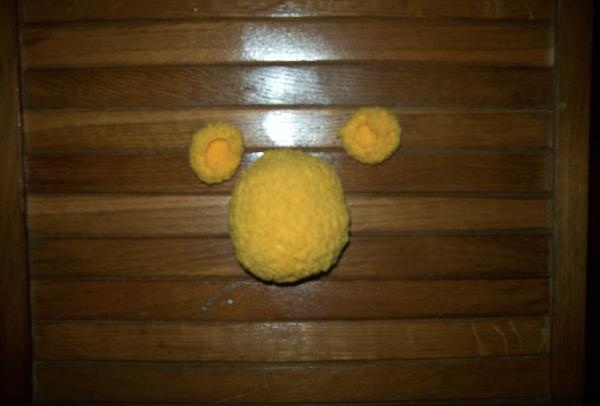
Next we start knitting the ears.To do this, take yellow threads and knit a circle with a diameter of 4 cm, specially bending the edges of the ears (for this you need to decrease the loops).
How to knit a toy Winnie the Pooh

The result is a head and 2 ears.
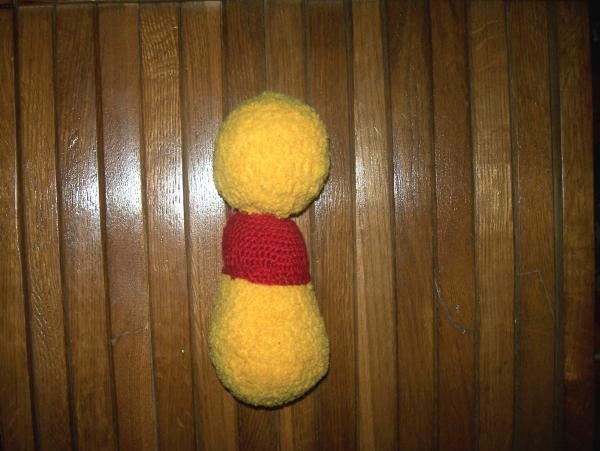
How to knit a toy Winnie the Pooh

Stage two. Torso.
Now we start knitting the body, we begin to make a circle with a diameter of 5 cm (if you want Vini to be thicker, the diameter of the circle needs to be increased to 7-9 cm).
How to knit a toy Winnie the Pooh

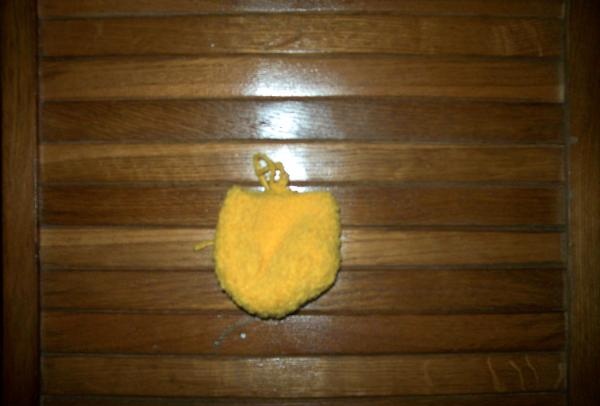
We knit the upper part of the body.
How to knit a toy Winnie the Pooh

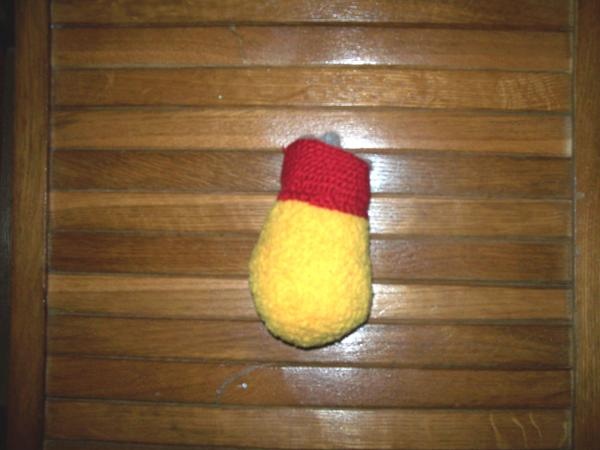
Then we change the color of the threads and finish knitting with red threads at a height of about 7.5 cm.
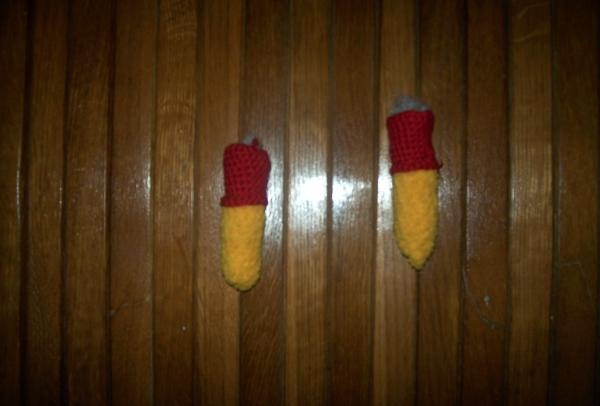
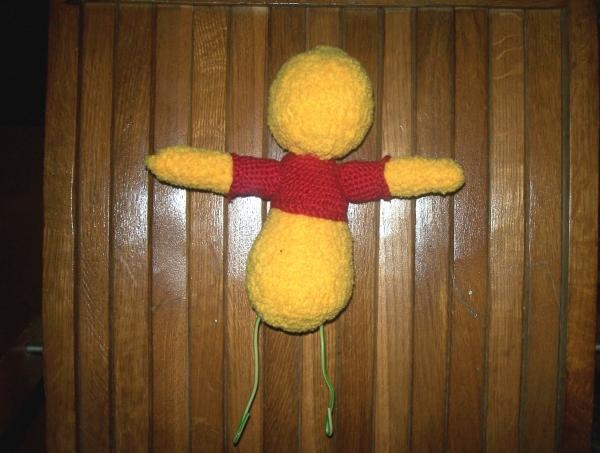
Stage three. Limbs
When the head and torso are ready, all that remains is to knit the arms and legs of the toy.
We start from the upper limbs, first knit the yellow part of the foot, and then switch to the red color of the thread, at a height of 7 cm we close the knitting.
How to knit a toy Winnie the Pooh

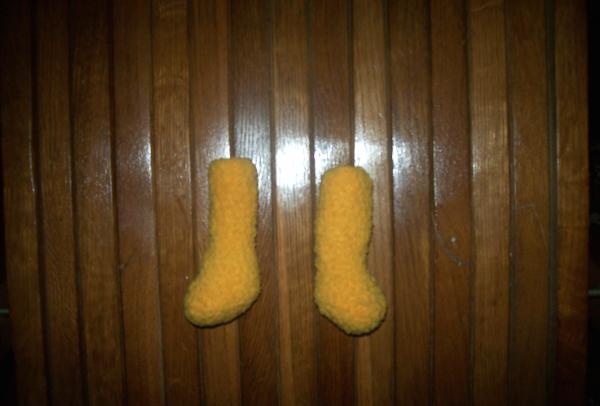
Let's do the same for the legs. Don’t forget to make the toy’s foot more convex; to do this, first knit a circle, and then begin to decrease the loops, rising to the height of the product.
How to knit a toy Winnie the Pooh

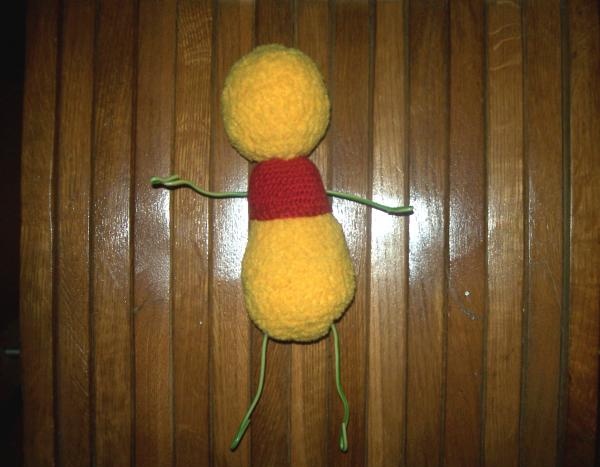
Now we sew Vini’s head and body together.
How to knit a toy Winnie the Pooh

We insert wires into the places of future arms and legs, which will allow our young and cute little bear to bend his front and lower limbs.
How to knit a toy Winnie the Pooh

Well, now we sew on the upper legs.
How to knit a toy Winnie the Pooh

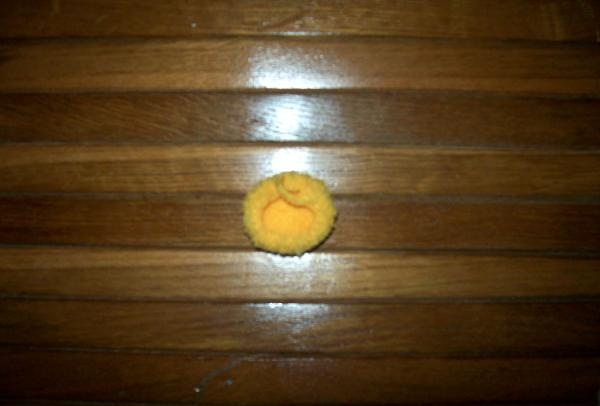
By this time you can already make the bear’s face. To make it, you need to knit a circle with a diameter of 3 cm from yellow threads, lightly fill the circle with holofiber and sew it to the front of the head, glue the eyes, embroider the nose and eyebrows, and make a mouth.
How to knit a toy Winnie the Pooh

And then we sew on the lower legs.
How to knit a toy Winnie the Pooh

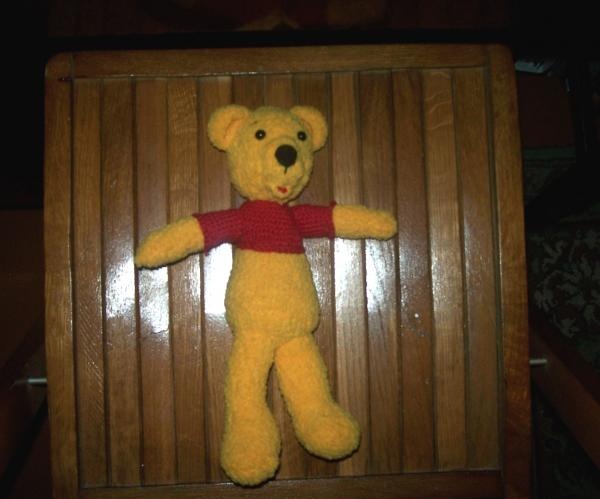
Here our bear is ready. Of course, he turned out to be a little thin for Winnie the Pooh, but how soft and tender he is. He just hasn't eaten the honey yet.
How to knit a toy Winnie the Pooh
come back
Comment
  • bowtiesmilelaughingblushsmileyrelaxed relaxedsmirk
    heart_eyeskissing_heartkissing_closed_eyesflushedrelievedsatisfiedgrin
    winkstuck_out_tongue_winking_eyestuck_out_tongue_closed_eyesgrinningkissingstuck_out_tonguesleeping
    worriedfrowninganguishedopen_mouthgrimacingconfusedhushed
    expressionlessunamusedsweat_smilesweatdisappointed_relievedwearypassive
    disappointedconfoundedfearfulcold_sweatperseverecrysob
    joyastonishedscreamtired_faceangryragetriumph
    sleepyyummasksunglassesdizzy_faceimpsmiling_imp
    neutral_faceno_mouthinnocent
3+three=
Comments (0)

How to make a press with your own hands without welding

5 ways to preserve onions for weeks, months or 1 year in an apartment with your own hands

How to perfectly straighten thick wire in 5 seconds

Mini greenhouse for seedlings | Do it yourself

«Do it yourself - with your own hands» - a site of interesting homemade products made from scrap materials and items at home. Step-by-step master classes with photos and descriptions, technologies, life hacks - everything a real master or just a craftsman needs for needlework. Crafts of any complexity, a large selection of directions and ideas for creativity.

We recommend reading

Washing machine error codes