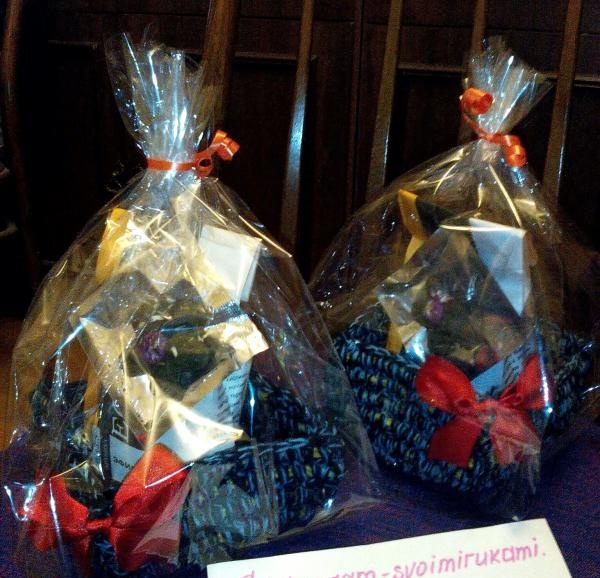
Often, various baskets are used for gift wrapping, which, if desired, can be made with your own hands. There are as many basket ideas for making “containers” for gifts as you like, however, not every one of them is suitable for making a container of the required size.
One great idea for making baskets, as well as bags, containers, trays and wicker trays or wall hanging bases is to tie a thinner rope or thread around the cord. The finished product is very decorative and at the same time quite practical.
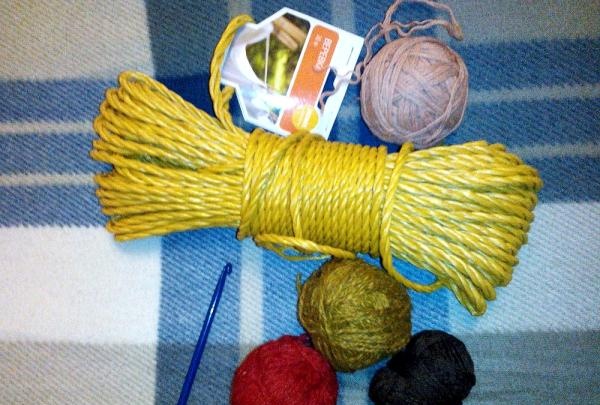
Let's prepare a cord, yarn and a crochet hook for work.
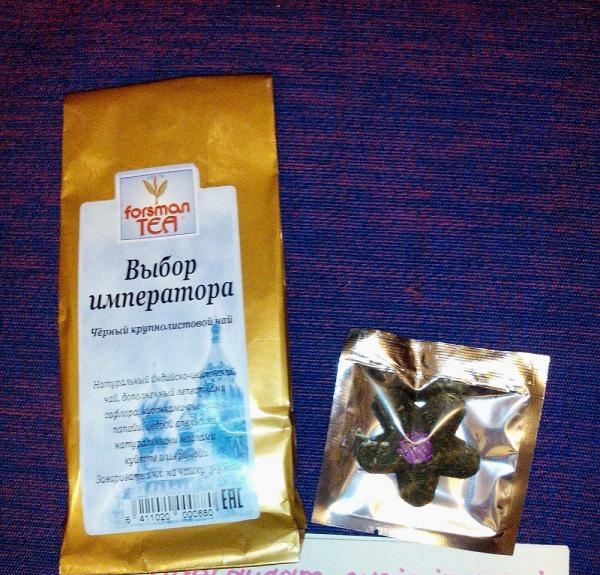
To make a gift basket we used:
- - polypropylene cord 0.7 cm thick;
- - two-ply yarn, in our case, black and blue thread;
- - hook number 4;
- - satin ribbon for bow;
- - transparent packaging wrapper (cellophane)
- - a large needle with a wide eye.
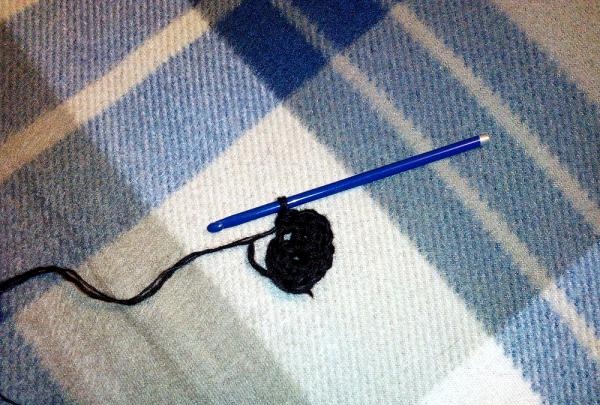
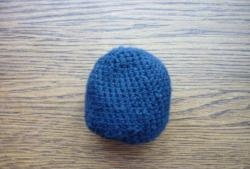
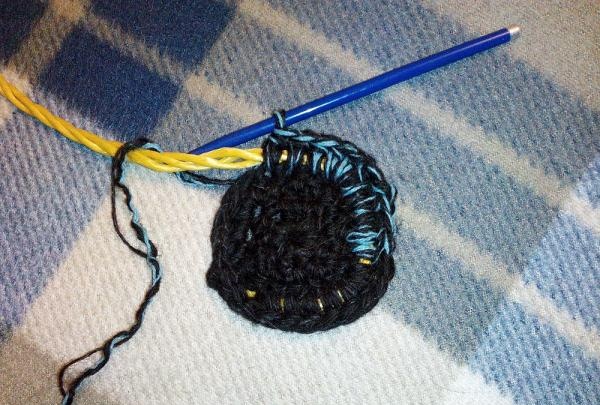
Begins knitting from the center of the bottom of the future basket. We cast on 4 working loops to start knitting and close them into a ring.Then we knit the first row through the center of the resulting ring, for each chain loop there are two single crochets. We also knit the second row, doubling the total number of loops.
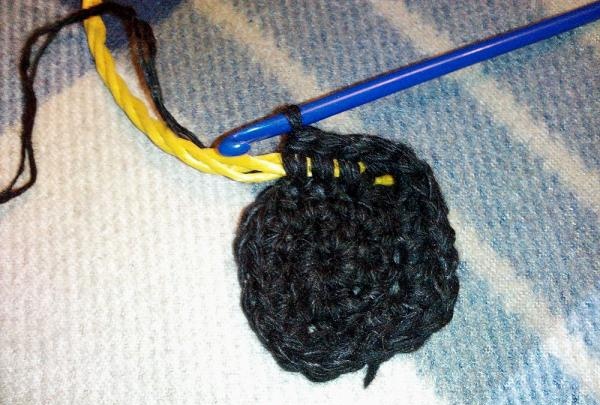
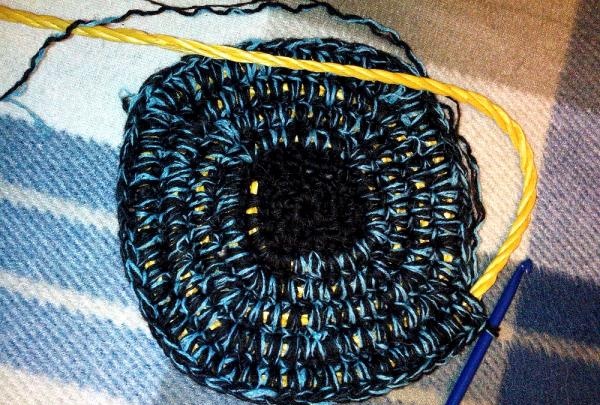
From the third row we begin to weave the cord. We lay it between the previous row of knitting and the working thread and begin tying it with double crochets, adding evenly enough loops in each row so that when tying a cord of the thickness of your choice, an even plane is obtained.
At the same time, we leave the working thread behind the cord being tied. We form the bottom of the basket. In our case, preference was given to the square shape; the basket should be square in shape. Therefore, when knitting, we immediately select four corners and knit three double crochets into the corner loops. We continue knitting until we get the bottom of the desired size. It is best to knit a basket when present already prepared so that the packing basket arrives just in time.
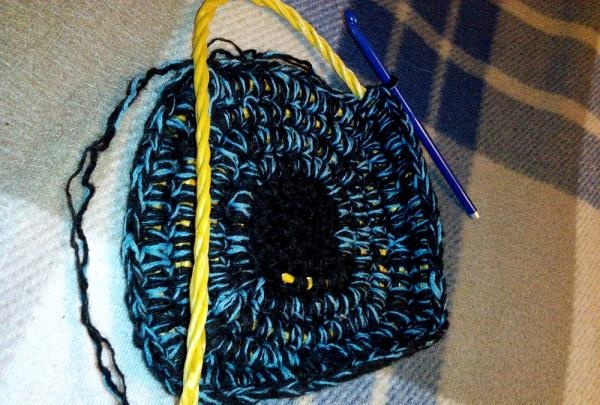
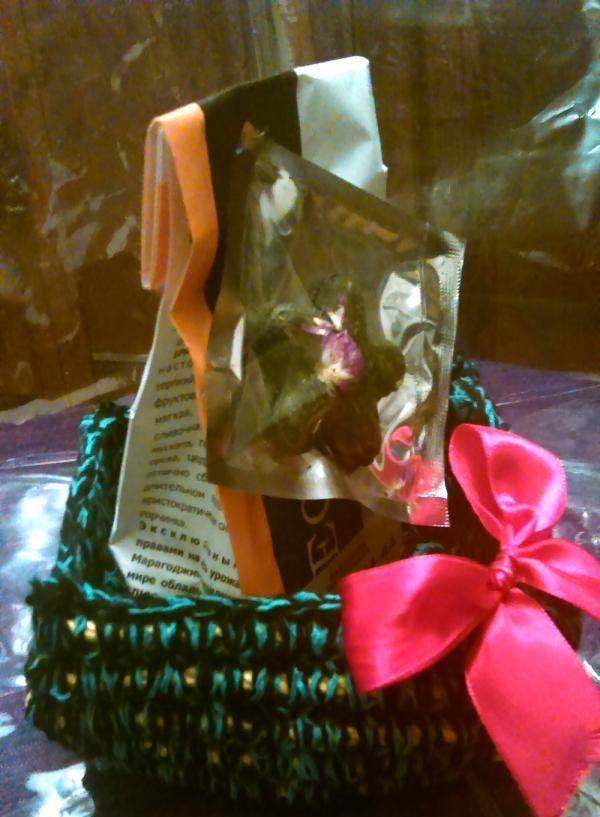
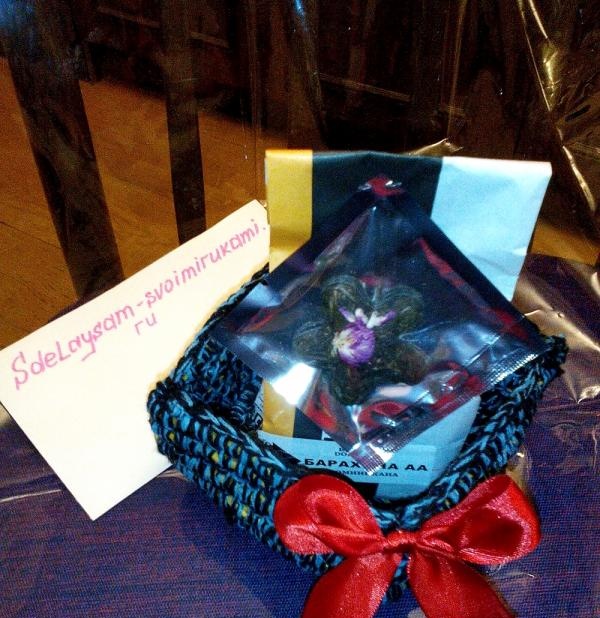
When the bottom suits us in size, we stop adding loops and continue knitting in the round until the desired height of the basket. We take into account that when wrapping a gift, it does not need to be immersed in the depth of the form; it is desirable that the representative part of the gift is visible. Five rows were enough in our packing basket. We cut the cord and after it knit 2 double crochets, 2 single crochets and one half crochet. We cut the thread and hide the tip.
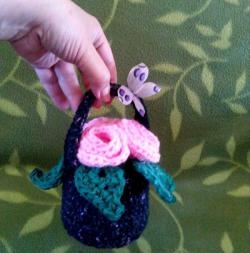
The woven cord, as a rule, has sufficient elasticity, so it will tend to smooth out the corners of the basket, turning it into a round one. To secure the shape, using a large wide eye needle and the same thread we used for knitting, sew around the corners of the basket, securing the corners.
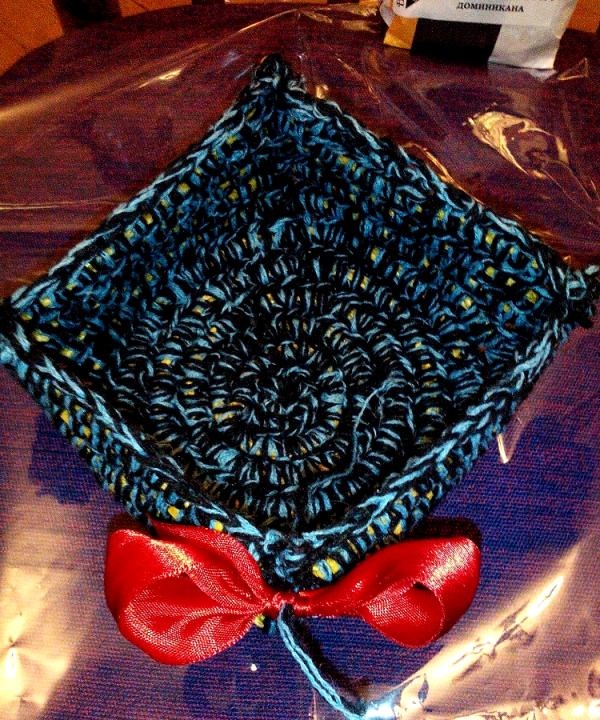
We tie a bow from a satin ribbon of a contrasting color and sew or attach it to the side or corner of the basket.
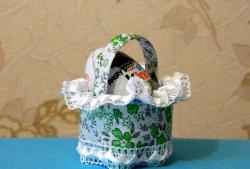
We pack the gift. We cut the cellophane film for wrapping flowers into strips 1.5 times wider than the side of our basket; the length should allow these strips to be closed over the gift. There should be two such stripes.
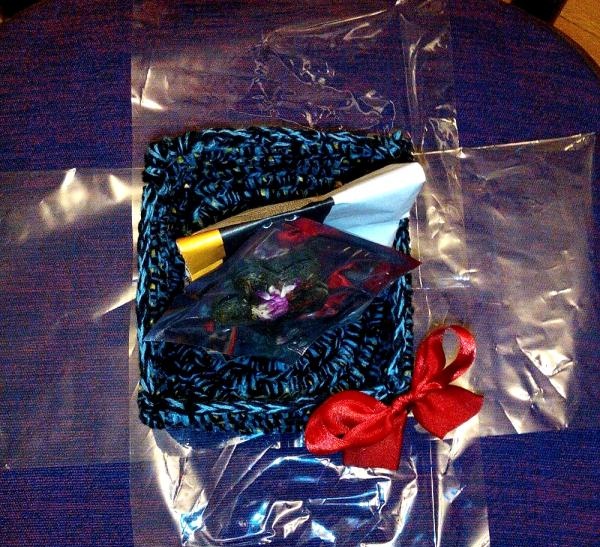
We fold them crosswise and secure them with transparent tape along the edges.
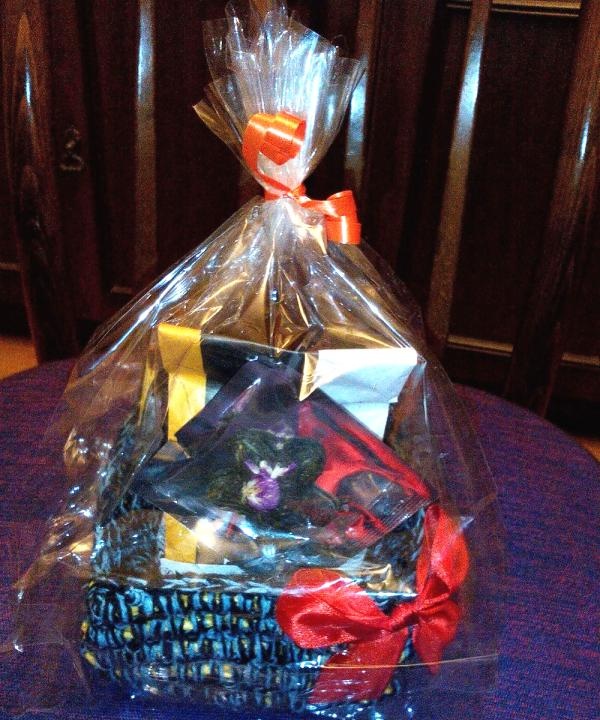
We place the basket with the gift in the central zone of the packaging cellophane, connect the strips on top of the gift, and secure them with a stapler. The sides of the package can be covered with transparent tape if necessary.

We finish the top part of the package with a bow from any suitable ribbon. That's it, the gift is wrapped and ready for giving.