To complete it, we take materials;
- thick white fabric.
- acrylic paints.
- scissors.
- sewing machine.
- needle and thread.
- thin golden cord.
- Polish for hair.
- polymer glue.
- black gel pen.
- golden paint.
- padding polyester for filling.
- a simple pencil.
- some yarn.
- brushes for paints.
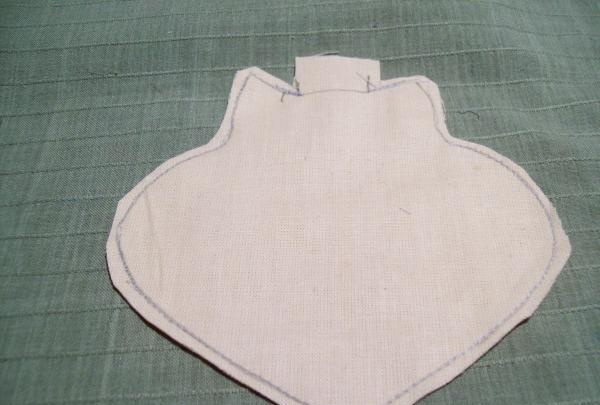
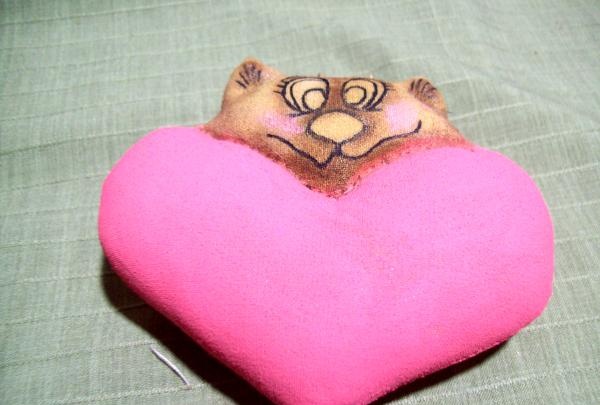
Let's start with the pattern. Let's draw a heart measuring 11 x 8 cm, then draw a cat's head with ears to its middle. Let's make a template from this drawing.

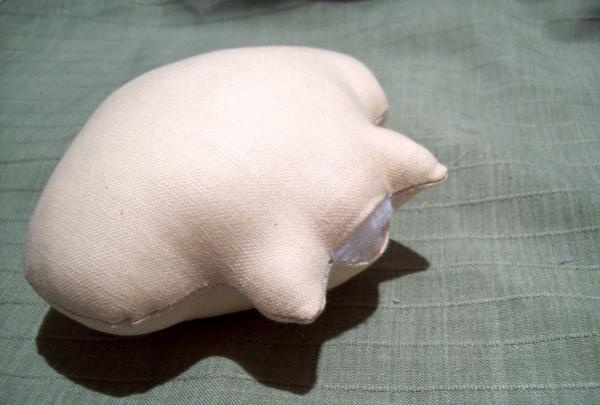
Now we take thick white fabric, fold it in half and trace the outline of the souvenir using the finished template. We sew on a sewing machine along the intended contour. But the gap between the ears must be left unstitched, because this will be the place for turning and filling. We carefully cut everything out, keeping a small allowance. Leave a little more fabric between the ears.
Then carefully turn it inside out through the prepared hole.
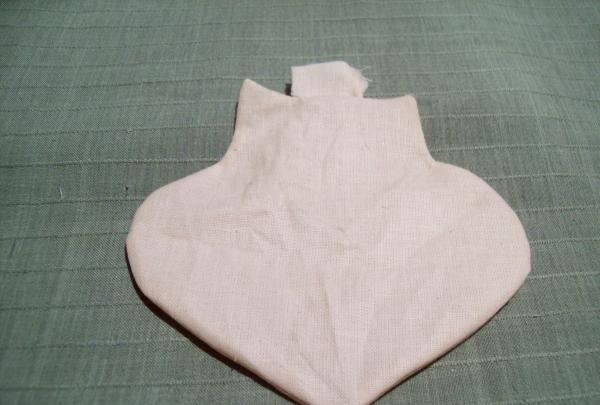
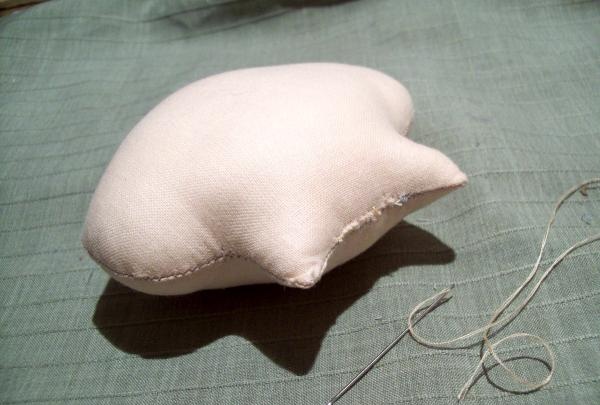
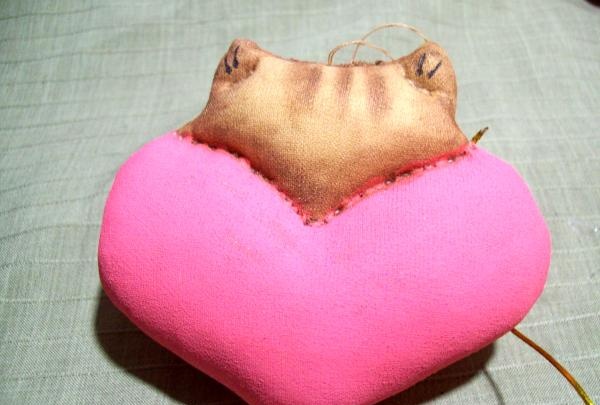
And then we will fill the entire toy tightly with synthetic padding polyester.
When the toy is well sealed, sew up the free segment with a needle and thread using a hidden seam.
Now with a simple pencil we outline the outline of the heart, the upper bend. We make markings on both sides symmetrically.

Take a thick thread or a regular one, folded 4 times. Starting from the top edge, we sew a needle through the entire toy, connecting the contours of the heart from the front and back sides.
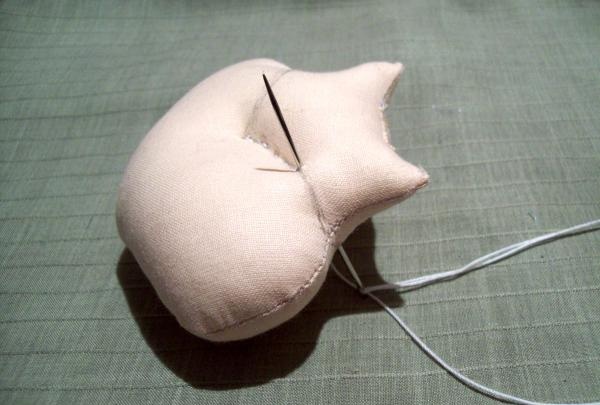
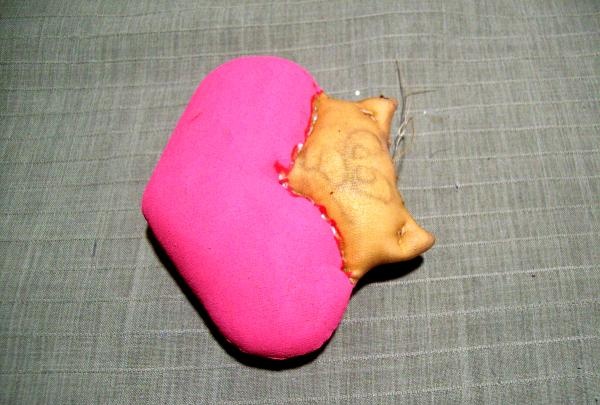
This seam will allow you to separate the cat's head. Then we also use thread to sew the fastener in the ears at the line connecting to the head.

For further work, use a pencil to mark the cat’s face and draw the contours of the eyes, nose and mouth.

Now we move on to the coloring stage. We use white acrylic paint as a base. For the head we add a little yellow and brown color to it. And for the heart, we introduce red into the white base. We carefully paint everything with a brush.
After the toy has dried, we proceed to tinting the cat. Using a dry brush, pick up just a little bit of brown paint and follow the outlined contours that are visible under the paint.

We also color the junction of the heart and the head. Then we outline the cheeks with pink color. When this dries, we continue to trace all the contours of the muzzle with a black pen.
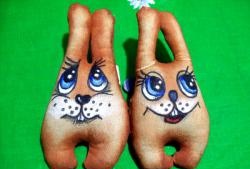
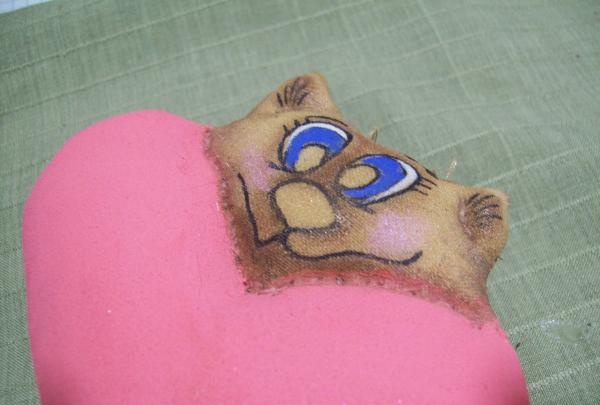
Now we draw the eyes. The cat will have them blue and will definitely be slightly at the top of the white stripe.
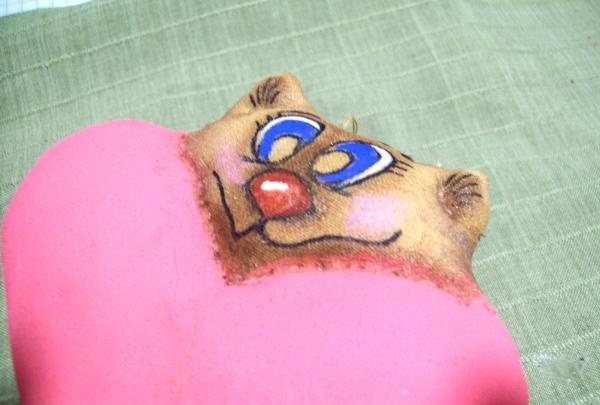
While the eyes are drying, paint the nose brown and add a white highlight in the center.
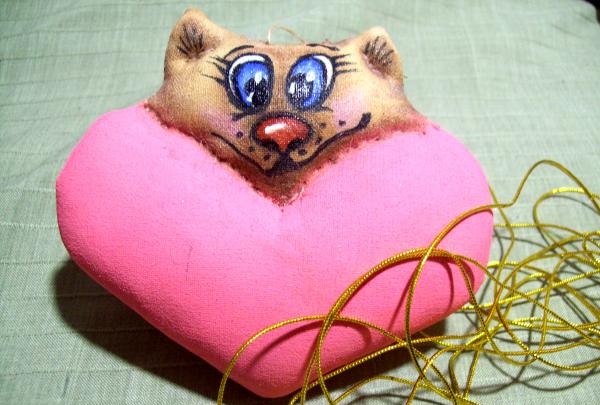
Let's go back to the eyes. The blue iris has dried up, and now we can calmly draw the black pupil. Then, using a thin brush with white paint, draw small thin stripes around the pupil.
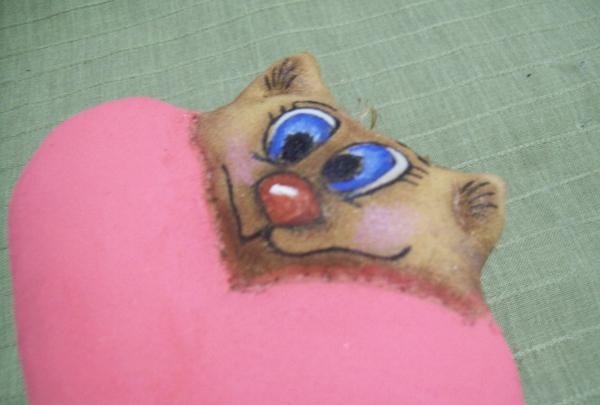
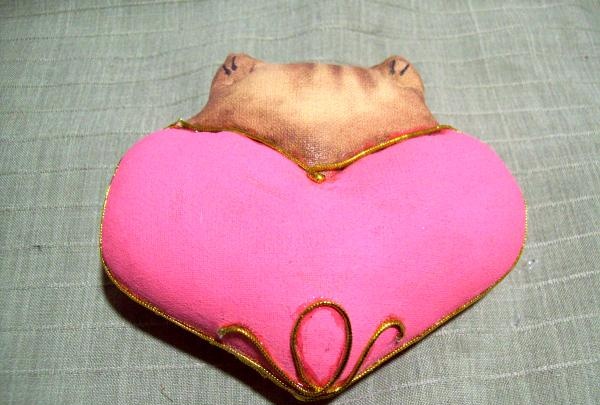
All that remains is to put highlights on the pupils and go through the pen again, specifying the shape of the eyes, eyelashes, and hairs in the ears. According to the drawn details, the cat needs to be sprayed with hairspray. So that the paint does not smudge. On the back of the head we outline only brown stripes of fur.
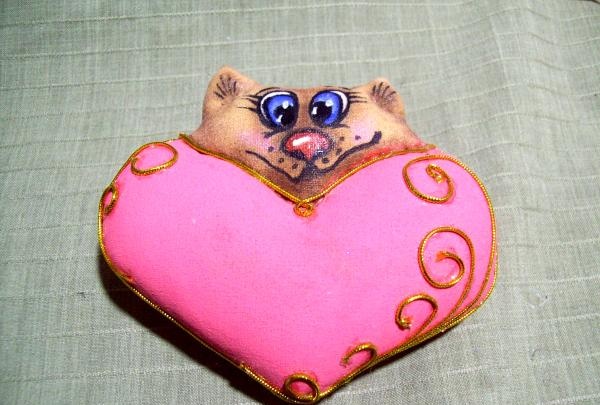
The cat's head is ready and we move on to decorating the heart. Take a thin golden cord 60 cm long.
We begin to glue the cord along the bottom of the head, making loops in the middle.
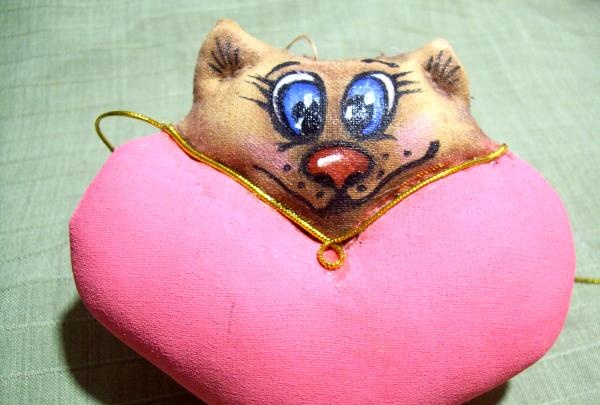
Next we fasten along the edge of the heart, going along the seam.
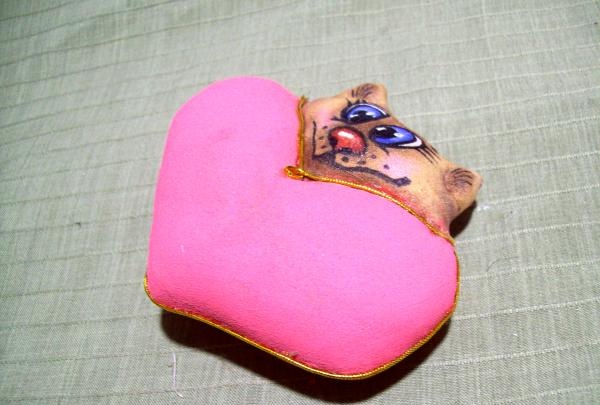
Then, for convenience, we draw curls along the front side of the toy with a pencil. There are 5 pieces on one half of the heart, and only two curls on the other.

Now all that remains is to glue them from the cord along the drawn contour, cutting off the required length.
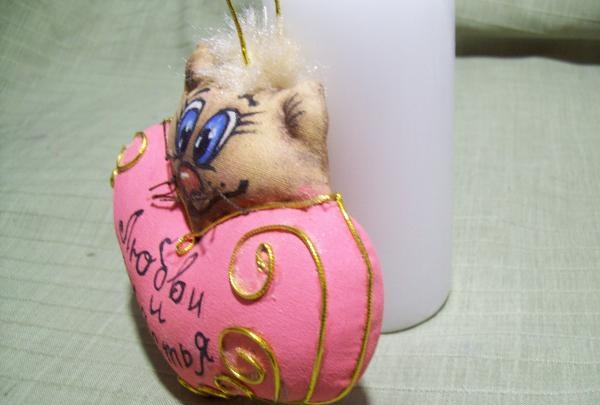
The back of the toy also needs a curl.
While the glue dries, make a loop of cord in the seam on the cat’s head for hanging the toy.
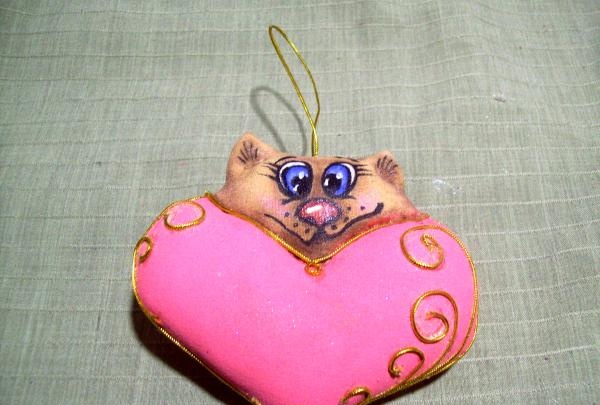
To close this seam the cat needs to make hair out of yarn. We take 40 cm and fold it into several folds, secure it with a needle and cut the resulting loops.
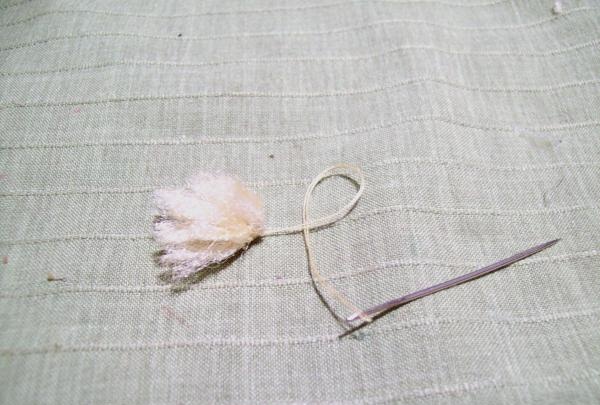
And with the same needle and thread we sew the forelock into the seam on the cat’s head.
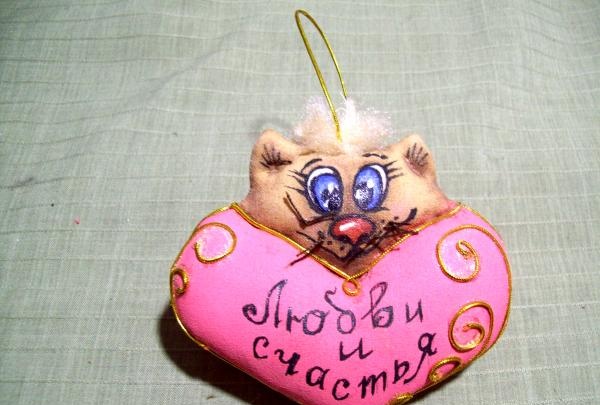
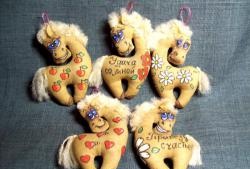
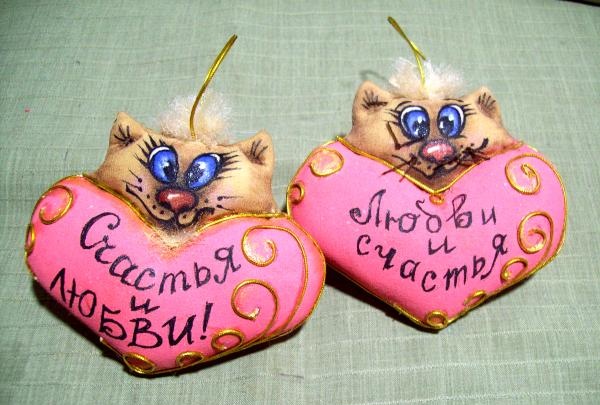
All that remains is to take gold paint and use a thin brush to touch up the exposed glue on all the curls. And use a gel pen to write words about happiness and love.
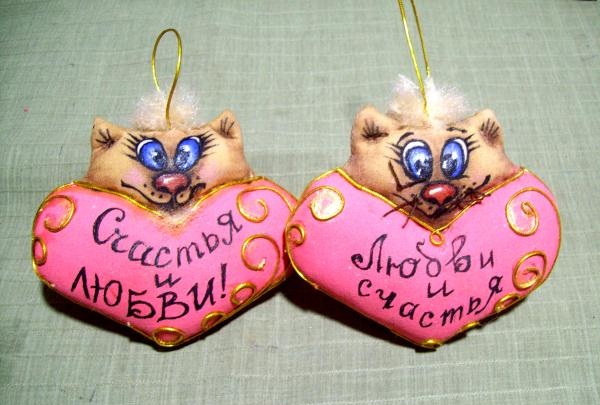
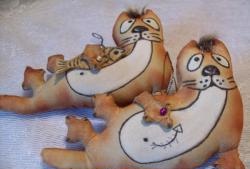
Since we have two cats, the mustache can be made in two ways. In the first one, simply draw with a pen, and in the second, tie thin threads.
Good luck to all!