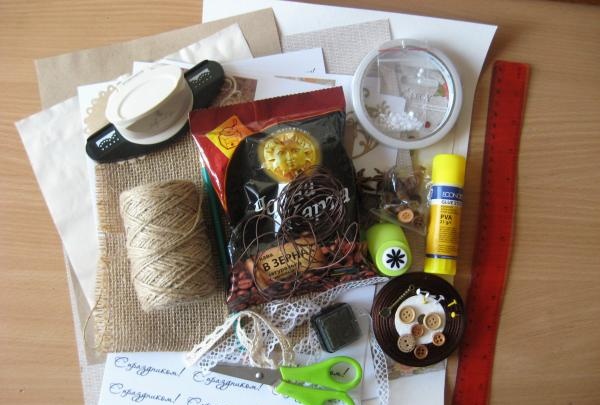
To make coffee cards we need to take:
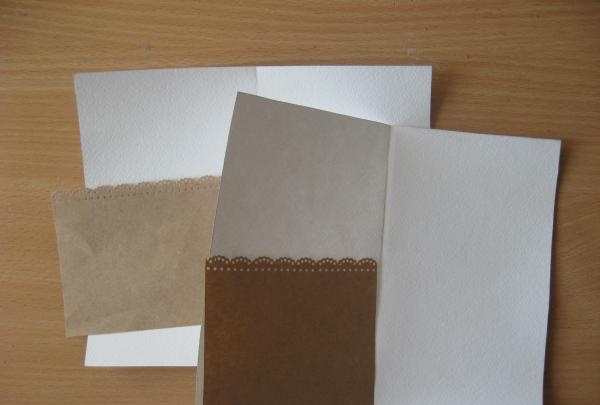
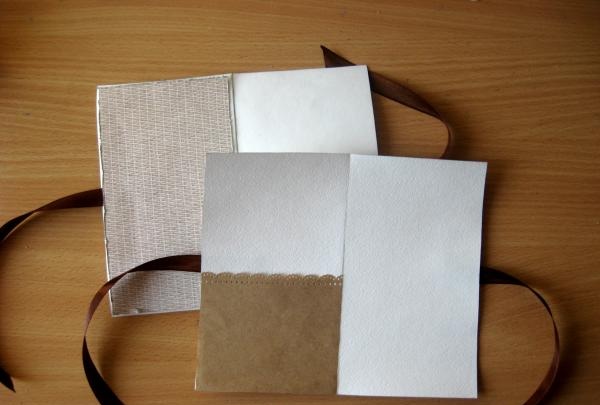
• Watercolor paper, sheet A3;
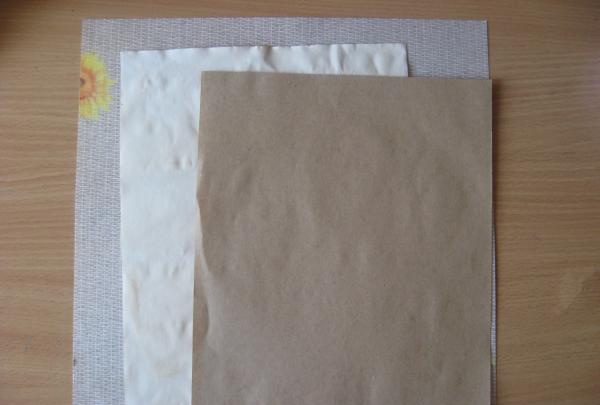
• Thick grayish-brown scrap paper, sheet 30*30 cm;
• Two coffee pictures;
• Burlap;
• Leg-split;
• Kraft paper;
• Coffee-tinted sheet of office paper;
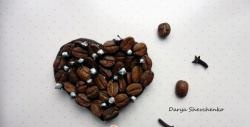
• Coffee beans;
• Cinnamon sticks;
• Dried star anise;
• Waxed brown cord;
• Brads are small;
• Wooden buttons, beige and brown;
• Dark brown satin ribbon 12 mm wide;
• White gossamer lace;
• Beige cotton lace;
• Metal pendants spatula and key;
• Flower hole puncher;
• Printed “Happy Holidays” inscriptions;
• Lace hole punch;
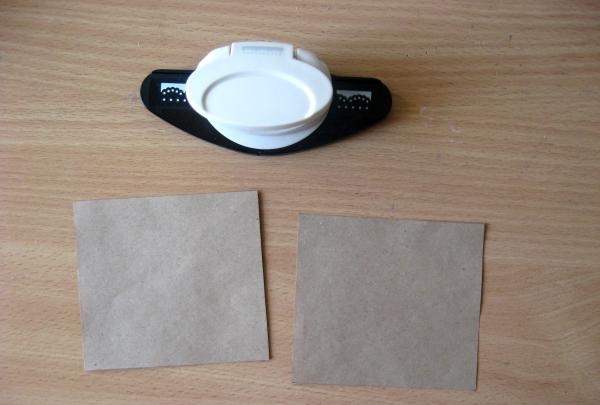
• Circle made of kraft paper;
• Gold carved scrolls;
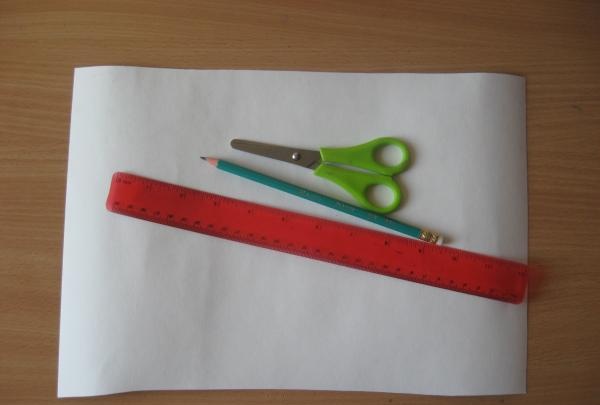
• Scissors, ruler, ink pad, double-sided tape, glue gun, pencil.
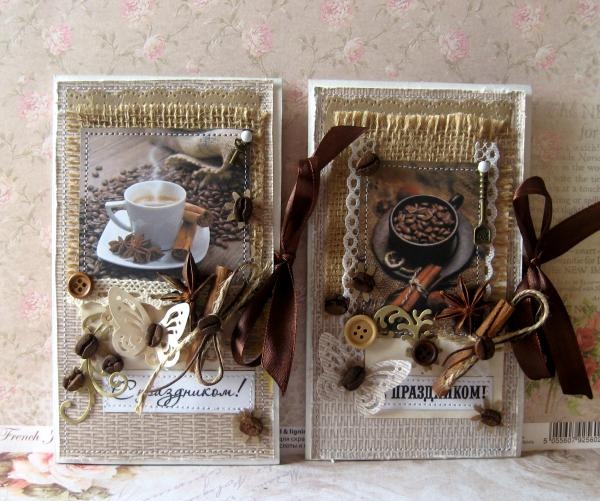
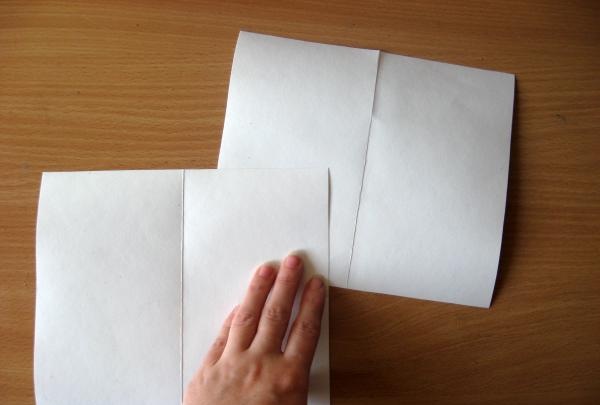
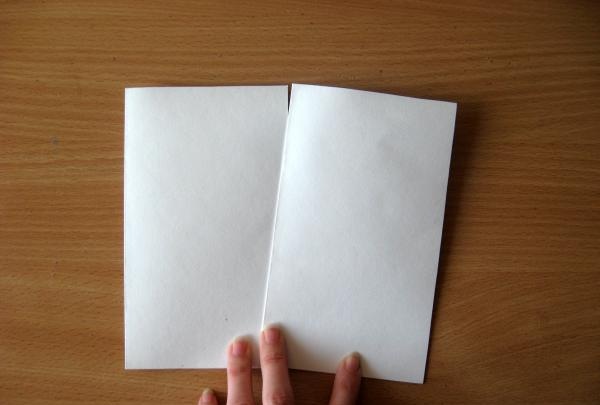
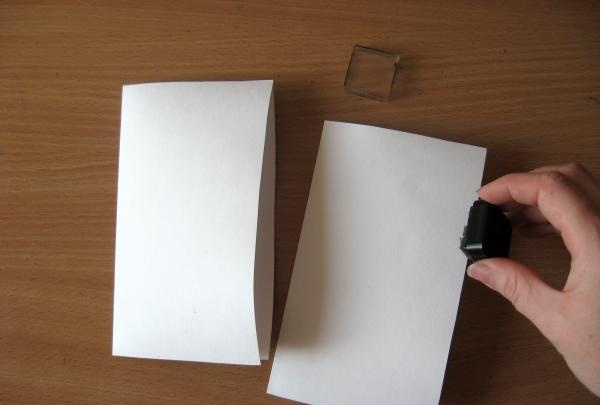
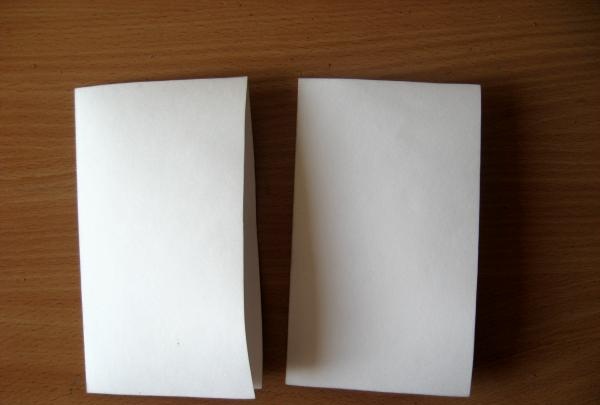
So, we take watercolor paper and cut out two bases from it for our future cards. We cut out two blanks measuring 10*17 cm.
Now we age the sheets with an ink pad and tint the edges of both blanks with a black or gold pad.
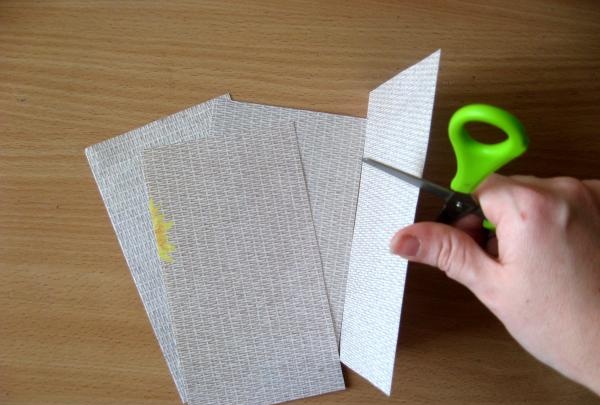
We have prepared the basics, now we will work with scrap paper.
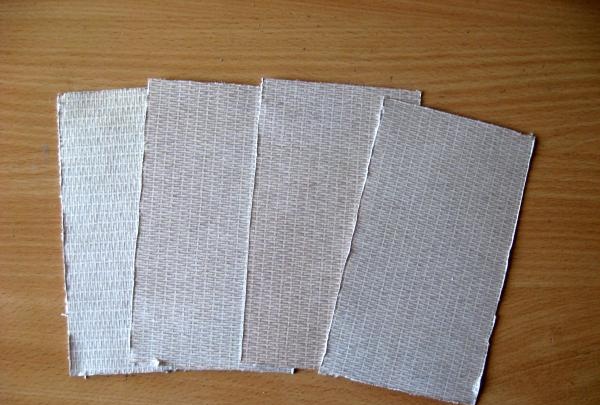
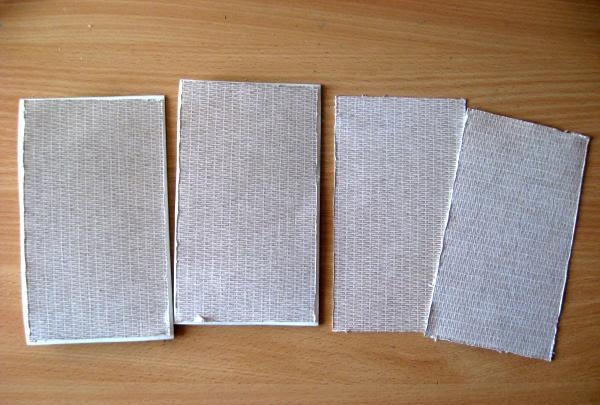
From the sheet we cut out four rectangles 9.5 * 16.5 cm. Now each edge needs to be scratched with scissors. This way we get a ragged effect.
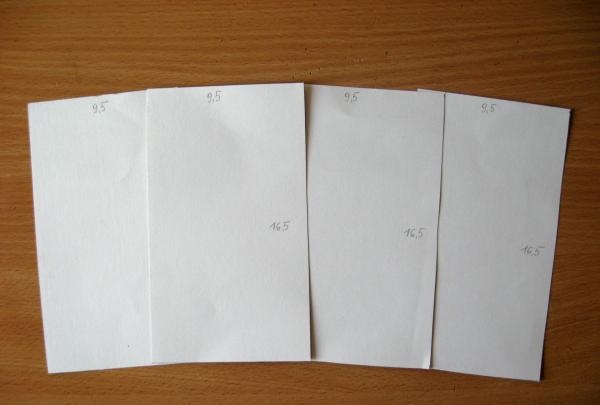
Immediately glue the back parts to the bases, for this we use double-sided tape.
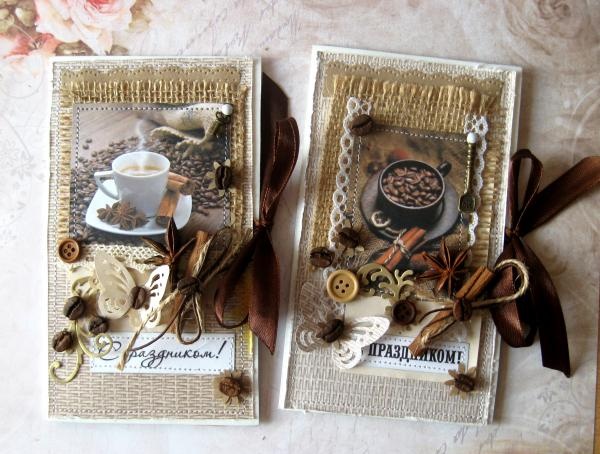
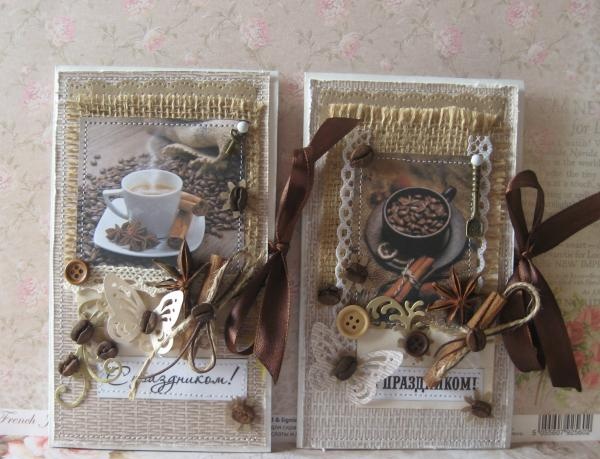
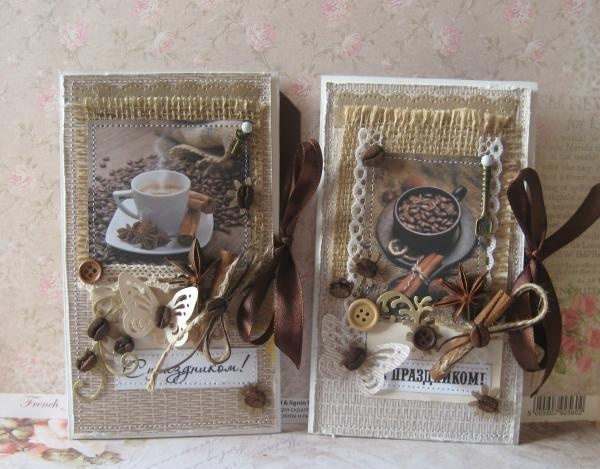
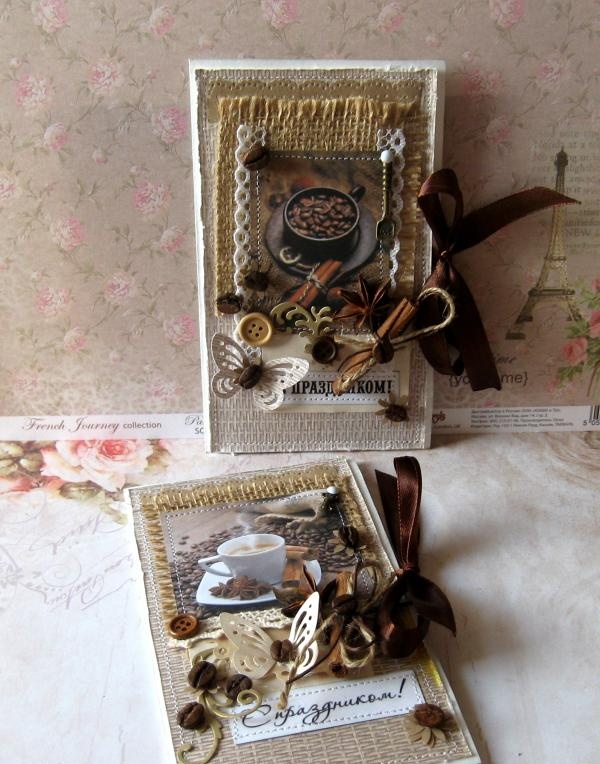
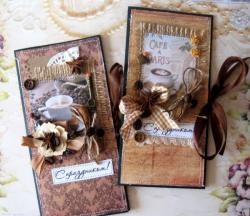
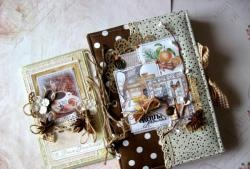
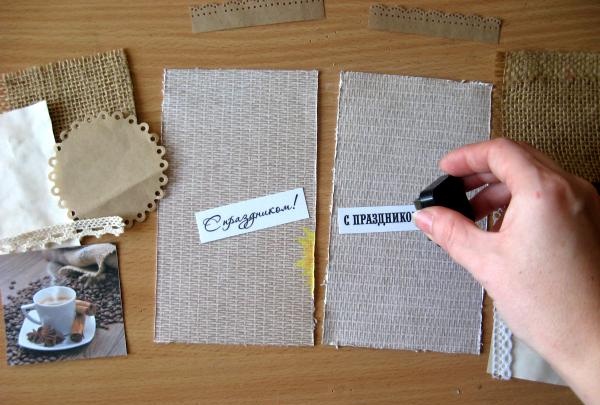
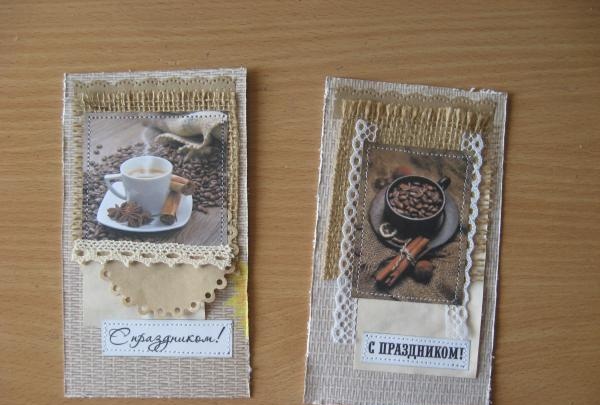
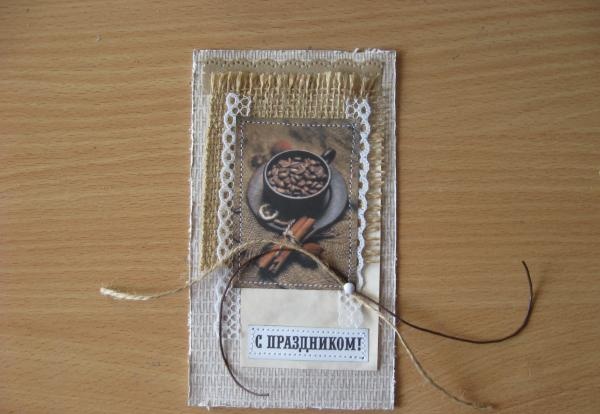
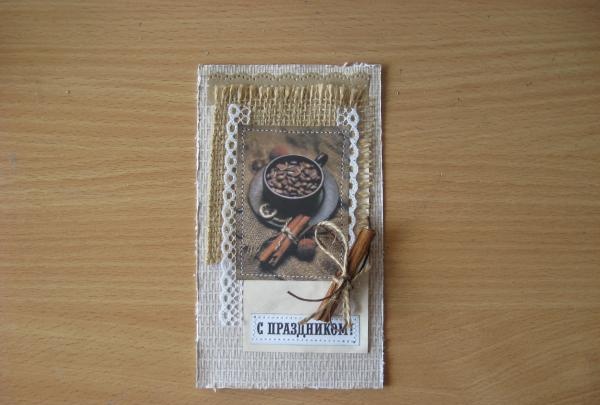
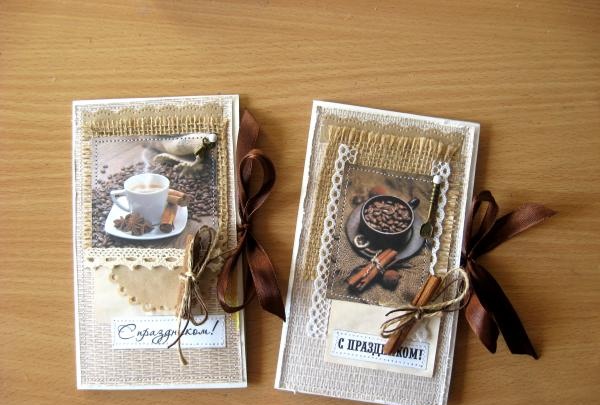
We will decorate the front rectangles. We cut out squares from burlap, make lace strips from kraft paper, cut out rectangles of coffee-tinted paper, strips of lace and lettering with pictures.
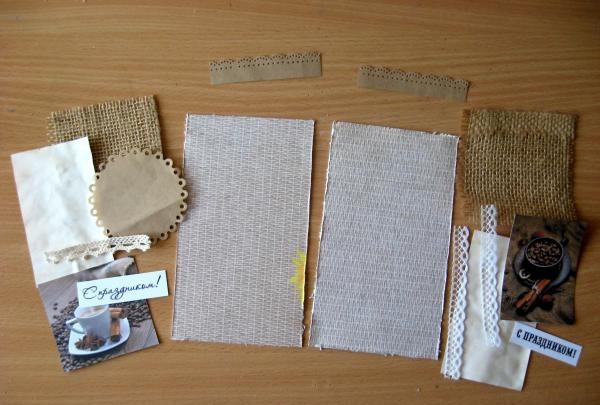
We tint the inscriptions in the same way. First we glue strips of kraft paper at the top, then a piece of burlap, tinted cut-outs on them, then pictures. We also insert the circle and lace in the right places. Below we glue the inscription.
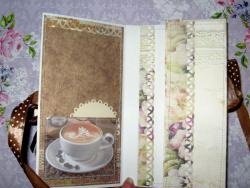
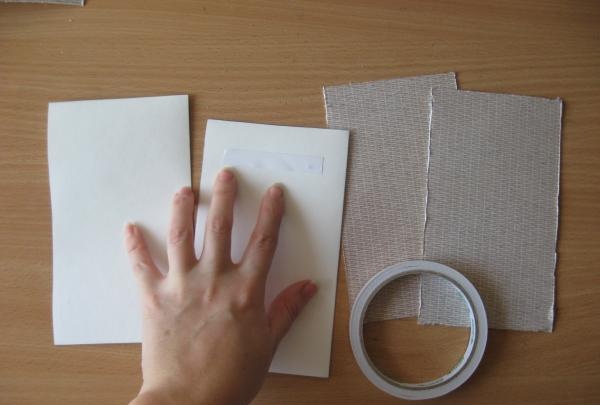
We also cut two 9*10 cm rectangles, punch them and glue them inside the blanks. These will be pockets for money if you need it.
Also, for each card, we cut out two strips of brown tape, 18-20 cm long. We glue it on the front and back of each base. We sew inscriptions and pictures on each blank.
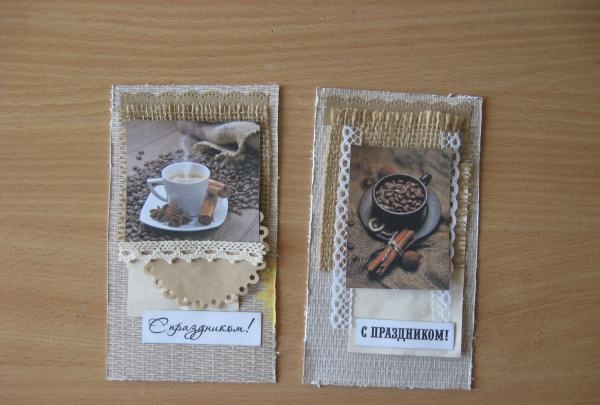
Now cut off a strip of twine and waxed cord. Now we will attach the cinnamon stick. Approximately in the middle of the cord and twine, insert the brads and thread them into the workpiece, fastening it.
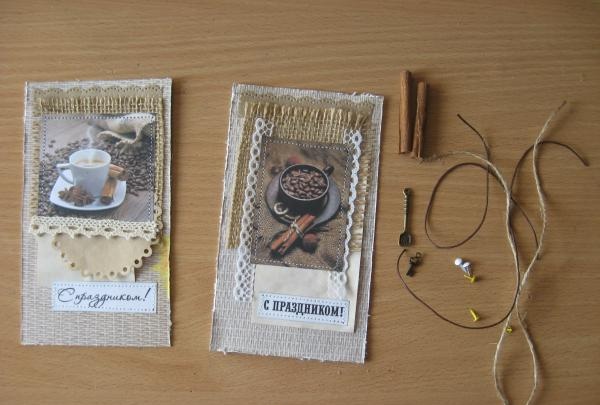
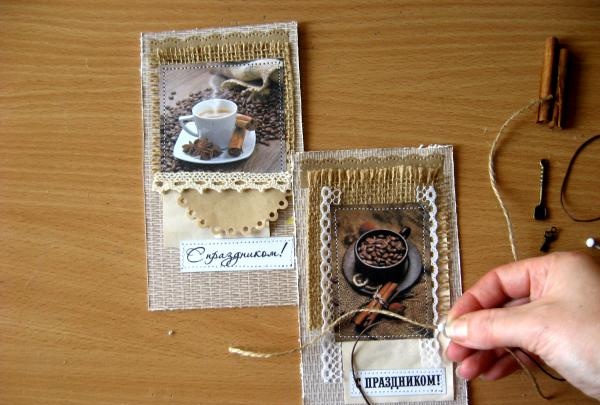
We strengthened it, now we apply cinnamon sticks and tie it in a bow.
We do the same on the second workpiece. We also glue the front sides to the bases.

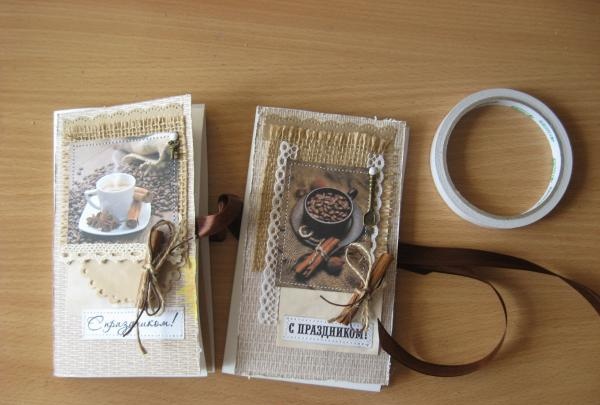
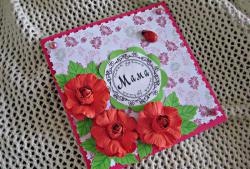
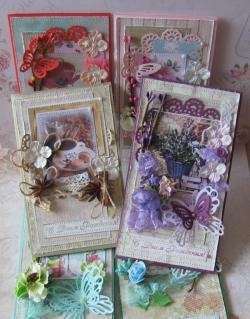
Sew first the front sides, then the back sides of each card.Well, to finish, now we decorate the cards with paper flowers, coffee beans, star anise, and butterflies. Curls and buttons.
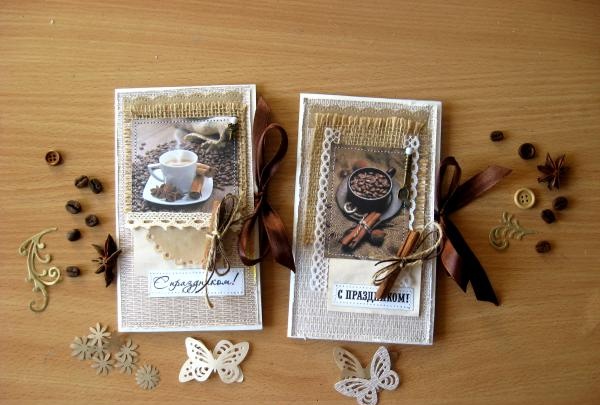
Decor glue it with a heat gun. Thank you for your attention and good luck to everyone!