Amateur carpenters often fill their workshops with homemade tools and gadgets. Among these is a grinding drum for a drill. Those who have used it know that it is difficult to hold the drill even with two hands while processing wood. The nozzle constantly moves away from the point of contact with the wood and goes pretty deep into the workpiece. The grinding quality is disappointing.
There is a way out of the situation - an advanced grinding attachment. It can be held with one hand, and a drill or screwdriver with the other. This will improve the quality of surface treatment and controllability of the grinding process.

Materials and tools used
To work you need:- piece of pipe;
- a pair of nuts with M6 or M8 thread, a bolt for them 30 mm long;
- one threaded nut for a stud on the angle grinder handle;
- old brushed motor;
- sanding paper.
- drill;
- welding machine with electrode;
- Angle grinder (grinder) with a circle for cutting steel;
- marking tool;
- metal drill;
- bench vice.
The work takes about an hour.
The process of making a grinding tool from a motor armature with your own hands
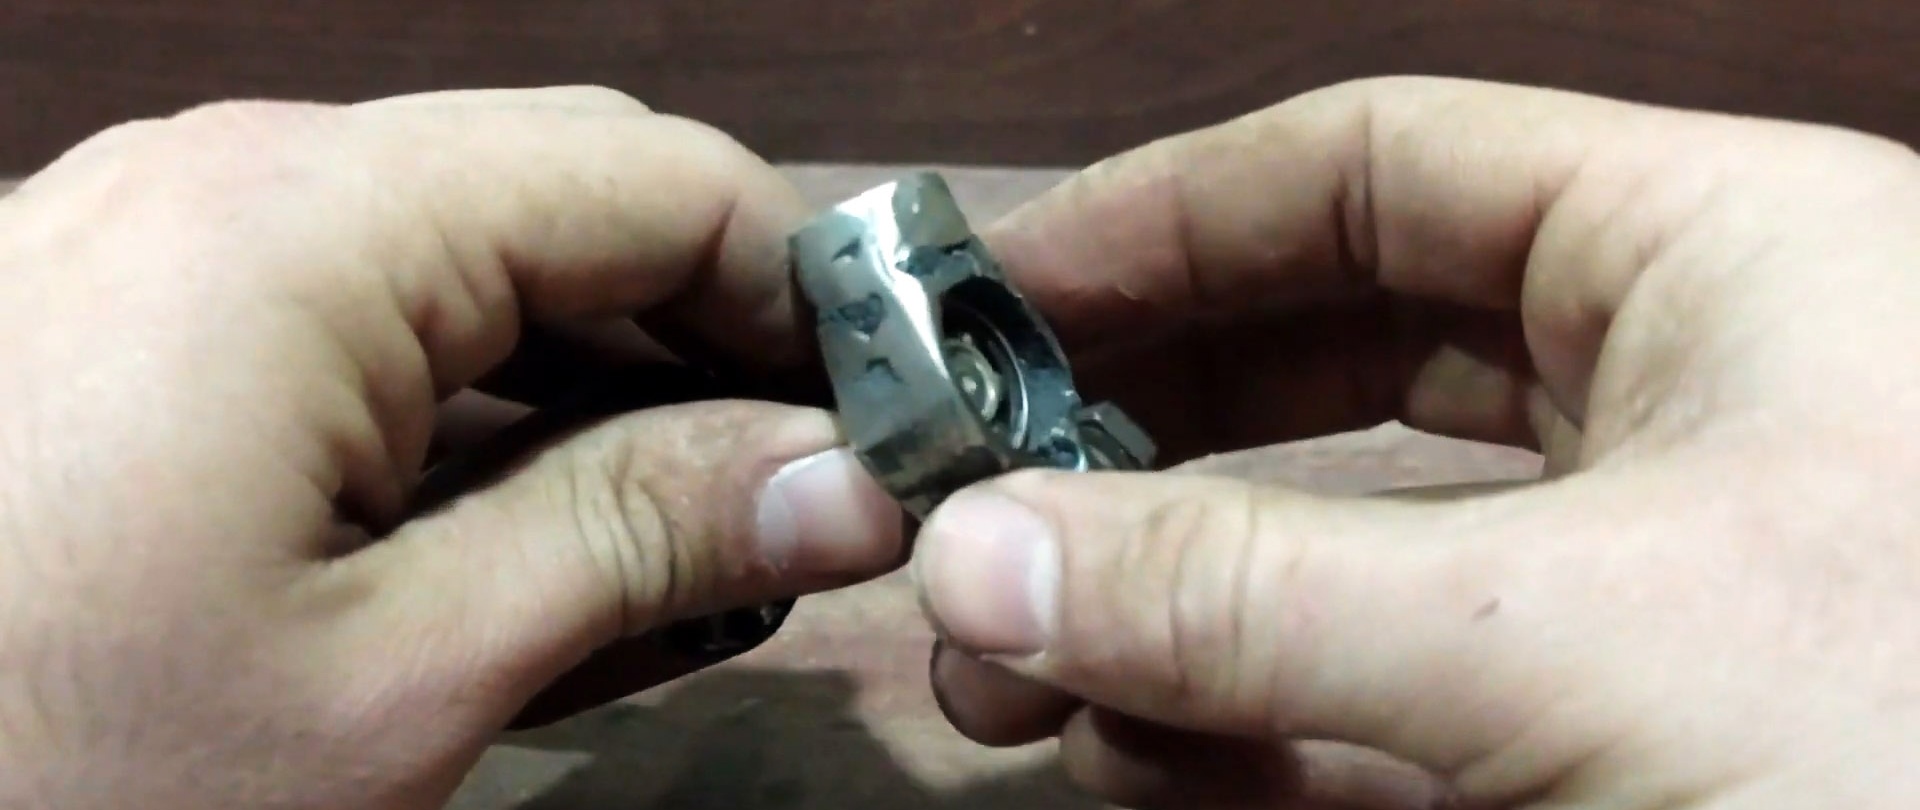
Preparation of fastening. A piece 15-20 mm long is cut from a pipe whose internal diameter is slightly larger than the external diameter of the electric motor bearing.
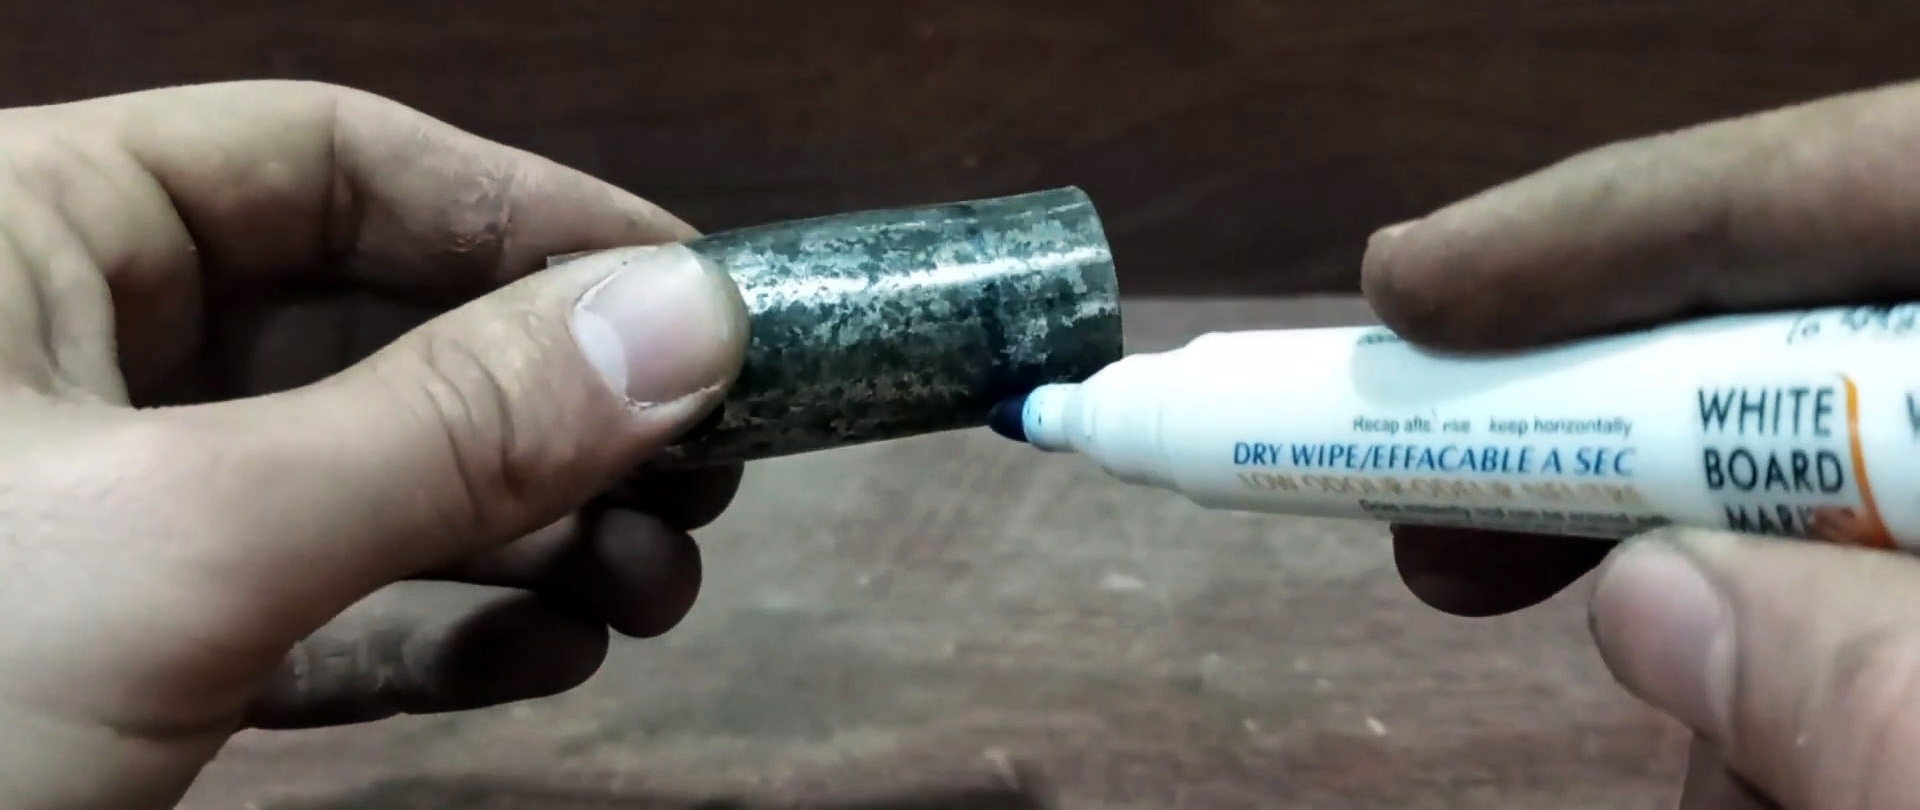
The workpiece is clamped in a vice, and a cut is made along the length using a grinder.

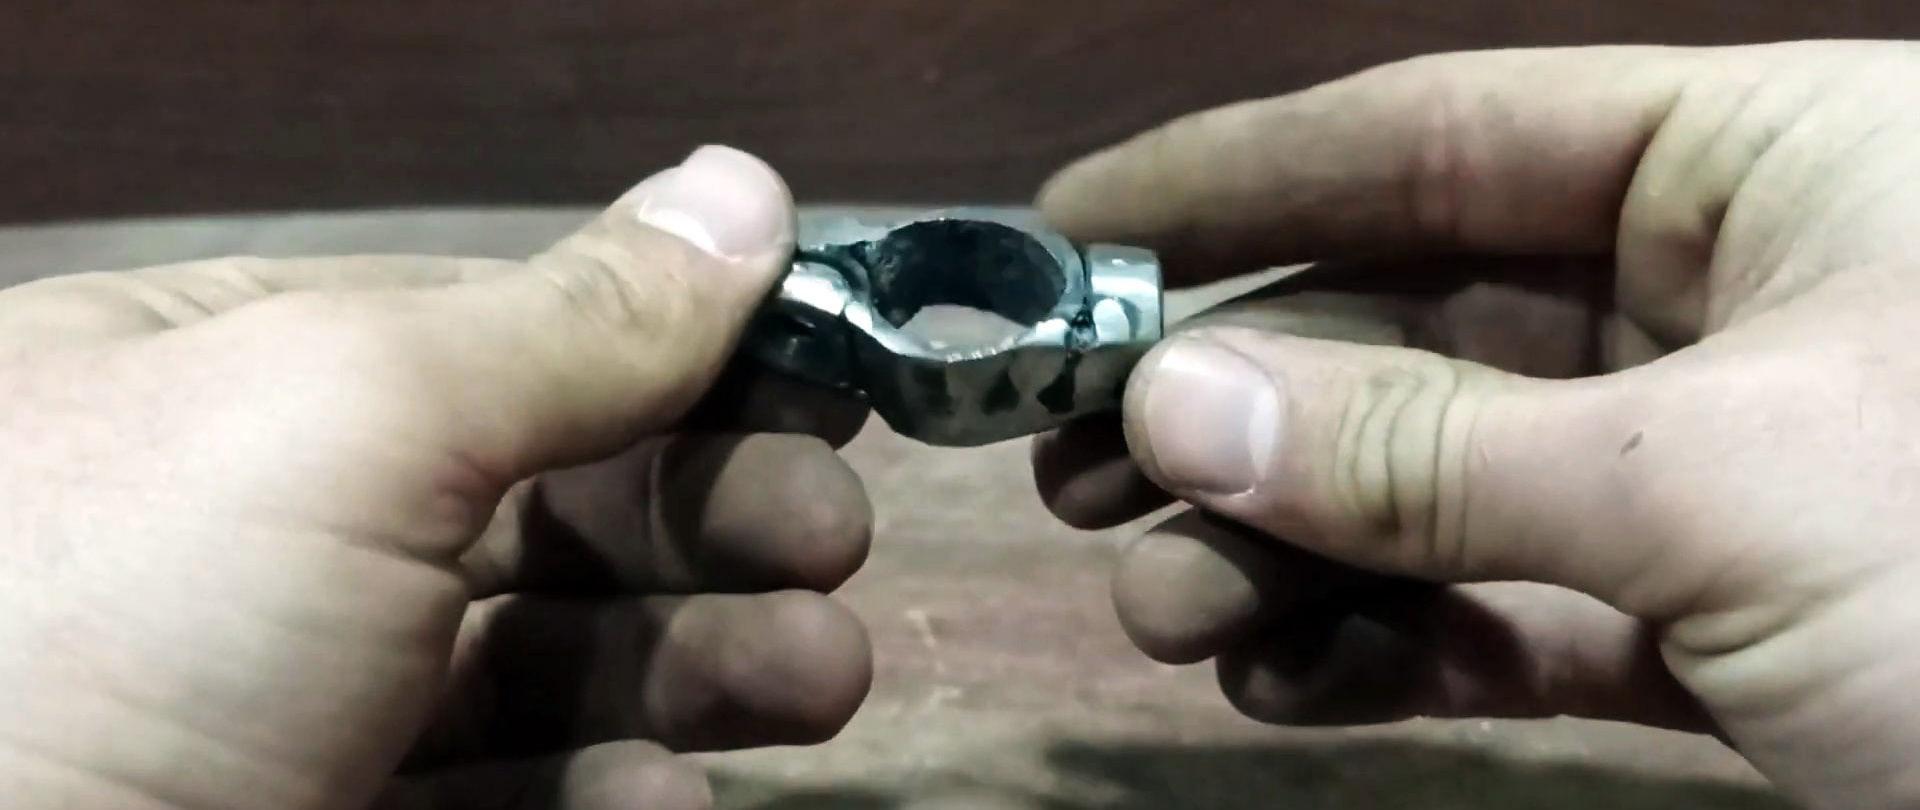
Outside, near the cut, using an angle grinder, a plane is formed for welding the nuts. The nuts are screwed onto the bolt and welded on both sides to the cut tube, one on each side.

In the nuts, using a drill slightly larger than the diameter of their hole (6.5-7 or 8.5-9 mm), drill out the middle so that the bolt can fit freely. A second nut for the handle is welded to the opposite side.

The part is cleaned and polished to reduce the likelihood of injury.
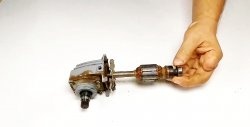
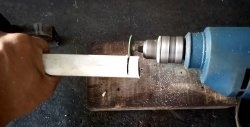
A bolt is inserted inside the nuts, and the nut is screwed onto it without effort. Engine preparation. From the gear side, the ends of the windings are carefully trimmed with a grinder.

To avoid damage to the shaft, the wires can be cut with a disk and then finished with a hacksaw.
Using a core and a hammer, the winding wires located between the anchor plates are knocked out. From the reverse side, the copper is pulled out with pliers.

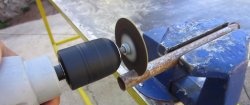
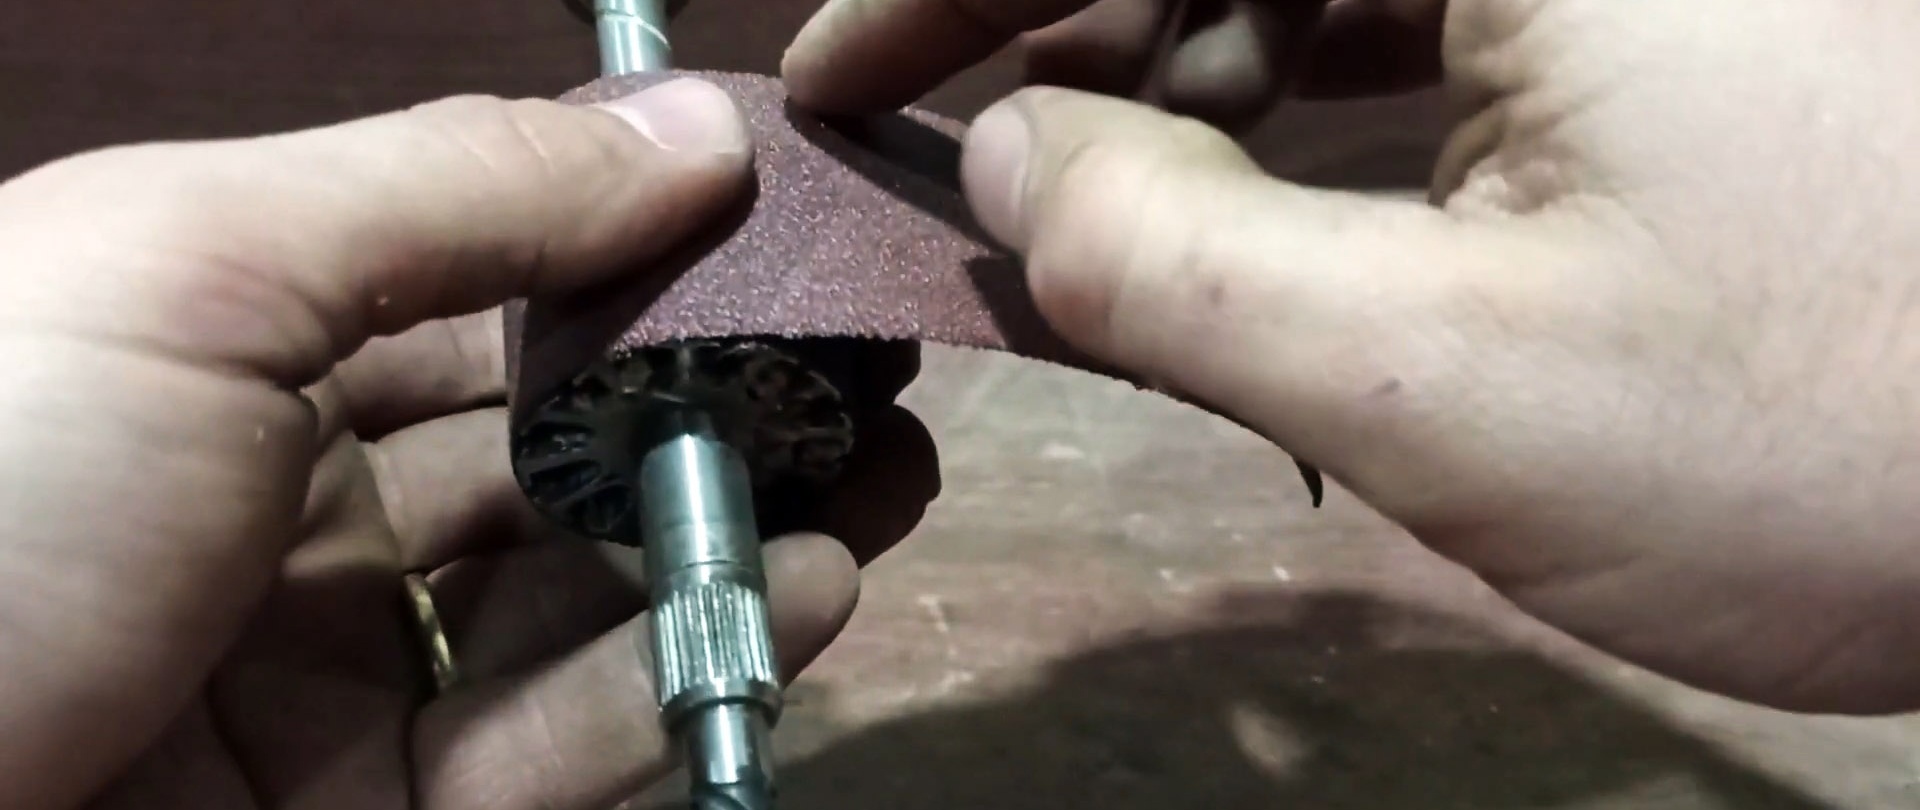
A piece of sandpaper is cut out. The width is equal to the height of the core, the length is slightly greater than its circumference.
The end of the skin is inserted between the plates so that the grains are on the outside.

The core is wrapped with sandpaper in one layer. It is trimmed with a margin of 3 mm.
The second end is tucked between the plates where the beginning is inserted.

To securely hold it, a wooden plate, a piece of sheet metal, rubber, or something like liquid nails is pressed into the gap.
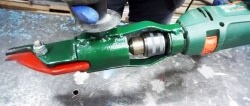
Assembly of the mechanism.The previously made mount is put on the bearing and tightened by hand or with a wrench.
Worn bearings (play, jam) are replaced.
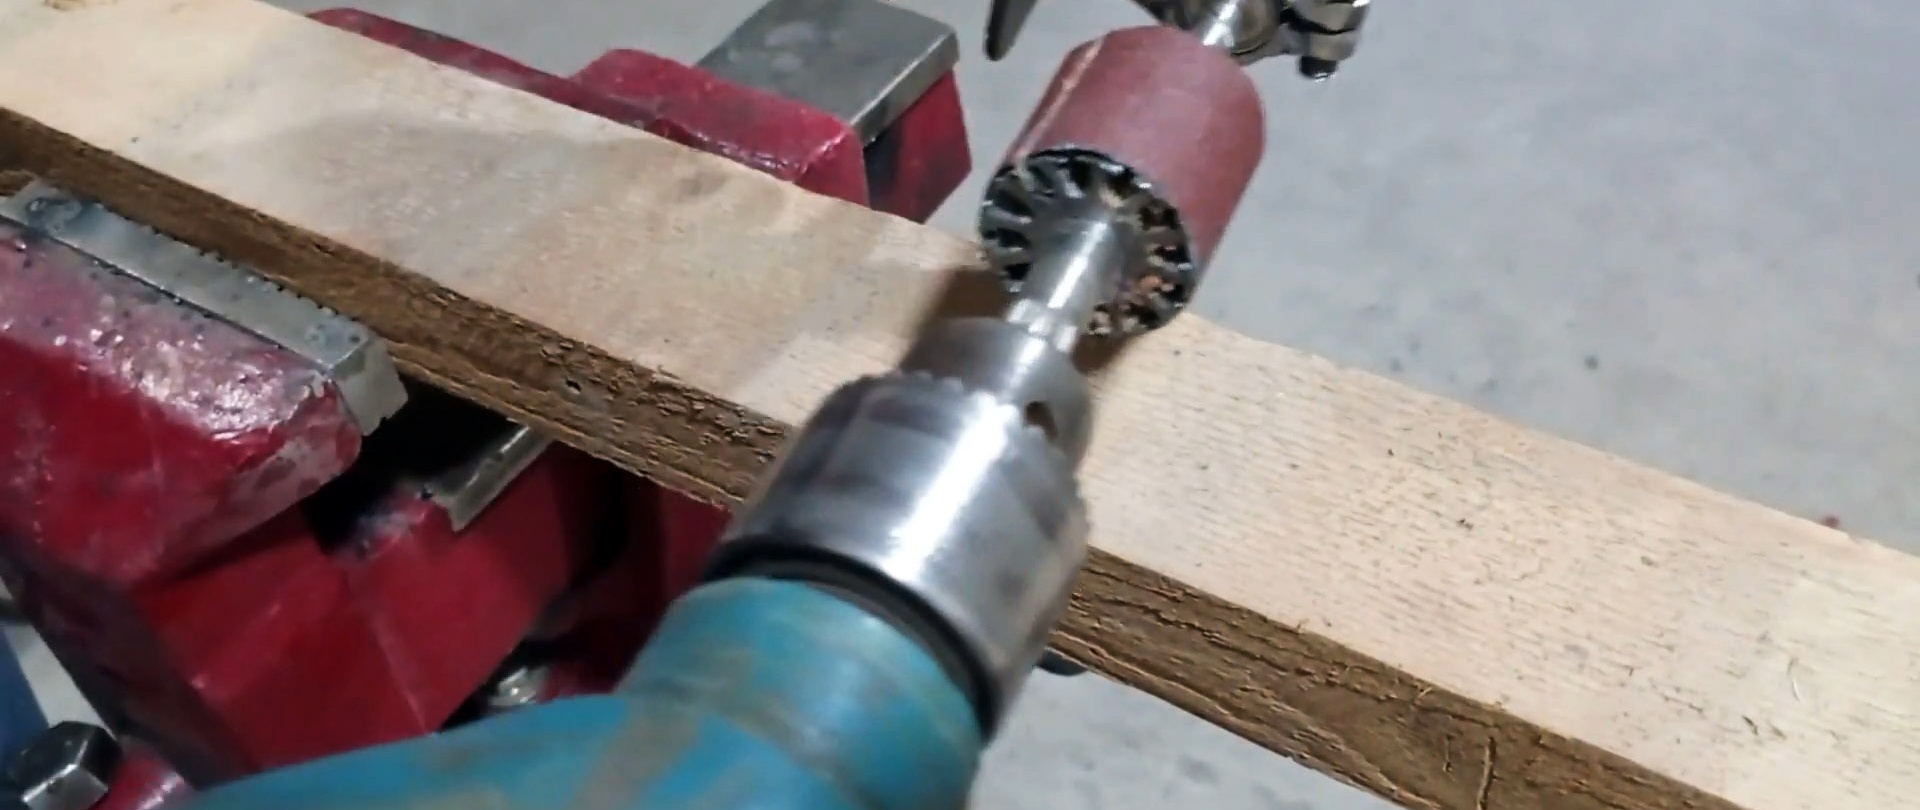
A handle from an angle grinder is screwed into the nut for reliable and convenient holding of the grinding device. The opposite end of the shaft is clamped into the drill chuck.

The tool is ready for use. When using a grinding attachment for a drill, you should take care of protecting your respiratory system from dust: work in a mask, respirator, or use an aspiration system. The electric motor rotor should be clamped in a vice through a soft spacer: rubber, cardboard, wood.
Using a wedge or wedges instead of filling the space between the ends of the sandpaper will allow for quick sandpaper changes. You can quickly change worn-out abrasives or use sandpaper with a different grain size.