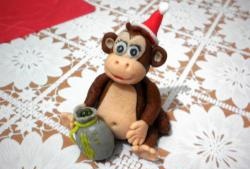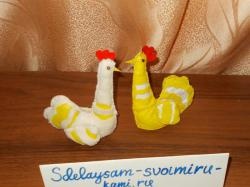
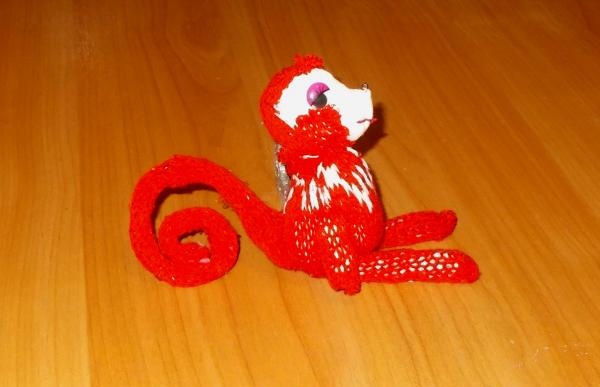
The monkey seems the most attractive to us:
For work we needed:
- Paper and pencil;
- Scissors, red thread and needle;
- Artificial eyes for toys or beads;
- Thick wire;
- A small piece of white plastic;
- Filler (cotton wool);
- White fabric;
- One brown bead;
- An old red children's scarf.
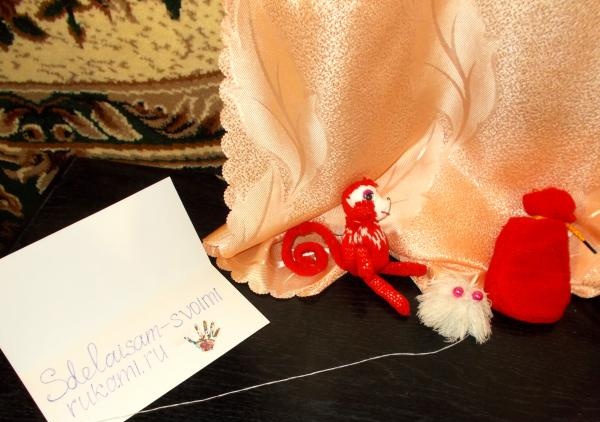
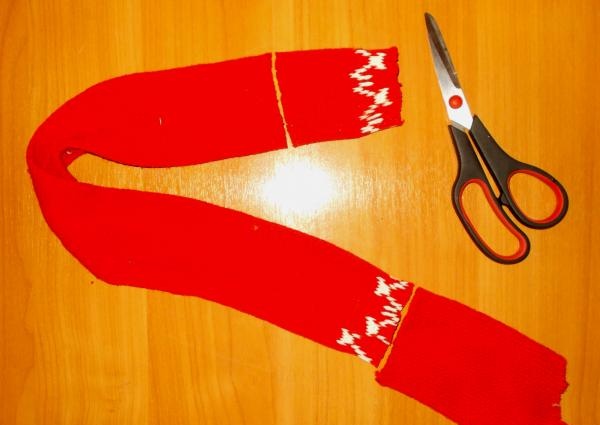
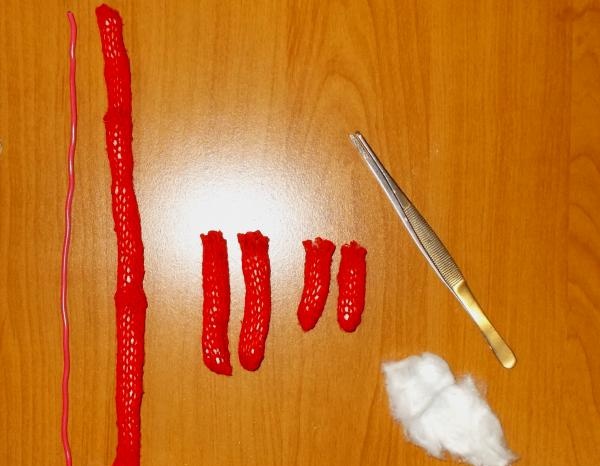
Starting work, we took a scarf and divided it into four parts: from the first two parts we decided to sew a monkey, from the third we made a bag for storing small items; the fourth part consists of two pompoms that were sewn to the ends of the scarf. We used one of them to make a cat toy.
Here's a simple bag:
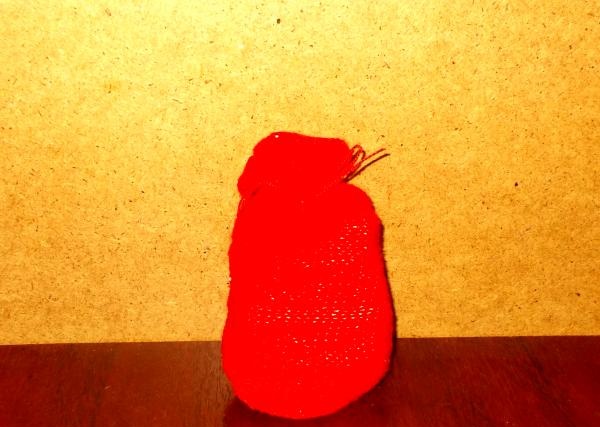
It is not at all difficult to sew; it consists of only two pieces of rectangular fabric connected by seams.
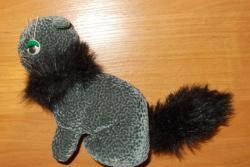
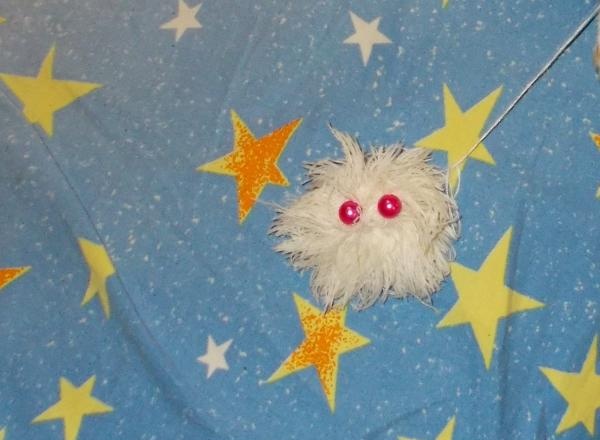
The pompom turned into a shaggy cat toy:
Having done these two things, we begin to make a toy - a monkey.
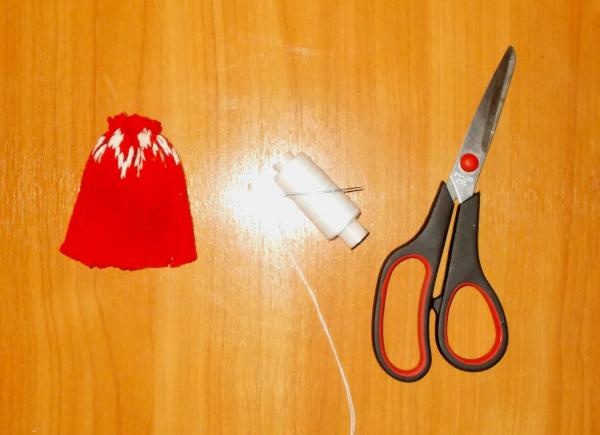
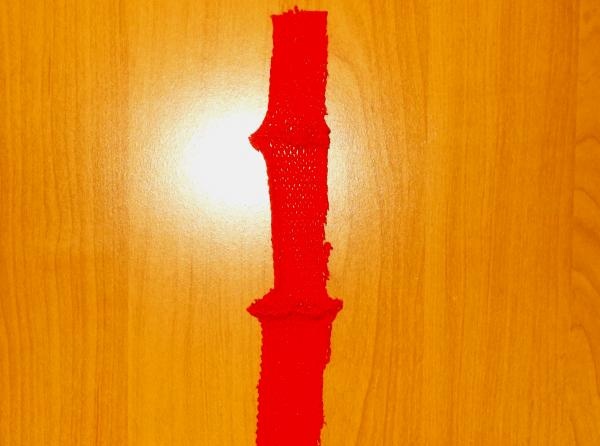
First we take one of the pieces of fabric set aside for its manufacture:
Taking a needle and thread, we sew up the upper side of this piece:
Next, we take a rectangular piece of white fabric and fold it in two, after which we draw a drawing of the head of the future toy with a pencil on one of its sides:
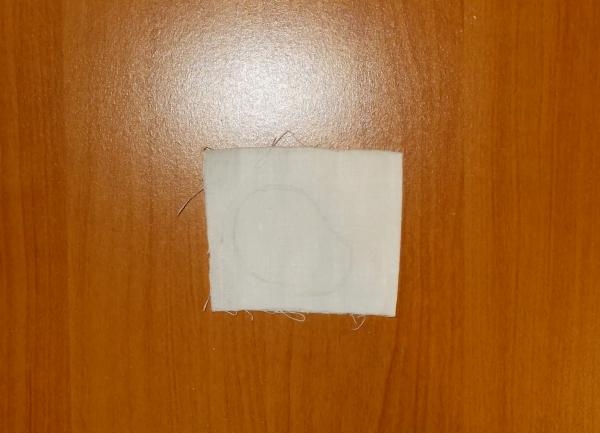
According to the drawing, you should sew the seams, and then cut out the resulting fabric figure with a small area of allowance:
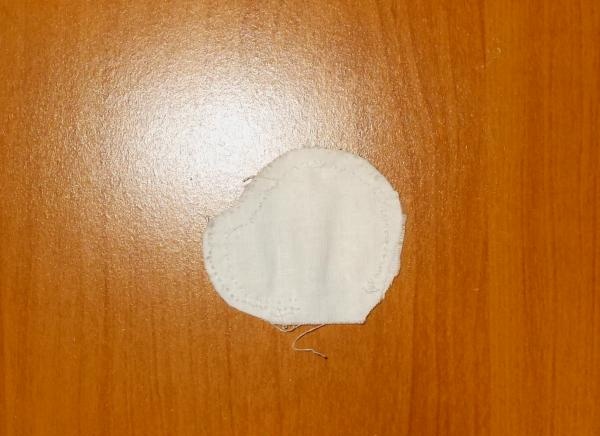
After this, we turn the figure inside out and prepare small elements to make up the muzzle (artificial eyes, a bead as a nose and ears from a small piece of plastic):
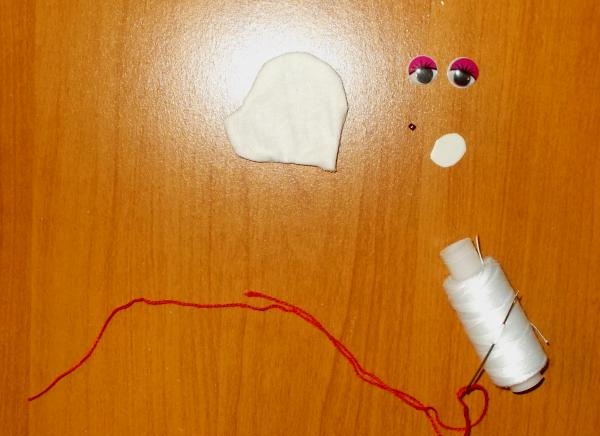
We glue the artificial eyes, sew on the ears with beads and embroider the mouth with red thread, and then from another piece of scarf fabric we cut out two figures to make the toy’s head look like a monkey. Like these ones:
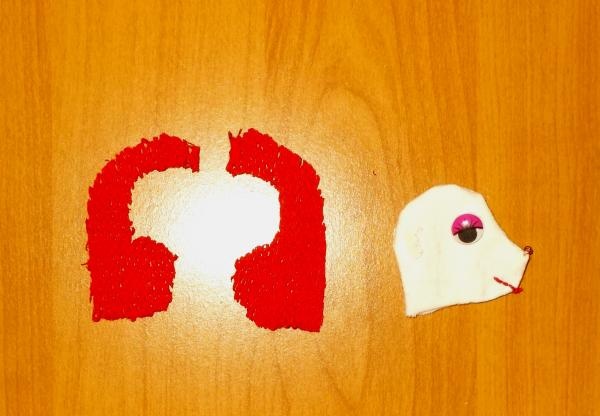
We sew these figures along the edges of the muzzle and to the back of the toy’s head, after which we fill the resulting head and body with cotton wool and sew them to each other:
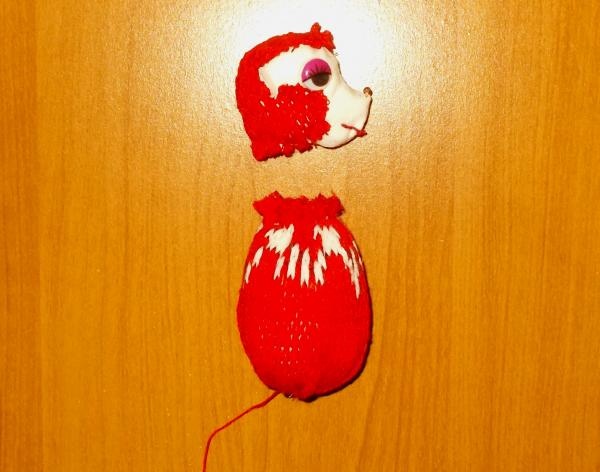
Now we cut out four pieces of fabric to make the back and front legs for the toy:
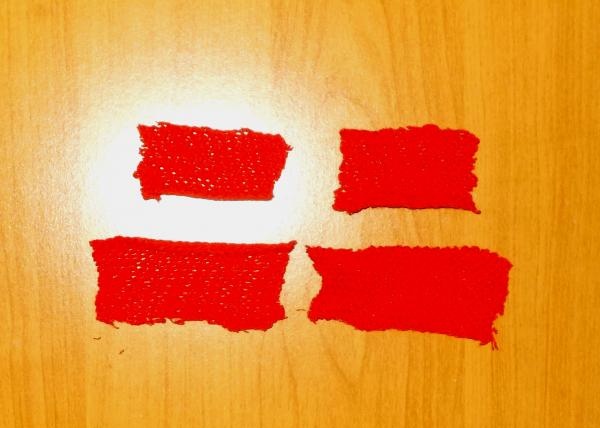
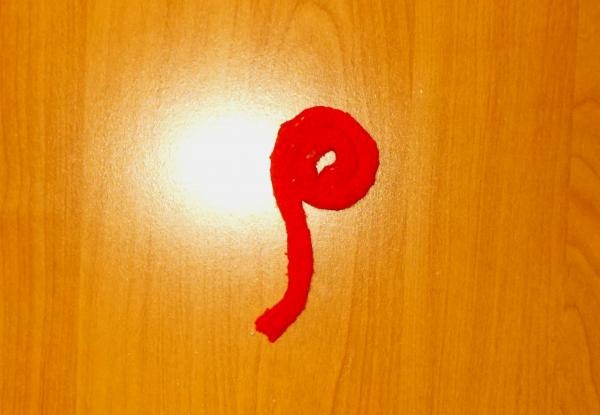
We should sew each of the pieces in their longitudinal sides, and then turn them inside out and fill them with cotton wool. In order to make a twisted tail, we need thick wire:
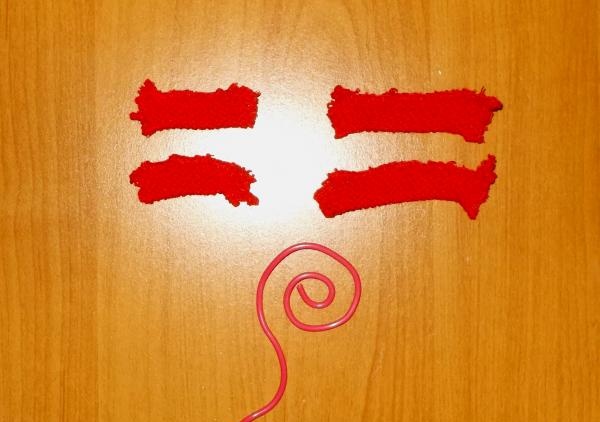
When sewing the tail, we had the problem that there was no long fabric left.So we decided to take three short pieces and sew them together:
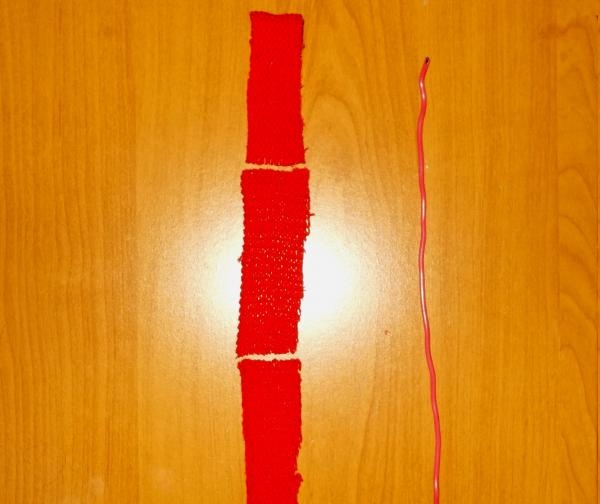
First we sew their transverse sections:
And then the longitudinal and top sides:

After that, having turned the finished items inside out, we first decided to fill each of them with cotton wool, using tweezers for convenience:
But then we decided that the tail looked worse (too thick). It looks better without cotton wool:
Now we need to sew the legs and tail to the toy, cutting small holes to accommodate the allowance (extra fabric) inside.
In order for the tail wire to go deeper inside the toy and the resulting tail to hold better, we removed part of its fabric and then sewed it on:
When sewing on the tail and paws, we made several additional seams above and (or) below so that they would better stay in one position (not stick out to the sides).
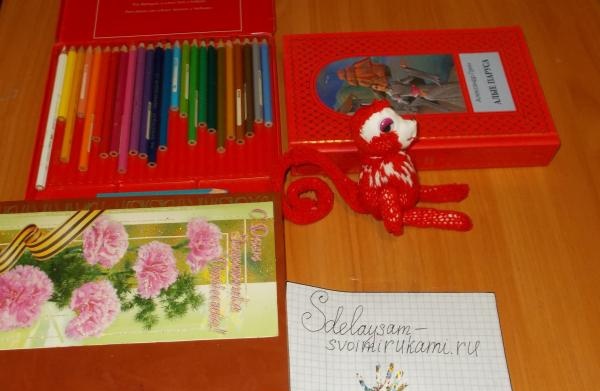
After that, that’s it, our toy is ready:
This toy can decorate a room well, and the sign of the Red (Fire) Monkey is considered the mistress of 2016.
Sincerely, Vorobyova Dinara.