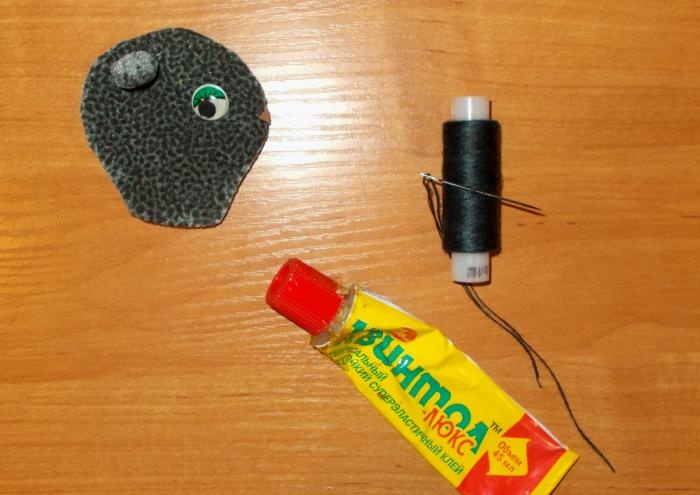
The materials and tools needed to make a toy cat are: paper and pencil, scissors, gray felt fabric (short-pile velor), black fur-lined fabric, black thread and needle, filler (cotton wool), beige fabric, small white a plastic sheet, artificial eyes, reliable glue and a heart-shaped keychain.
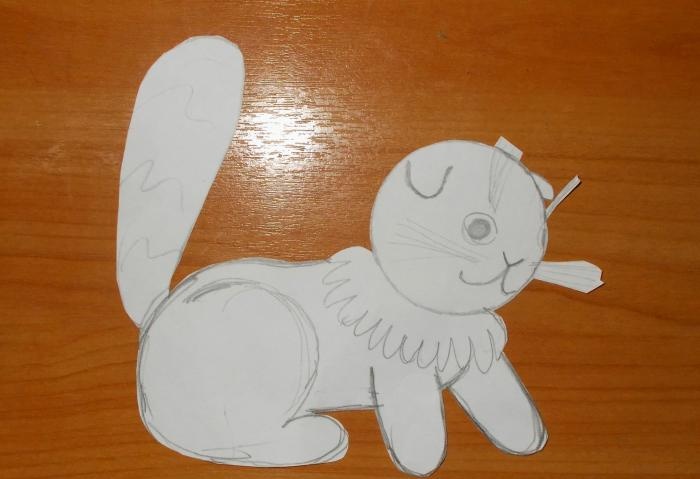
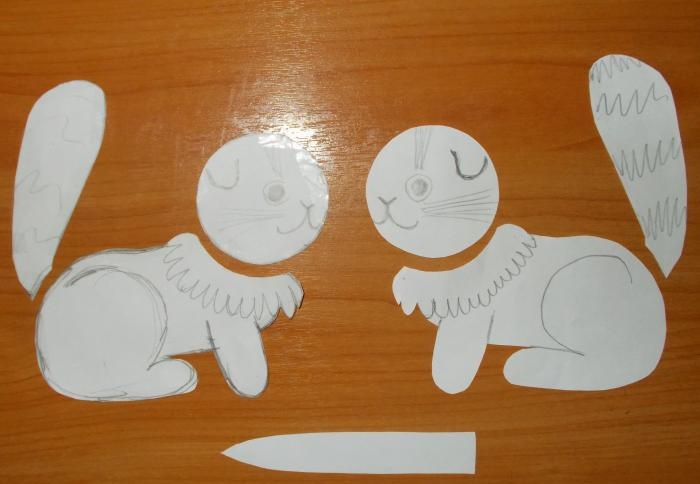
Starting work, we draw up a sample of the future toy on paper and cut it out:
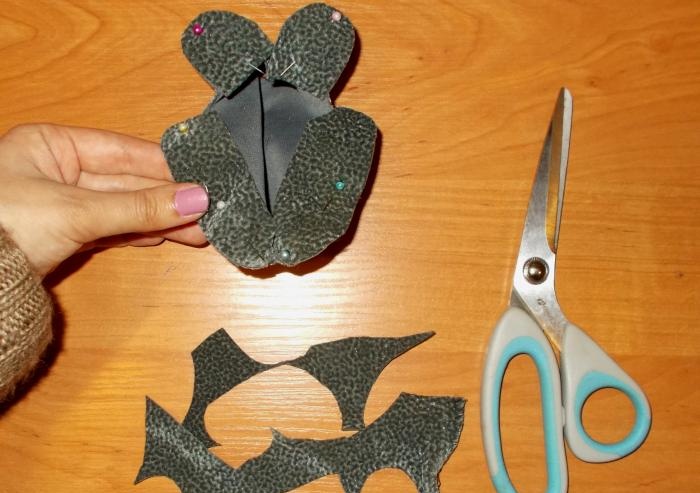
We cut the resulting sample into parts, according to the shape of which we will sew a toy. Separate from the sample is the lower part of the chest, which we will need to sew between the paws from below:
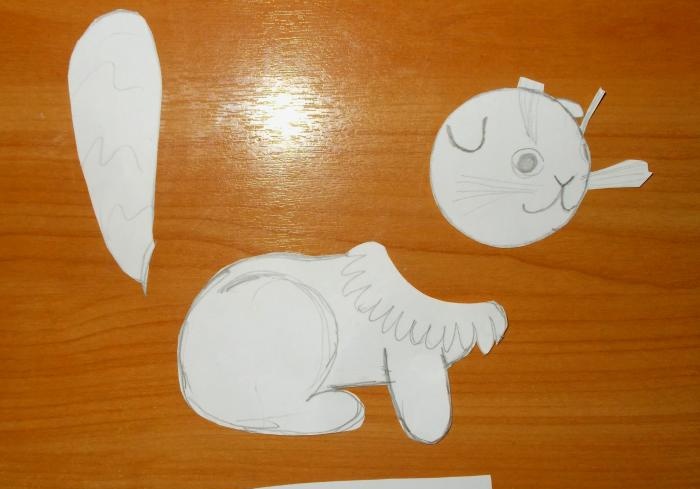
From another sheet of paper we create a sample for the second side of the toy and also divide it into separate parts:
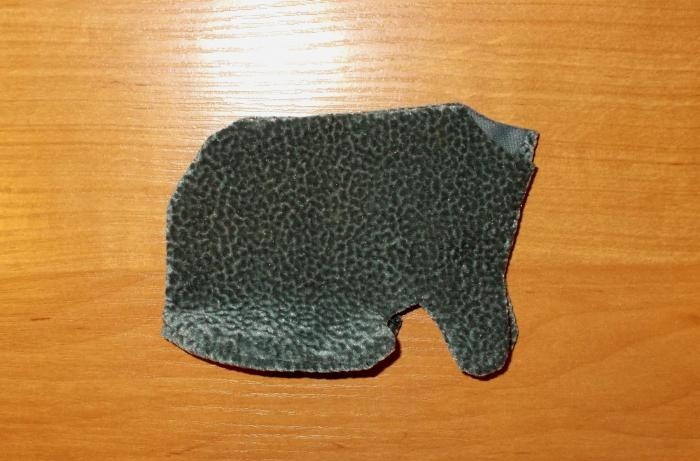
After this, we apply the paper parts to the fabric and, with a small allowance, cut them out of it.
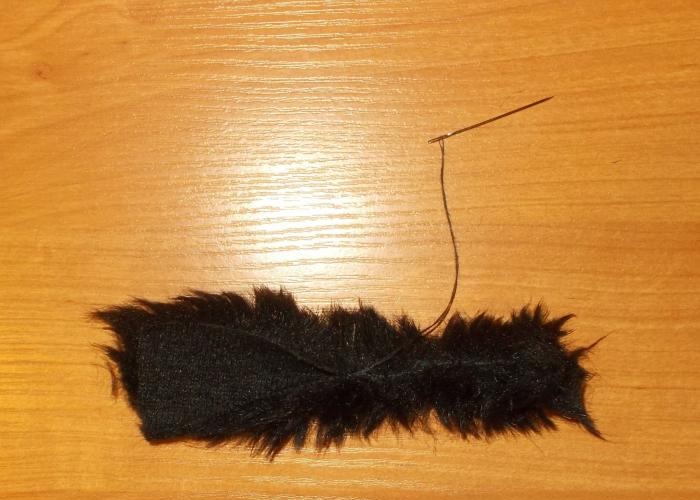
We need to make the parts of the head and body from velor (fleecy felt), and the parts of the neck and tail from fur fabric:
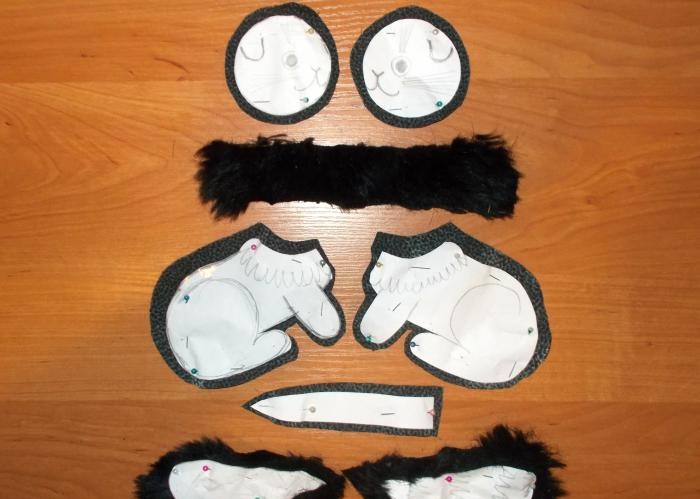
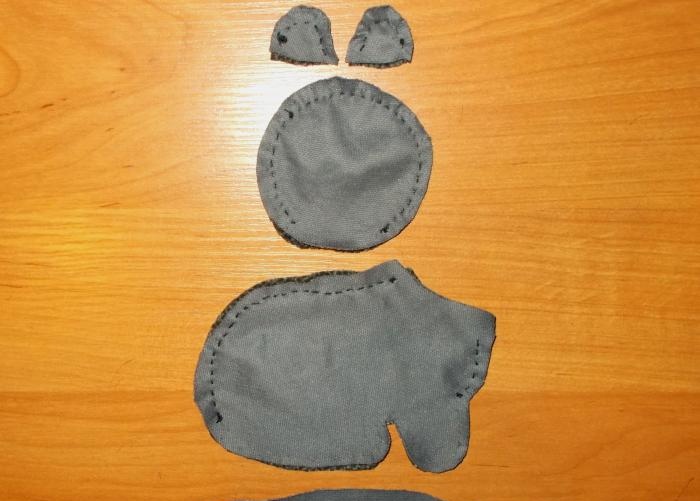
We need to fold the paired parts, pinning them with special needles, and then sew them along the edges:
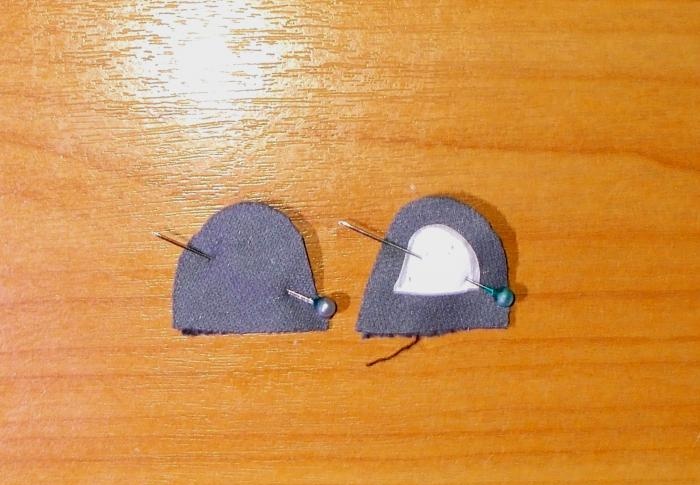
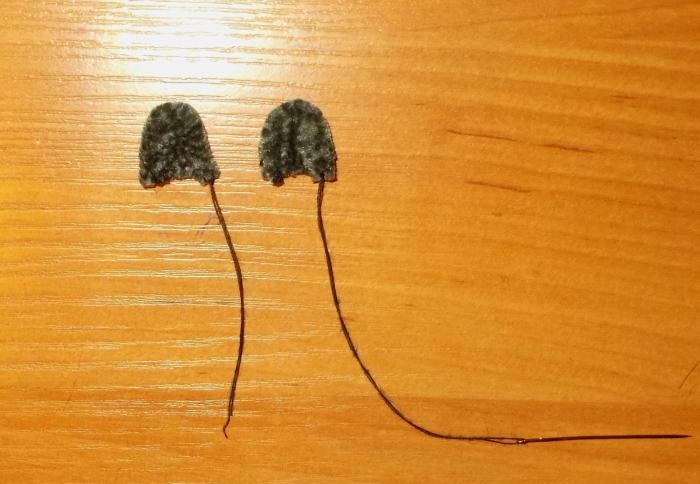
Now for the future toy you need to make ears. To do this, we cut out the part on which the ear is depicted from the paper part of the head, and based on this part we make four parts from fabric (to make up 2 ears):
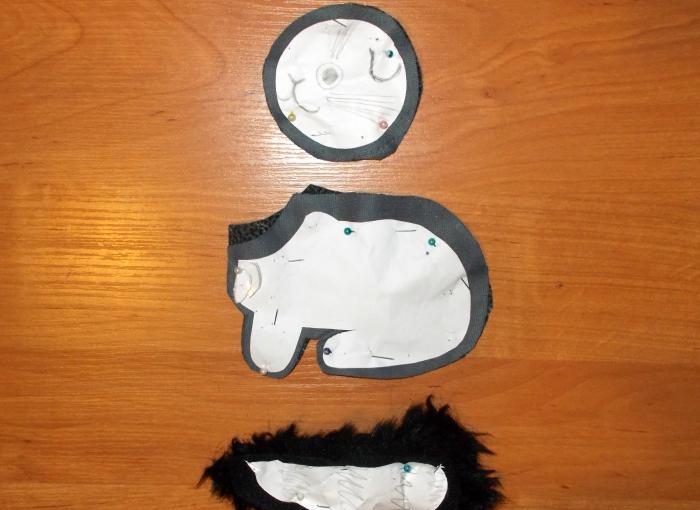
Next we sew the fur “strip” of the neck piece:
Now we need to sew around the edges of the parts of the ears, head and torso, but do not sew the lower part of the torso yet and leave the chest part unsewn:
We turn the sewn parts of the ears inside out, and then sew them together at the ends:

Next we take artificial eyes and beige fabric. We need to cut out a small nose from the fabric:
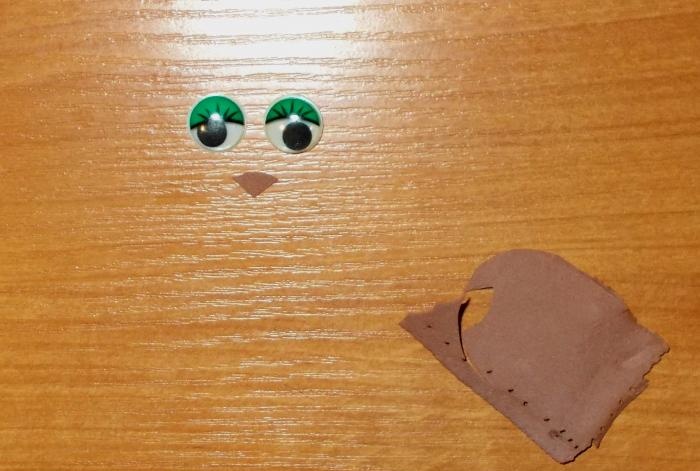
Having turned the head of the future toy inside out, we glue the artificial eyes and nose to it using reliable glue, and sew on the ears:
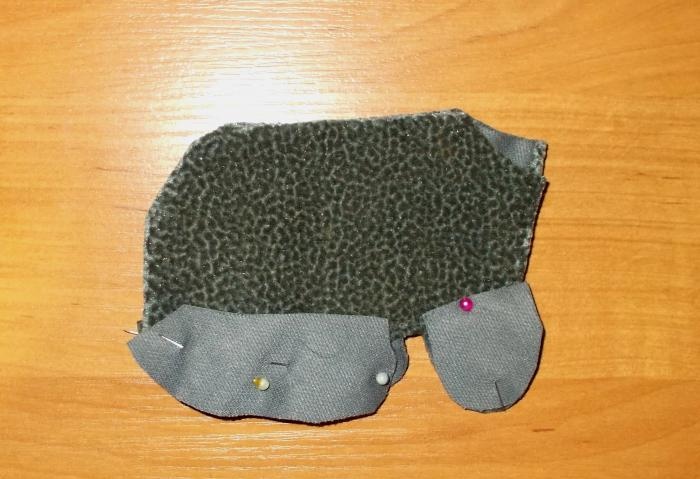
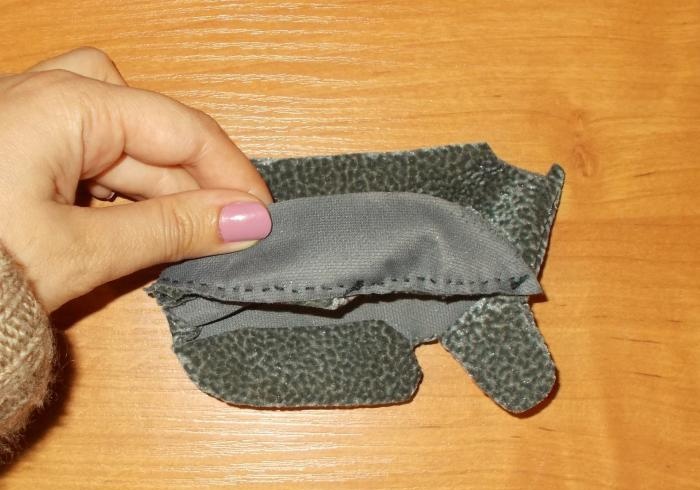
Next, we cut out four pieces from felt fabric for the inside of the legs. (If you sew the parts without them, then the finished toy will only have two legs (front and back), and the toy will not be able to stand. The chest part would not be useful in this case):
We will sew these parts not from the outside, but from the inside. Therefore, we place them on top of the paw parts from the body and with the wrong side out:
Next we need to sew these parts together.
When they are sewn, they will need to be turned inside out:
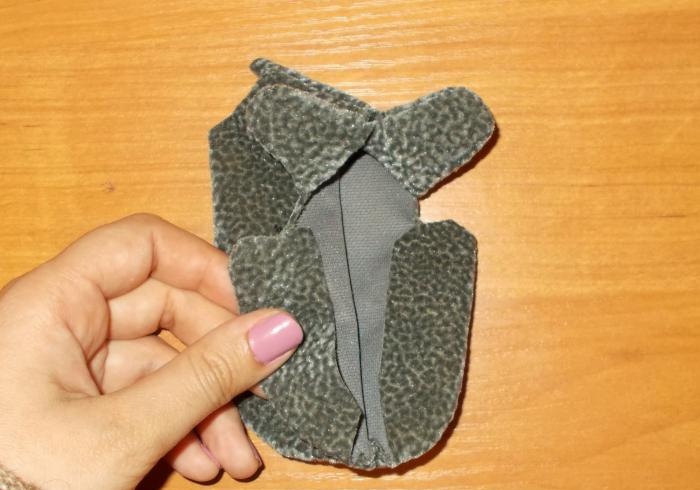
This is what the body of the future toy looks like now:
After this, we can sew the chest piece to the craft (its legs and body) by the edges:
To make it more convenient to sew the part, the craft needs to be turned inside out:

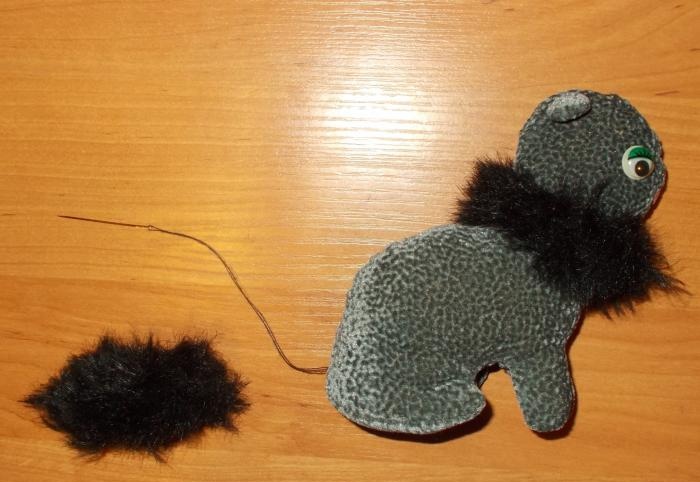
Next we sew to the underside of the head crafts part of the neck, and turn the body inside out and sew the tail to it. The mouth of the toy can be made from seams using black threads:
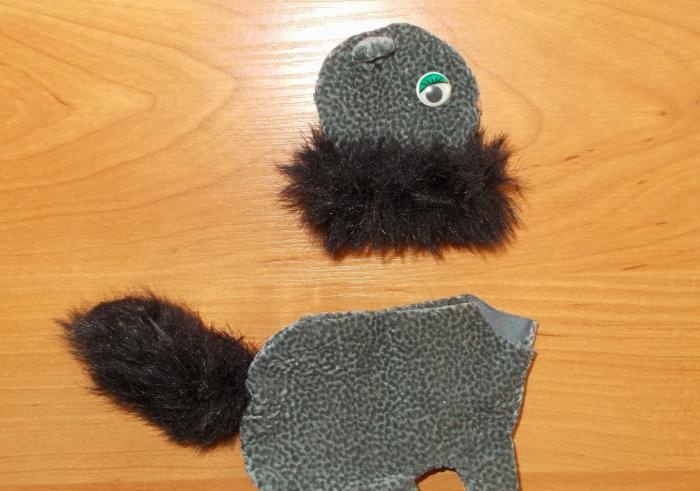
Now both finished parts need to be filled with cotton wool:
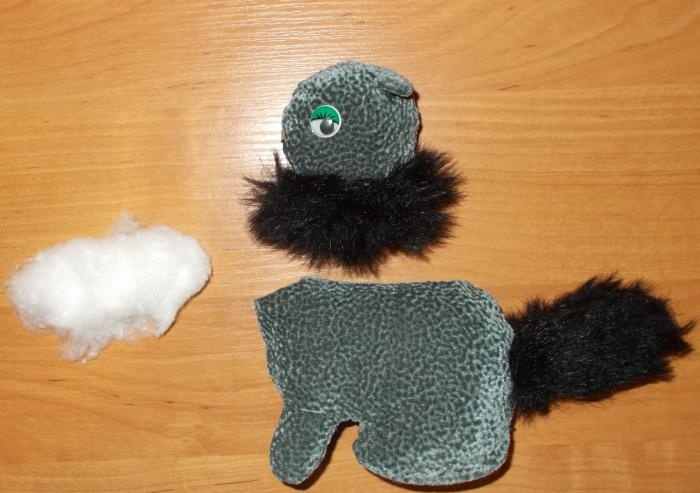
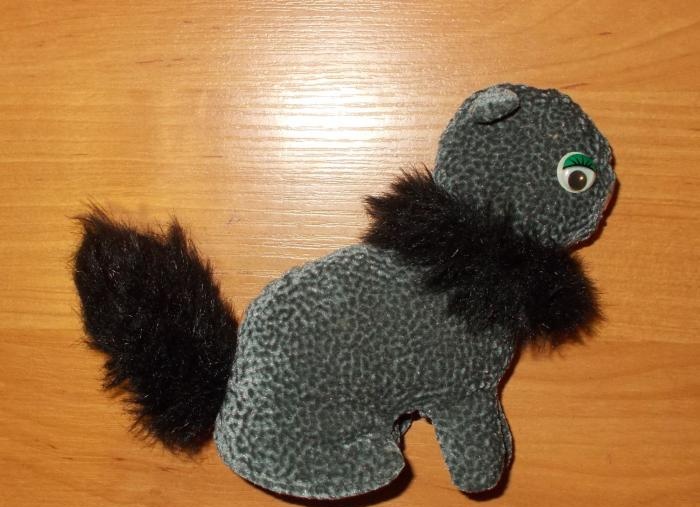
The cotton-filled parts need to be sewn together:
The toy has a very noticeable bump on the back, and a slight unevenness on the neck part is noticeable. To hide the unevenness, you need to make seams, pressing each tubercle inward:
To do this, we had to sew off the tail for a while, but after processing we sew it on again:
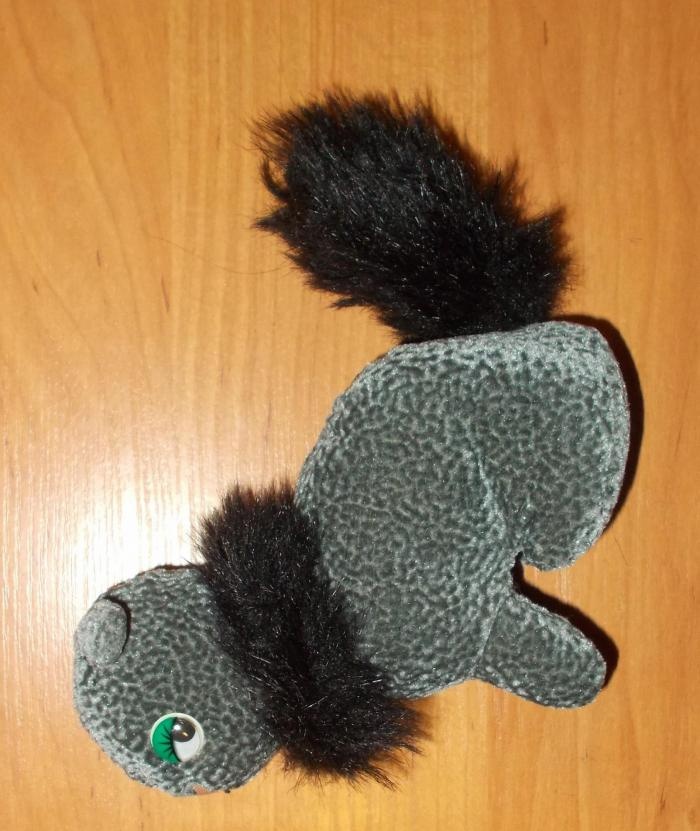
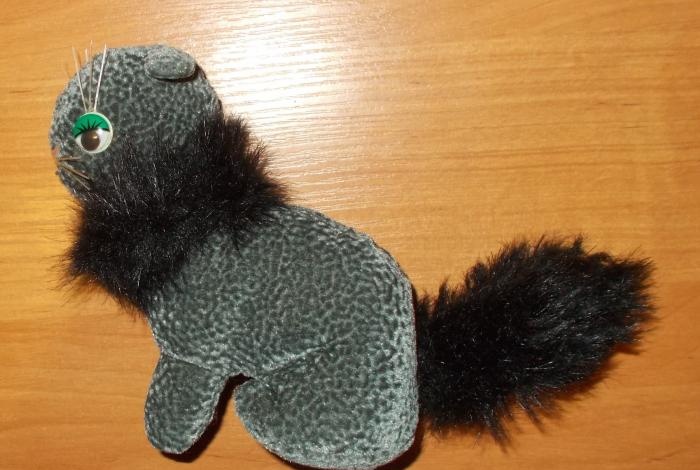
After processing, our almost finished toy on the other side looks like this:
Now all we have to do is make the antennae and sew on a small keychain. The mustache can be made from fishing line, and if you don’t have it, you can take a white plastic sheet and cut it into thin strips:
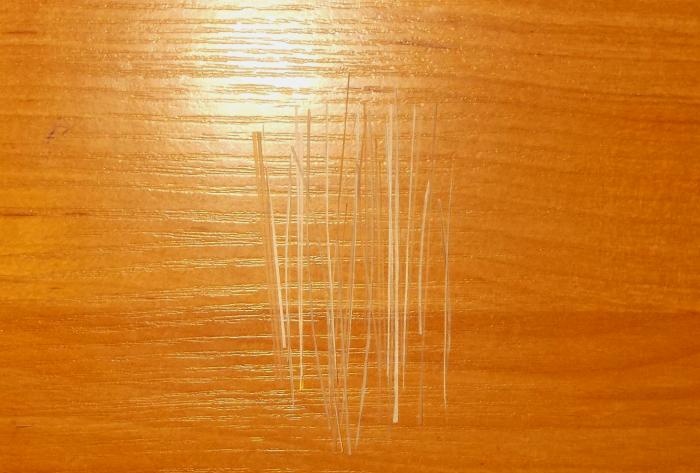
You need to cut the strips very carefully so that they turn out thin and even. And then, using reliable glue, attach them to the craft, cutting off the excess length:
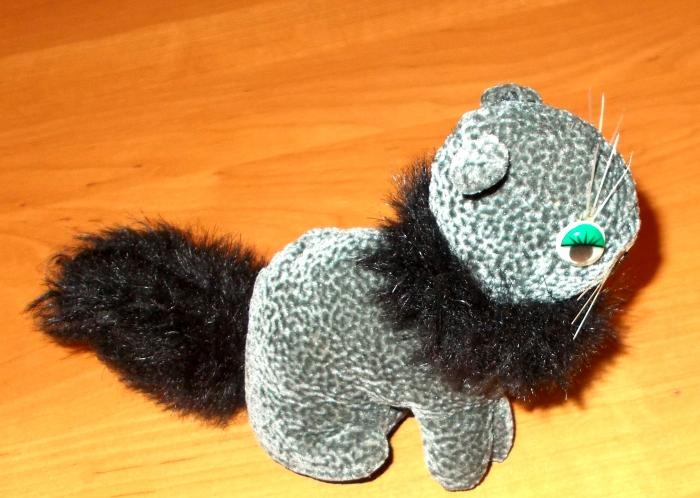
This is how our craft looks from the other side:
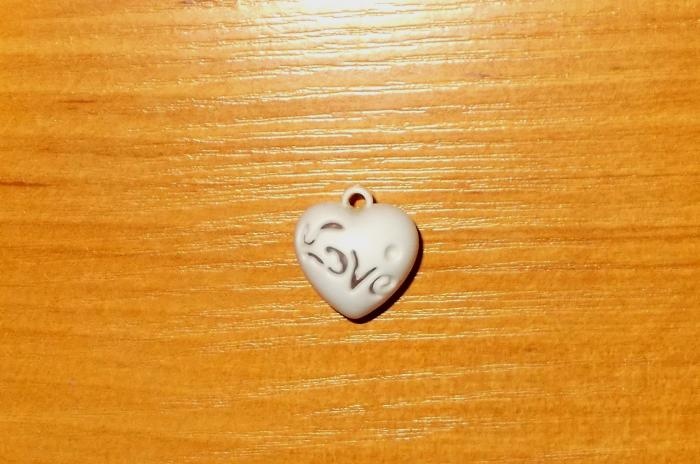
Now we take a heart-shaped keychain:
We sew this keychain to the neck of the toy.
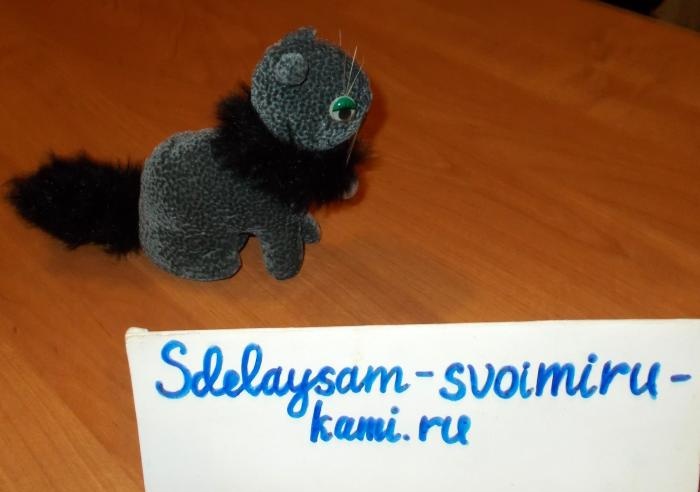
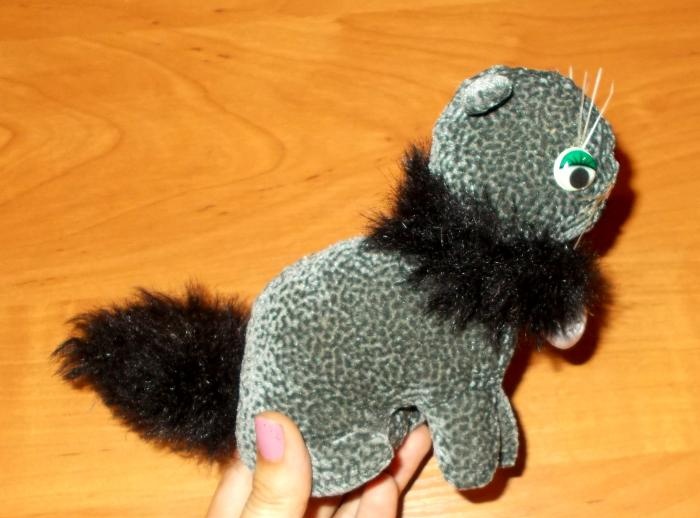
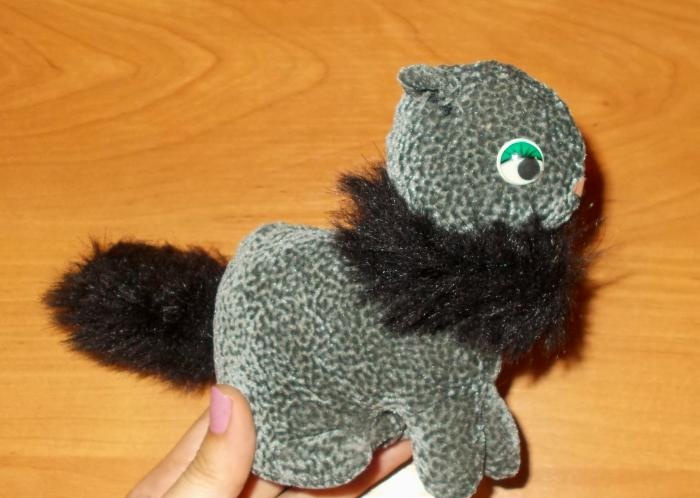
After that, that’s it, our toy is ready. It looks like it was purchased from a store.