Everyone loves it. But parents often cannot afford to buy a toy dragon, or maybe there is simply no such opportunity where they live.
But what should such parents do?
The answer is simple: learn how to make dragons yourself, especially since you can use any fabric for this, for example, the well-known felt.
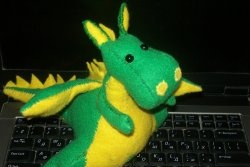
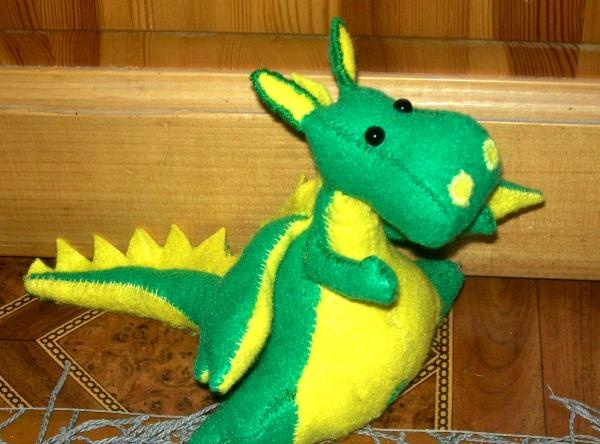
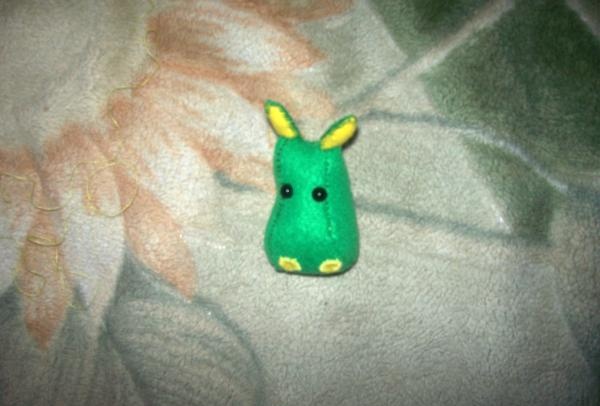
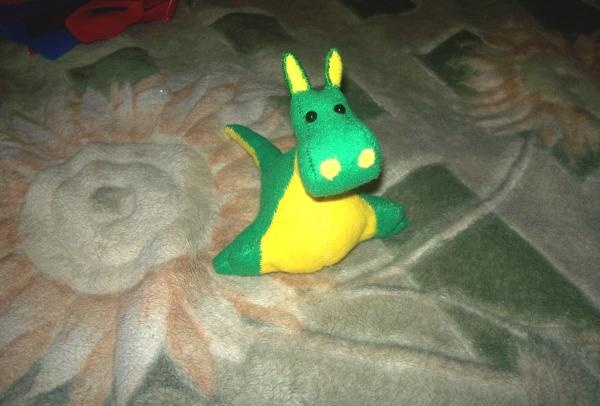
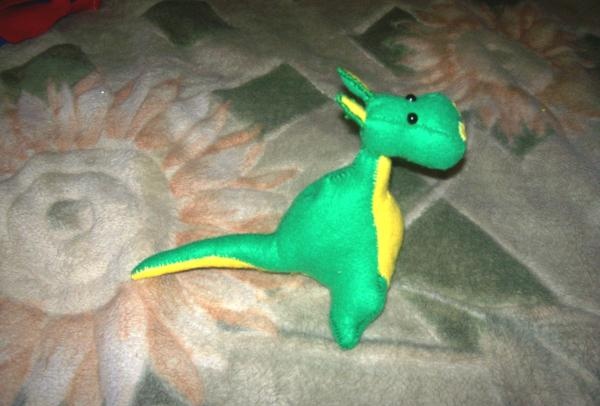
We will try to make such a dragon too. This is what we ended up with.
Now consider our work step by step.
Stage one: green head
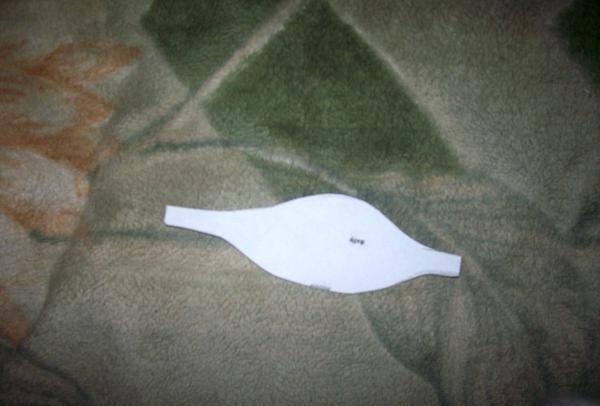
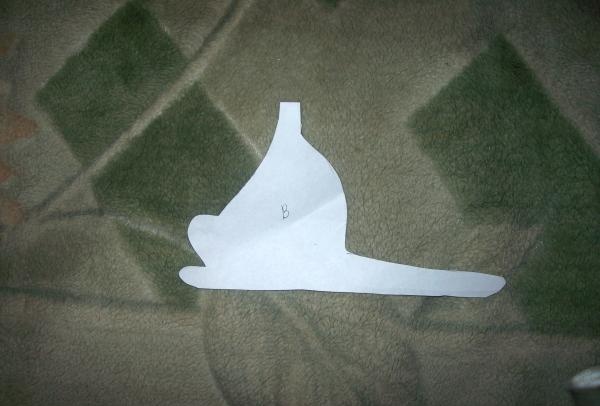
We begin our work by making the dragon's head. To do this, you need to prepare two pattern pieces, here they are in paper form.

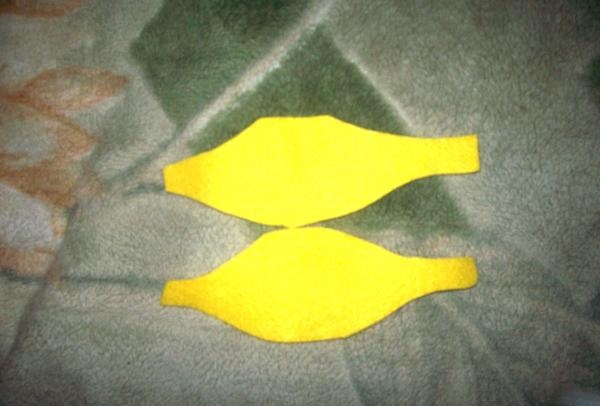
The long pattern needs to be made in 1 copy, and the small second pattern in 2 parts. Sew three parts together. Add ears from 4 parts (2 yellow, 2 green) on top. You can immediately glue the eyes to the toy and embroider yellow nostrils from felt.
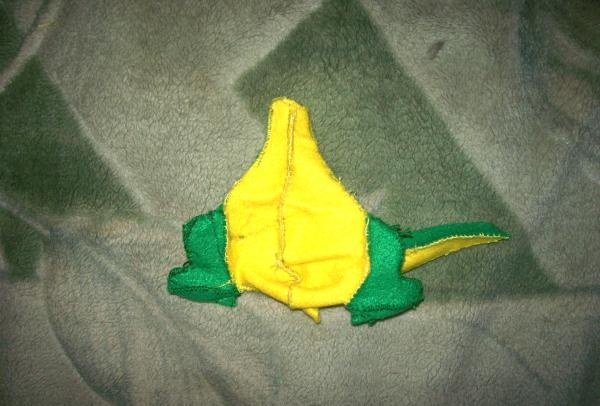
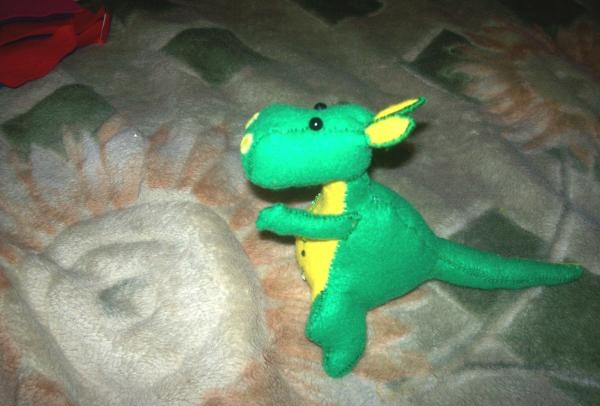
This is what we get at the end of the work.
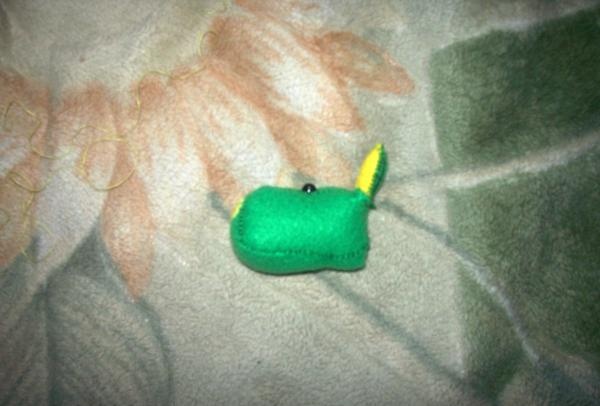
And this is a side view of the head.
Stage two: torso
Once you've made the dragon's body, you can assume that most of the work will already be done.
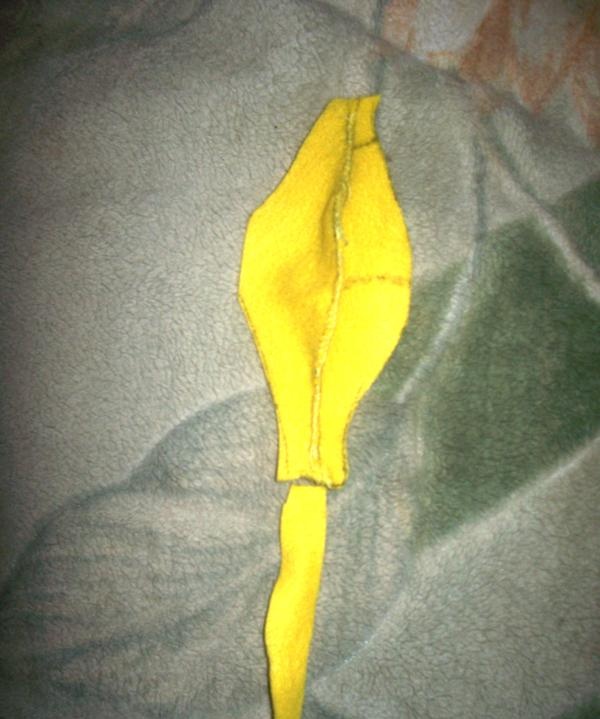
We start with the breast pattern. Here is its paper version.
Cut out 2 pieces from yellow felt.
Then we sew them together.
Now let's start making the back green part of the toy.
Let's take a pattern.
We make 2 green parts.
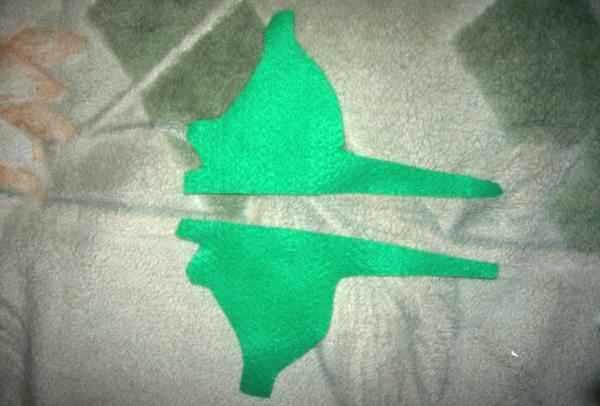
We sew them together as shown in the picture.
Then we sew the chest and back of the body to each other.
We fill the toy with holofiber.
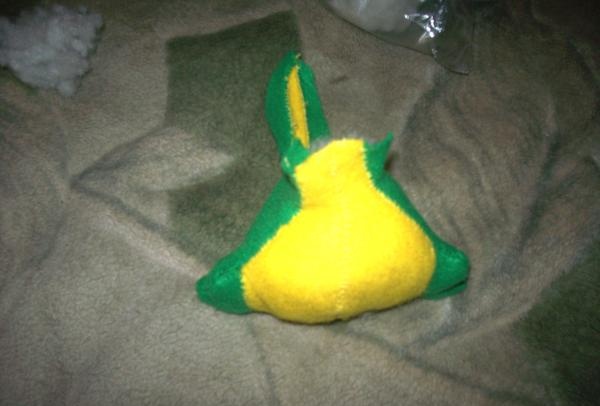
Now the body is ready.
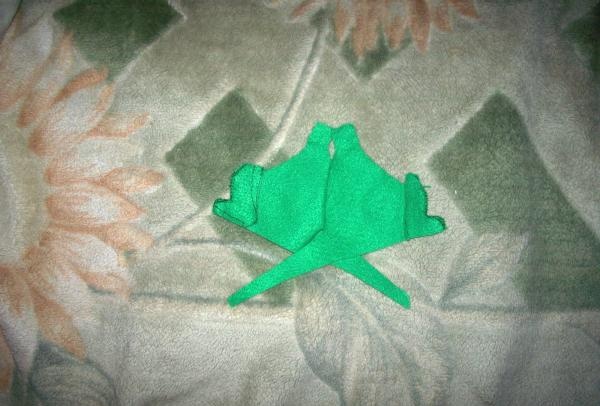
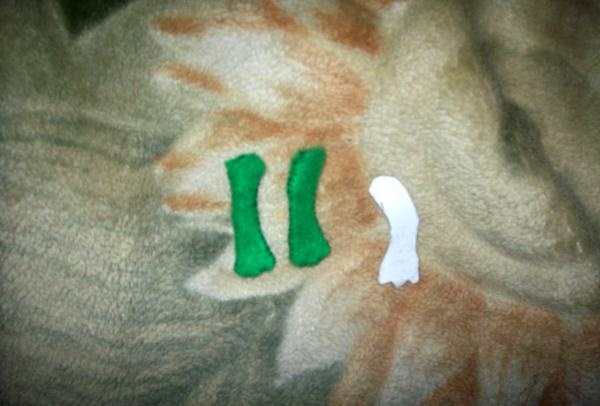
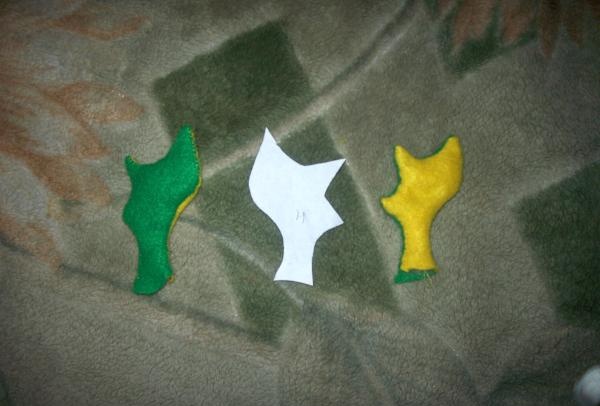
Stage three: paws
The paws are made of 2 parts each. The pattern of the parts and the paws themselves are shown in the figure.
Then you need to sew the head and body of the dragon together. Look what happened above.
And this is a side view.
Sew the legs to the dragon's body.
Now all that remains is to make the wings.
You can look at the pattern of the wings and the finished wings themselves, which we make from yellow and green felt.
We sew the wings to the body of the toy.
Here our dragon is ready. All that remains is to cut out a mane for him in the form of triangles from yellow felt and sew them on. You should also sew a green circle onto the navel using green threads.
You can admire the dragon from the front.
And in profile.
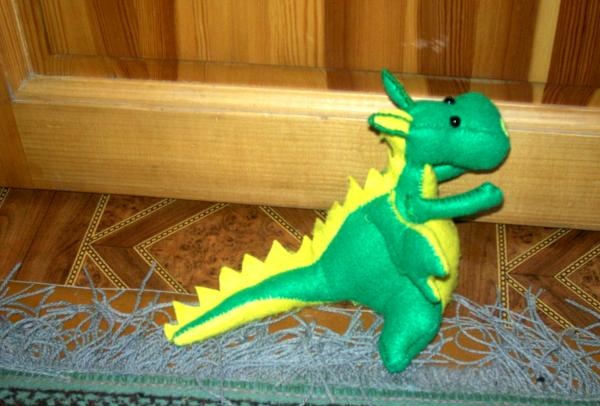
In general, the toy turned out to be cute; the dragon suits the fact that it is made of two colors - green and yellow. This toy can make any child happy!