To work on the product you will need:
- plastic suede in pink and green colors.
-compass.
- scissors.
- red acrylic paint.
- toothpicks.
- lighter.
- two artificial gold leaves.
- three long stamens with beads.
- five green leaves.
- a bunch of small white flowers on a fishing line.
- some cardboard.
- a piece of green fabric.
- medium length clamp with teeth.
- “Moment” glue.
- a piece of foam rubber.
-glue gun.
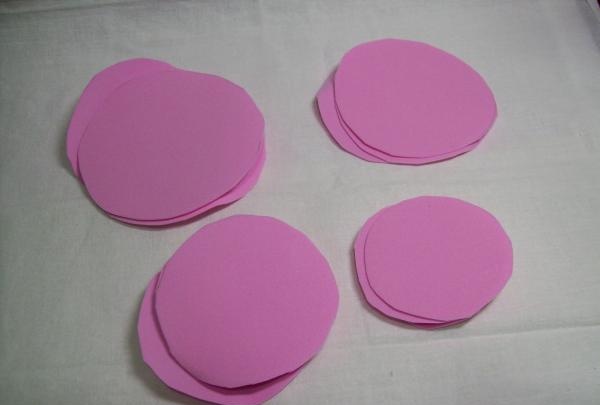
And let's start work right away by cutting out the petal circles for the flower. The dahlia should be lush. We will cut circles of various diameters from pink foamiran. Each circle will correspond to 1 row of petals in the flower. The diameters will be 6,7,8 and 9 cm. Each circle needs 3 pieces.
Now we take the smallest blanks. Fold the circle in half, pressing the fold. Then, before the fold, we divide one part into three parts with scissors, leaving out the middle part about 1 cm.We also cut the second half of the circle, and then go through the fold with scissors.
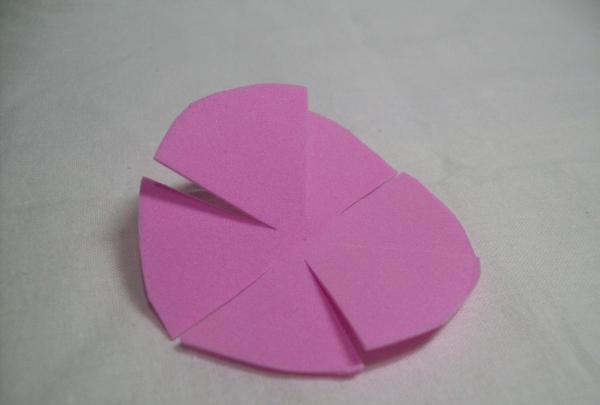
It turns out 6 equal segments, but they still need to be divided in half. And only now all 12 petals need to be rounded one by one, cutting off the upper corners. We process only 3 small circles in this way.
We will divide all other circles into 8 petals. Here you need to fold the circle in half twice, maintaining the folds and cut the whole middle.
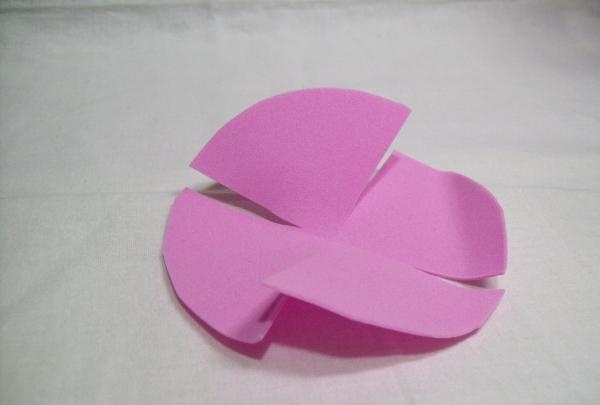
And then we divide these 4 parts in half.
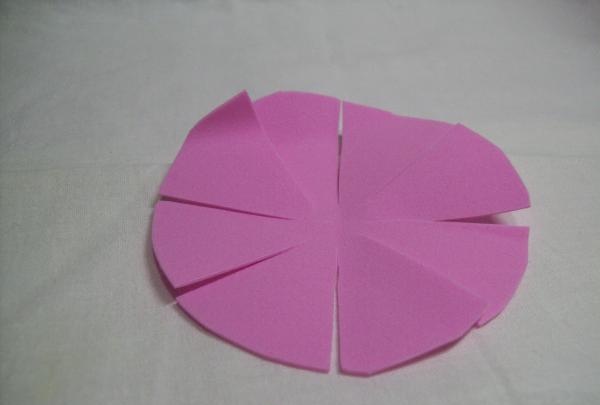
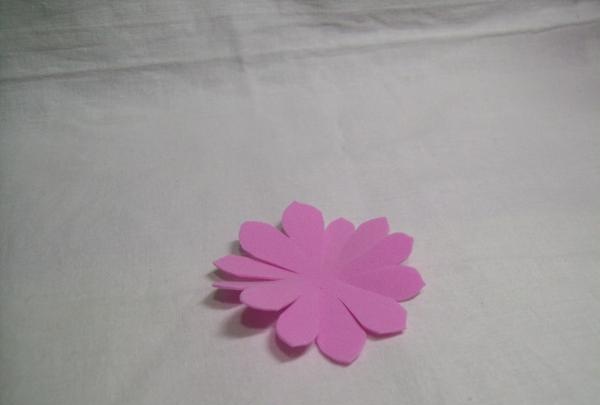
And we also trim the upper edges of the petals beautifully. We process all the remaining circles. The edge of the petals can be left smooth, or you can have a corner in the middle.

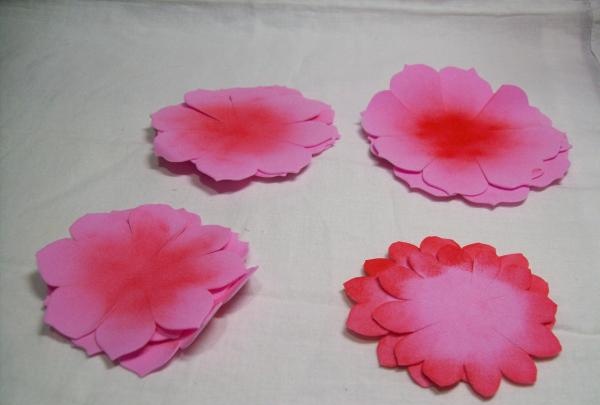
Now it's time to tint with red acrylic paint. Let's start again with the little ones. Using a piece of foam rubber, apply paint only to the upper edges of the petals on both sides.
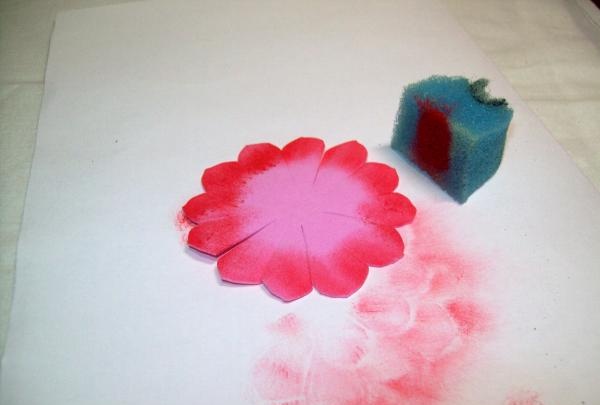
And we paint all the other petal circles on the contrary, only in the middle on both sides.
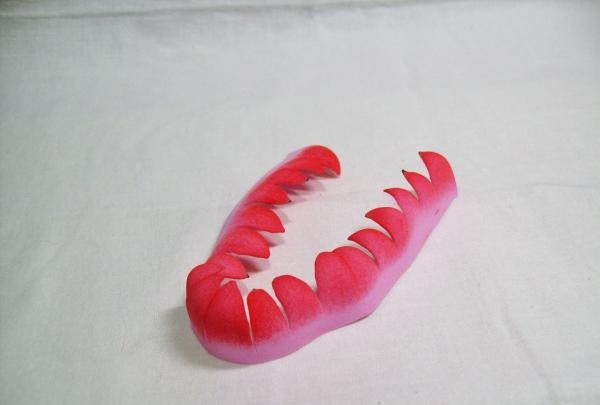
For the center of the dahlia, we cut another strip, 17 cm long and 2 cm high. We make cuts on one edge, 0.8 cm wide, not reaching 0.6 cm to the edge of the other side. The result is a wide fringe. But you should also round each resulting strip. Then we paint the upper part of the fringe. And in our composition we need 3 such strips.

Next we move on to processing the petals. Now we take circles of two large diameters. On each petal we draw three veins with a toothpick. One will be central and two on the edges. Be careful not to tear the suede; you can use a toothpick to slightly break the sharp tip.

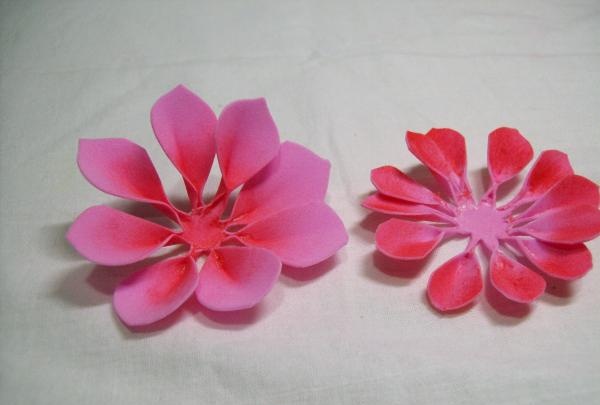
And for the two smaller circles, processing is more difficult. Let's start with the smallest ones. We will use glue. Each petal needs to be processed separately. Using the same toothpick, apply glue to the petal at the base, 0.8 cm from the middle.Let the glue sit for a while and use your fingers to fold the edges of the petal in the area of the glue, hold for a few seconds for good gluing. Let's move on to other circles. Here we do almost the same thing, but we glue the petals only at the very base, near the middle.
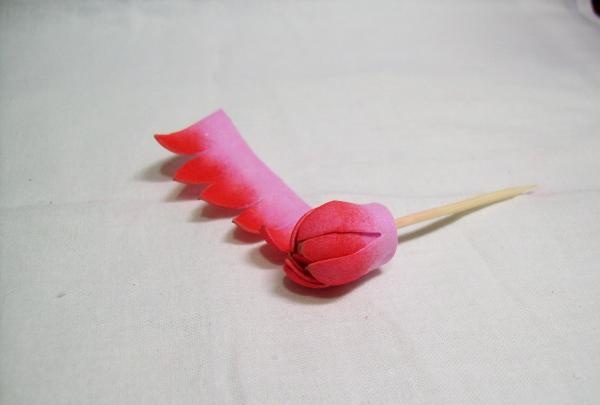
Now let's start forming the middle of the flower. We take a strip with teeth and, using the heat of a lighter, give a new shape to this part. We carefully bring the lighter to the bottom of the part and the petals themselves bend down from the heat.
Next, take glue and coat the uncut part of the strip, placing the teeth up. And then carefully glue the toothpick to the edge and simply roll the entire strip into a roll. The bottom edge of the resulting center should be even.
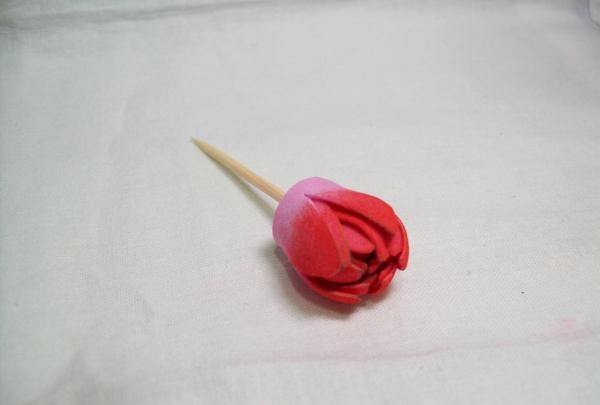
Now, based on this middle, we will form the entire flower. Again we will use the smallest circles first. Lubricate the bottom of the base with glue and pierce the middle of the petal circle with a toothpick. Lift it up and glue it to the base.
Then we glue the bottom of the side of the middle and press the first circle tightly to the base. And so we glue the first three circles.
Next, take the next three largest circles.
For these petals we apply glue only to their centers.
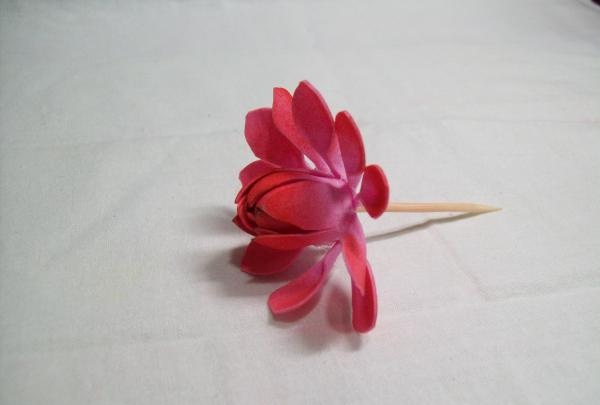
Let's move on to larger petals. They should also be glued only in the middle. But before that you need to make a clamp for each petal. At the very edge of the part, heat the material a little with a lighter and quickly press the two edges together with your fingers.
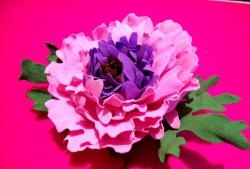
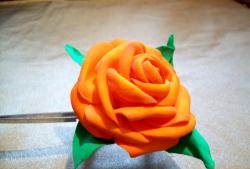
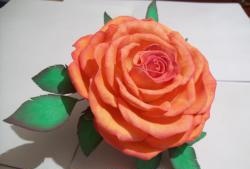
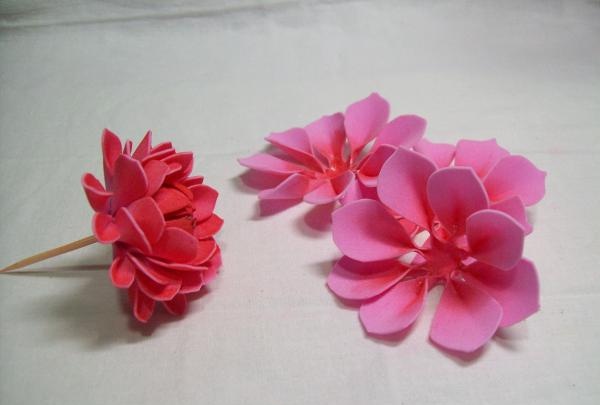
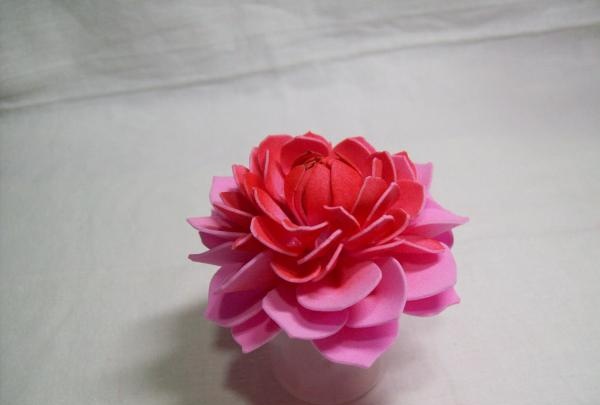
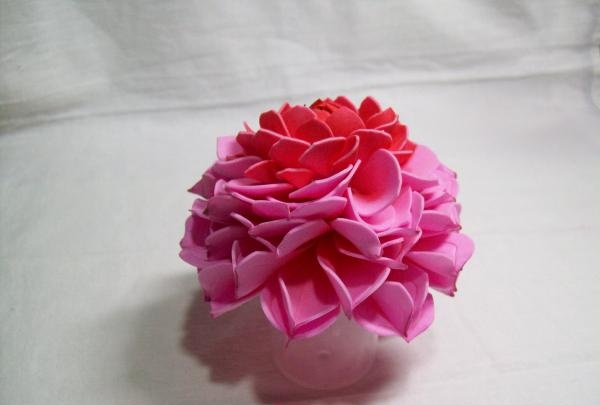
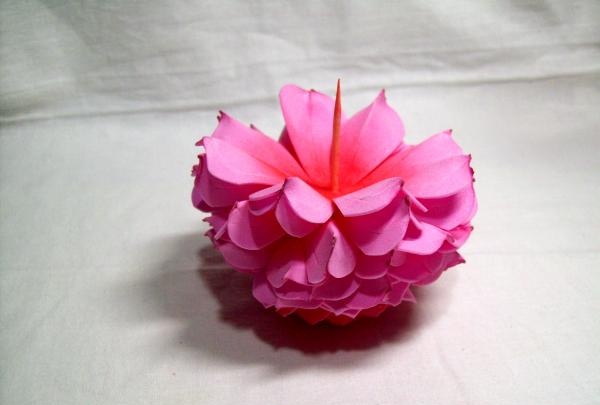
Only then do we fasten them one by one to the base. We get small circles at the top, and the largest one at the bottom. At this stage, the dahlia is ready.
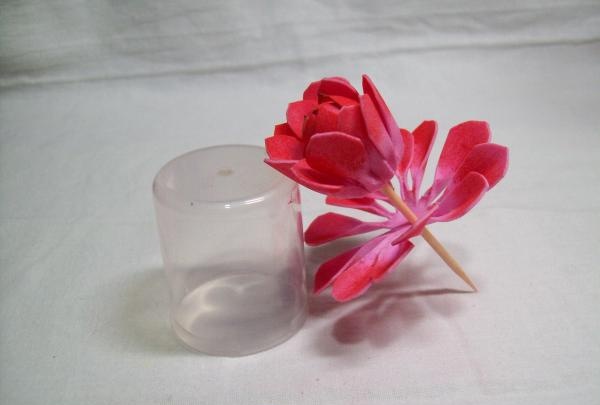
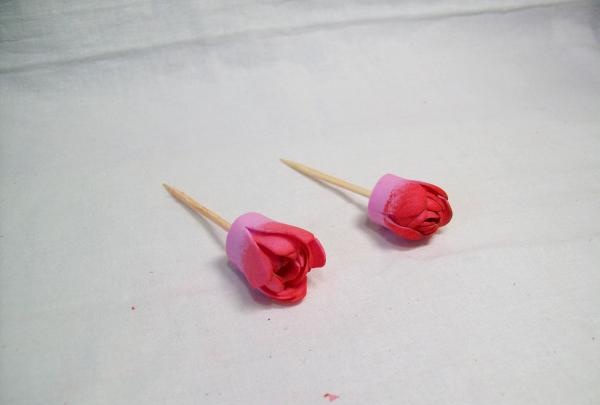
Only two strips of pink suede remain. And from them you also need to glue the two centers on toothpicks.
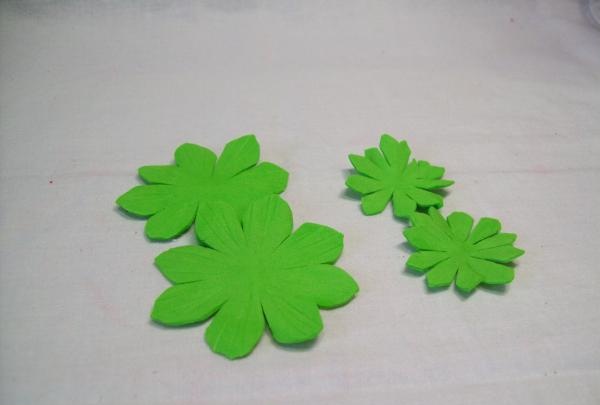
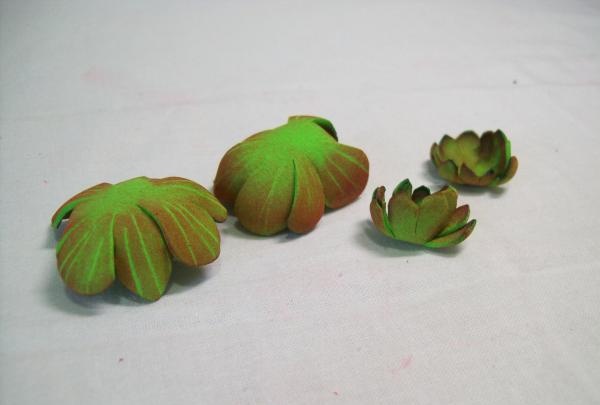
Now we need green foamiran.From it we cut out 2 circles with a diameter of 3 and 4 cm. Like the petals, we divide them into 8 parts, rounding the edges. With little ones you can do more, but it doesn’t matter.
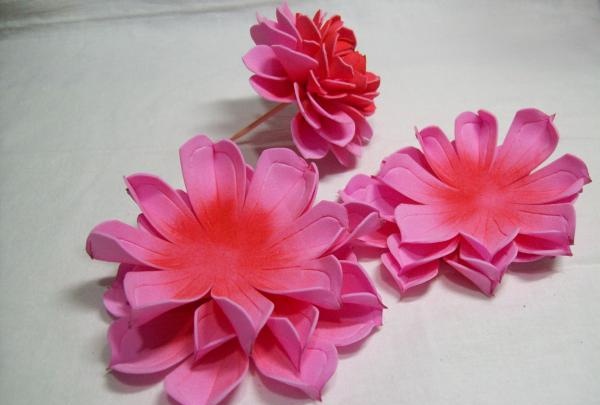
We also tint them red on both sides. First draw the veins with a toothpick.
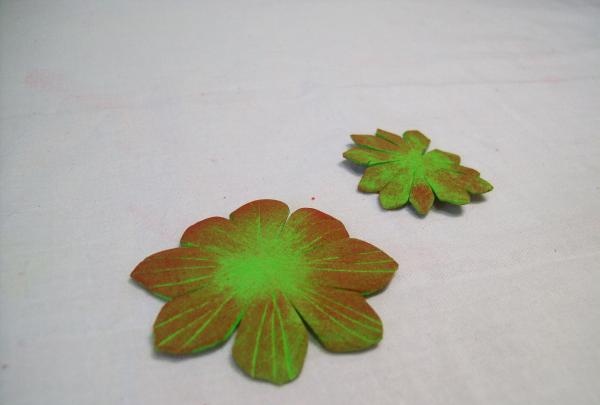
It is necessary to give a new shape only with heat. Using a lighter, we heat the edges of the parts and they turn towards the middle of the workpiece.
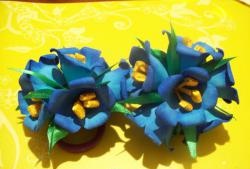
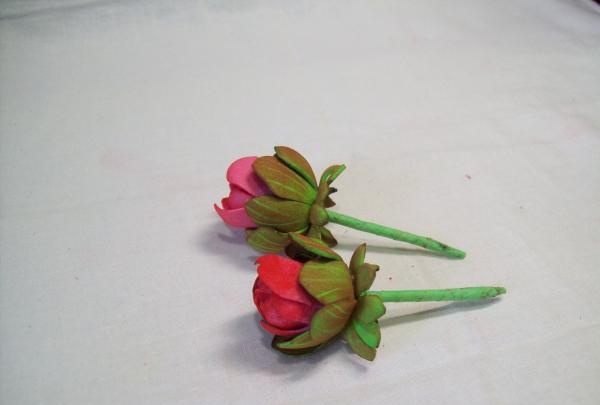
We will collect all these details into buds. We take the centers and glue a large circle in the same way as a flower. But we attach the small one with the petals down. And the stick itself should be covered with green cloth. It turns out two buds.
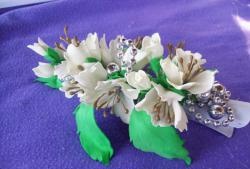
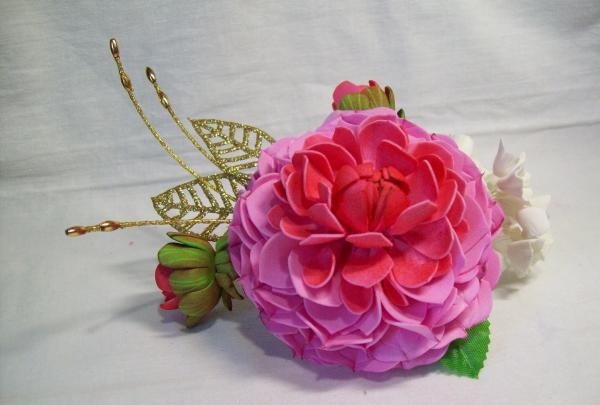
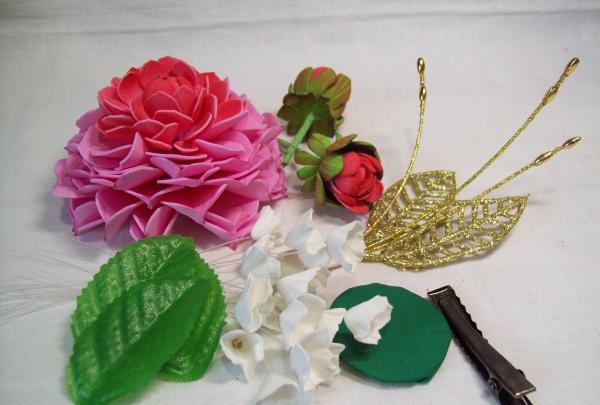
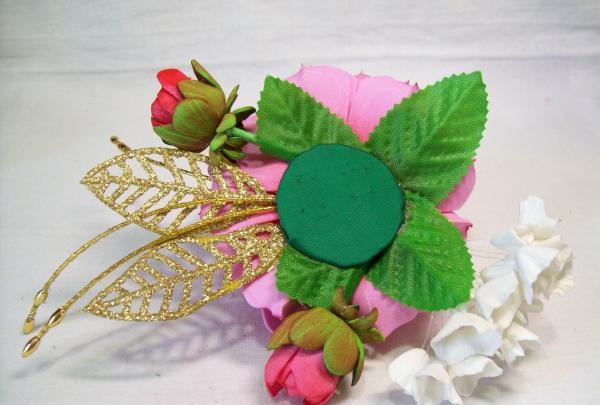
But to make the whole composition interesting, you need to use additional decorations. And let's start by making a base on which we will attach everything. We cut out a circle with a diameter of 3.5 cm from cardboard and immediately prepare a circle 1 cm larger from any green fabric. Carefully glue everything, bend it, align it. Next you will need two golden leaves, which are often used in New Year's decorations. They also need 3 long stamens. You can use ready-made parts, or you can make it yourself. Using fishing line, beads and glitter thread. Next we will prepare 5 more green leaves from fabric, although they can be cut from plastic suede. You will also need a bunch of small white flowers. You can use ready-made flowers or make your own. And the clamp itself will be needed for the base.
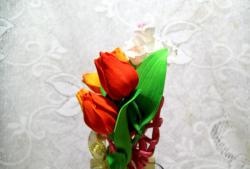
Let's start the assembly. We turn the base face down and use a glue gun to attach everything one by one. First we fasten together two golden leaves with stamens. Next, glue one green leaf onto the stems of the buds and place them on opposite sides of the glued first part on the base.
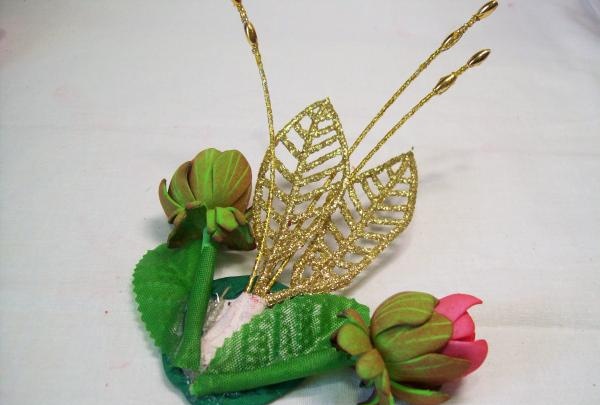
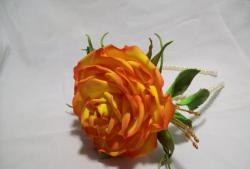
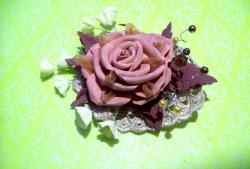
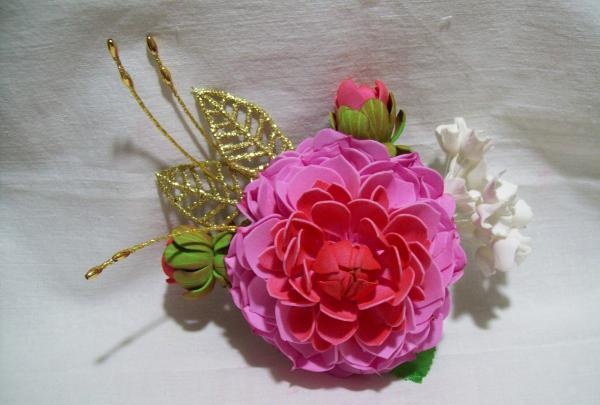
Now we fix 3 sheets in a different direction from the buds. We attach a bouquet of white flowers a little to the side.And in the center of the whole composition we glue the main flower.
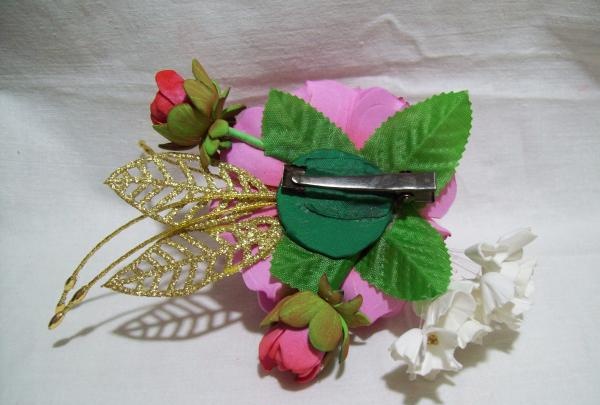
The arrangement of small details of the decoration can be arranged according to your taste. To finish, all that remains is to attach the clamp itself well. And for additional fastening, you can use a piece of green fabric and glue it through the inside of the clip to the base on both sides.
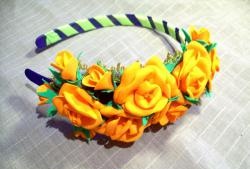
This interesting clip can be used on clothes and hair.
Good luck to all!