For work we will need:
- suede of three colors - pink, a little purple and green.
- scissors.
- hairclip.
- glue gun.
- a piece of foil.
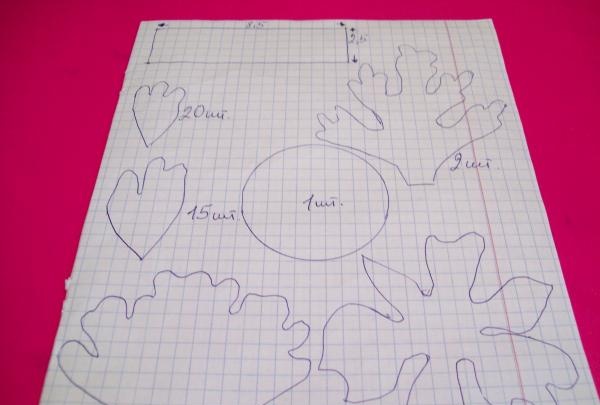
Let's prepare templates for our peony. For a flower you need 20 pieces of small petals, 15 pieces of medium-sized petals and 9 pieces of the largest ones. Two carved leaves and 1 flower base. For the middle of the peony you also need a circle with a diameter of 5 cm and a strip for the stamens.
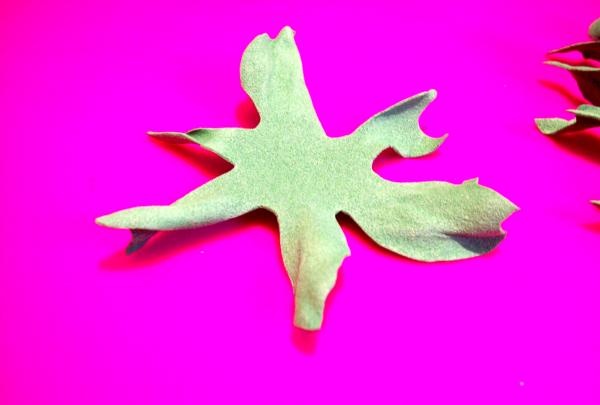
We cut out all the parts according to the templates. From pink material we cut out medium and large petals for the peony, as well as a circle for the middle of the flower. Cut out small petals from purple fabric. And the leaves and substrate will be green. We make the stamens from brown fabric.

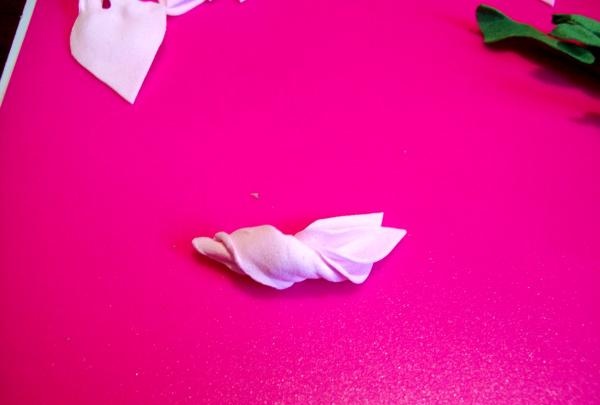
We take the green blanks and hold them in our hands for some time, giving them the opportunity to warm up, and give them the necessary shape, because this type of suede obeys only heat. We bend the leaves along their length into an accordion and begin to twist them with our hands, holding the workpiece between our palms. When your hands rub, heat is released and the material will begin to remember its new shape.
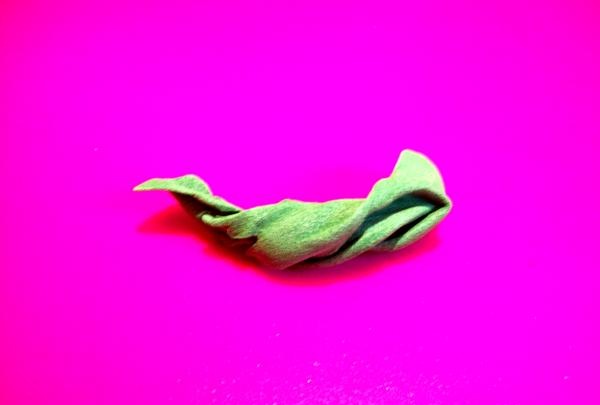
Now let's straighten the leaves a little, and the cooled suede will follow the created bend lines.
In the same way, curl the edges of the large petals with your fingers.
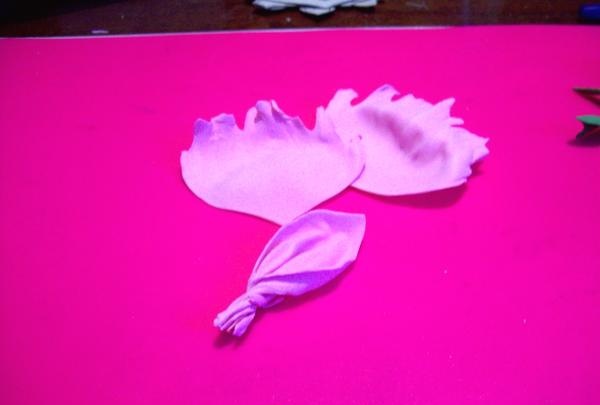
We also make bends on medium and small petals. Giving them a shape like real flowers.
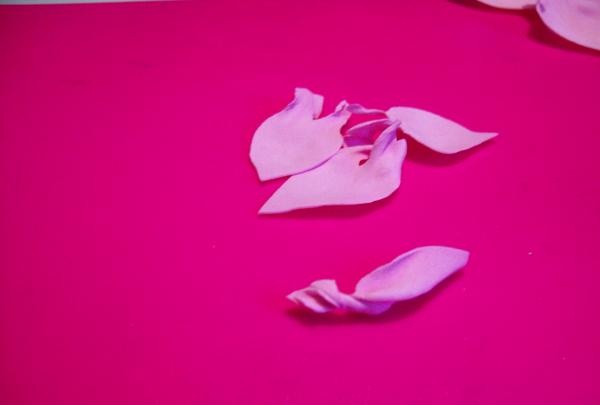
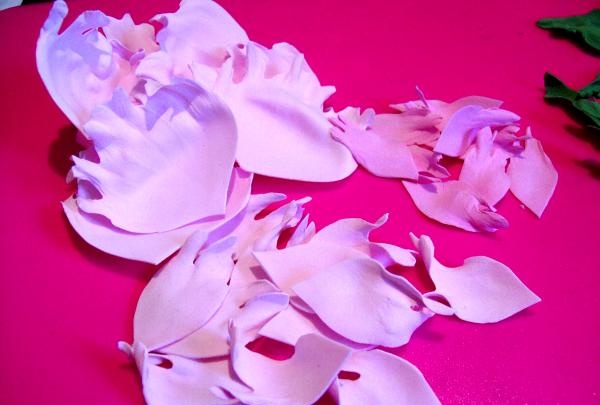
So all the petals are already ready.
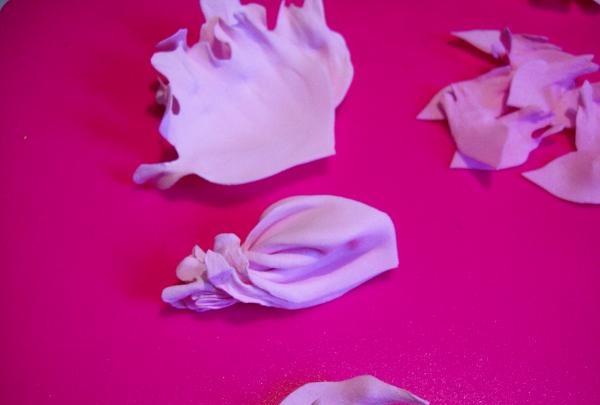
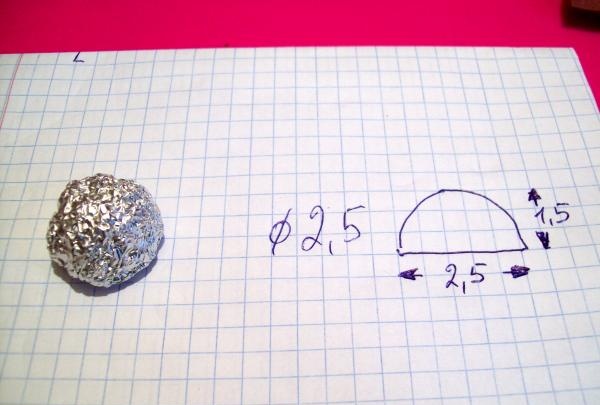
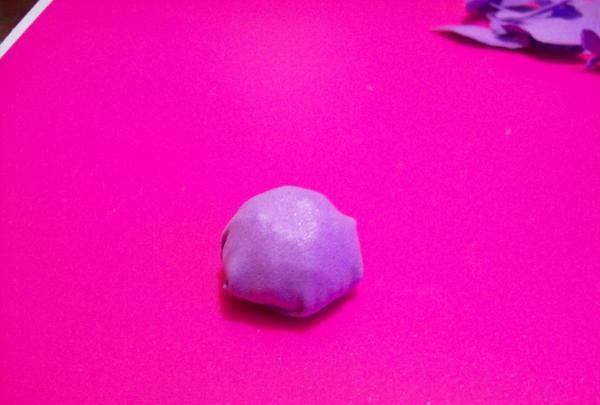
Let's start making the middle of the peony. Take the foil and roll it into a ball. Then we press the workpiece to the table to obtain a hemisphere. In diameter, it should reach 2.5 cm and height 1.5 cm. This will be the base of the future flower.
We paste over this center with a prepared pink circle.
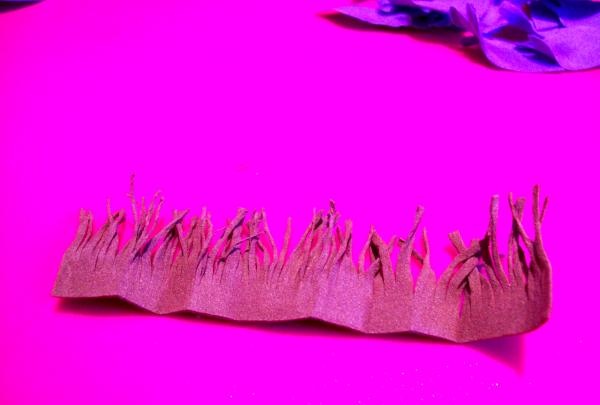
Now we need stamens and we use a brown strip 8.5 cm long and 2.5 cm wide. We make frequent cuts along its length, leaving 0.5 cm intact to the edge of the workpiece. Then we fold this part with the cuts up, and twisting it into a tube, we heat it in our palms, like other workpieces. We straighten the strip and get interesting stamens.
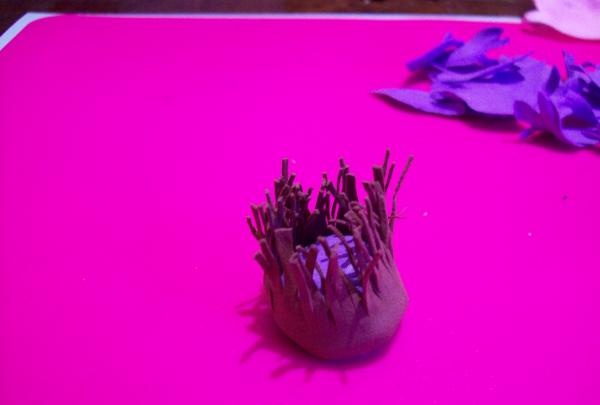
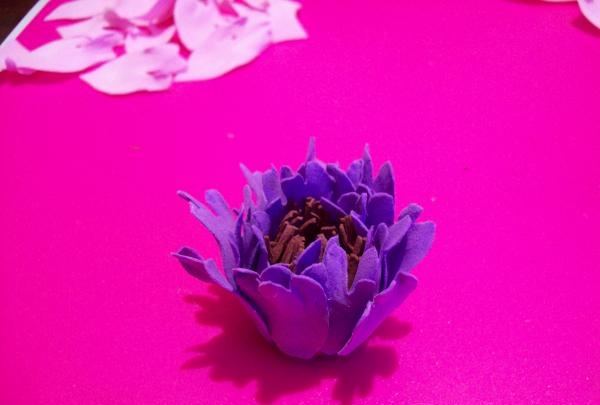
Let's start assembling the peony. To the middle - base along the lower edge we secure the stamens with a glue gun.
We attach the first row of small purple petals on top of the stamens. We attach them to the bottom of the base, placing the parts next to each other.
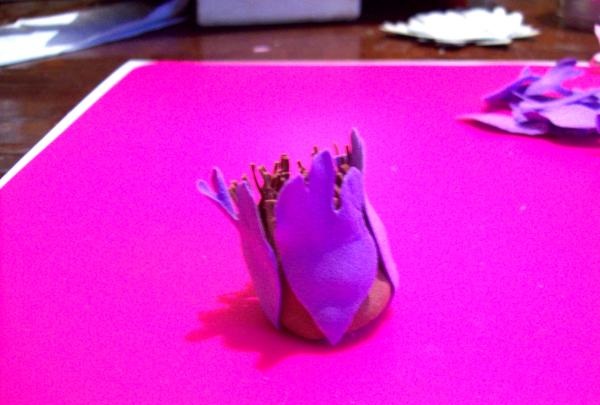
In the second row we secure the remaining small petals, arranging them in a checkerboard pattern.
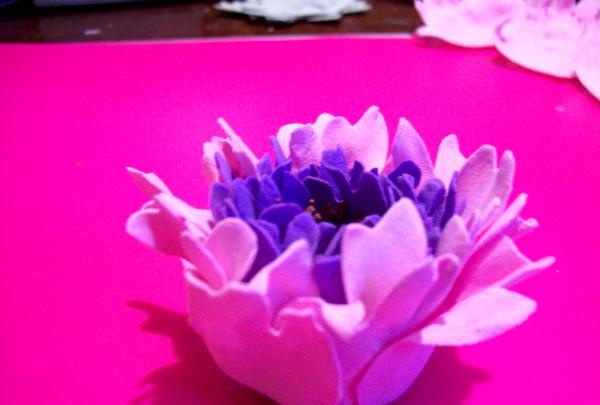
We begin to glue medium-sized pink petals. We fix the first row without overlapping each other. The main thing is to maintain the same location along the edge of the base.
In the second row, we place the petals one on top of the other, gluing them in a checkerboard pattern.
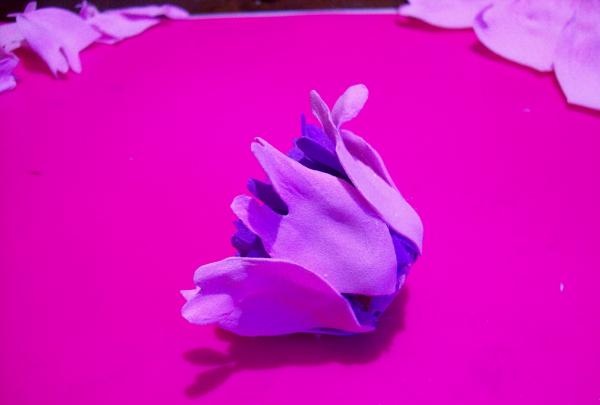
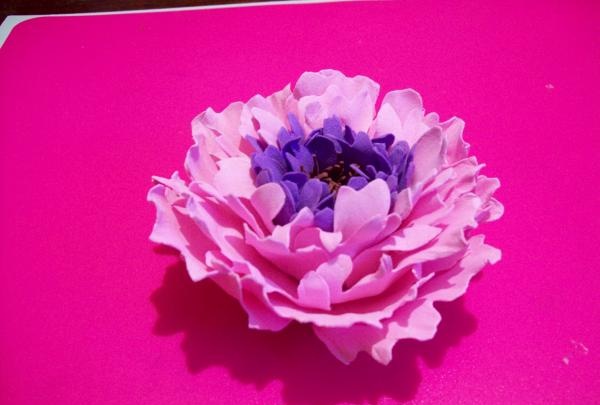
Large pink petals remained. We attach them to an inverted base. It turns out that the flower lies face down.Glue the first 3 petals to the middle of the base close to each other, covering the bottom of the flower.
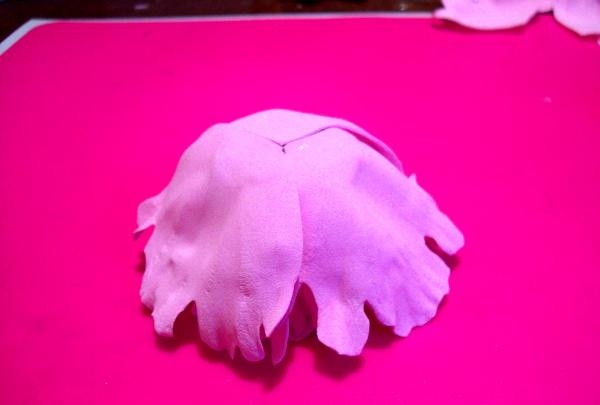
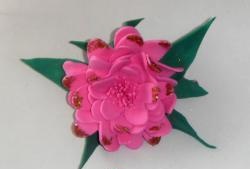
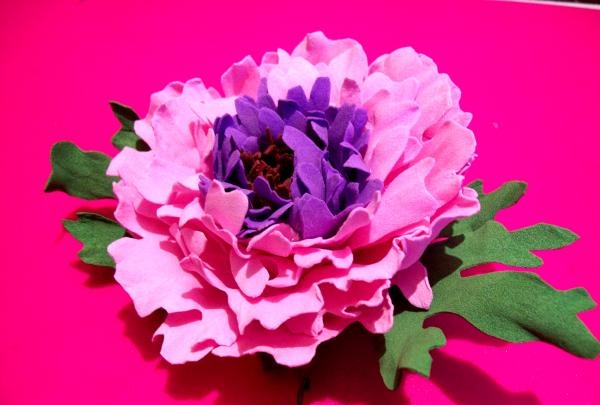
We attach the remaining petals to each other, laying them out in a checkerboard pattern. The flower is ready.
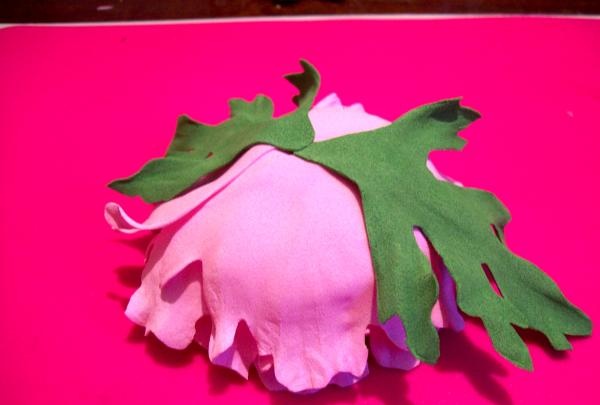
We attach green leaves to the underside of the flower. One is directed in one direction, the second sheet in the other.
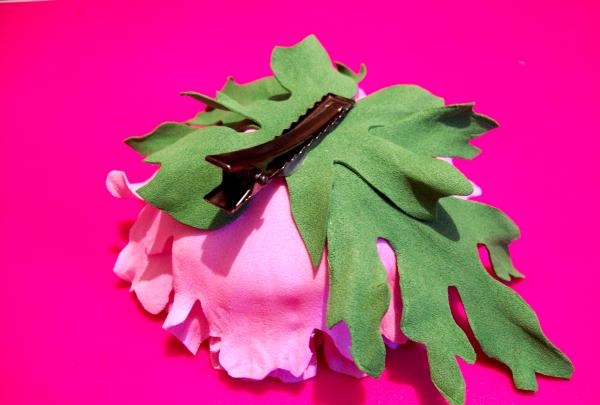
Covering the base of the leaves and the places where they are attached to the flower, we glue the green backing. We attach a hair clip to the attached part.
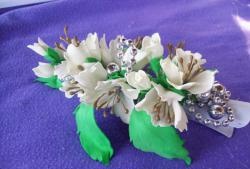
Our decoration is ready. Good luck to all.