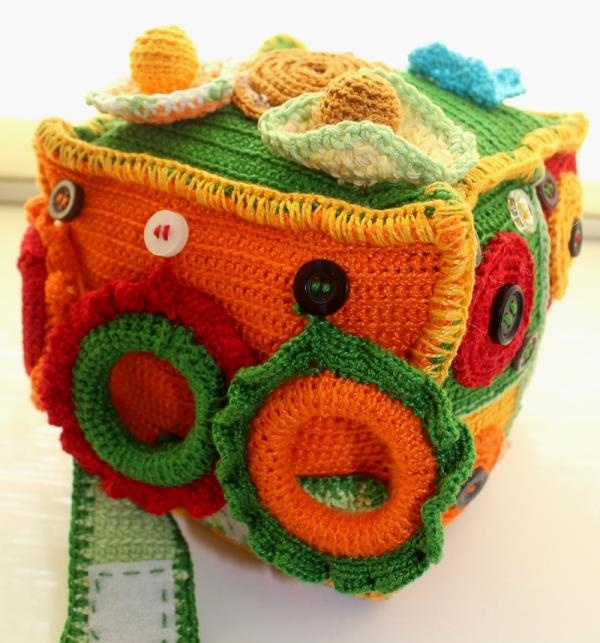
Description of the cube.
You can not only choose and buy a toy in a store, but also make it yourself. For example, a development cube according to the methods of B. Nikitin and M. Montessori. It is noteworthy that a child will be able to play with such a cube for a long time. When making it, the mother can take into account not only the child’s age, but also his favorite colors and shapes, and also come up with tasks that will be most interesting to the baby.
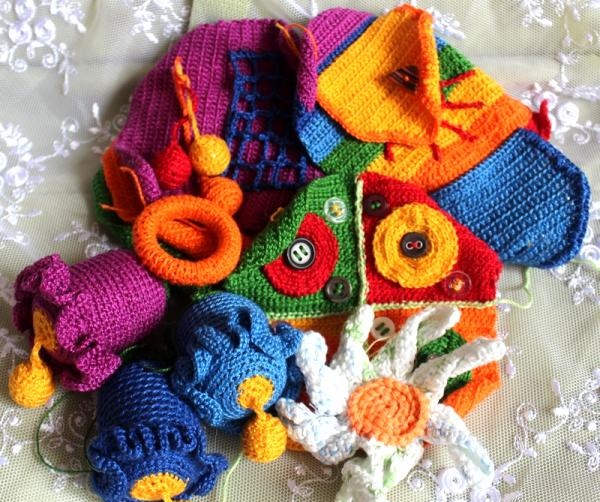
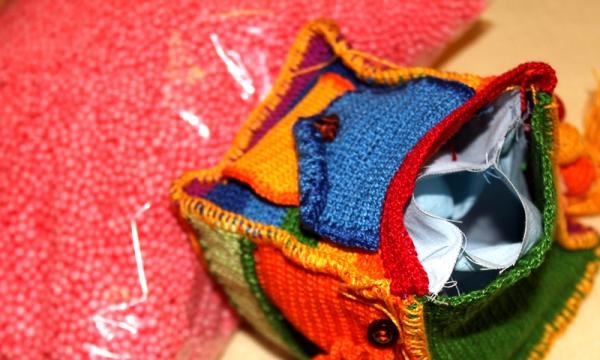
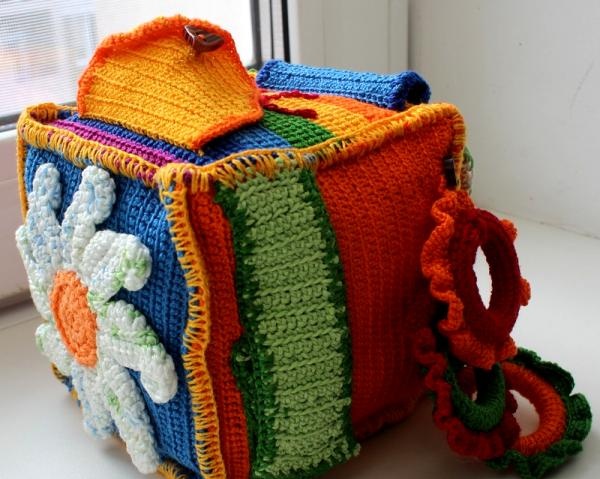
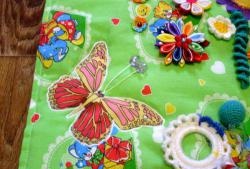
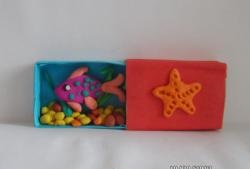
In the presented master class, a cube is made, each side of which is made in a separate color. Some of the sides are used to develop the perception of the surrounding world. For example, a rainbow-colored side with opening doors, behind which the sun “hides.”
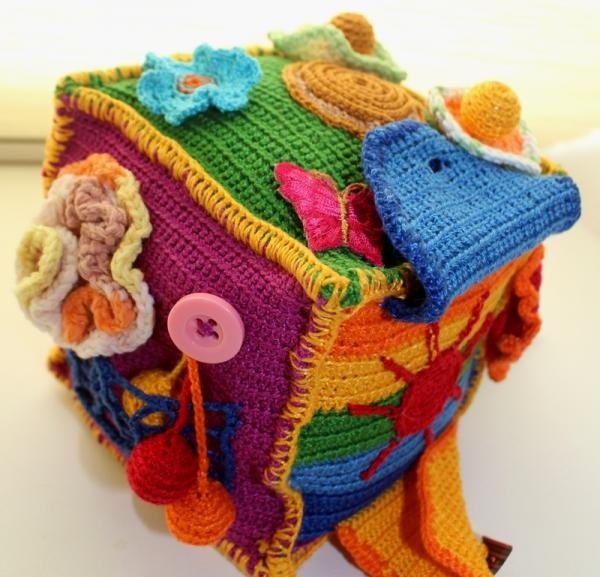
Other parties provide for the completion of some task. For example, on the blue side you need to count the petals of a chamomile, on the lilac side you need to count the beads and put them in a grid. The tasks can be completely different: their complexity and essence depend on the mother’s imagination.Some of the elements of the cube are made of rustling materials; a small container with beads is placed inside one of the flowers - resulting in a so-called rattle.
How and from what to make a cube.
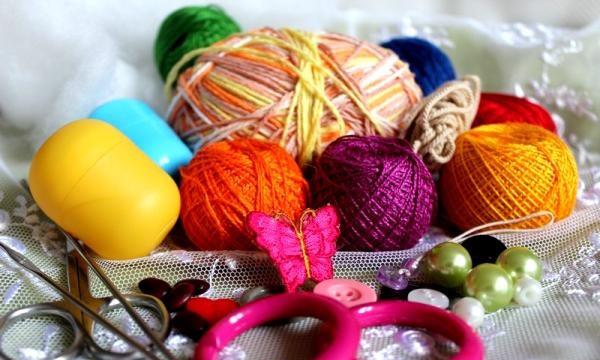
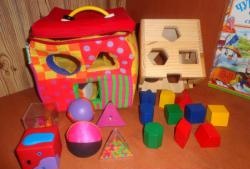
To make the developmental cube shown in the photo you will need:
• Knitting threads “Iris”. You can take any other threads you like and have on hand, but in this case the choice was made on “Iris”, since they are 100% cotton, come in a variety of colors, are commercially available and inexpensive;
• Crochet hook, sewing game, scissors;
• Regular sewing threads;
• Cotton fabric;
• A variety of rings, buttons, beads, small containers (for example, Kinder Surprise eggs);
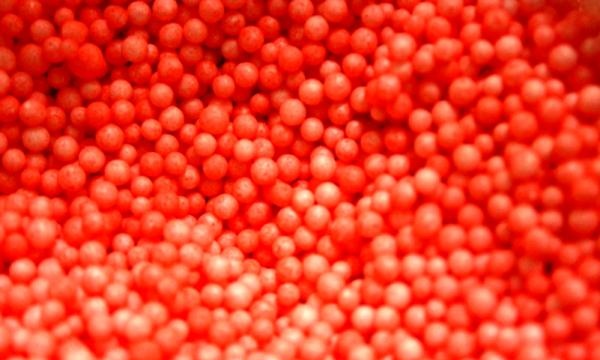
• Filler. You can use foam rubber, padding polyester or any other safe material as a filler for the cube. In this case, the cube is filled with polystyrene foam balls (these, for example, are used as filler in the manufacture of frameless furniture). The balls rustle quietly, which is why the cube turned out “rustling.”
So let's get to work.
• First of all, you need to decide on the size of the cube, and also think about the design of each side. In this case, the size of each side of the cube is 10 cm. Therefore, 6 different colored sides of the cube were knitted (each side is made separately) 10 by 10 cm.
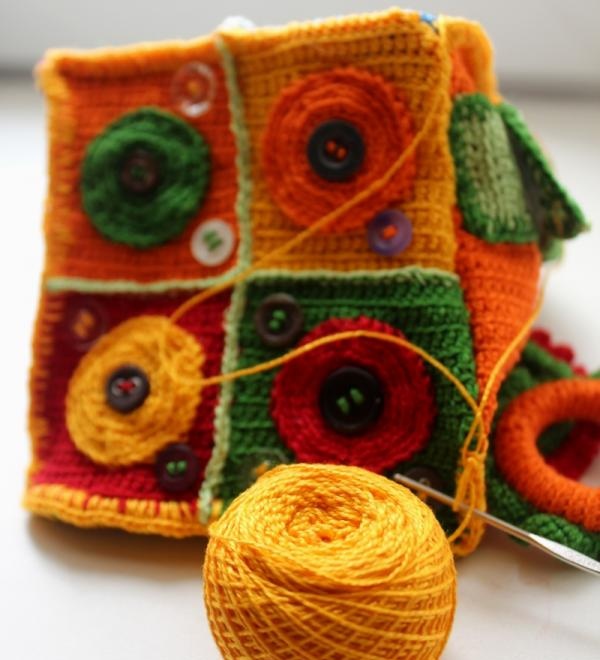
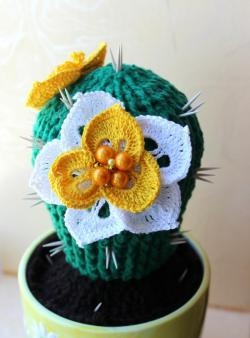
• Once the parties are ready, they need to be formalized. For each side separately, it is necessary to select or make figures for decoration. These can be buttons tied with thread and knitted small toys, inside of which you can place Kinder Surprise egg containers filled with beads.
• As production progresses, the “developmental material” is attached to the sides of the cube using threads.
• When the sides are formed, it is necessary to make a base (it will be placed inside the cube), into which the filler will subsequently be placed. To make the base you will need cotton fabric.
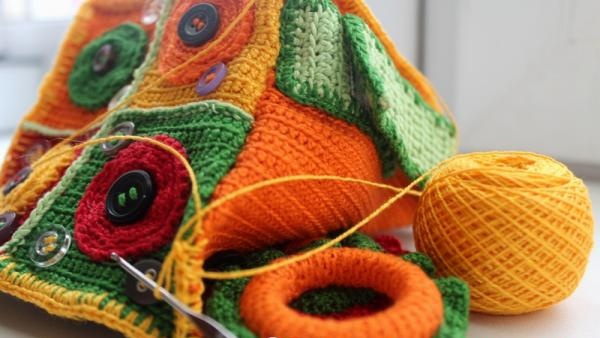
• The next step is to assemble the cube. To do this, all its bright sides must be combined together. In this example, they are sewn together with yellow threads using a crochet hook. A base with filler is placed inside.
Now the cube is ready. When making it, it is important to remember that the baby will explore the toy not only with his hands, but can also put it in his mouth. Therefore, all elements of the cube must be absolutely safe and securely fastened.