Do it yourself
Life hacks, master classes, useful tips, recipes.
home » Present » Photo frames » “Denim” photo frame
Each family has its own photo archive. The large supply of “most memorable moments” will never run out, moreover, it will be rapidly replenished with more and more new photos. Therefore, such a souvenir will both be liked and useful in absolutely any home. But making it will be extremely simple, and, most importantly, easy, quick and inexpensive.
Denim photo frame

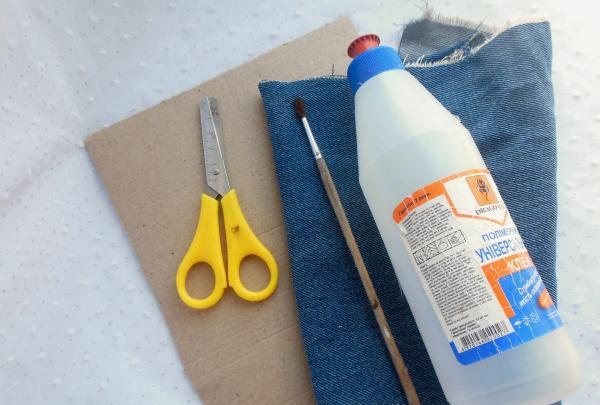
Everyone probably has old jeans: it’s a pity to throw them away, but there’s nowhere to use them. These are exactly what will become the basis for our new photo frame. In addition, prepare thick cardboard, polymer glue, a pencil, a ruler, scissors and a glue brush.
Denim photo frame

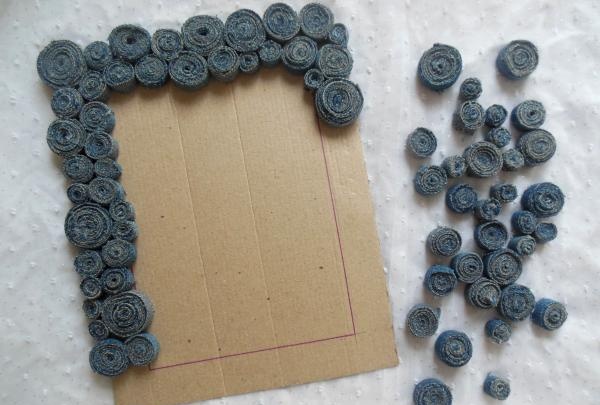
As a template, take any photo of the desired size (this photo, for example, 15X21) to make a frame in a standard format. Trace the image on all sides and trim off the excess cardboard (at least 4-5 cm should be removed from each side of the photo).
Denim photo frame

Denim photo frame

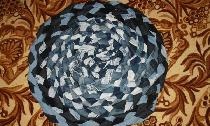
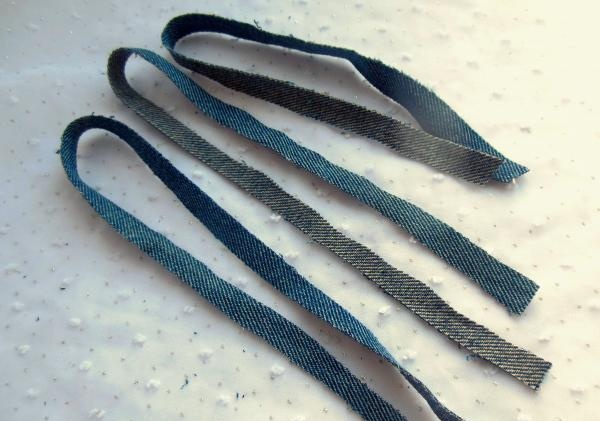
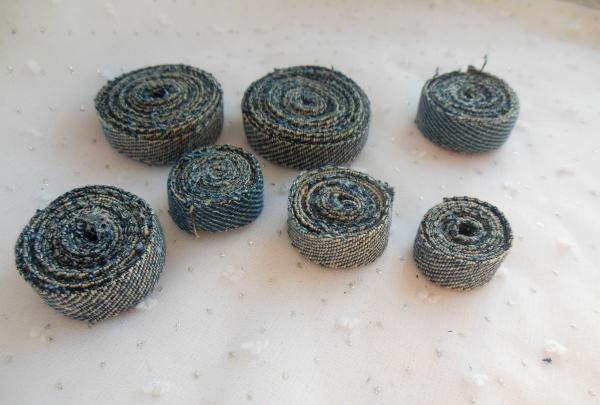
Cut the jeans into narrow strips of different lengths (the size of each individual circle will depend on this).
Denim photo frame

Now grease the edges of the strips with glue and roll them into a roll. The glue will prevent the tape from falling apart inside and will hold it on the outside.
Denim photo frame

Denim photo frame

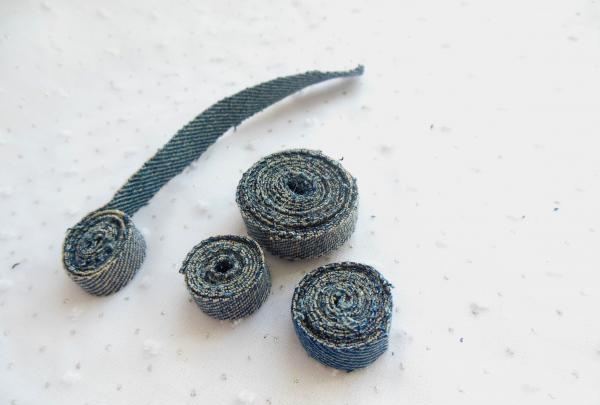
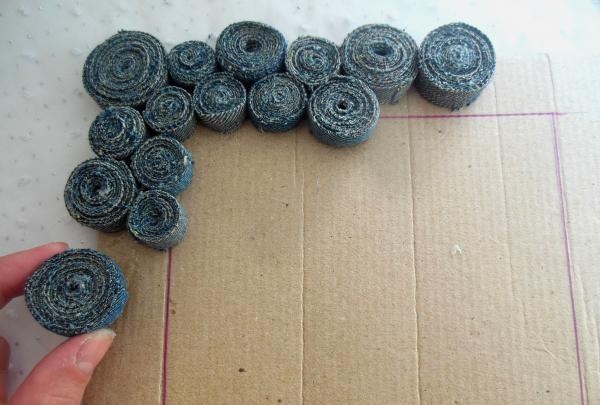
Next, lubricate one of the flat sides of these “twists” with glue and glue all the parts one by one to the cardboard. You will need a lot of such blanks.
Denim photo frame

Attention! When cut, the jeans become very frayed, so there will be a lot of debris and small threads. Do not cut fabric on a sofa or carpet; it is better to prepare yourself a “working area” in advance, which you can then simply shake out or clean with a brush.
Denim photo frame

After all the denim blanks are in place, cut off the protruding corners of the cardboard along the entire outer contour of our frame and give it a little time to dry.
Denim photo frame

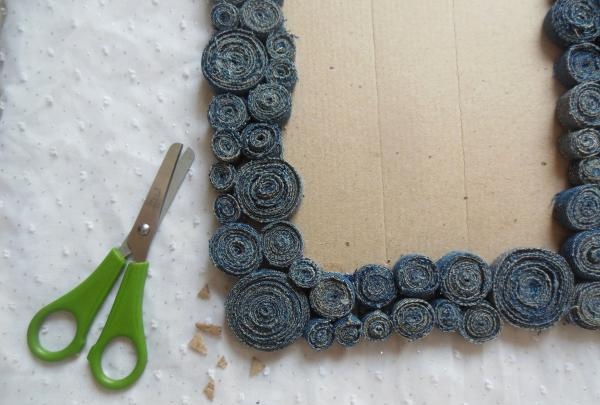
And when the adhesive substance has completely hardened, cut the outer rounds from below along all the inner sides of the frame, slightly lifting the cardboard. Now the photo will easily fit into the resulting space.
Denim photo frame

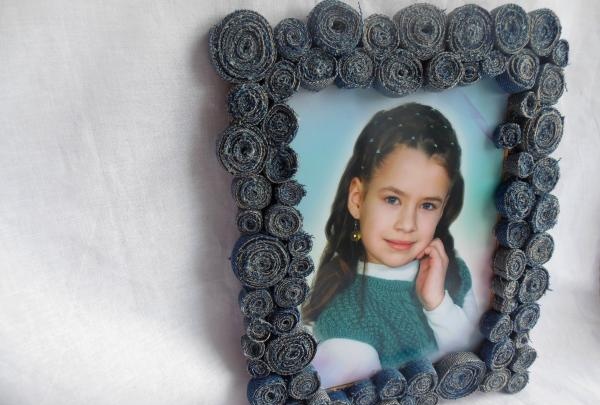
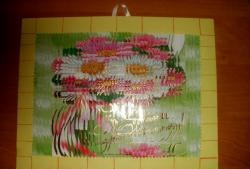
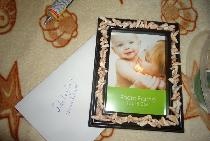
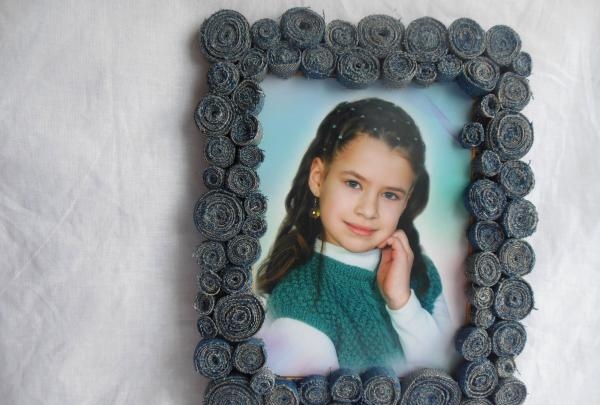
Finally, the original photo frame is ready. If you attach a loop on the back side, the picture can even be hung on the wall.
Denim photo frame
come back
Comment
  • bowtiesmilelaughingblushsmileyrelaxed relaxedsmirk
    heart_eyeskissing_heartkissing_closed_eyesflushedrelievedsatisfiedgrin
    winkstuck_out_tongue_winking_eyestuck_out_tongue_closed_eyesgrinningkissingstuck_out_tonguesleeping
    worriedfrowninganguishedopen_mouthgrimacingconfusedhushed
    expressionlessunamusedsweat_smilesweatdisappointed_relievedwearypassive
    disappointedconfoundedfearfulcold_sweatperseverecrysob
    joyastonishedscreamtired_faceangryragetriumph
    sleepyyummasksunglassesdizzy_faceimpsmiling_imp
    neutral_faceno_mouthinnocent
3+three=
Comments (0)

How to make a useful do-it-yourself grinding attachment from the armature of a burnt out engine

Useful and interesting | Page 31 | Do it yourself

DIY long-range WiFi antenna made of PVC

Advent calendar | Do it yourself

«Do it yourself - with your own hands» - a site of interesting homemade products made from scrap materials and items at home. Step-by-step master classes with photos and descriptions, technologies, life hacks - everything a real master or just a craftsman needs for needlework. Crafts of any complexity, a large selection of directions and ideas for creativity.

We recommend reading

Washing machine error codes