So, where did it all begin? To start, I took 2 cardboards (I used 2 shoe box lids). From one I cut out a rectangle (you can make any size, just like the shape), from the other the same rectangle, but a little larger, so that when applied it would hide the first one.
The first rectangle serves as the base for the photo, the second is needed for the edging (frame). After these preparations, I took an old unnecessary photo album.
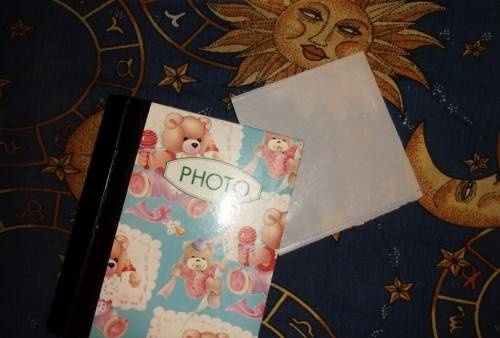
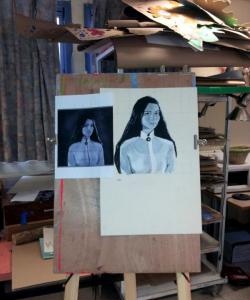
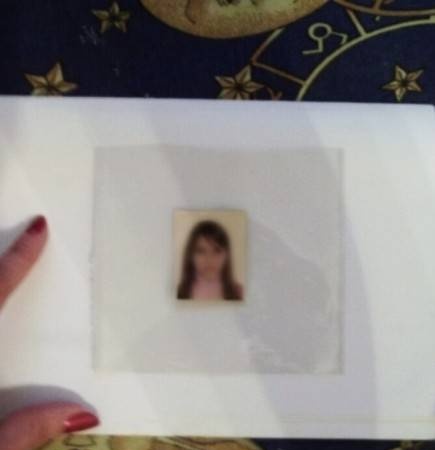
I took an insert (leaflet) from a photo album, cut it into two parts and placed a photograph in the middle.
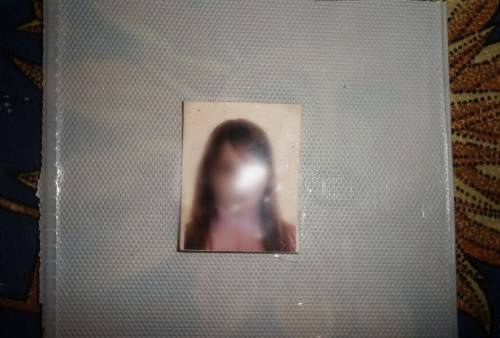
I glued this leaf to the base (1st cardboard). There is no need to pin the photo; it holds up just fine. It turned out like this:
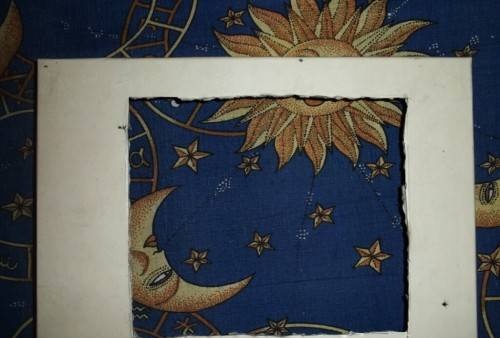
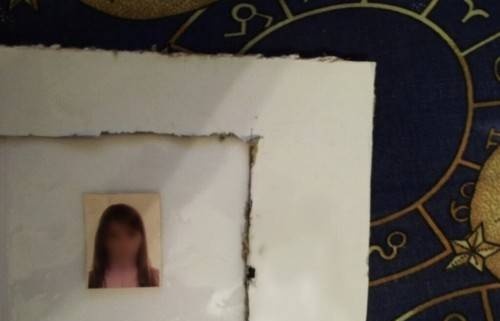
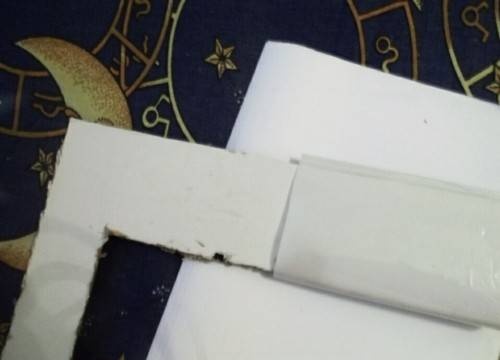
By the way, I didn’t try to make everything smooth, because... then everything is leveled with decorative materials. After the base was ready, I started working on the frame.To do this, I took the second base and cut out a square from it so that the photograph would fit inside; for this it is better to use a ruler.
After that, I covered the frame with leaves from the album. Instead of leaves, you can use any other material - foil, beautiful paper, fabric.
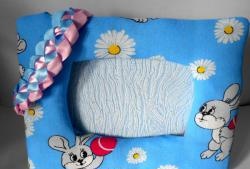
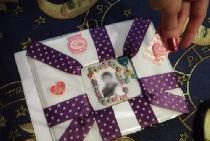
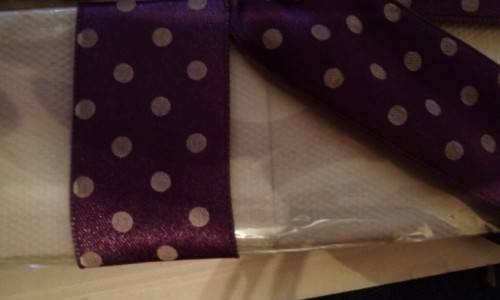
After processing the frame, I covered the joints with ribbon; you can also use different materials.
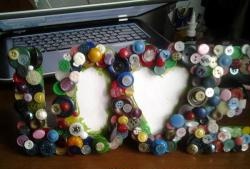
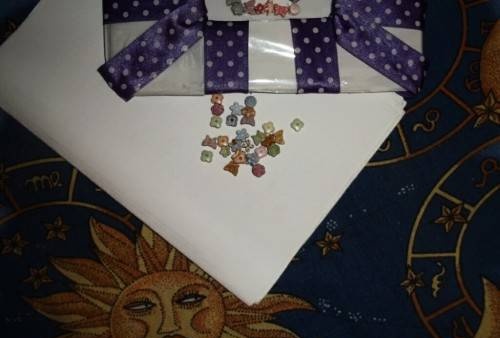
I covered the photo with these beads:
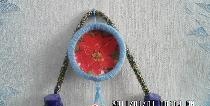
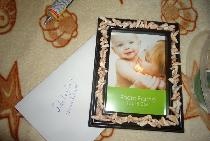
I sewed the frame to the base, sewing it so that the seams were under the braid, which hid the joints. As a result, the rear view turned out like this:

The nodules are filled with glue. I covered the back side beautifully with fabric, however, you can simply cover it with paper.
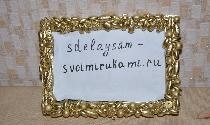
For beauty I pasted the following stickers:
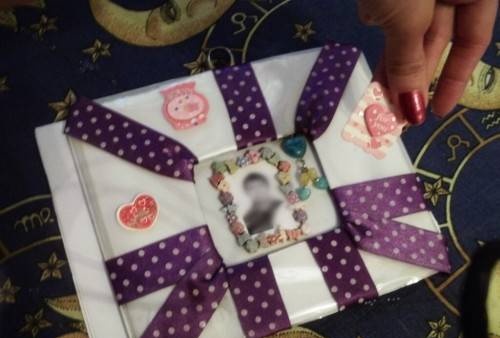
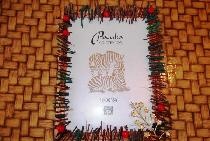
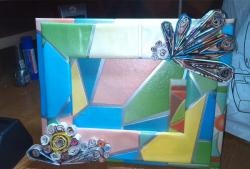
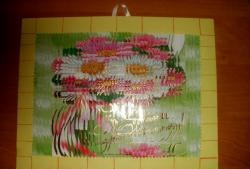
This is how the photo frame turned out:
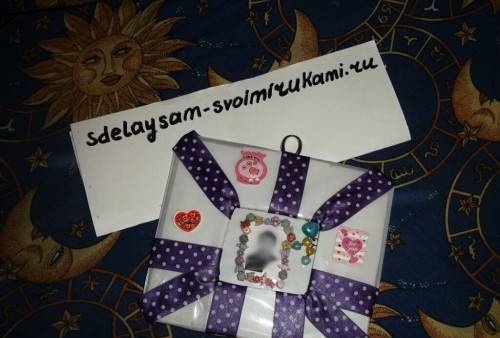
The work took very little time, the process brought a lot of pleasure, and the result greatly pleased the loved one.