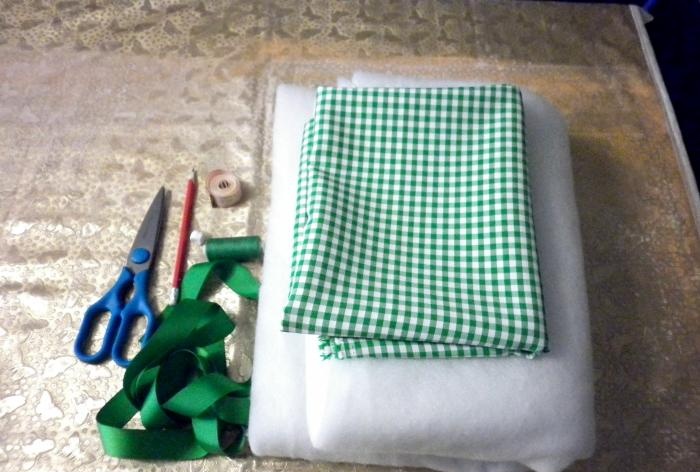
Material used and tools for sewing the cover
1) 1 meter of fabric (in this case crepe),
2) 0.5 meters of padding polyester,
3) threads of a suitable color,
4) edging tape,
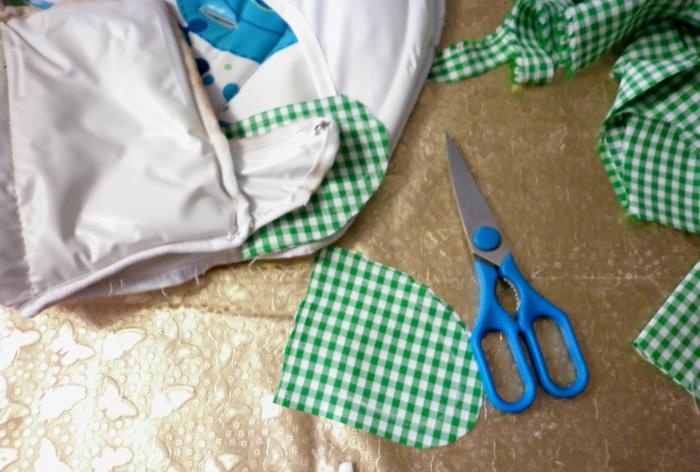
5) scissors, chalk or pencil, measuring tape,
6) pattern or old case.
Making patterns and cutting material
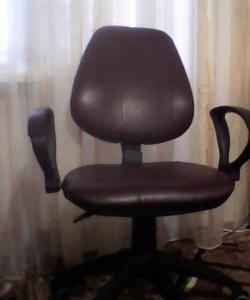
First you need to start with choosing a fabric. It's up to your taste.You can take raincoat fabric - it is easy to maintain, durable, wear-resistant and easy to wash. But it will not be very pleasant for a child to sit on it, as it slips and is cool to the touch. Corduroy will look very expensive and the child will sit on it pleasantly and comfortably, but cleaning is already a problem. In this case, crepe is used. It is less durable than raincoat fabric, but it is more pleasant to the body, is easy to wash and does not wrinkle.
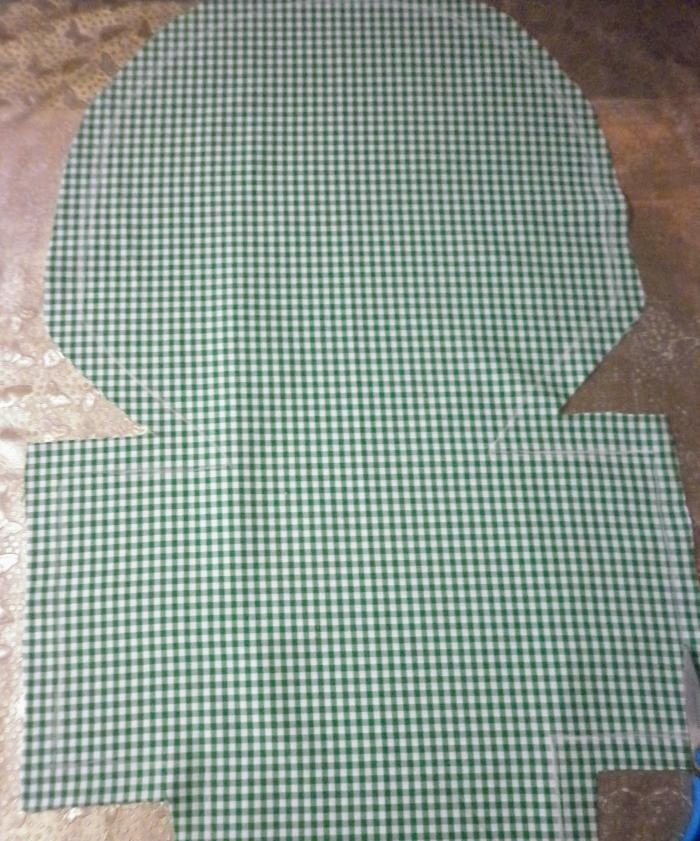
First, let's start cutting out the future table cover. For these purposes, you can use an old cover, or if it is not preserved, you can make a pattern from oilcloth. To do this, take a suitable piece of oilcloth and attach it to the chair. With a marker we outline all the parts and details of the chair where the future cover will be attached. Next, we cut out the template and once again apply it to the chair and check that all the parts fit tightly and coincide with each other. Then we take the fabric and fold it in half. We apply an old chair cover and begin to trace it over the fabric. Next, we cut out the pattern with a small margin for padding polyester and seam allowances.
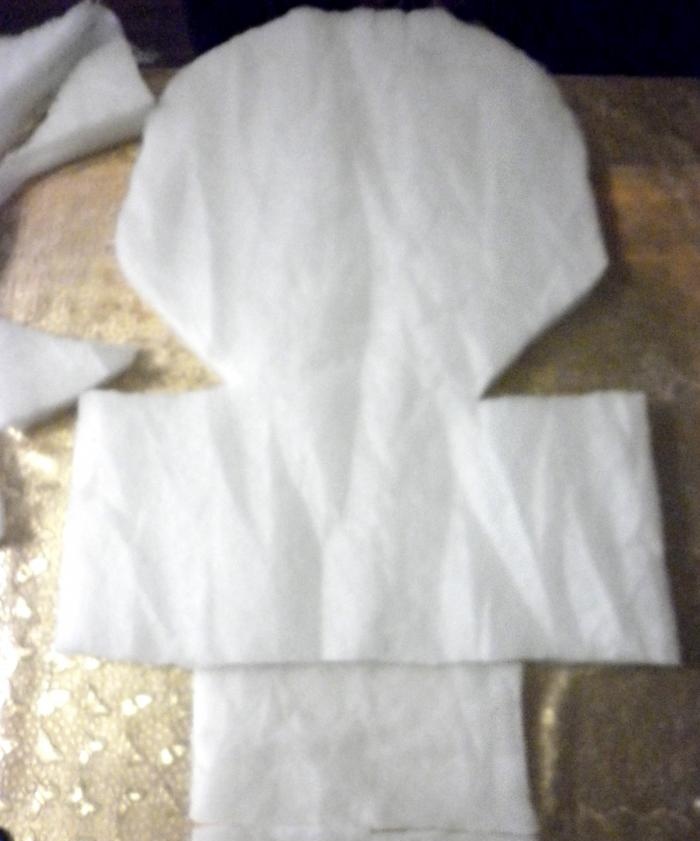
We do the same with padding polyester, only we cut it out strictly according to the pattern.
We also make patterns for the rear (1 piece) and side fastening of the cover (2 pieces for each side).
Sewing a cover for a children's feeding table
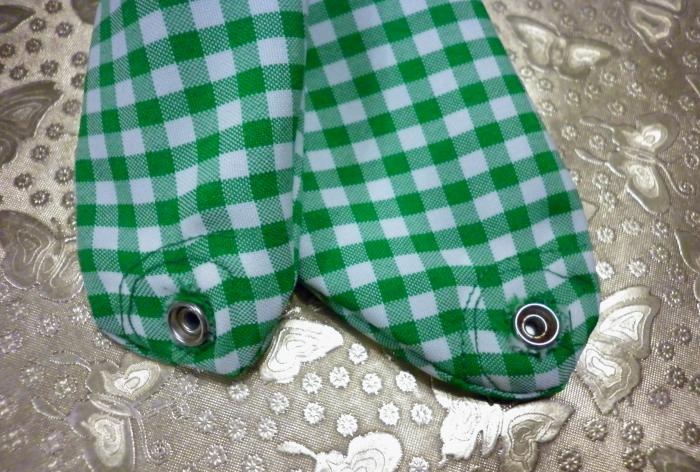
First, let's start sewing the small parts of the cover. Let's start with sewing the side fasteners. We cut off the rivet buttons from the old case (or use new ones). We make a hole on two blanks, stitch them with a zigzag seam or, if available, with an overlocker. Insert buttons into the resulting hole and sew them on. Next, we fold two parts: one without a button and the other with the wrong side of the button facing inward.We stitch it, and in the end we get these side fastenings.
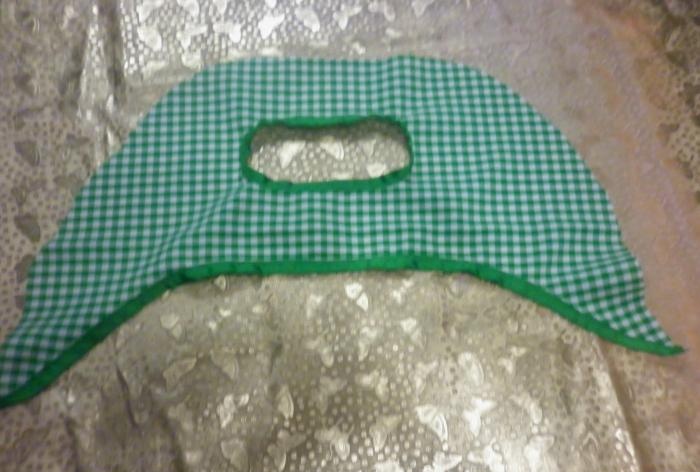
Then we prepare the rear mounting of the cover. We make the edging of the cutout for the seat handle and the lower front part of the part.
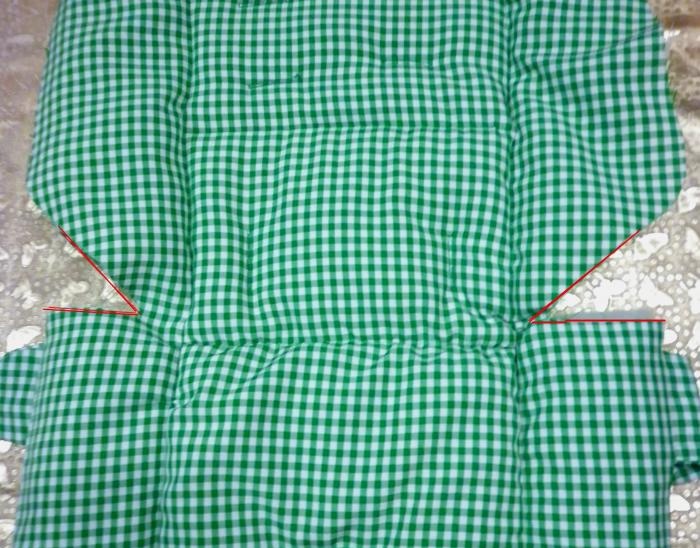
Let's start sewing the table cover itself. To begin with, on one part of the cover, just like on the side fasteners, we attach buttons for attaching to the chair at the bottom. We fold both parts with the front sides inward, pin the finished side fasteners to the place where they connect to the chair. We sew a regular seam from one side fastening of the chair to the other; there is no need to sew the upper part. Afterwards, use a zigzag seam to finish the sewn edges of the fabric.
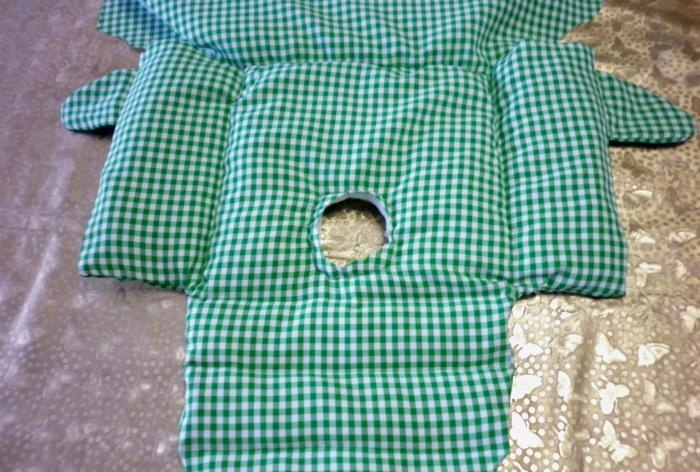
Turn the cover right side out and iron it well. We insert a padding polyester pattern inside and stitch it along the sides and bottom of the chair seat to secure it. You can see it in detail in the photo below. We also cut a hole for the protective seat bumper.
Next, we make the edging of the cutout for the bumper, and stitch the cover with padding polyester at the top (the same as it was on the old cover). Then we make markings on the seat belt cover and, using a buttonhole sewing foot, sew marks under the belts. Then all that remains is to cut the fabric.
Let's move on to the final part of sewing a cover for a children's feeding table. We sew the two edges together, finishing the edges to make the seam neater using edging tape. This is what should happen.
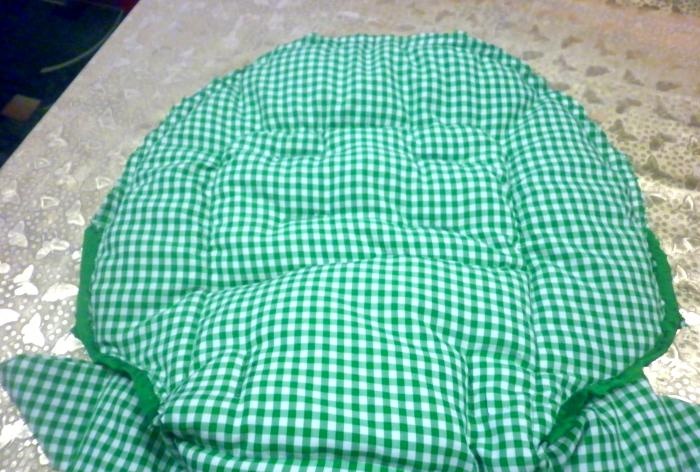
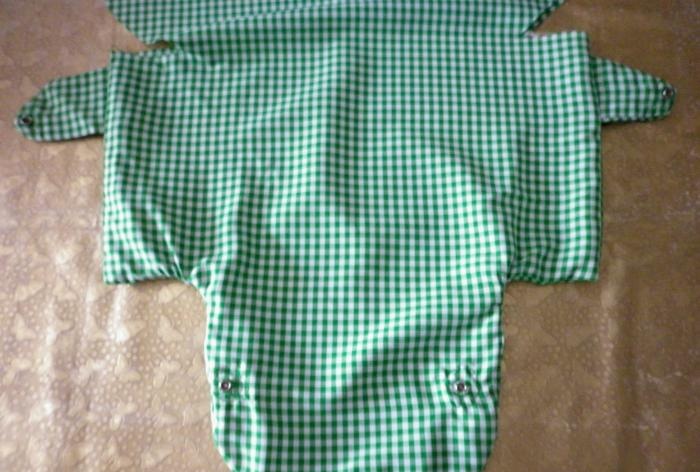
Next we sew on the back fastening of the cover. We fold the cover and the fastening pattern right sides together and sew them, finishing the seams with a zigzag stitch or overlock. Turn the resulting cover right side out.
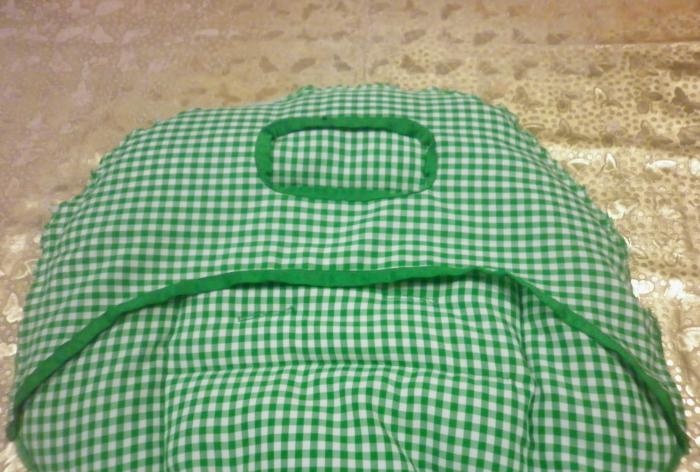
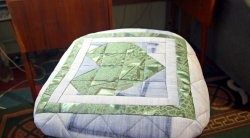
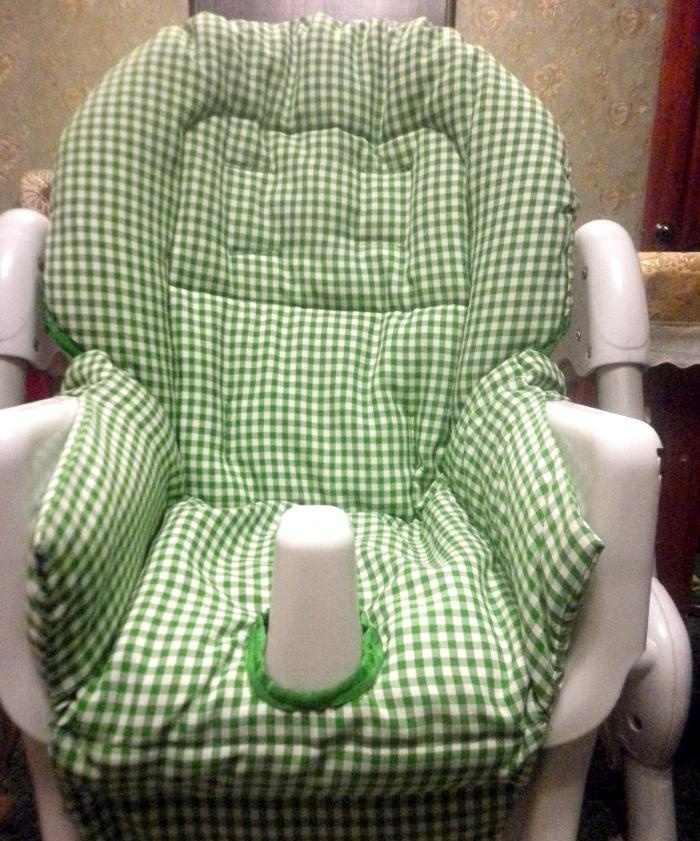
All that remains is to iron our cover and put it on the chair.This is what happens in the end.
Conclusion on the master class
In this master class, sewing a cover for a feeding table was described in detail. It takes very little time to sew it, and the cost of fabric is not high. Making such a case to order is an expensive pleasure. Therefore, all those who know how to sew at least a little and love handicrafts can easily please their child with a new and comfortable seat cover. Good luck in your creative processes.