Materials for work:
- Soft cotton fabric (old bed linen) - according to the size of the back walls of the niches + 20-25 cm around the perimeter of each;
- Toilet paper – 1 roll;
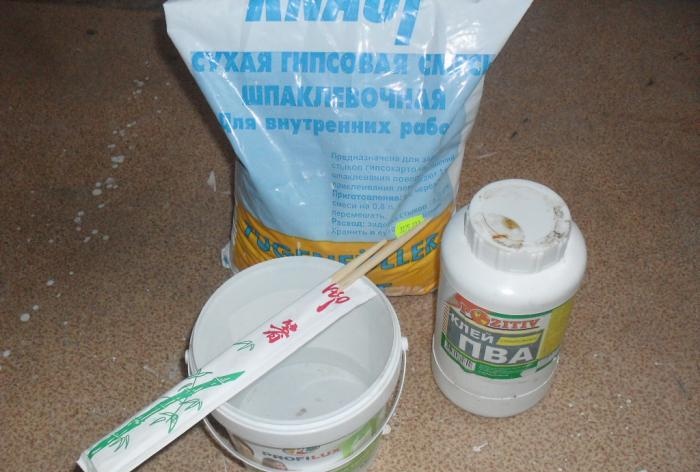
- Construction alabaster (can be replaced with medical gypsum powder), water, wallpaper glue, dry putty mixture, PVA construction glue, artistic gouache, dishwashing sponge.
Stages of work execution.
First stage: creating the base.
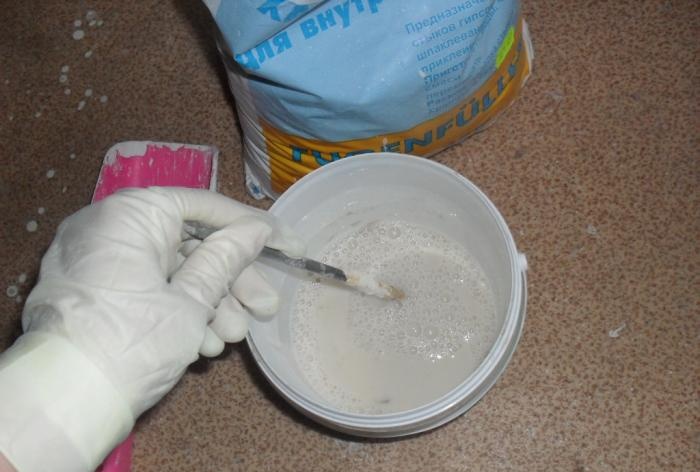
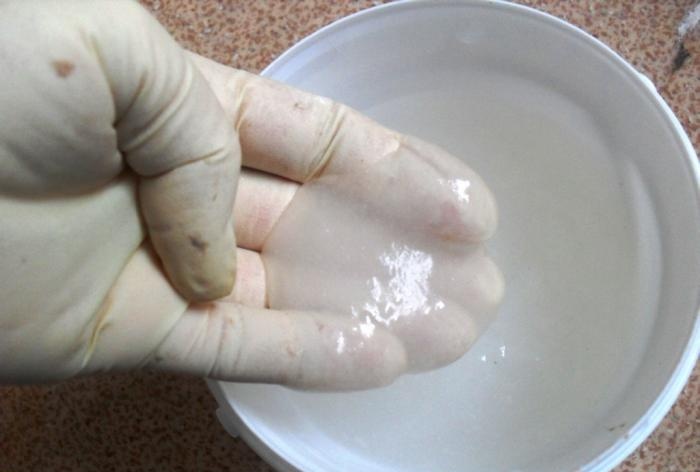
Dissolve a small amount of alabaster in water with the addition of PVA construction glue (for 400 grams of water add 100 grams of alabaster and 200 grams of liquid PVA glue). We prepare the solution in a small container, as it thickens quite quickly and becomes unsuitable for use (a new solution for each niche).
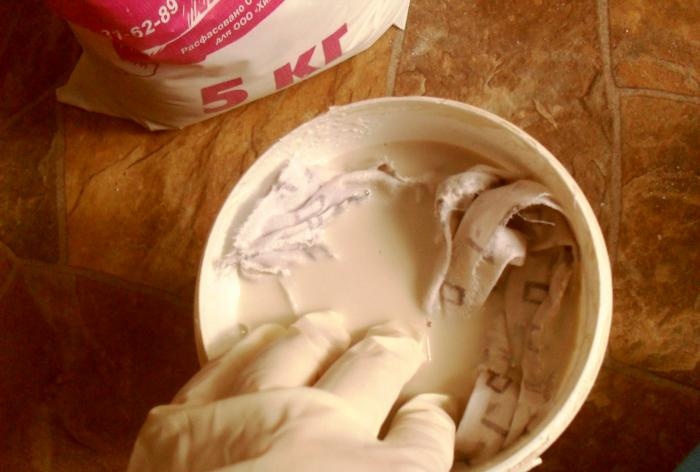
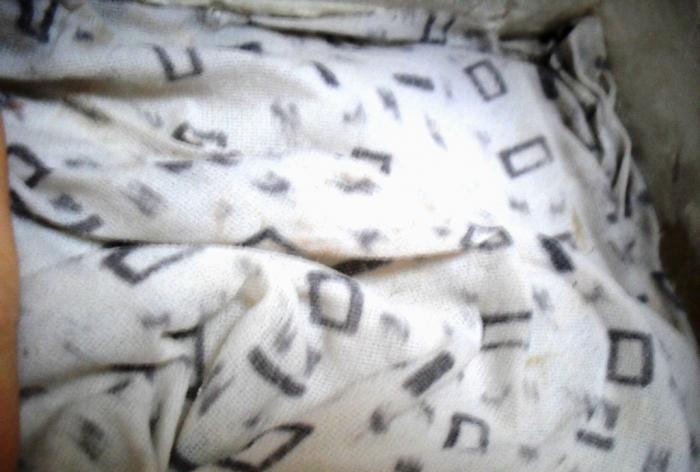
Place the fabric in a container with the solution and thoroughly soak the entire surface. The fabric piece should be 20-25 centimeters larger than the surface to be decorated on all sides. After lightly wrung out the fabric, we straighten it in the recess of the niche, bending the edges to avoid clogging them. We begin to secure the fabric, pressing it to the surface of the recess of the niche. It is better to move from the corner to the center and the opposite corner, then attach the remaining part of the fabric.
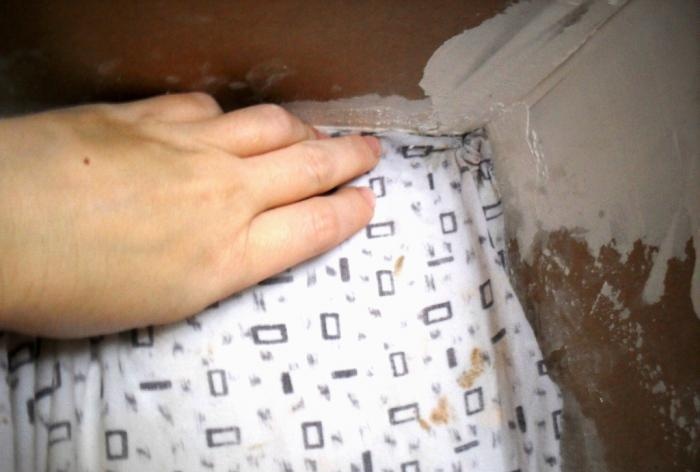
We lay chaotic folds of different sizes and directions. We press every centimeter of fabric against the wall.
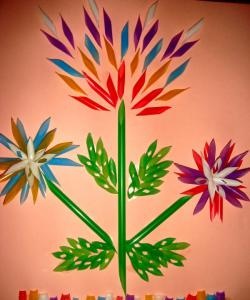
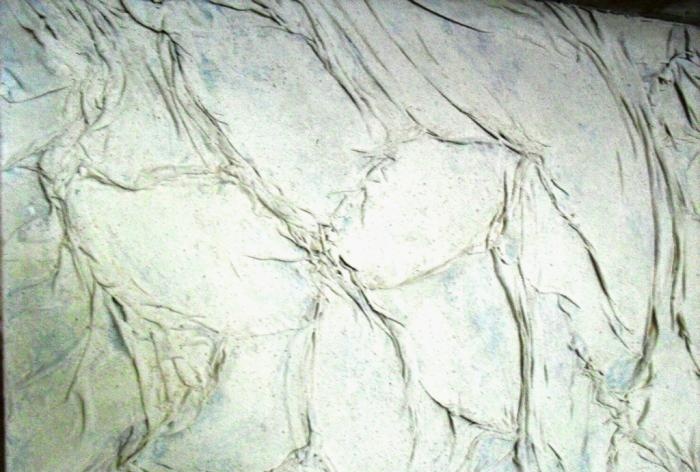
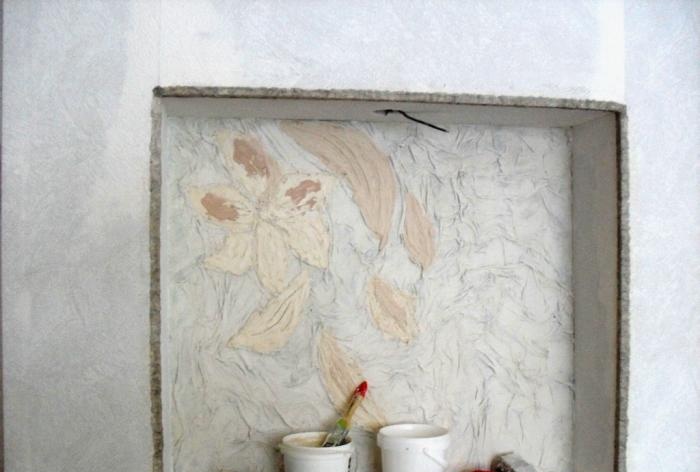
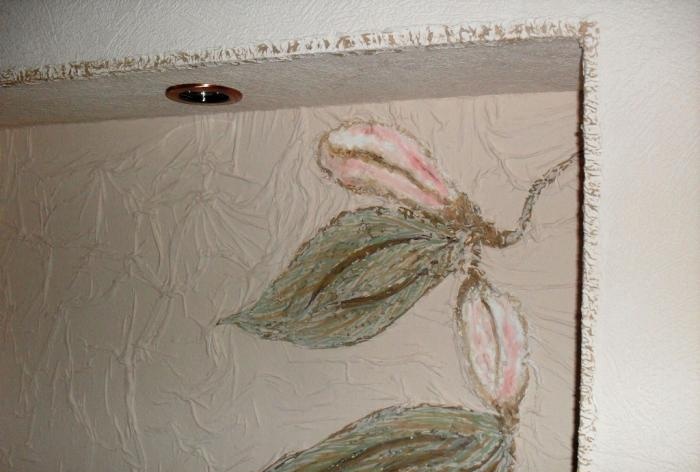
We carefully spray the entire surface of the fabric with water and form leaves and flower petals from the folded folds (we make tucks and smooth out the inside). As long as the fabric is wet, it moves easily in any direction. You can first draw a diagram of the arrangement of flowers, leaves and buds.
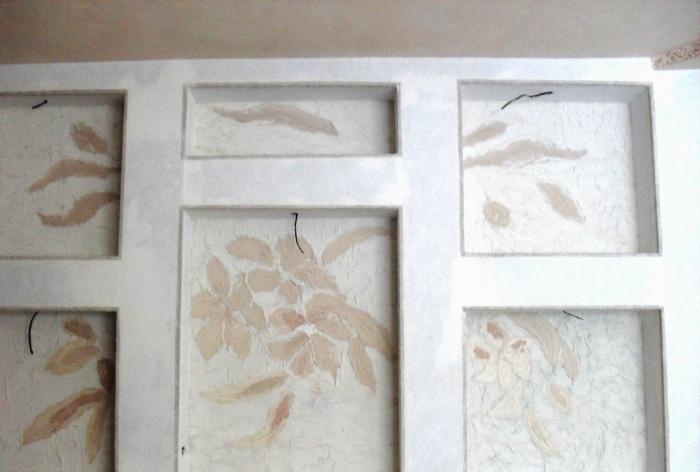
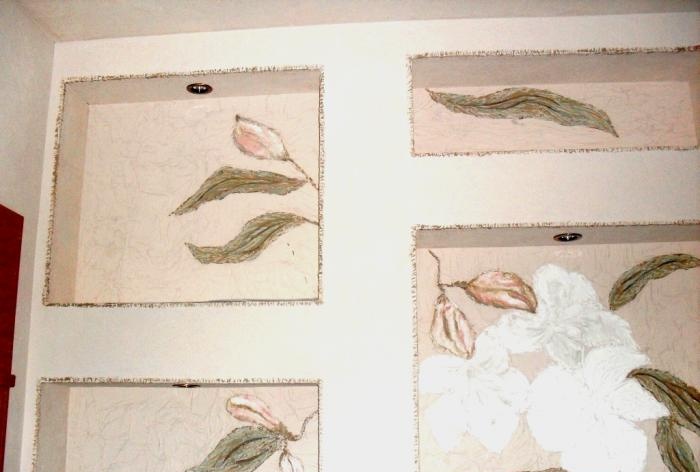
We apply a new solution and repeat the first stage of work, filling all the niches with fabric.
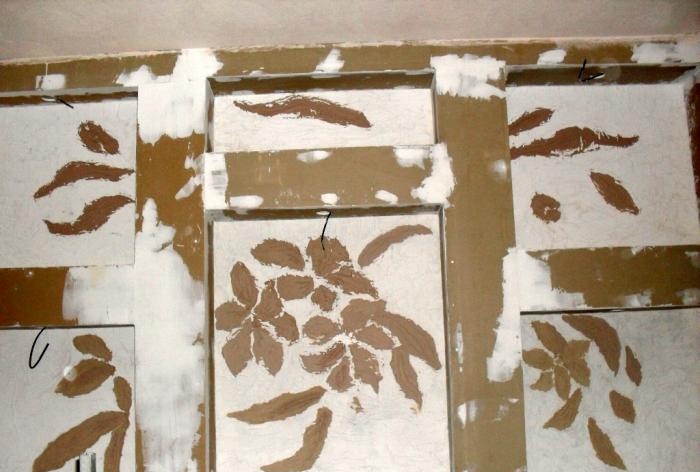
Second stage: adding volume to the flowers.
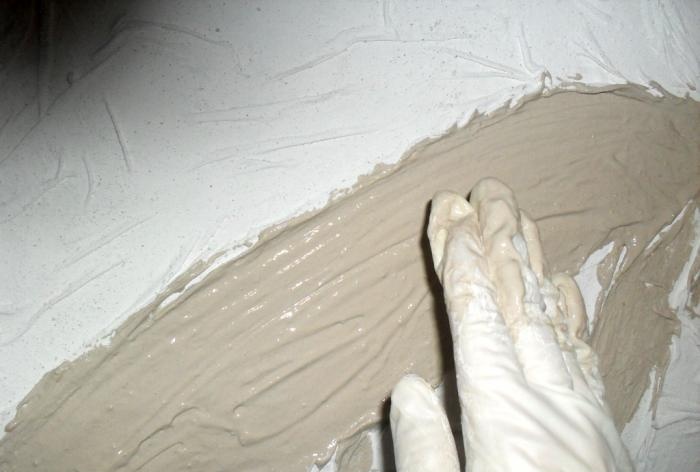
We apply the putty solution: after mixing a glass of water with a glass of PVA glue, gradually add putty to it, without ceasing to stir. The consistency should be very thick sour cream: easy to knead without dripping or running.
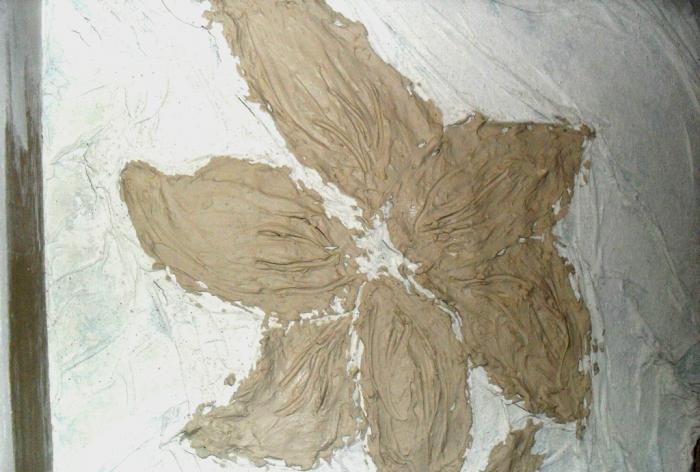
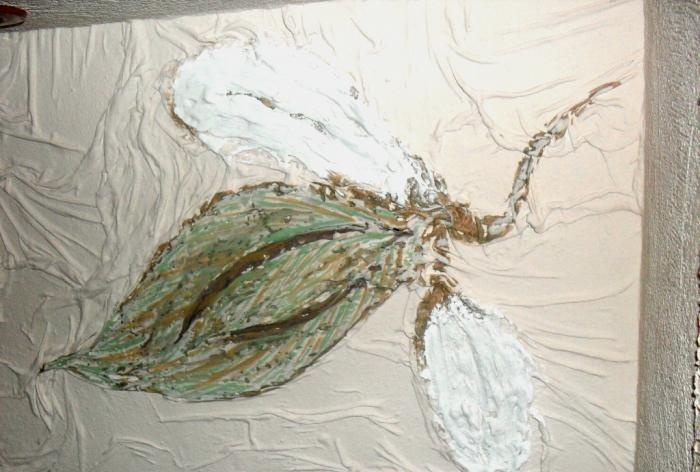
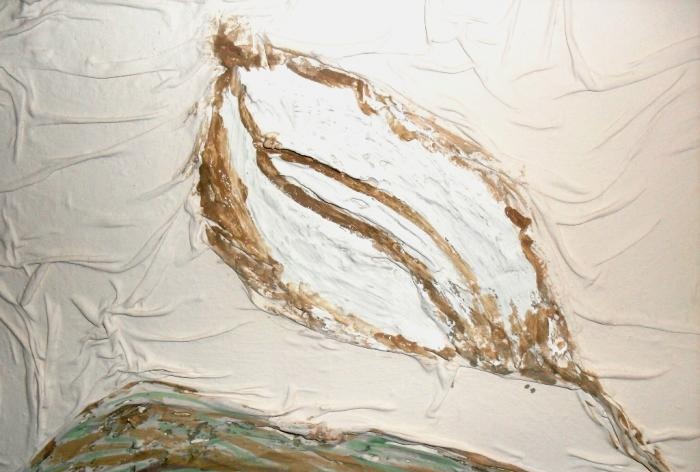
Apply the solution into the cavity of the leaves without smoothing or leveling it. If the volume is insufficient, you can apply another layer of solution, but only after the previous one has dried.
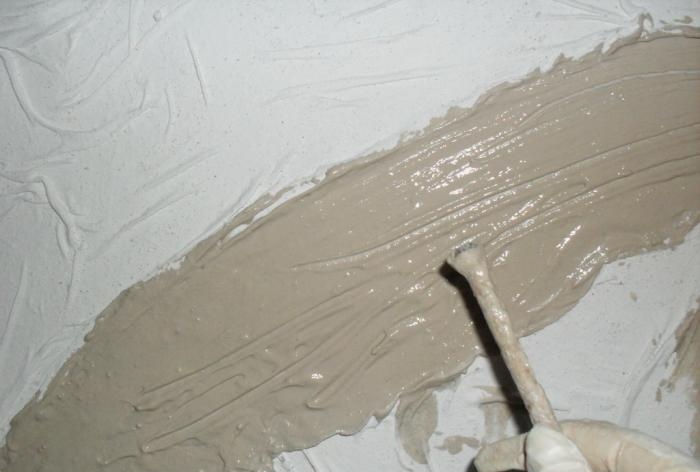
We scratch the veins of the leaf (I used a 20-size nail).
Similarly, we fill the cavities of flower petals and buds.
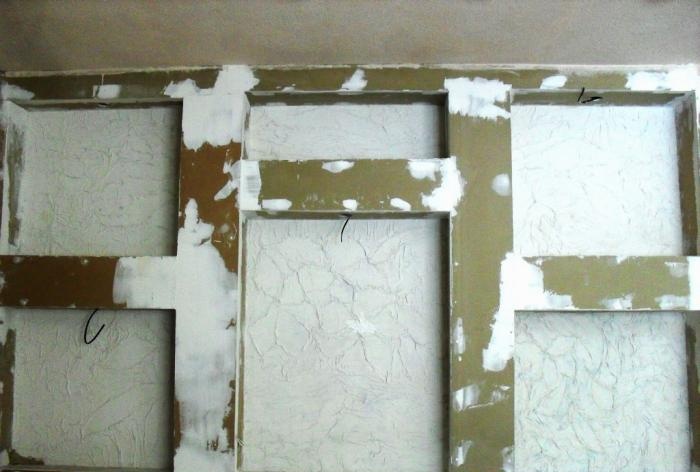
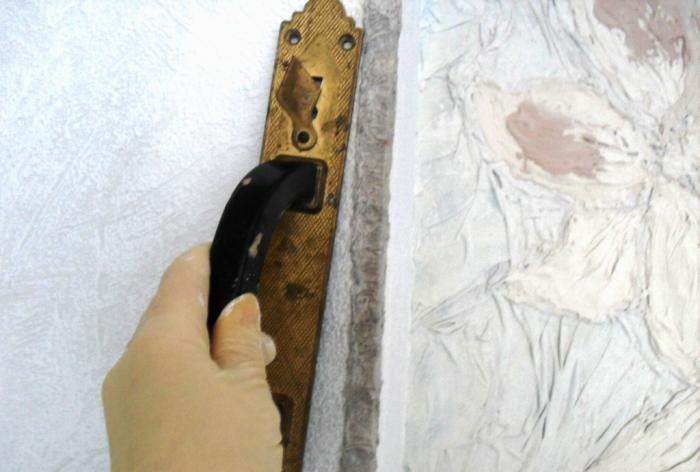
Third stage: paste over the remaining surfaces.
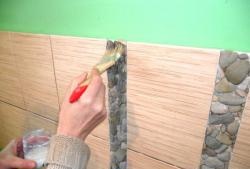
We apply wallpaper glue to all the side parts of the niches and the joints between them.
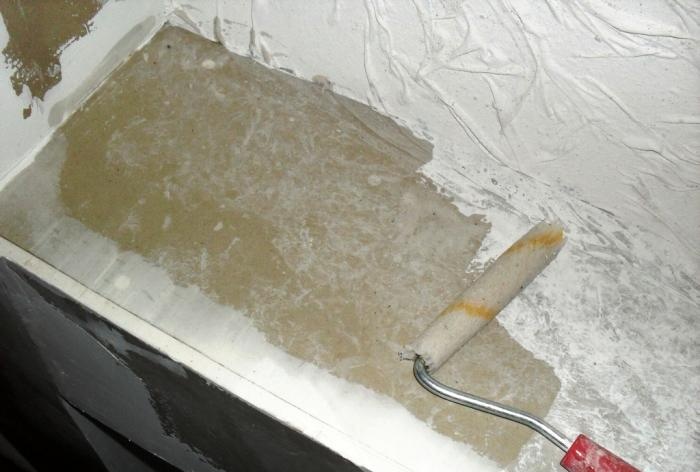
And we decorate them with white wallpaper (for painting).
Stage four: close the corners.
Cut a roll of toilet paper in half.
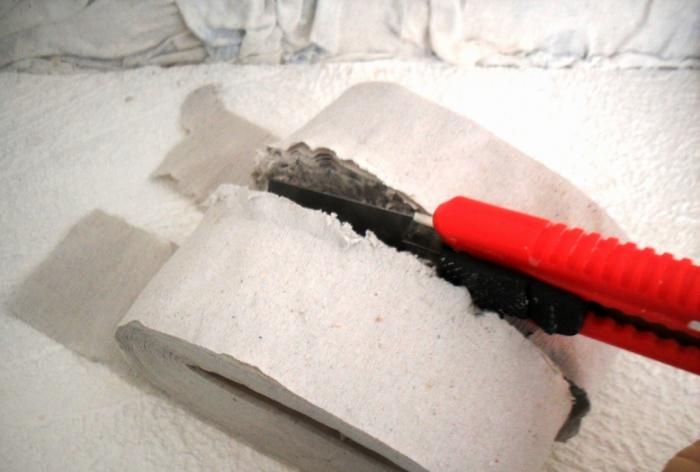
Dissolve the wallpaper glue in a small amount of water. The glue should be thick enough not to drip or flow.
Apply thick glue to the corners.
Roll out half a roll of toilet paper and, pinching the pepper folds, place it on the applied glue, pressing it to the corner on both sides.
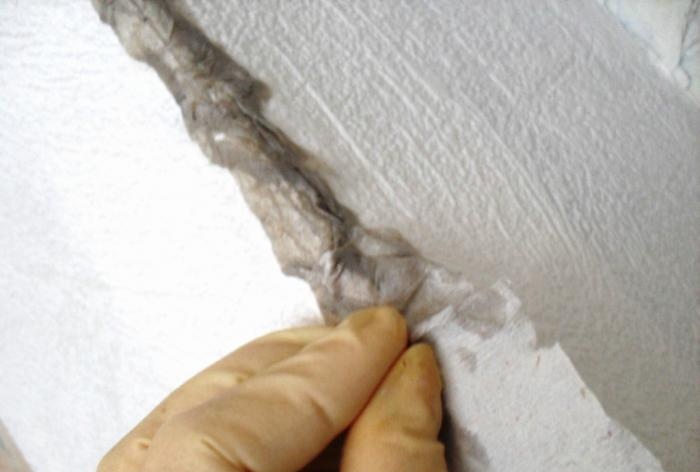
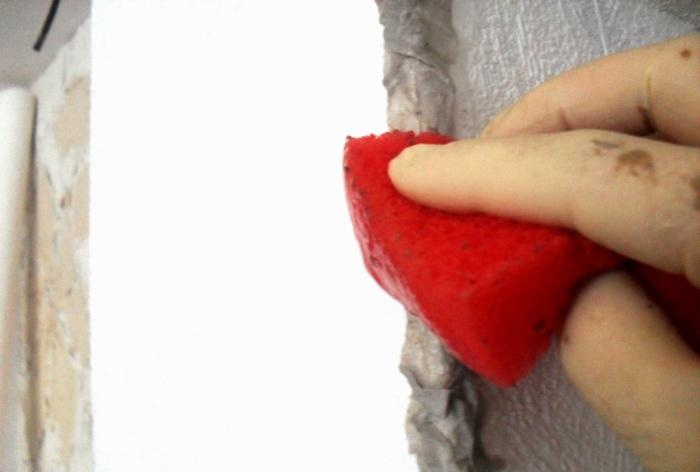
Gently “pick” the surface of the toilet paper with a soft sponge dipped in thick wallpaper glue. Don't rub or pull!
We align the edges of the folds of the toilet paper crumpled and pressed to the surface (I used an old pen, simply placing it against the edge and slightly pushing it towards the corner). Leveling must be done immediately after applying the paper, before it dries.
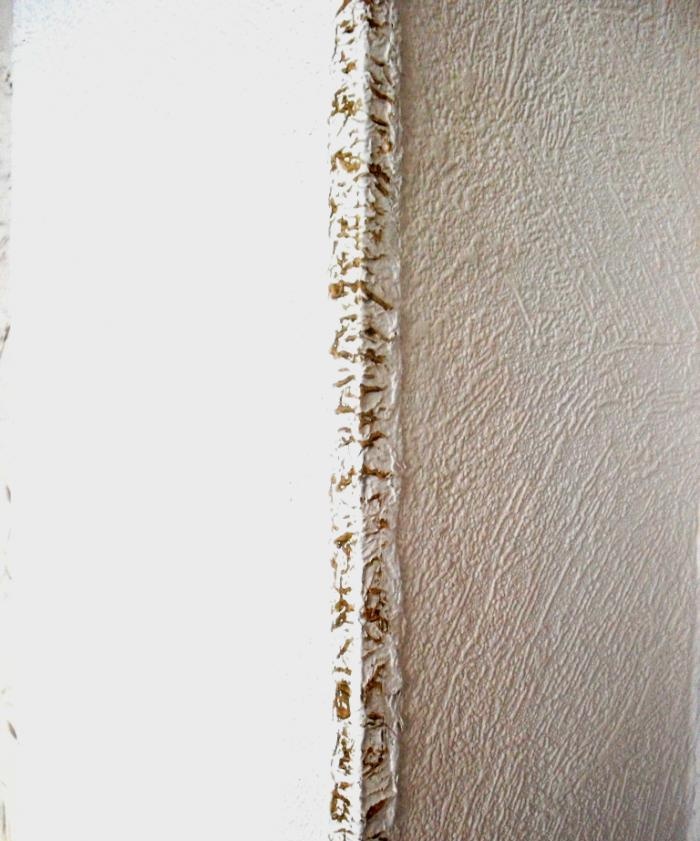
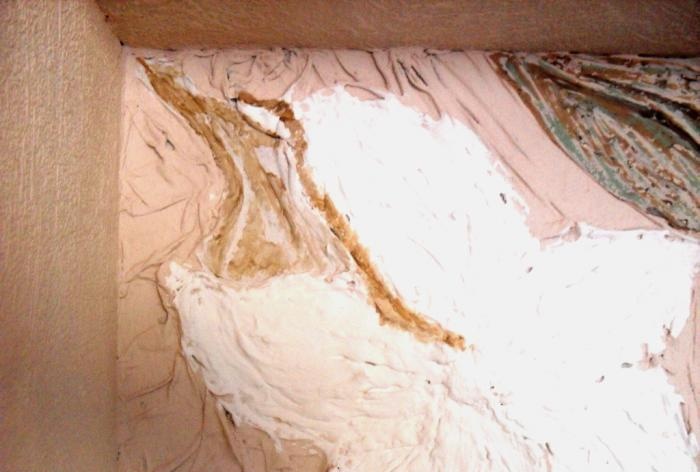
Raw edges look like this.

After complete drying, the paper becomes almost stone-like, firmly securing the joint of the wallpaper and masking the corner.
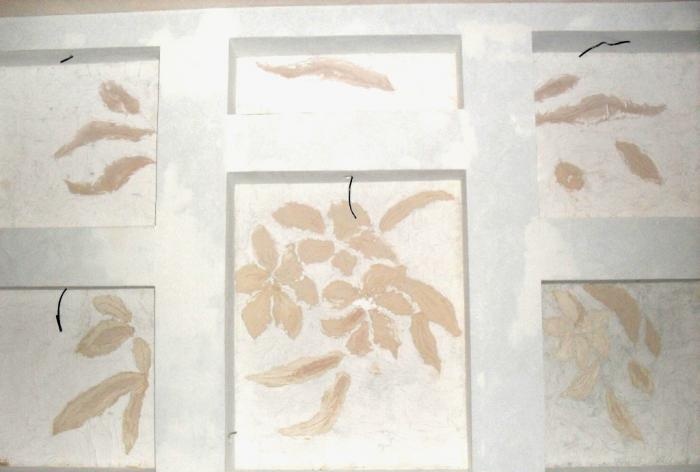
Fifth stage: paint all surfaces in the desired color scheme.
We paint all the outer and inner parts of the niches, including fabric decors and toilet paper on the corners, the same color.

Stage six: accentuate the corners.
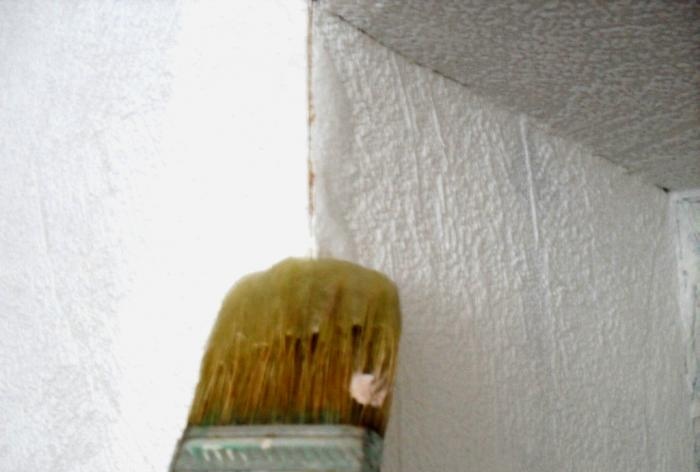
Using the side of the brush, apply a darker color of paint to the edges of the toilet paper folds.
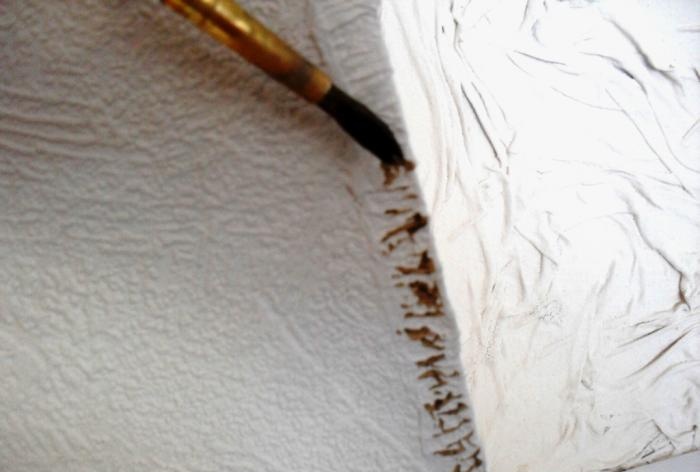
We decorate the corner from the outside and inside.
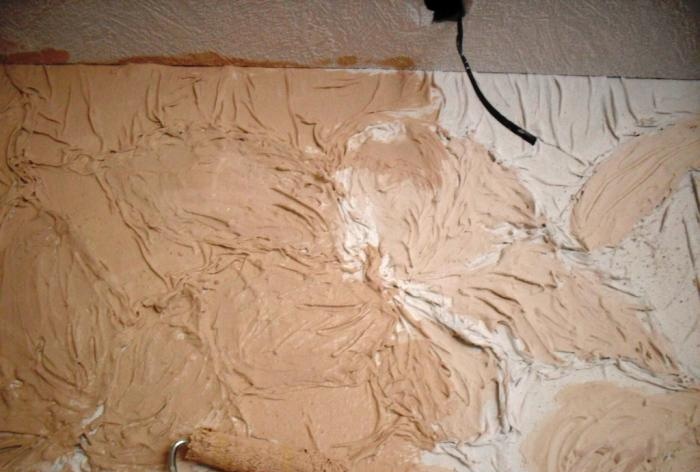
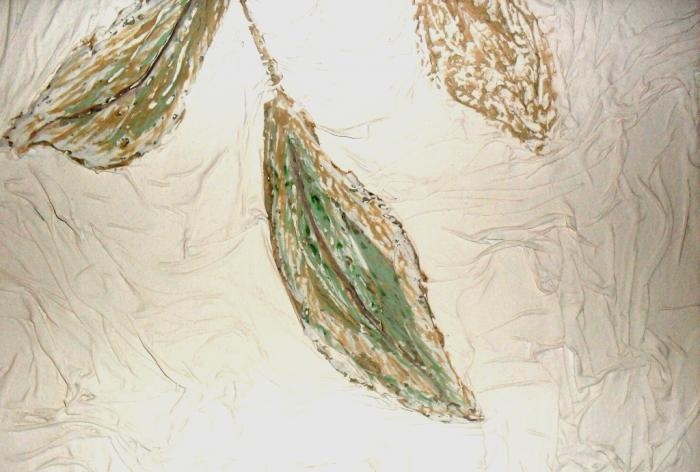
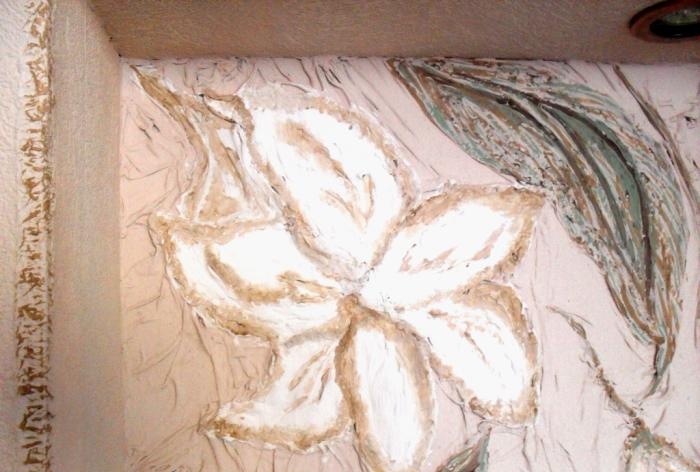
Seventh stage: color the leaves.
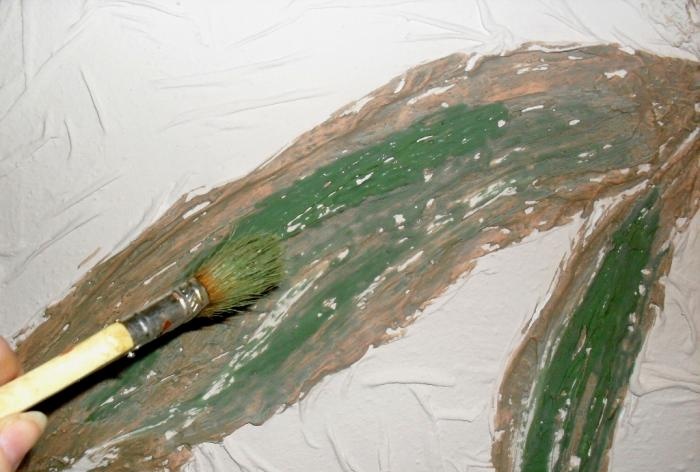
We apply dark paint (as on the corners) on the leaves (covering them more strongly, almost completely) and on the buds (applying weaker, sparse strokes).
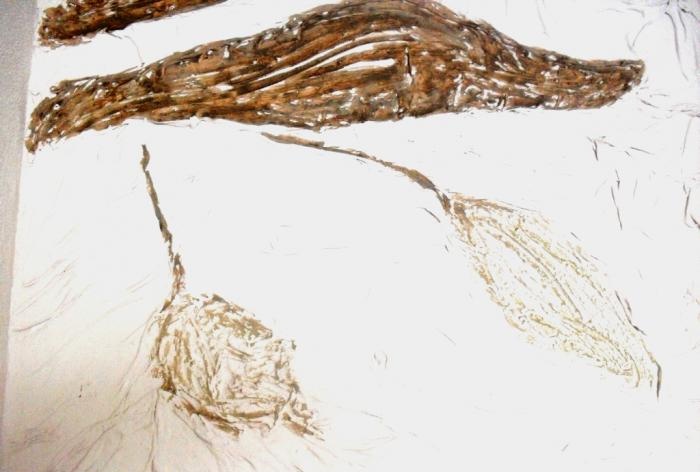
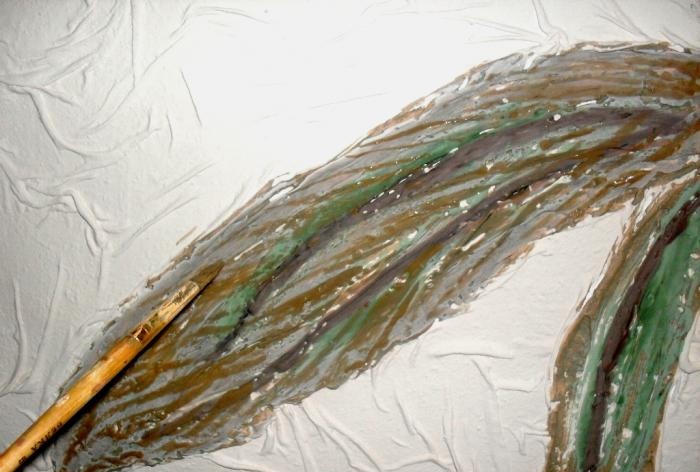
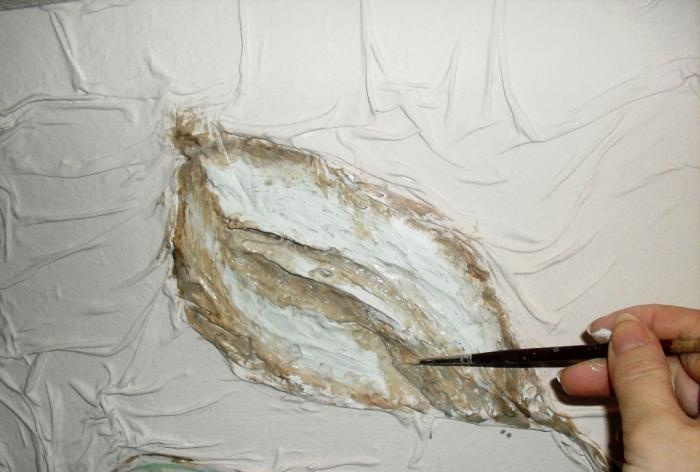
Without touching the edges of the sheet, apply longitudinal strokes of green color with a wide brush.
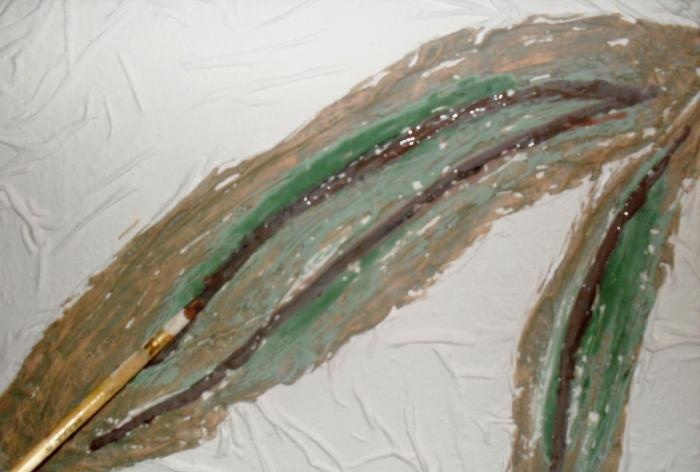
We paint the scratched veins dark brown.
Shade the sheet with gray paint (without touching the edges).
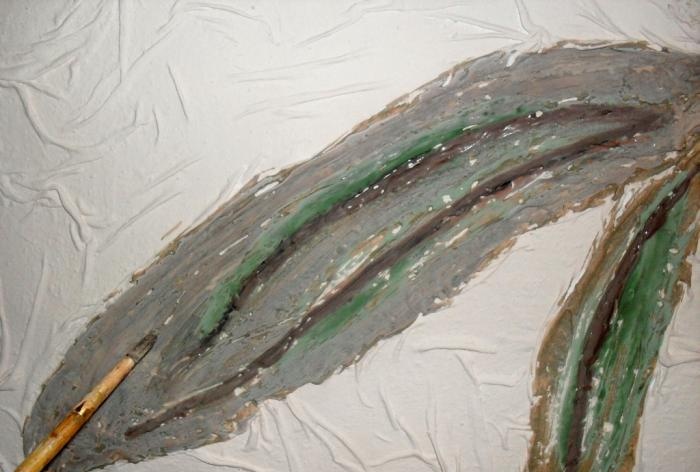
Apply ragged, narrow strokes of base paint (as on the corners).
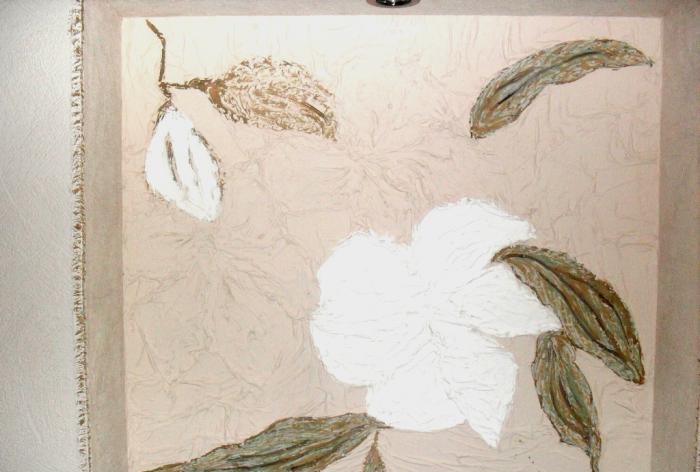
Eighth stage: color the flowers and buds.
Fill the volumetric parts of the petals with white paint. We also whitewash the buds without touching the edges.
Apply dark base paint in the center of the bud and along the edges.
Dip the brush into water and “blur” the applied dark strokes with it (make transverse movements with the brush back and forth along the dark stroke).
We apply the pale pink color in the same way: a stroke of paint, then washed off with water. You can use two shades of pink (the bud will seem more alive).
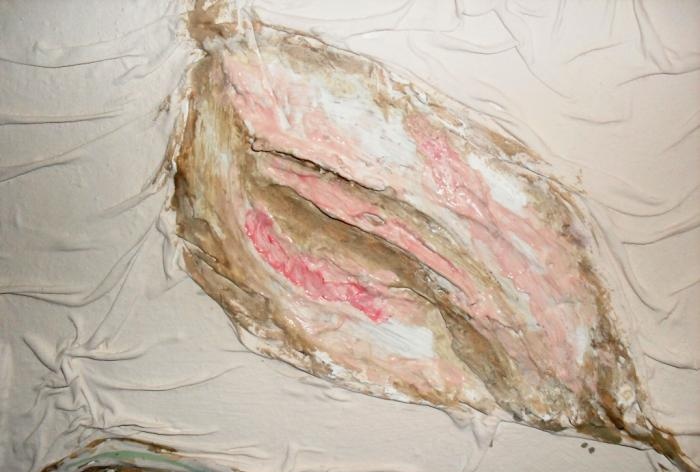
The edges of the bud can be further darkened in places by applying chaotic strokes darker than the base.
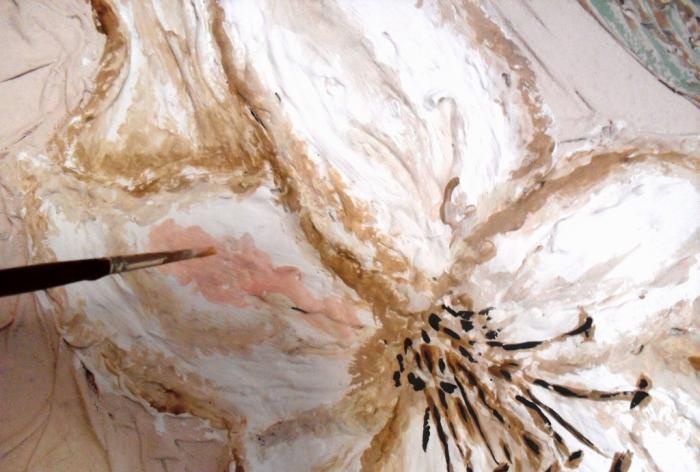
Apply base paint to the edges of the petals and wash it with water.
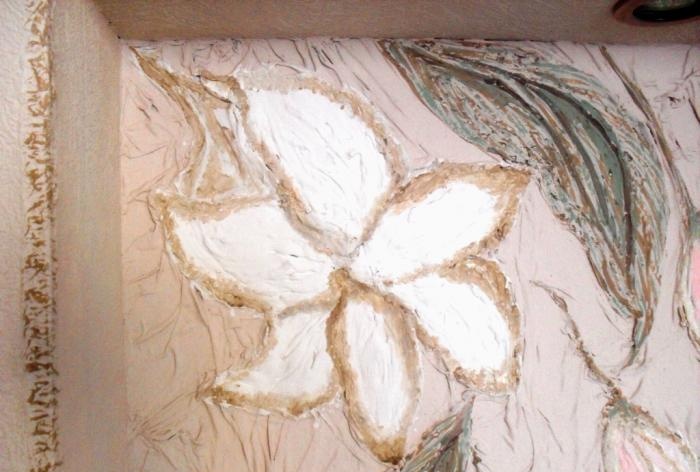
We also paint the scratched veins in the middles of the petals.
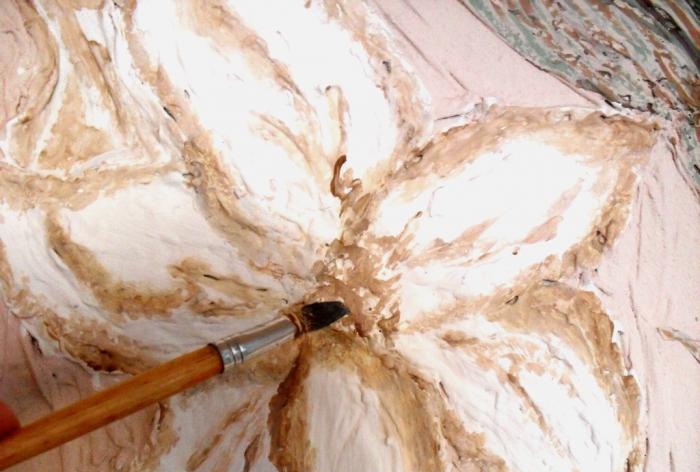
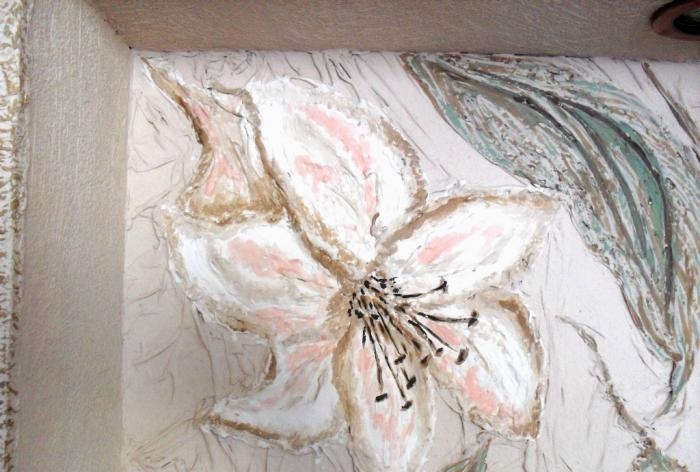
We apply “ragged” strokes of brown paint (darker than the base paint) in the middle of the flower (I just poked with a brush as God intended).
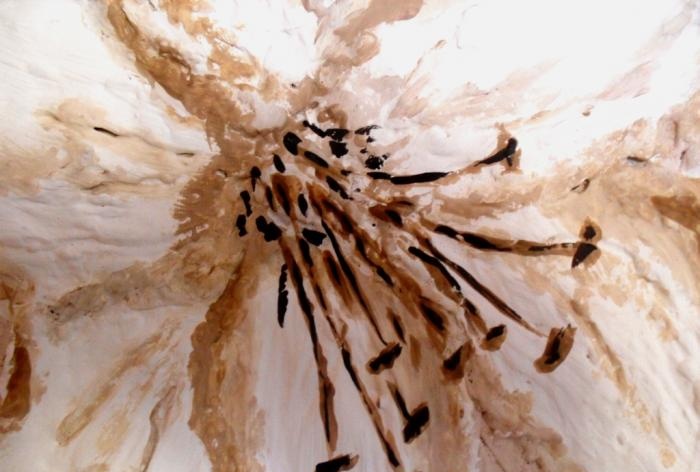
We draw the stamens-pistils in the shape of a very elongated letter “T” with the same brown paint. We immediately determine which direction the flower will face, and “scatter” the stamens and pistils in the same direction.

Apply thinner strokes of black paint on top. Add several stretched points at the base of the stamens-pistils.
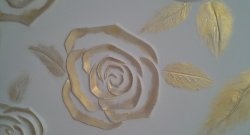
We “revive” the flowers with pink strokes, blurred with water.
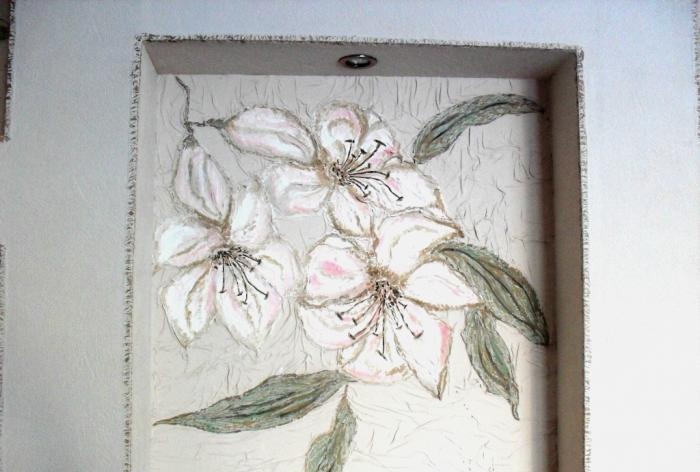
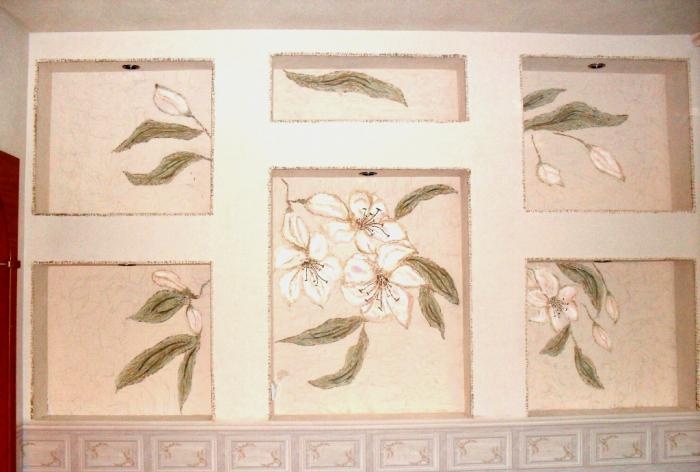
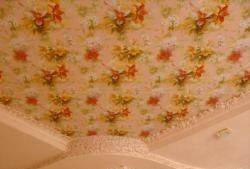
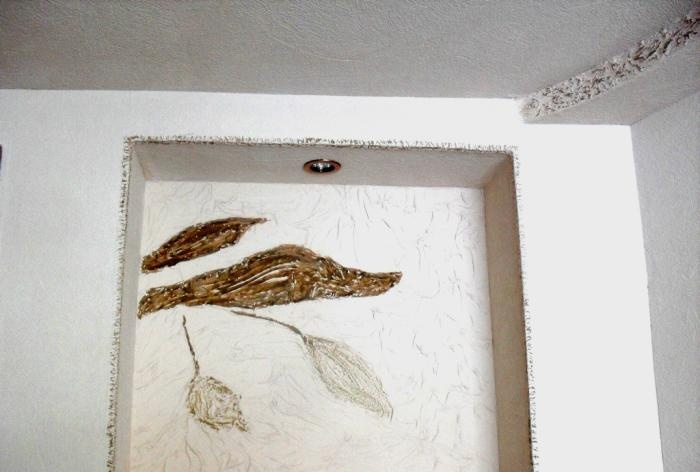
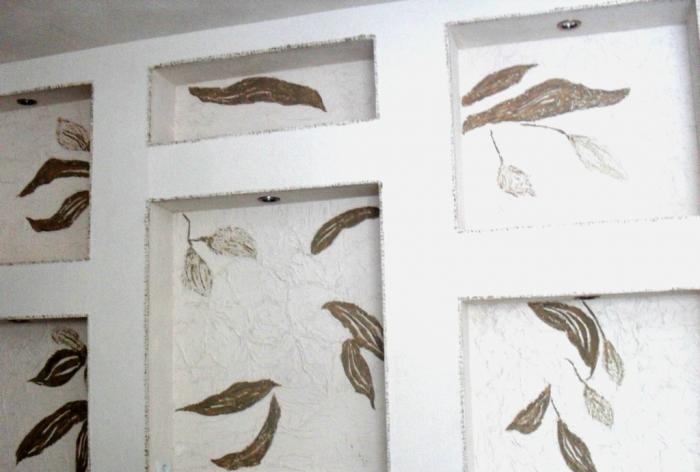
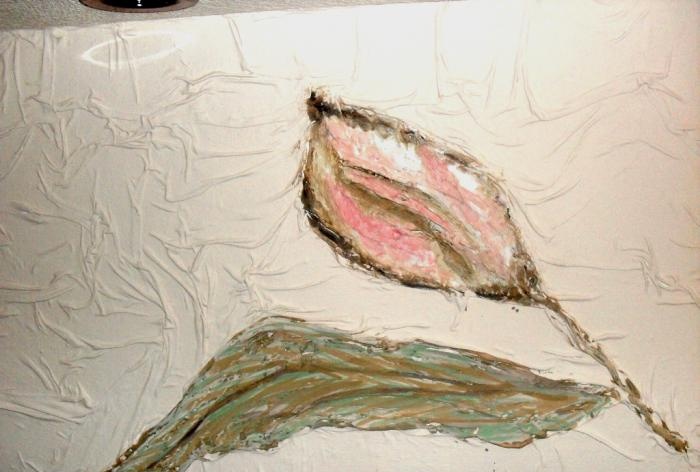
All work is done! We admire the beauty and uniqueness of a masterpiece created with our own hands.