Do it yourself
Life hacks, master classes, useful tips, recipes.
home » Different » Crafts » New Year's crafts » New Year's tree toy made from postcards
There is already very little time left before the next new year. And, of course, many residents of our country have already begun to decorate the Christmas tree in their apartments and houses. Of course, in our time in stores, no matter what New Year’s toys and decorations they sell, it would seem, buy and decorate. But it’s much nicer and more interesting to make New Year’s decorations with your own hands from scrap materials available at home.
To make one of these Christmas tree toys we needed:
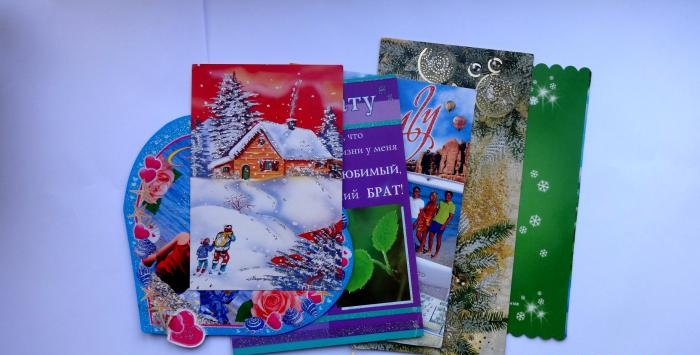
  • postcards 2 pcs.;
  • scissors;
  • compass or small glass;
  • PVA glue and super glue;
  • pencil and ruler;
  • ribbon;
  • rhinestones or sequins.


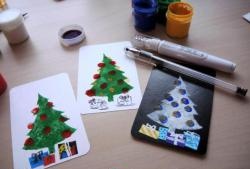
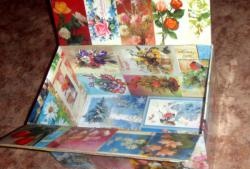
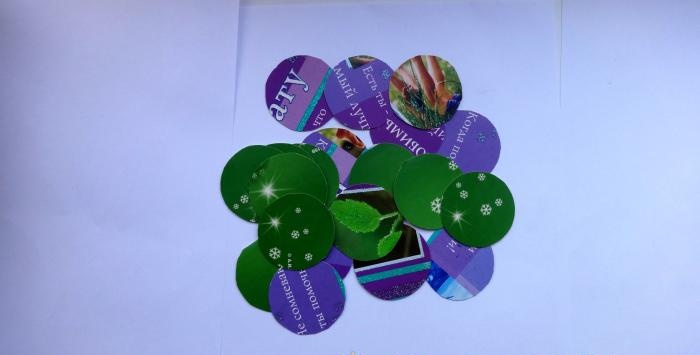
The fact is that while I was still at school, I collected postcards, and after graduation I didn’t throw them away or give them to anyone, so I have a large selection of postcards for various kinds of crafts. Since we are going to make a New Year's toy, I chose the most brilliant ones from my variety of cards, and which are not too bad to cut.
New Year's tree toy made from postcards

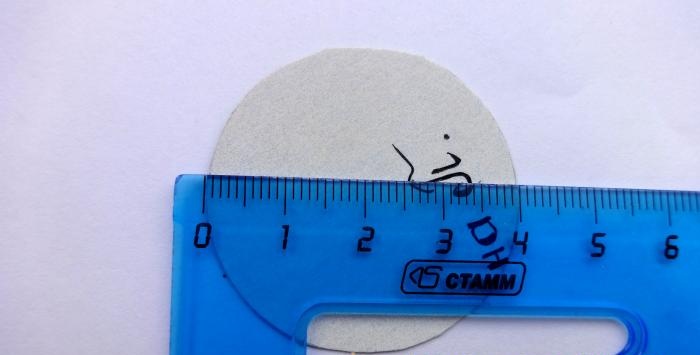
On the back of the two postcards we have chosen, with a compass or as we do, using a small glass stack, we draw 20 identical circles.
New Year's tree toy made from postcards

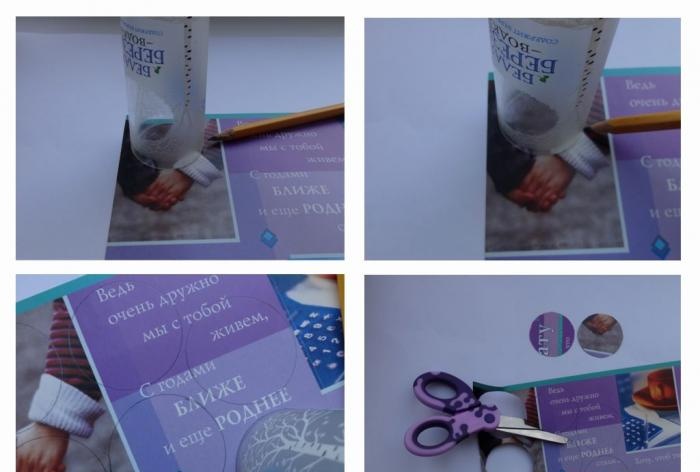
And carefully cut them out with scissors.
New Year's tree toy made from postcards

Our mugs turned out to be 40mm in diameter. But you can make circles of any size, the main thing is that all circles have the same diameter.
New Year's tree toy made from postcards

Now we need to inscribe an equilateral triangle into each circle on the reverse side. We made a template out of cardboard and traced the triangle with a pencil, duplicating it on each circle.
New Year's tree toy made from postcards

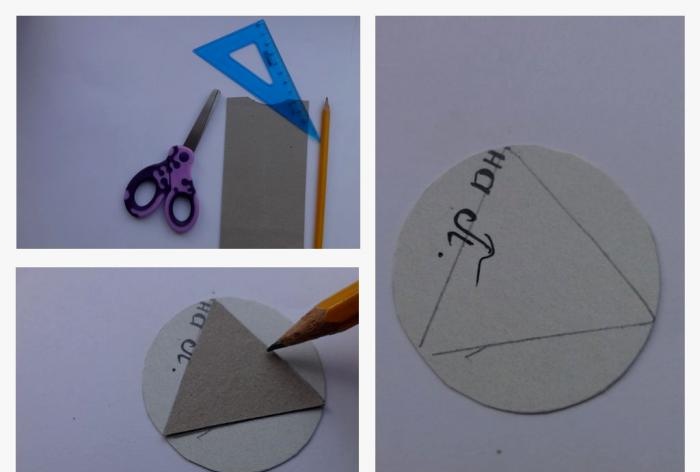
Then, on all 20 circles, we bend three identical sides, that is, we bend the edges of the circles along the lines of the triangle inscribed in it.
Tip: it’s better to do this with a ruler to make the folds smoother.
New Year's tree toy made from postcards

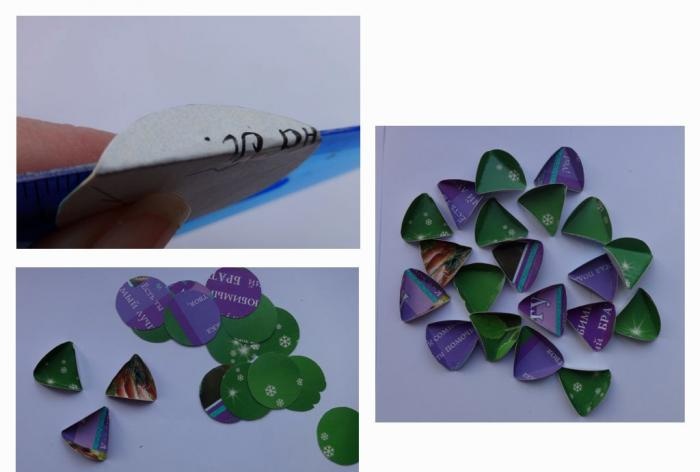
I decided to make the top and bottom of the toy from a lilac postcard, and the middle from green. Therefore, next we take the first five circles of lilac color and, using PVA glue, glue them together one by one by the bent sides. It should look like the following photo.
New Year's tree toy made from postcards

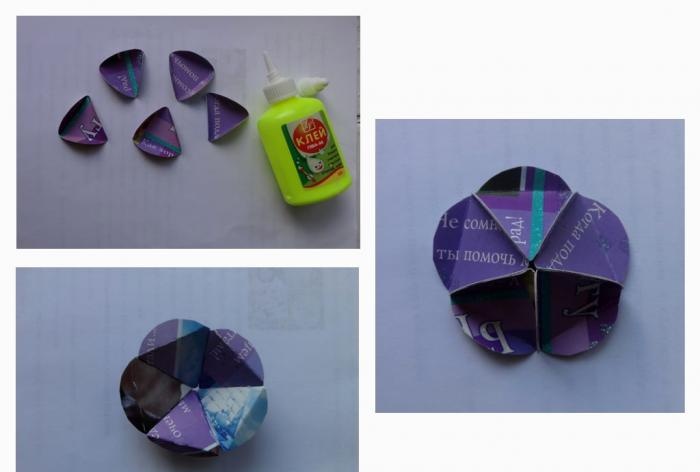
By analogy, we make the bottom of the toy ball from the remaining five lilac circles.
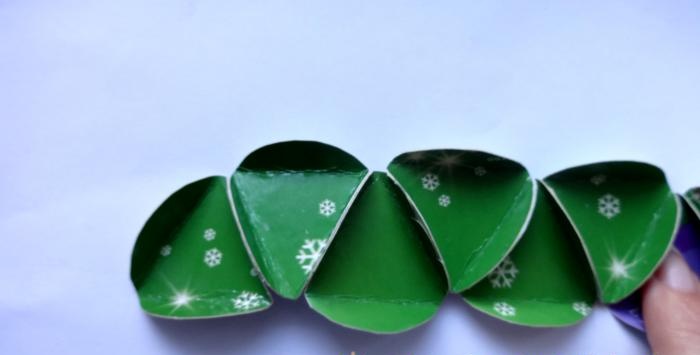
Next we need to make the middle from the remaining 10 green circles. To do this, we glue them together into strips with PVA glue and close them into a “ring”. How to properly glue into stripes is shown in the following photo.
New Year's tree toy made from postcards

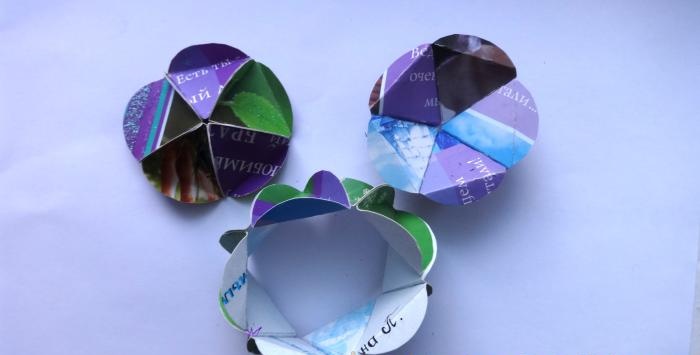
You should get these three parts of the future New Year's tree decoration: top, bottom and middle.
New Year's tree toy made from postcards

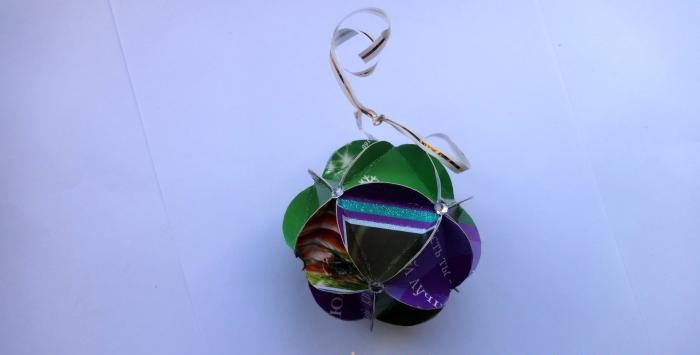
Since we plan to hang this toy on our home Christmas tree, we need to make a loop on which we will hang it. To do this, we carefully insert both sides of the ribbon into the center of the upper part of the toy and tie it from the inside with a couple of knots. The ribbon should be about 20 cm, otherwise our toy will look ugly. That is, the length of the ribbon should correspond to the size of the toy.
New Year's tree toy made from postcards

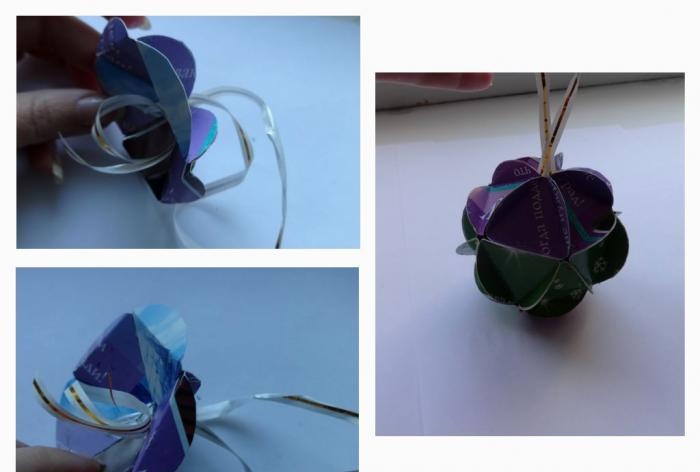
Now carefully glue all parts of the toy ball together with PVA glue.
I made this toy with my four-year-old son, so at the joints of the toy, irregularities and holes are visible here and there. To hide them and add beauty and shine to our toy, we glued round silver rhinestones left over from the nursery using super glue. crafts. But you can use sequins or shiny beads instead, for example.
New Year's tree toy made from postcards

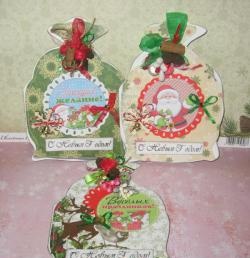
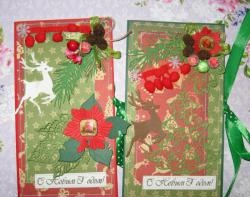
Here is such a wonderful and original ball-toy for the New Year tree.
New Year's tree toy made from postcards

But it is absolutely simple to make and even school-age children can make it.
Happy New Year to everyone!
come back
Comment
  • bowtiesmilelaughingblushsmileyrelaxed relaxedsmirk
    heart_eyeskissing_heartkissing_closed_eyesflushedrelievedsatisfiedgrin
    winkstuck_out_tongue_winking_eyestuck_out_tongue_closed_eyesgrinningkissingstuck_out_tonguesleeping
    worriedfrowninganguishedopen_mouthgrimacingconfusedhushed
    expressionlessunamusedsweat_smilesweatdisappointed_relievedwearypassive
    disappointedconfoundedfearfulcold_sweatperseverecrysob
    joyastonishedscreamtired_faceangryragetriumph
    sleepyyummasksunglassesdizzy_faceimpsmiling_imp
    neutral_faceno_mouthinnocent
3+three=
Comments (2)
  1. princessira
    #1 princessira Guests 21 August 2017 12:42
    2
    I collect similar articles. And before the New Year we make crafts with the children. I think that if there are no postcards, it’s quite possible to take cardboard, colored or shiny, and it will be no worse. At first glance at this toy, it seems that it is very difficult to make, but in fact it is not at all. Thank you.
  2. Alexandra
    #2 Alexandra Guests 26 August 2017 15:20
    3
    We made balls like this when we were kids. I immediately felt a whiff of nostalgia and the warm, familiar smell of a pre-holiday parental home. Let's try to make such toys with our children.For some reason, childhood experiences are forgotten over the years, and I would not have remembered postcard balloons if not for this article. Thank you!

DIY soldering extractor | Do it yourself

How to make a machine for spot welding on capacitors with your own hands

How to make a power bank with a solar panel with your own hands

DIY stained glass paints | Do it yourself

«Do it yourself - with your own hands» - a site of interesting homemade products made from scrap materials and items at home. Step-by-step master classes with photos and descriptions, technologies, life hacks - everything a real master or just a craftsman needs for needlework. Crafts of any complexity, a large selection of directions and ideas for creativity.

We recommend reading

Washing machine error codes