Spot welding is used to securely connect thin-walled metal. It does not burn through steel, and also welds it without the use of consumables. For many jobs, such a device is simply irreplaceable. Let's look at how you can make it in the simplest possible way with your own hands from capacitors.

Materials:
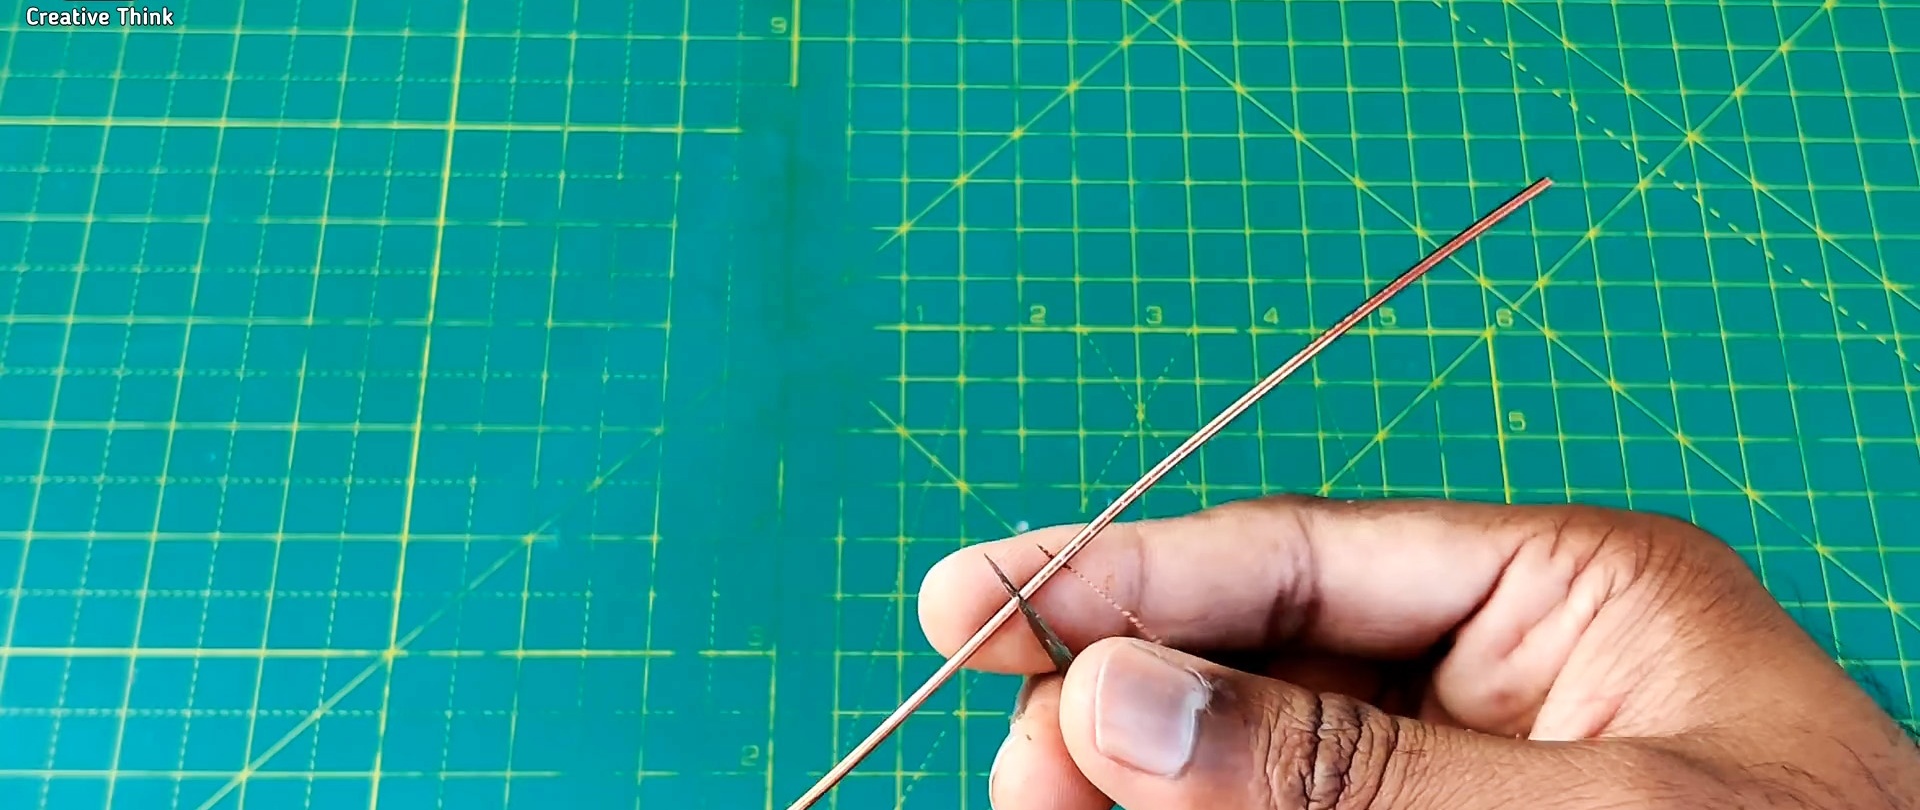
- Copper wire 3-4 mm;
- capacitors 4700 uF 63 V – 9 pcs. - http://alii.pub/5n14g8
- plywood 10 mm;
- steel rod 6 mm;
- brass rod 6-8 mm;
- bearings with an internal diameter of 6 mm – 2 pcs.;
- spring;
- single-core copper wire;
- 24V power supply. - http://alii.pub/69581s
Spot Welding Manufacturing Process
The first step is to deal with the copper wire that will connect the capacitors. It is stripped of insulation or enamel, as it will be soldered. You can level it by clamping one edge in the drill chuck and pulling the other edge and holding it with pliers. As a result, when rotated, it will become as straight as a string. 6 pieces of 10 cm each are cut from wire.
Using wire jumpers, you need to solder 3 capacitors in parallel.We make 3 such blocks. Then we also solder them parallel with jumpers.

Two brackets are bent from the wire, which will serve as terminals. They are soldered to a block of capacitors.

A lever is cut out of plywood for attaching the welding electrode, with a platform for placing capacitors, and attaching the upper movable arm. A blind hole is made at its edge for the electrode.

Two eyes are cut out of plywood into which the bearings are seated. They also provide holes for the spring mounting pin. They are screwed to the part with self-tapping screws.


A pin with a spring is installed in the eyes. The second movable lever is made from plywood. It needs to be drilled across to the axle. A blind hole is also drilled at the edge for the electrode.

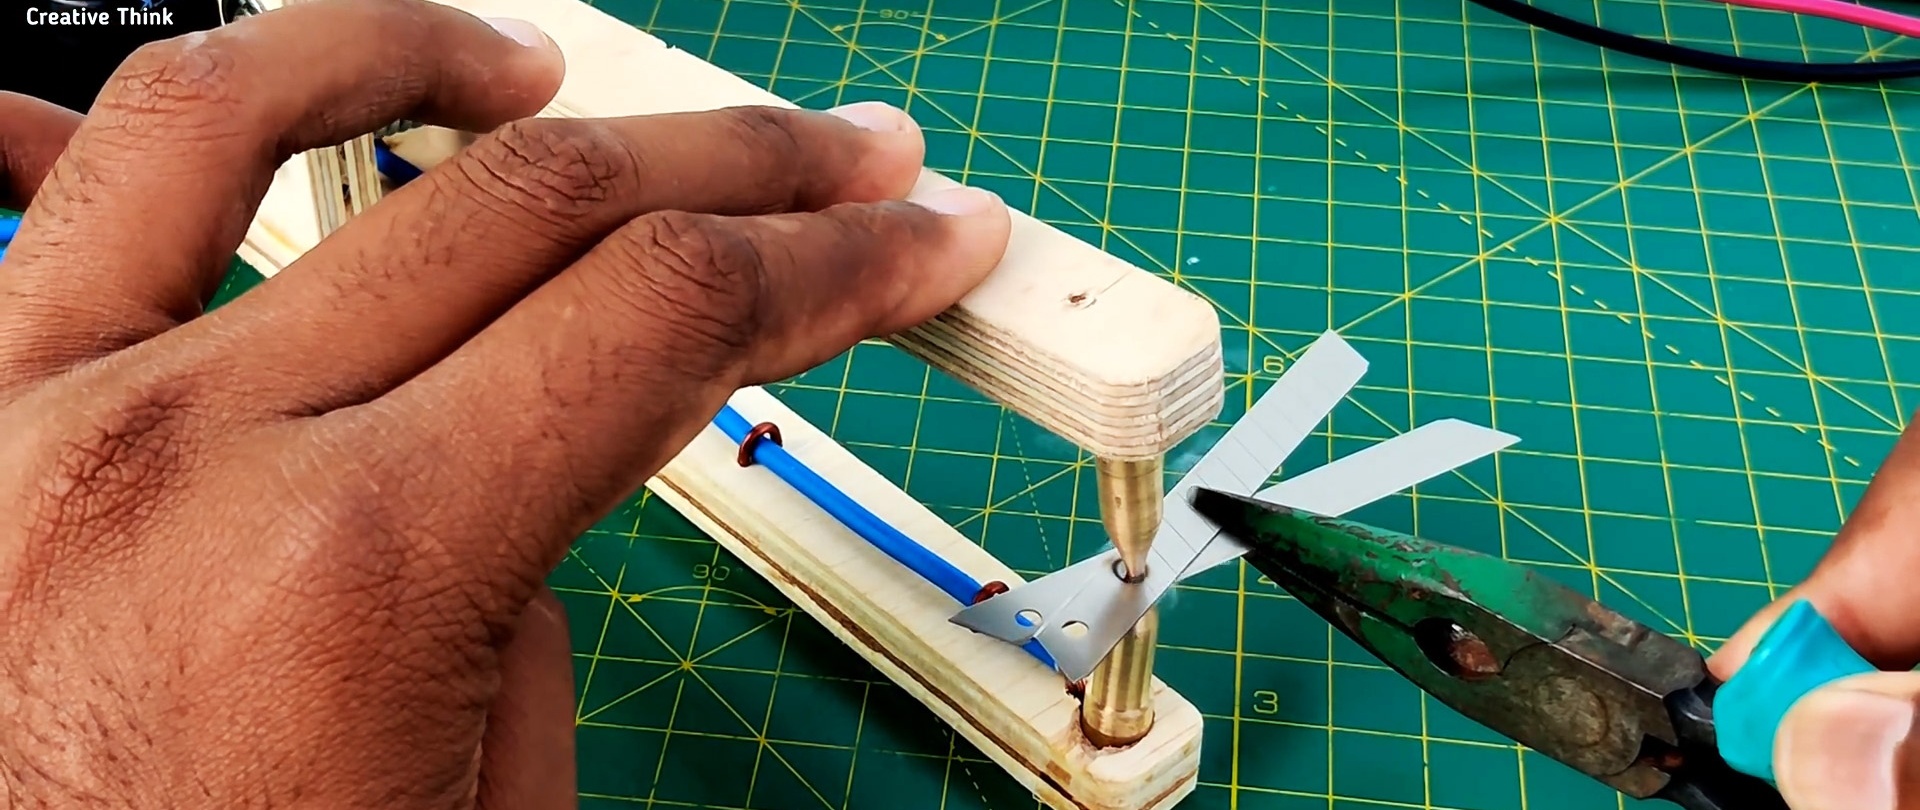
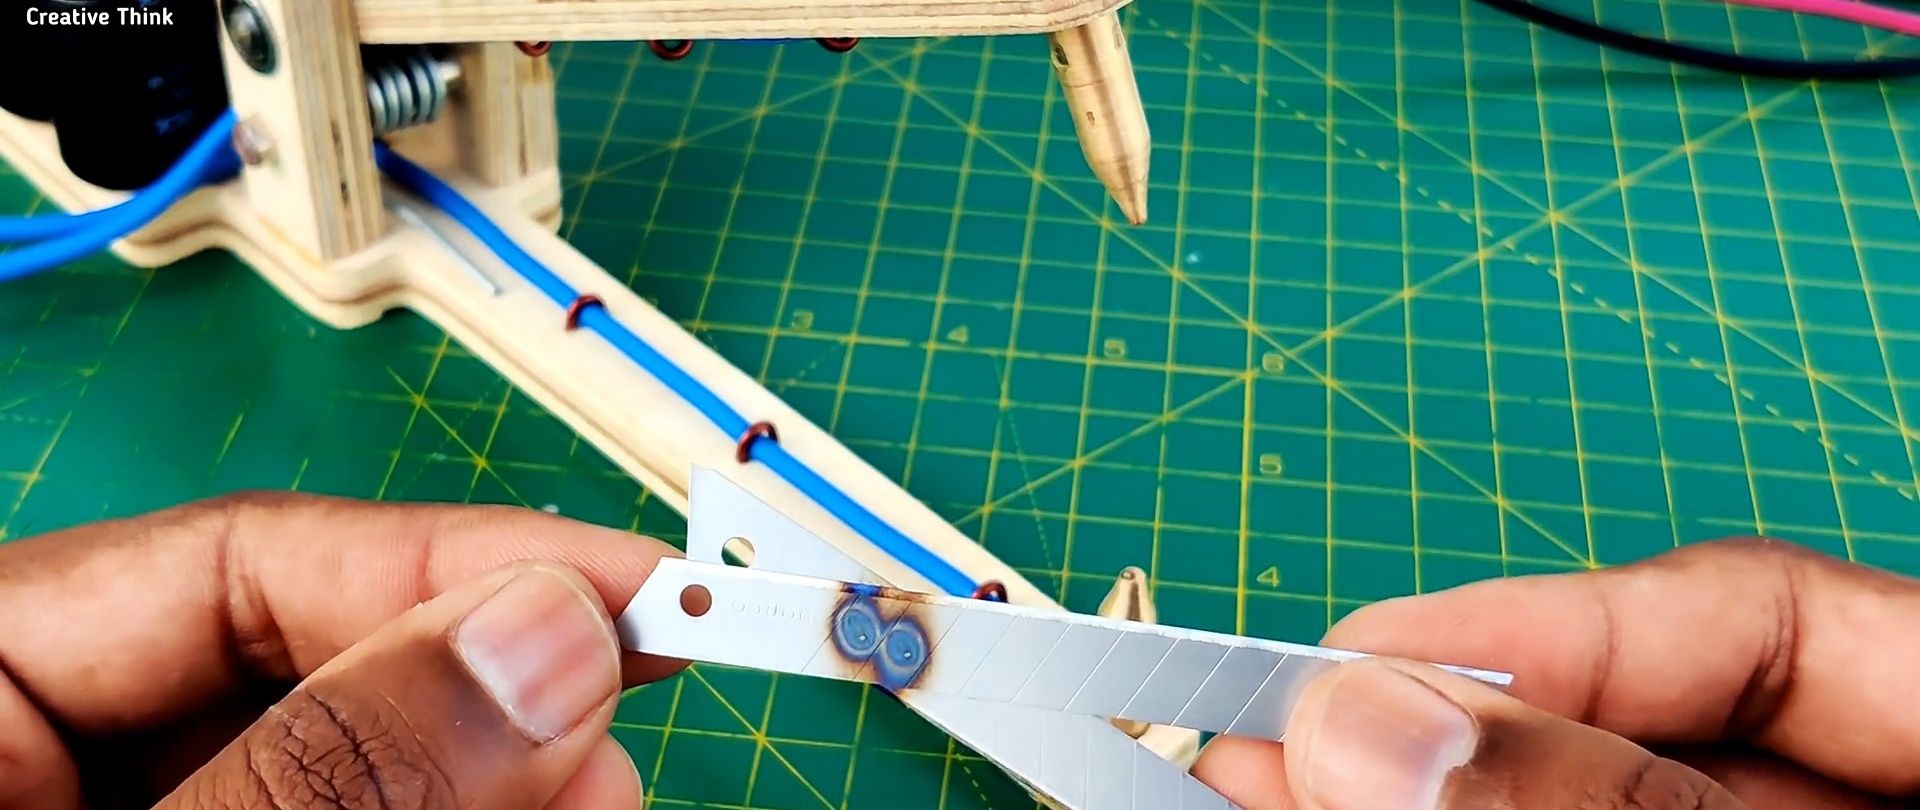
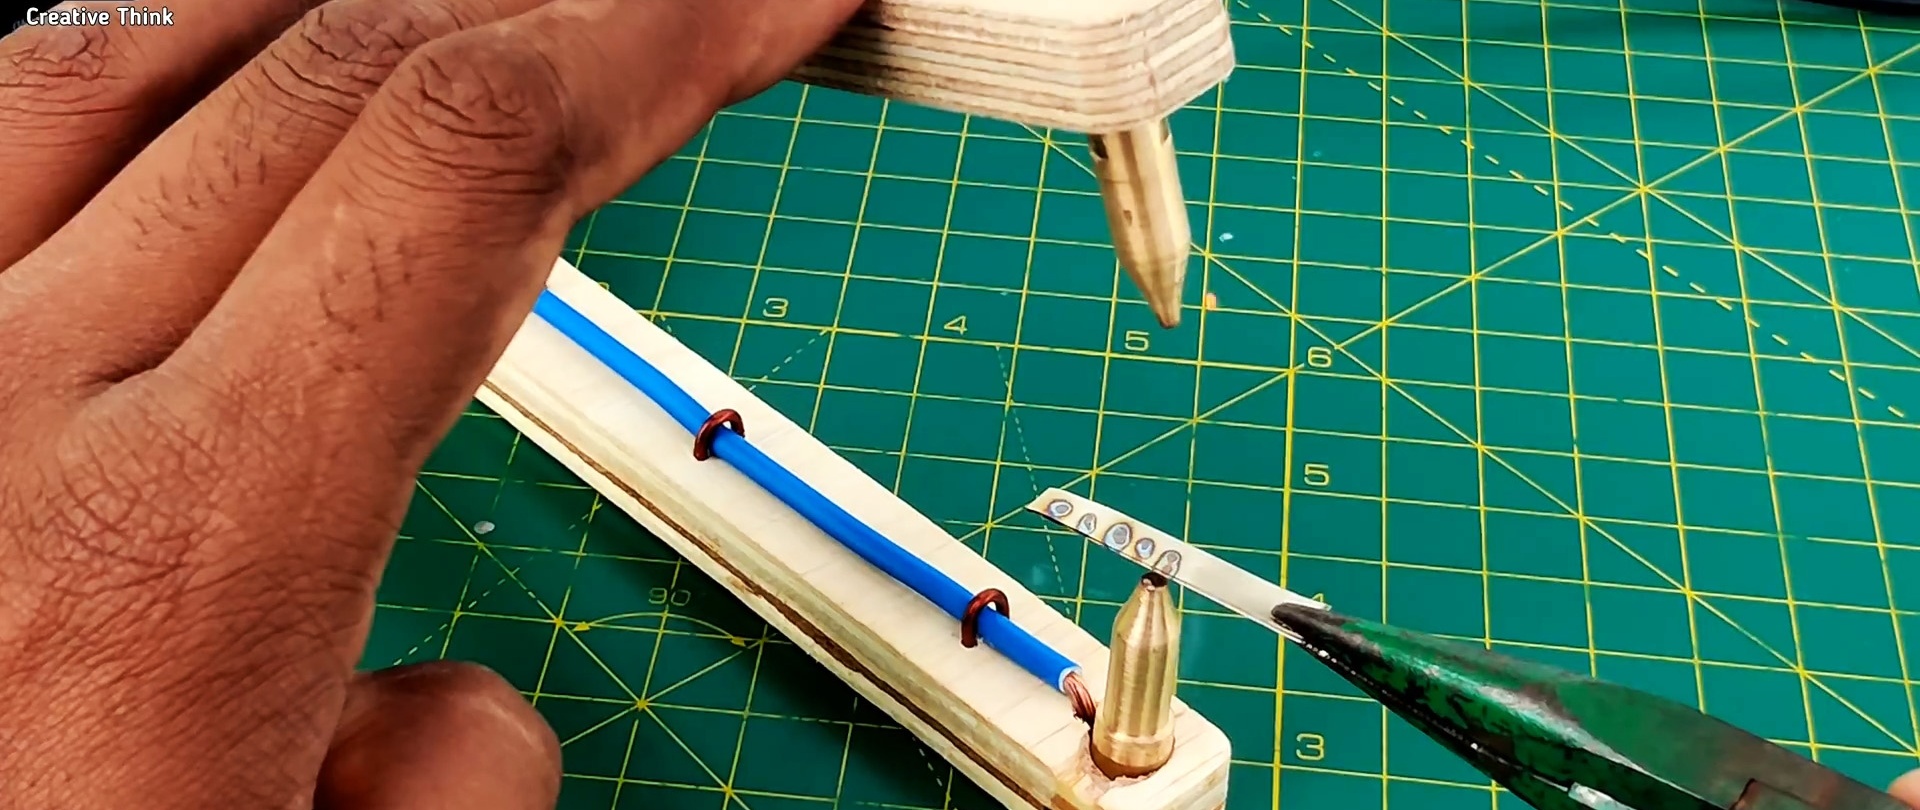
Next, we take two powerful wires and strip their edges of insulation. Their ends are placed in blind holes on the levers, and brass electrodes sharpened to a cone are hammered into the holes on top.


The upper arm is then installed using a rod axle inserted through the bearings. Immediately check that the electrodes eventually converge when pressed.
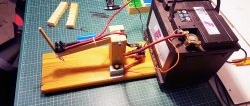
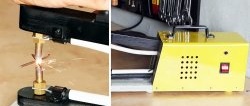
Capacitors are glued to the pad, and wires from the electrodes are connected to them. A 24V power supply is connected to the capacitors.

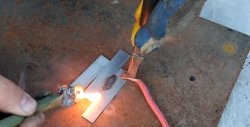
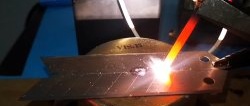
Now welding can be used for its intended purpose. It easily welds thin metal without burning through it.