Unlike air heaters, which heat while they are plugged in, oil radiators give off heat long after they are turned off.
Their cost is much higher than others, so if it breaks down, it makes sense to try to repair the device before buying a new one.
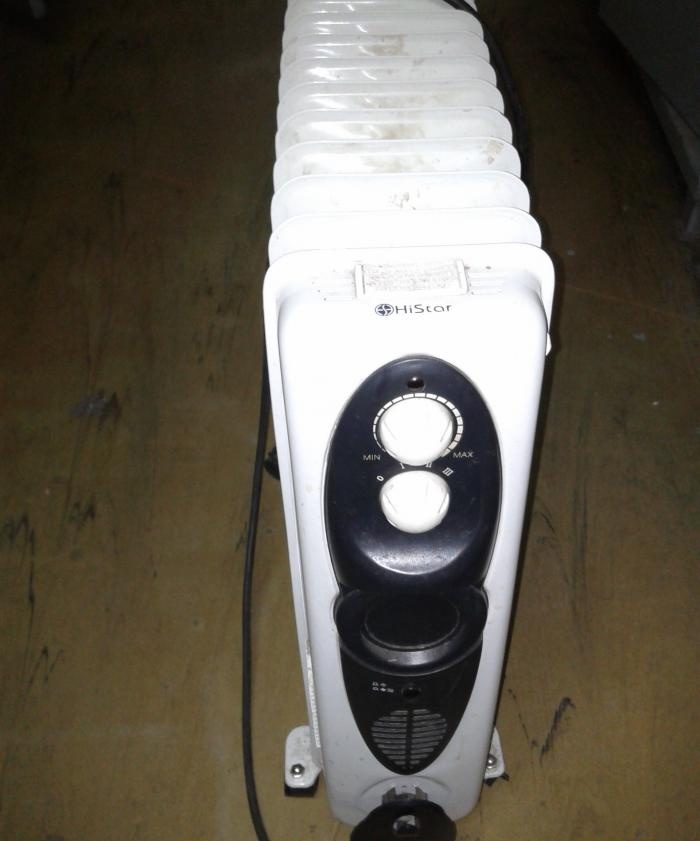
This article describes one of the oil radiator failures and how to repair it.
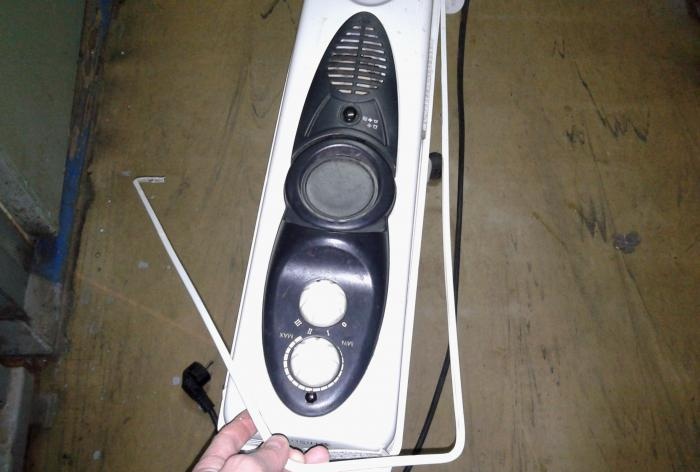
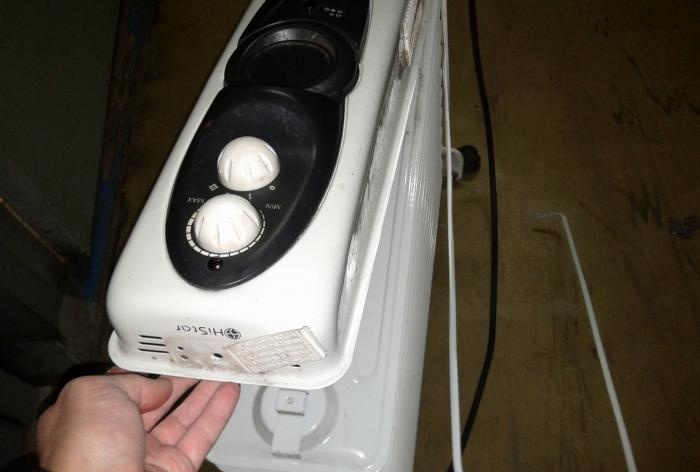
Here's the problem with the heater:
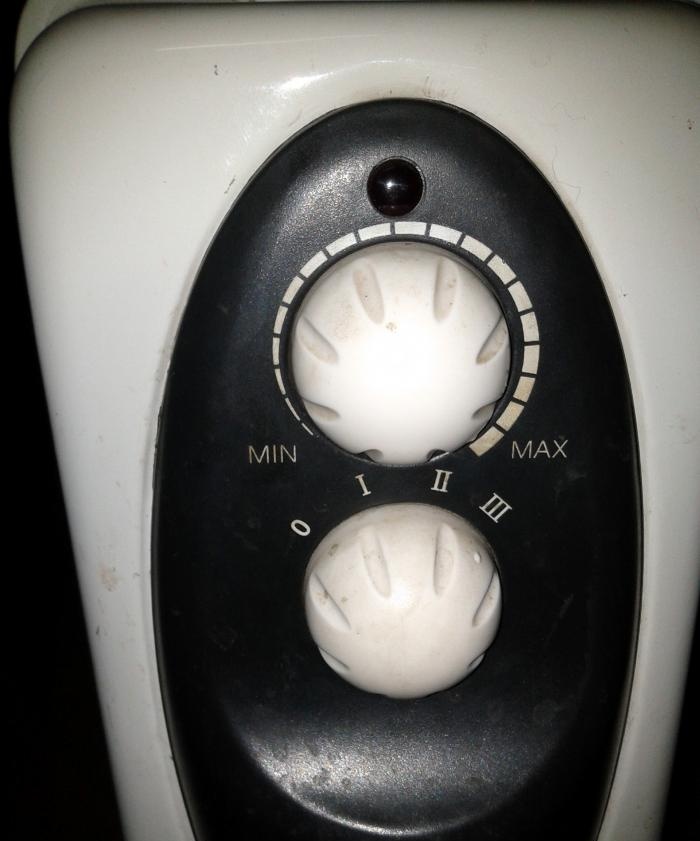
Everything works, the indicator lights up, the stage switch and the temperature sensor adjustment works, the sensor turns off, but this happens before the radiator temperature reaches a normal level. The battery is barely warm at maximum settings and there is nothing that can be done externally.
It immediately becomes clear that it is impossible to do without disassembling the device.
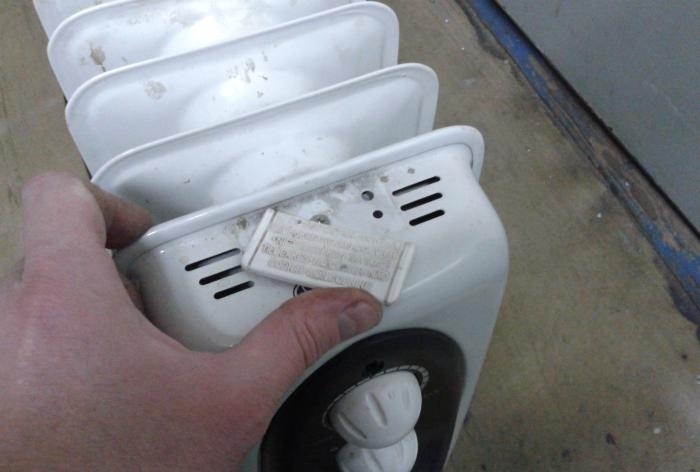
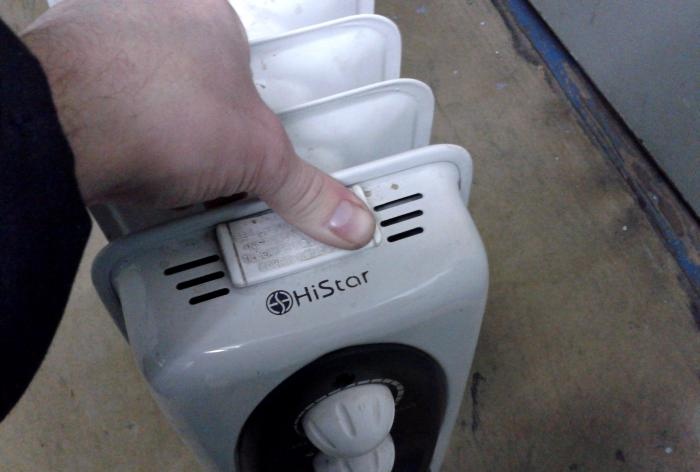
First you need to find the screws that secure the casing. They can sometimes be hidden by decorative parts of the case.
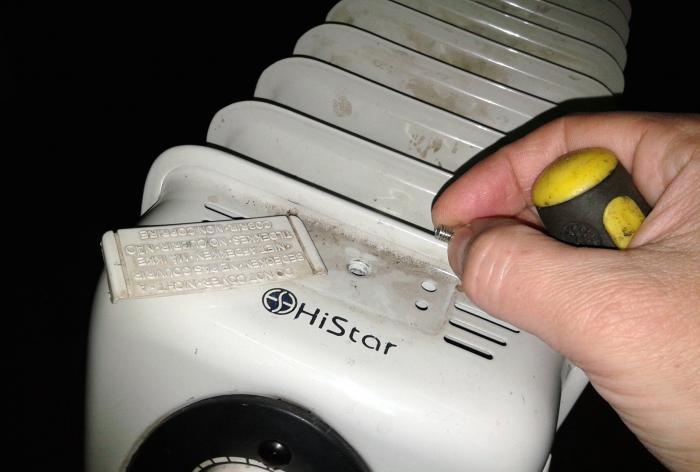
The first screw is hidden under the top plastic sign that says “do not cover.” You need to pry it from the side with a screwdriver and move it to the side.
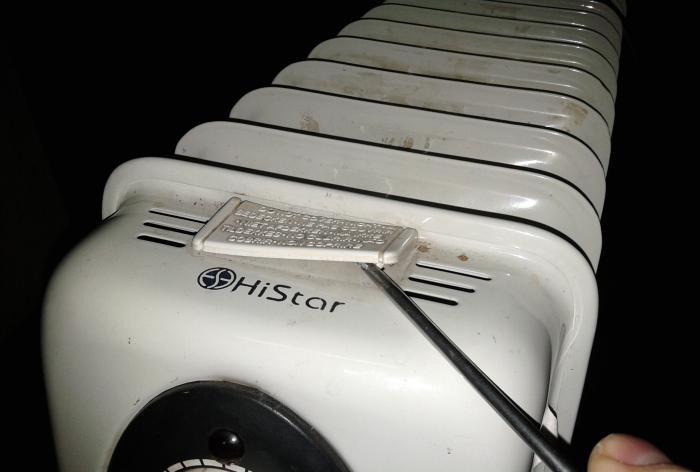
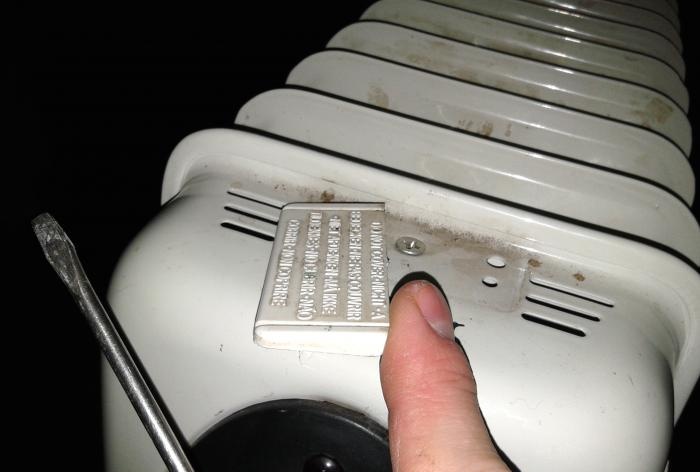
Now the screw is clearly visible and it is possible to unscrew it.
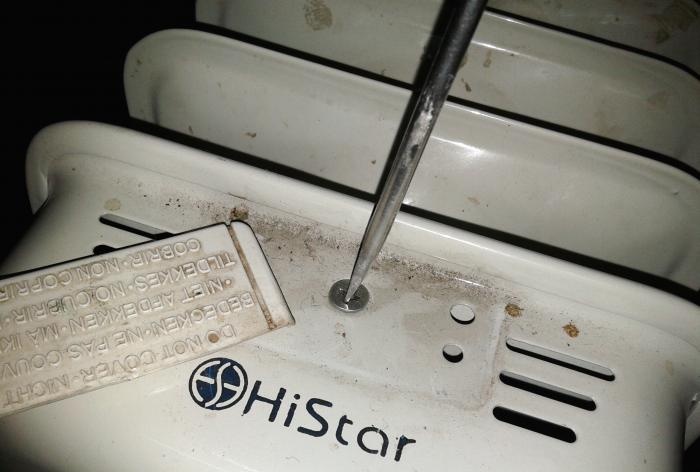
This can be done with either a Phillips or straight screwdriver of a suitable width.
Next, you need to remove the block with wheels from the control panel side. To do this, turn the fireplace over and unscrew the fastening “lamb”.
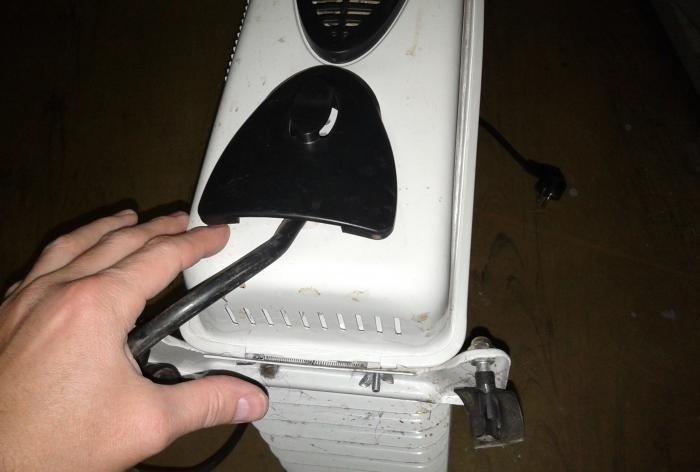
After moving the wheel block to the side, remove it from the hook.
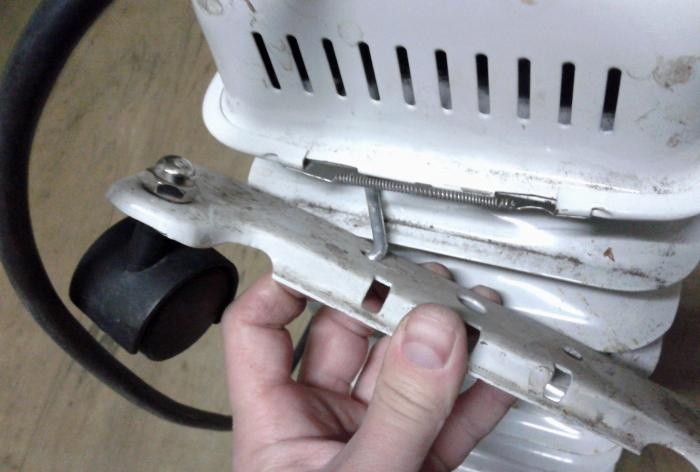
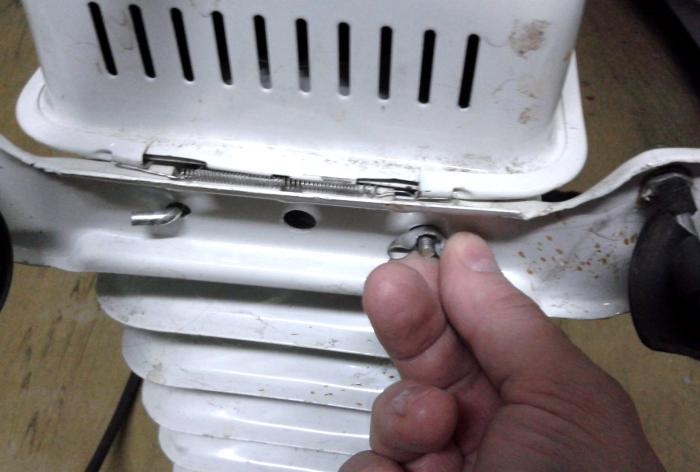
Now you can remove the tension spring of the mounting rim, and then the rim itself along the perimeter of the casing.
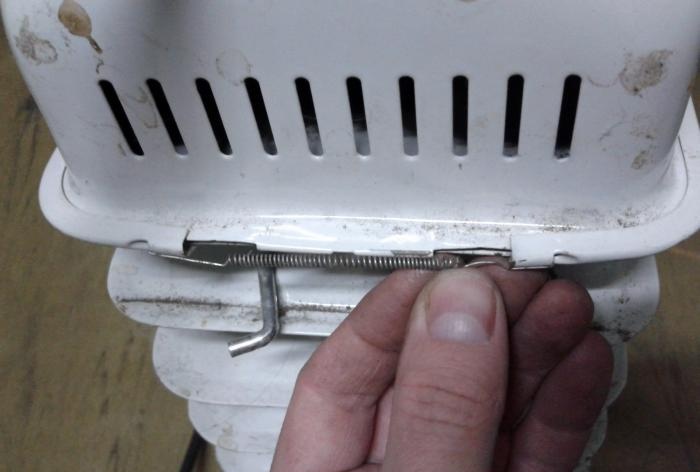
After this procedure, the casing can be easily removed.
For convenience, it can be tilted to the side. Now the details have become visible and access to the elements that affect the operation of the heater has opened.
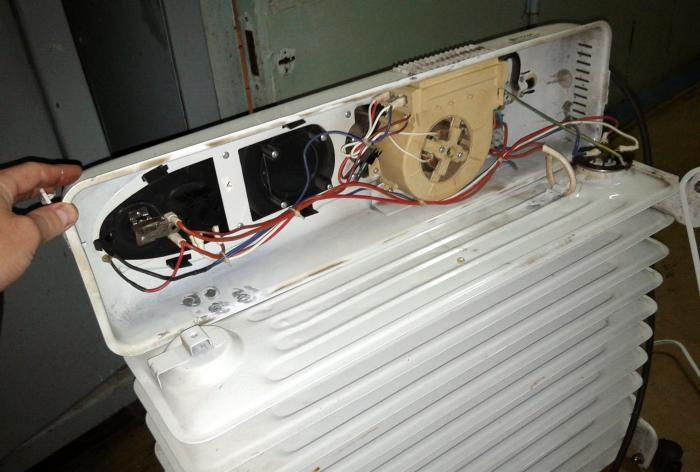
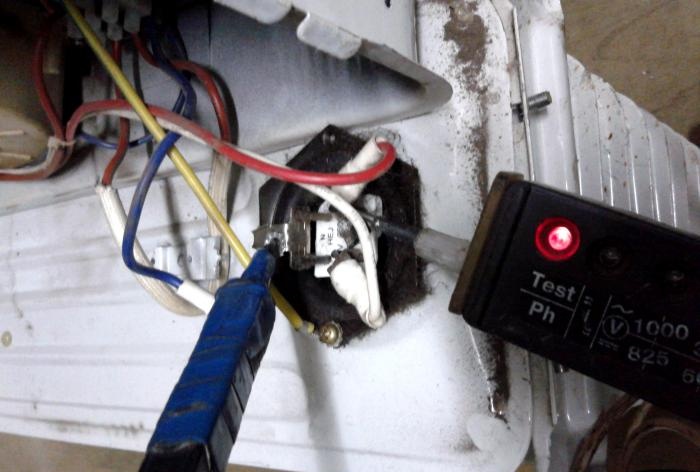
The first step is to check the integrity of the heating elements. To prevent the instrument circuits from giving incorrect readings, the neutral wire must be disconnected from the heaters during measurements. This is not difficult to do, since there is only one wire for two heating elements.
It is screwed to the zero bus with a screw through the tip.
We tighten the protective vinyl chloride tube and use a screwdriver to unscrew the screw.
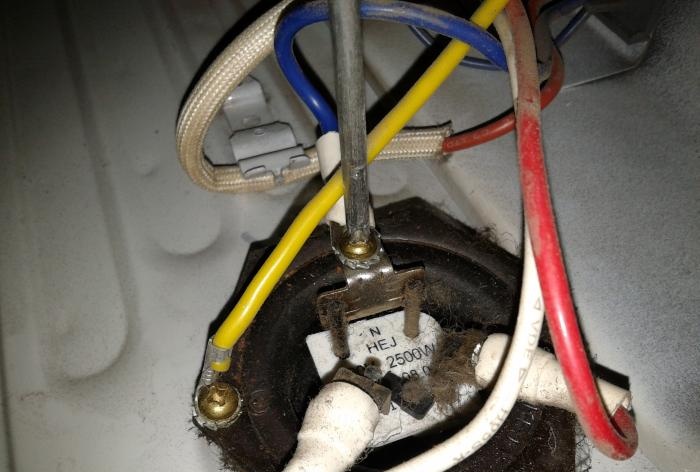
Now we take it aside and take measurements.
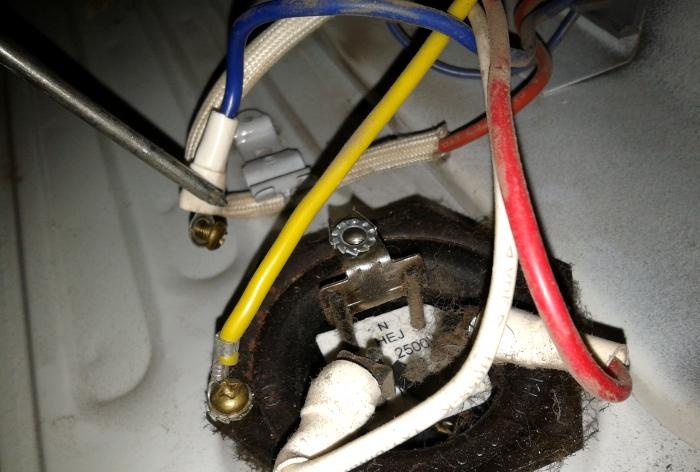
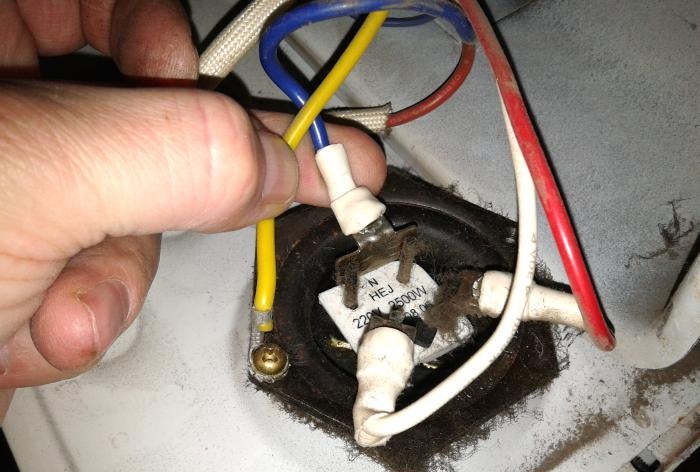
To do this, we connect one end of the continuity to the zero terminal of the heaters, the other, alternately, first with one heating element, then with the other.
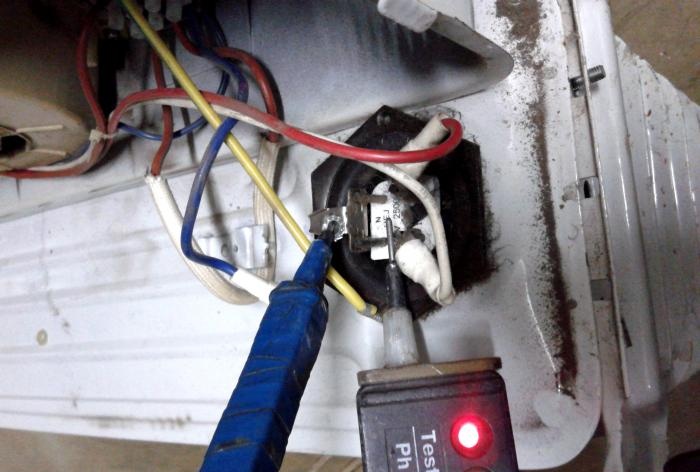
In both cases it should show the circuit. If there is no circuit on any of them, it means it is burnt out.
In the case of this heater, the heating elements turned out to be intact, so we screw the wire into place and continue to look for the problem.
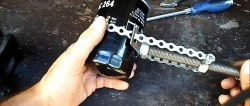
Since the thermal relay turns off, we turn our attention to it.
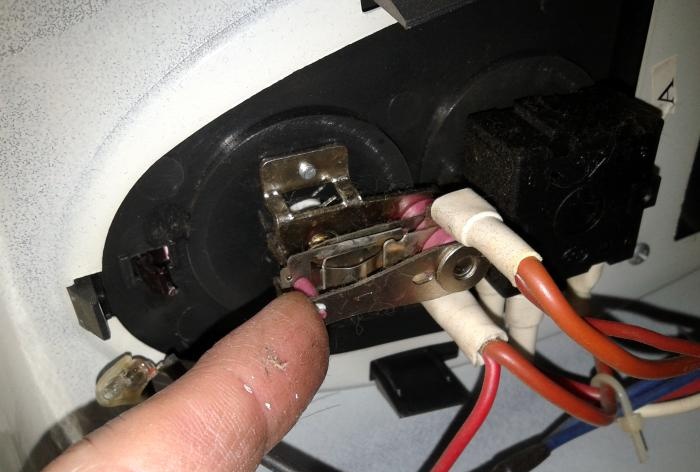
The principle of operation of the relay is simple. The bimetallic plate bends when heated, which leads to a power outage.
The easiest way to block the action of this relay is to bend the bimetal stop plate. How to do this is shown in the photo.
Do not use much force to prevent the screwdriver from jumping off and damaging the contacts. Now this stop simply will not allow the plate with the upper contact to turn off.
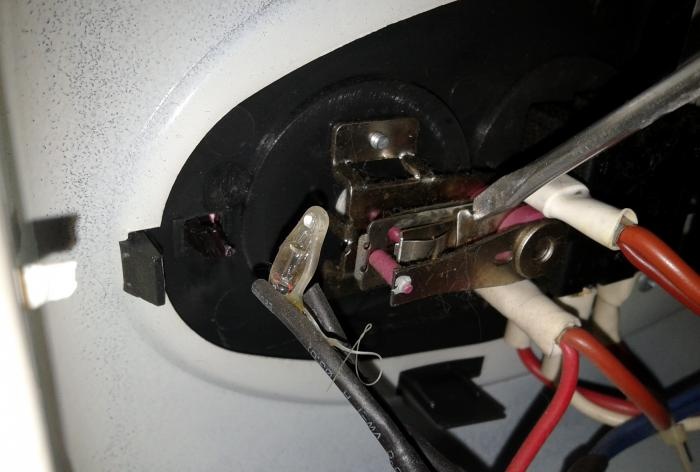
Don't worry about the heater overheating. A position switch will help you select the desired temperature, and an overheating sensor installed close to the body will protect the device - if anything happens.
Another good thing about this modification option is that by bending the plate back, you can return everything to the way it was before - if necessary.
Putting the oil heater back together is not difficult.
Everything is simply done the same way as during disassembly, only in reverse order.
That's all, successful repairs to you.