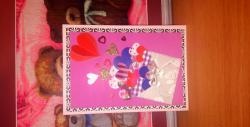
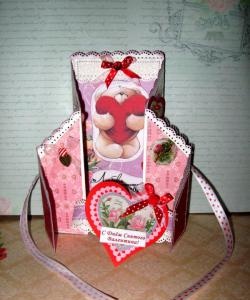
With a huge selection of such postcards on sale, the fact of creating a love message with your own hands will add special charm and value.
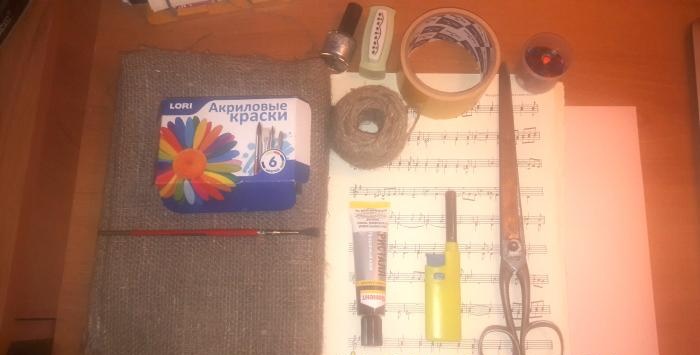
Materials for production:
- designer cardboard, base for postcards, A-4 format;
- glue Moment Crystal transparent;
- scissors;
- old unnecessary notes;
- sackcloth;
- household twine;
- designer paper;
- nail polish (gold and red);
- acrylic paints, brushes;
- lighter.
Manufacturing process:
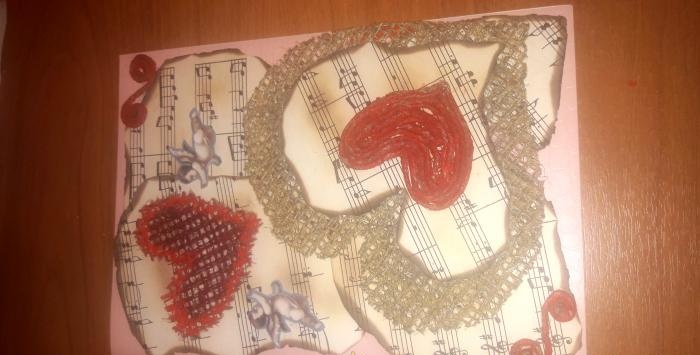
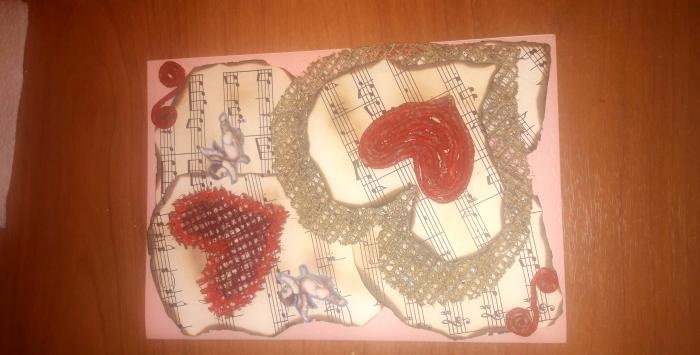
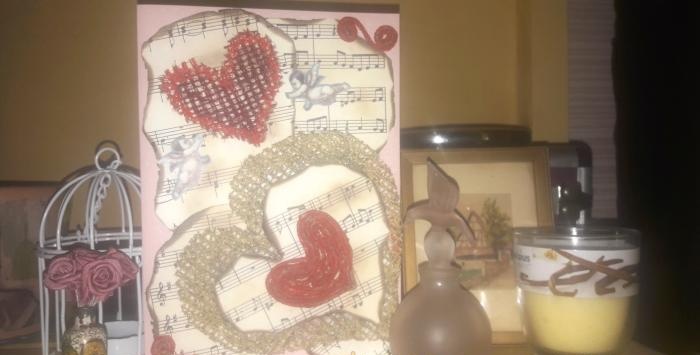
1. This card uses soft pink embossed designer cardboard.Fold the sheet in half.
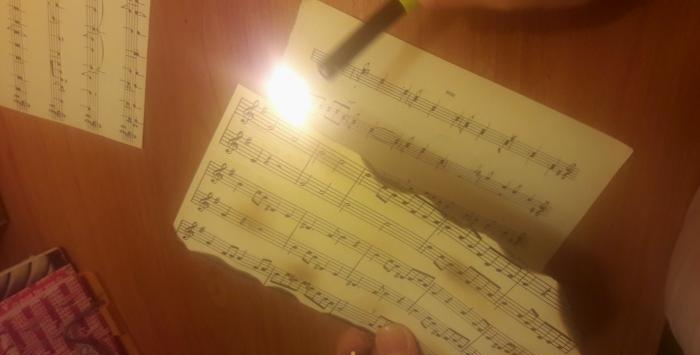
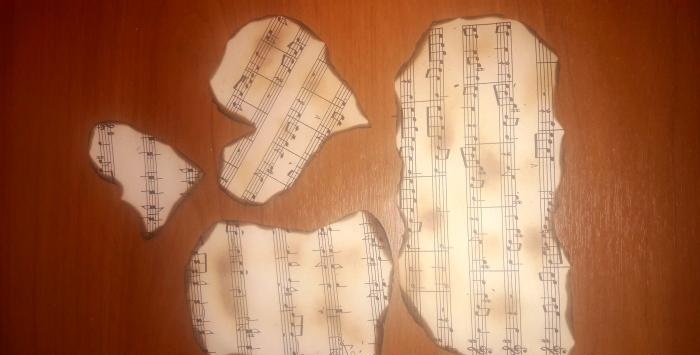
2. Cut the sheet music into several arbitrary parts. Cut one part in the shape of a heart (the widest part is 11 cm). Use a lighter to artificially age the notes. Burn the edges of the notes, then lightly run the heat under the surface of the paper to give it an antique yellow effect. (Work with fire carefully; children must ask adults for help!)
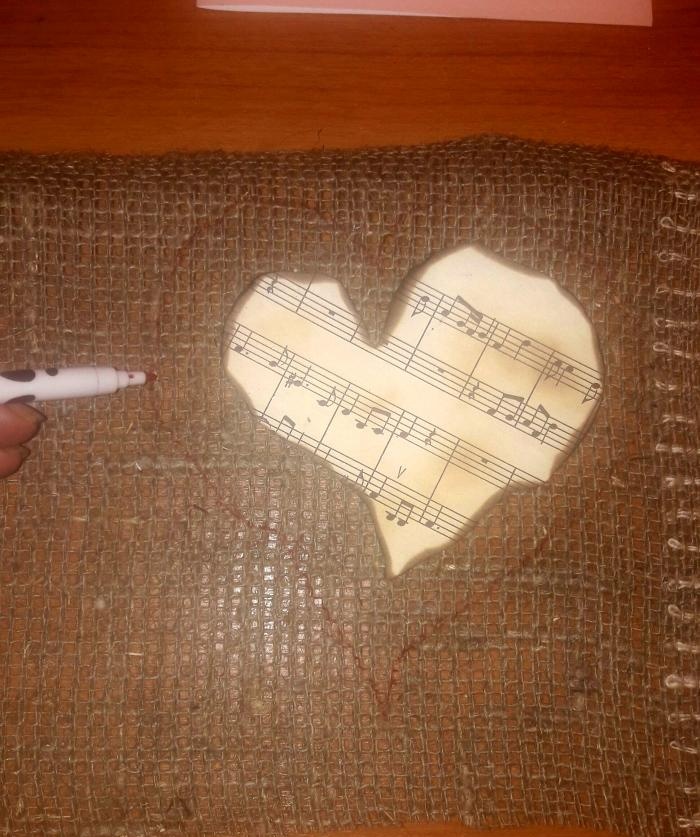
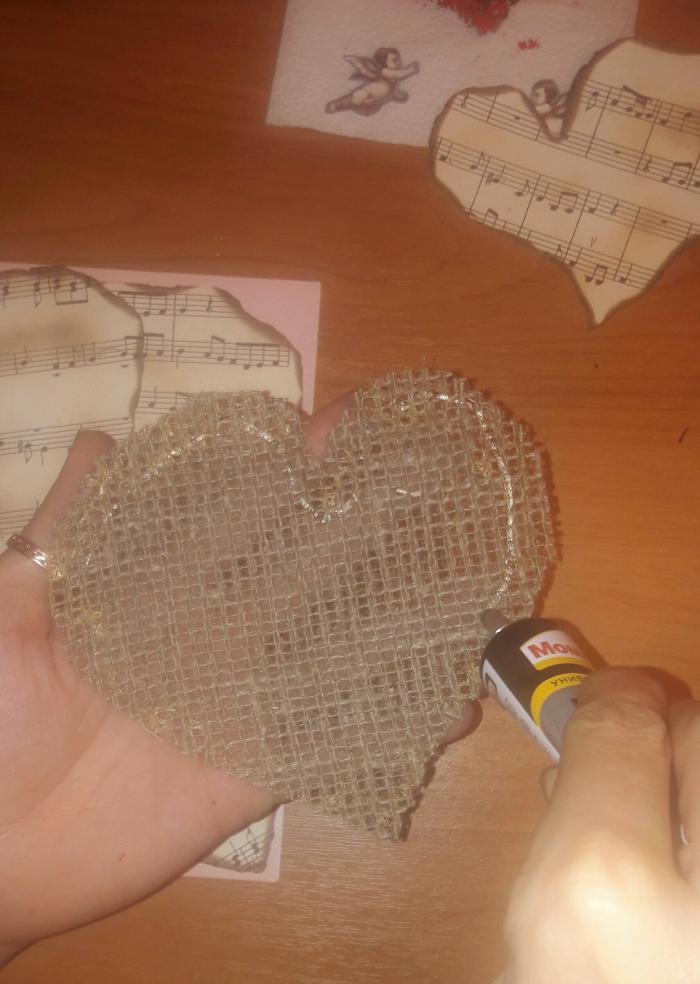
3. Using the prepared heart from notes, outline a heart of the same shape, but larger, on the burlap, about 1.5-2 cm along the entire edge.
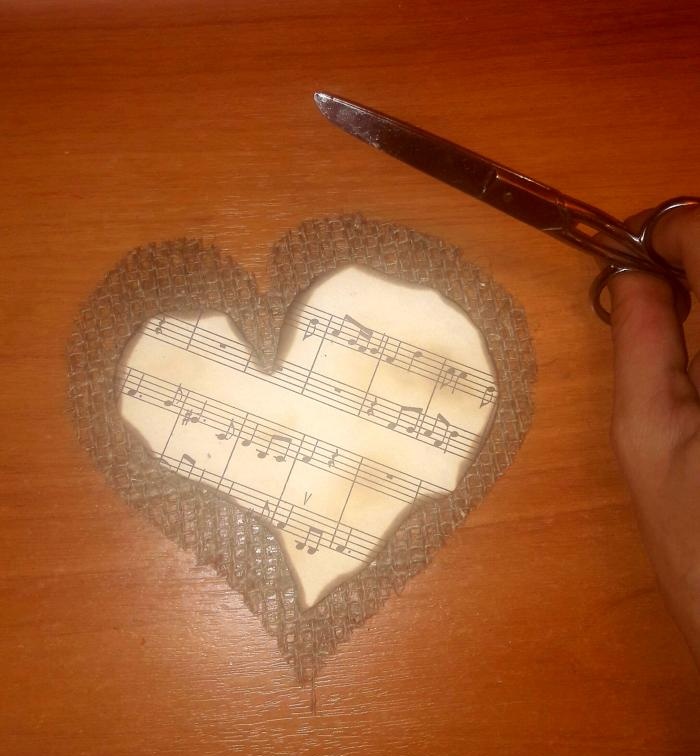
4. Cut out an outlined heart from burlap with the widest part 14 cm and one smaller one - 6 cm wide.
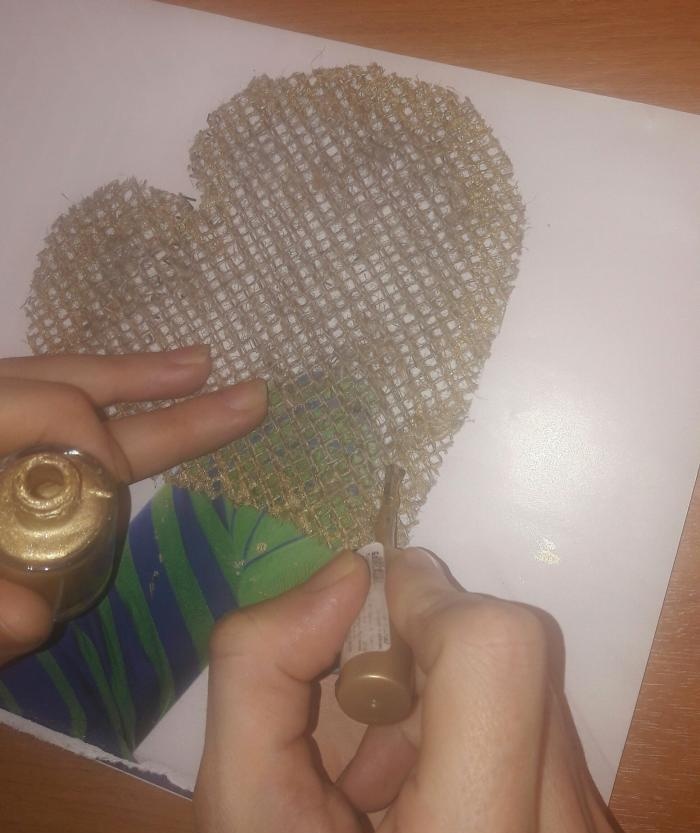
5. Cover the edge of the large heart with gold varnish 1 cm, this will help strengthen the burlap threads along the edge and give the heart the effect of golden old metal. Let it dry.
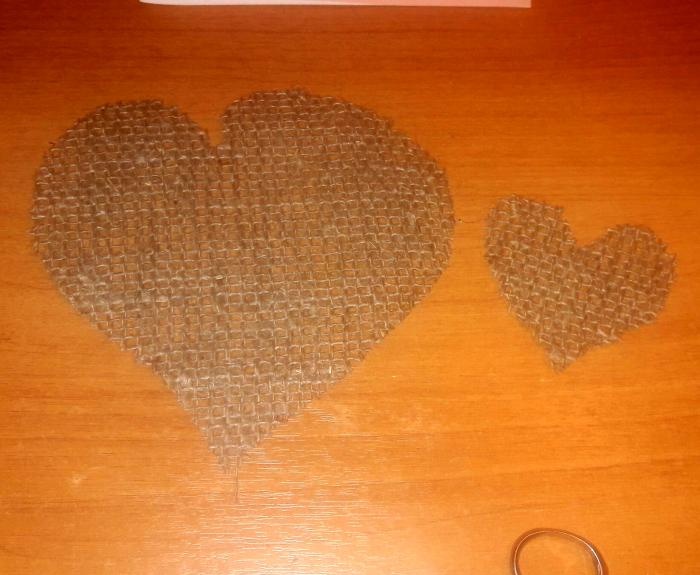
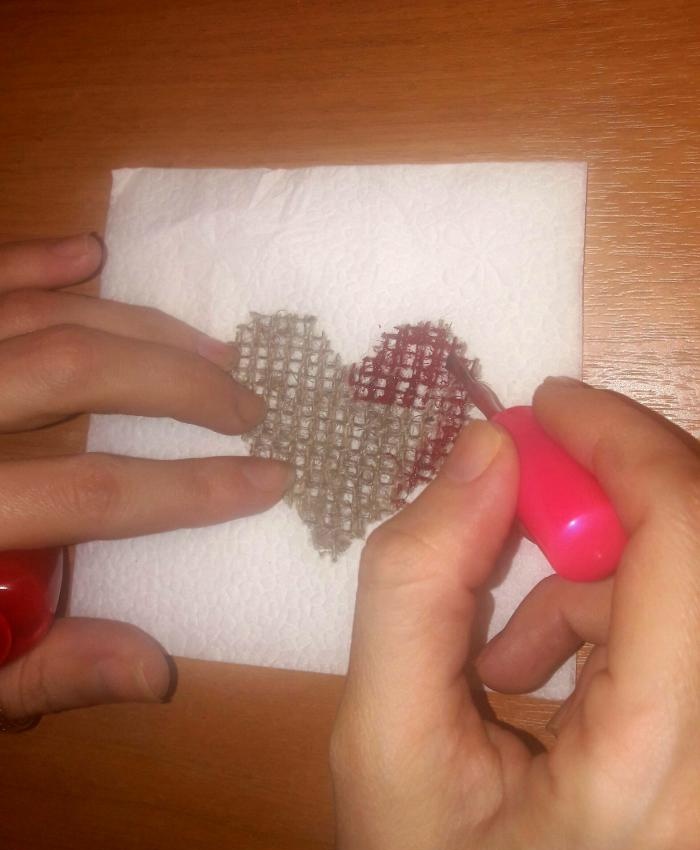
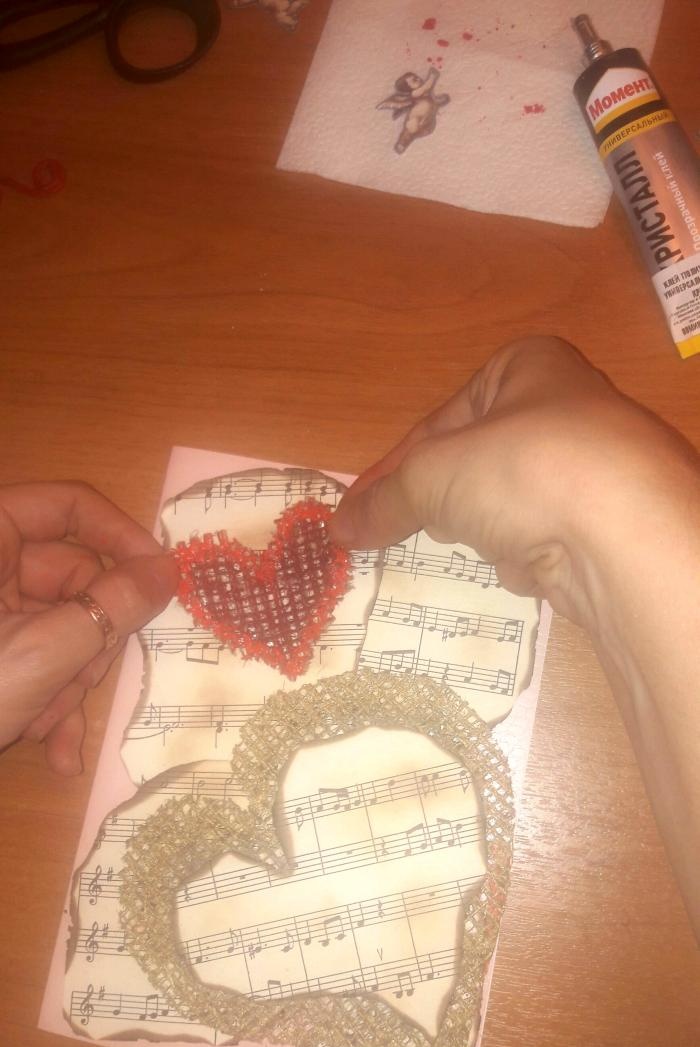
6. Cover the smaller heart with red varnish over the entire area.
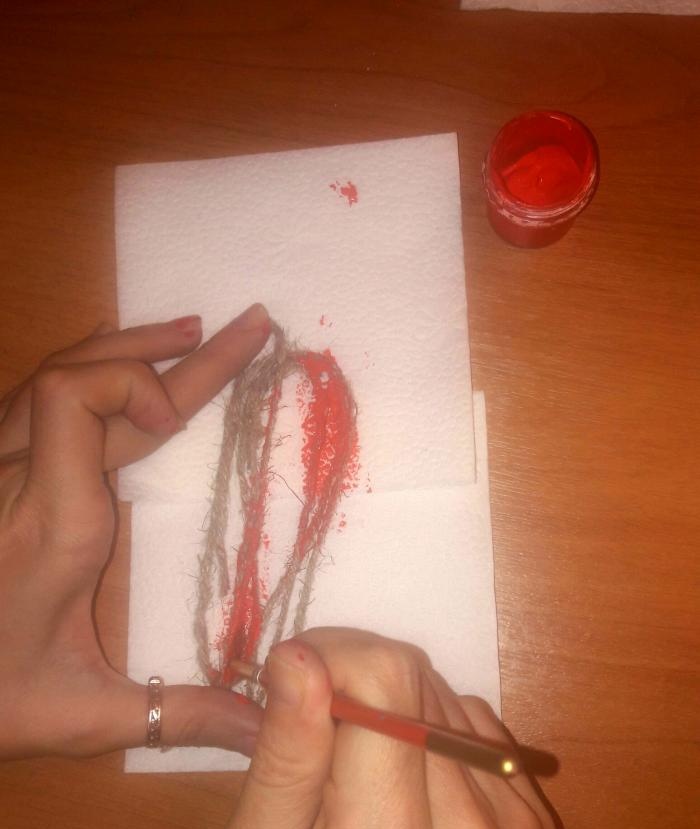
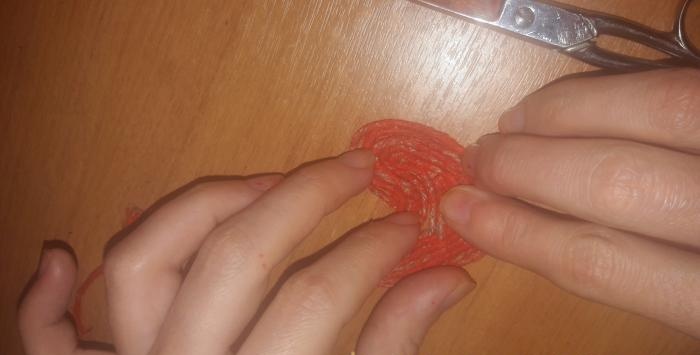
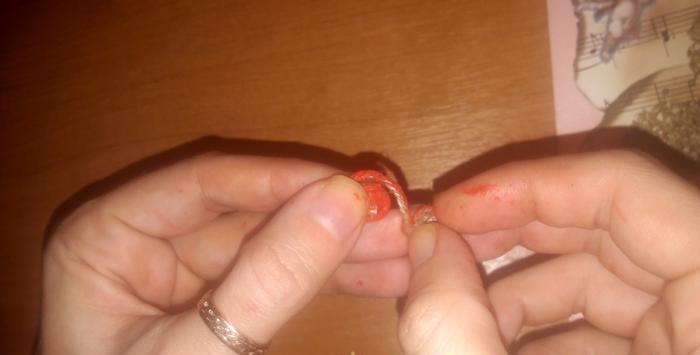
7. Cut household twine 110 cm long. Cut it into three parts: 80, 15 and 15 cm.
8. Cover all the twine with red acrylic paint. Small errors in coverage are not a big deal. Leave to dry. For acrylic paint, 10 minutes is enough for complete drying.
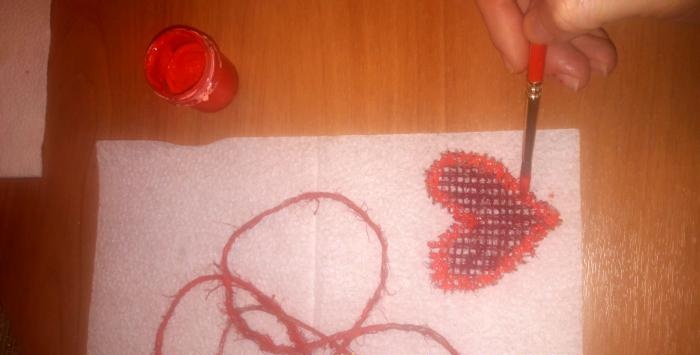
9. We also cover the 0.5 cm edge of the dried small heart with red acrylic paint. Paint and varnish will create contrasting shades of red.
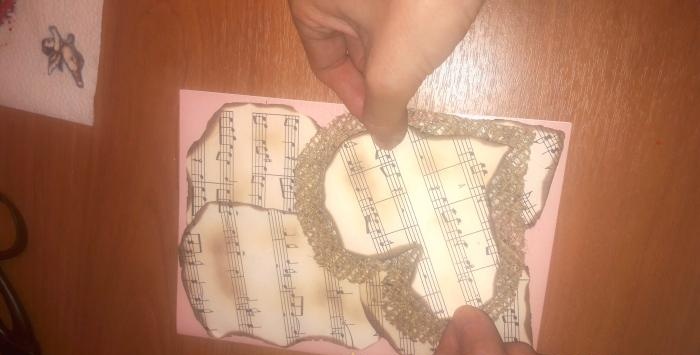
10. Using glue, glue the aged parts of the notes, except for the note heart, onto the base of the card, slightly changing the direction of the notes. All the details of the postcard will be superimposed on this sheet of music.
11. Glue a large heart with a gold edge to the bottom right side of the card. Glue a heart made of notes on top of it.
12. Glue a dried small burlap heart in the upper left corner, placing it diagonally.
13.Cut out two soaring angels facing each other from designer paper or old postcards.
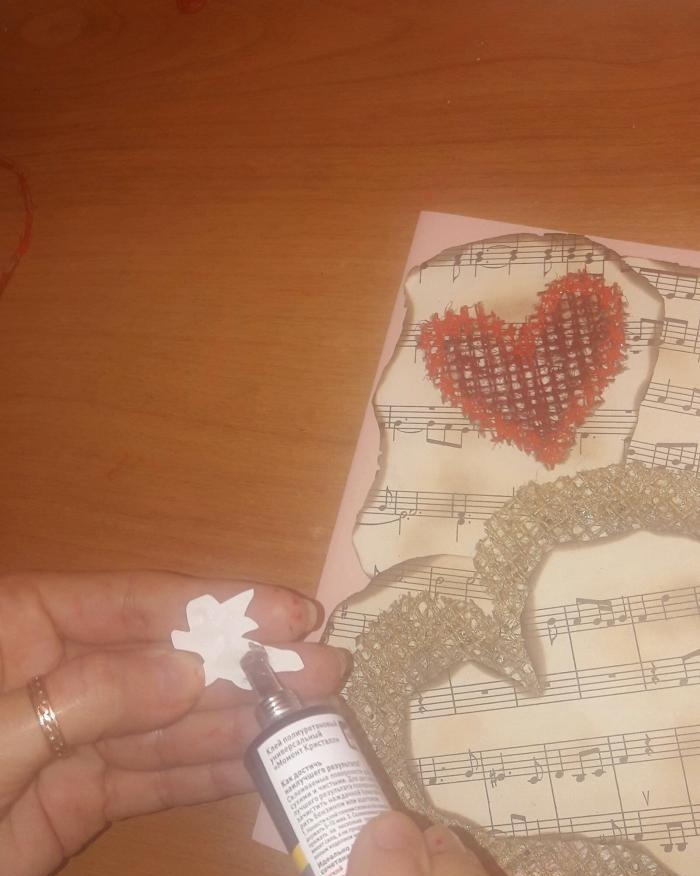
14. Glue angels to both sides of the bottom of the small burlap heart.
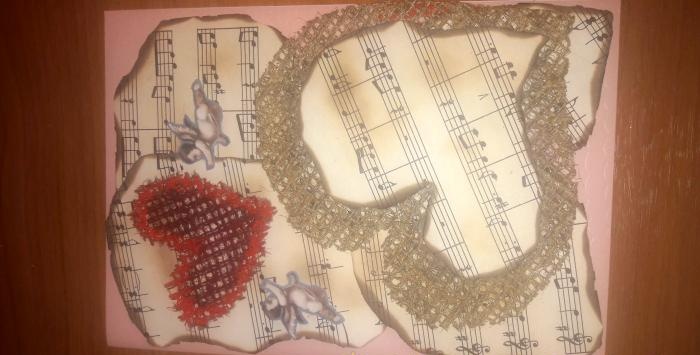
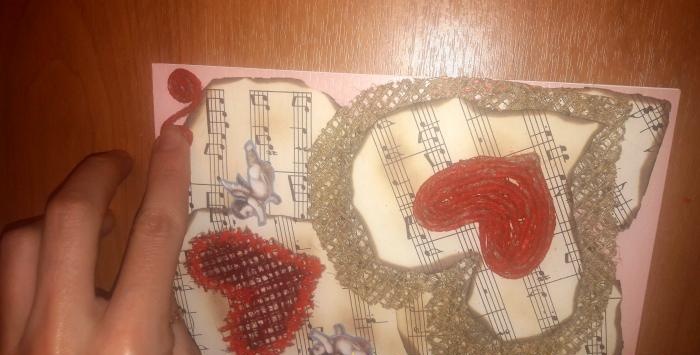
15. Lay out a separate heart from a long piece of colored twine. Immediately glue it on top of the heart of notes at the bottom of the card.
16. Twist spiral monograms from two small pieces of twine.
17. Glue monograms in the corners of the card opposite from the hearts.
The postcard is ready. The simplicity and some roughness of the materials gives the postcard a touch of antiquity. The notes symbolize the music of two loving hearts, and guardian angels will protect your loved one from adversity.
Give your loved ones joy!