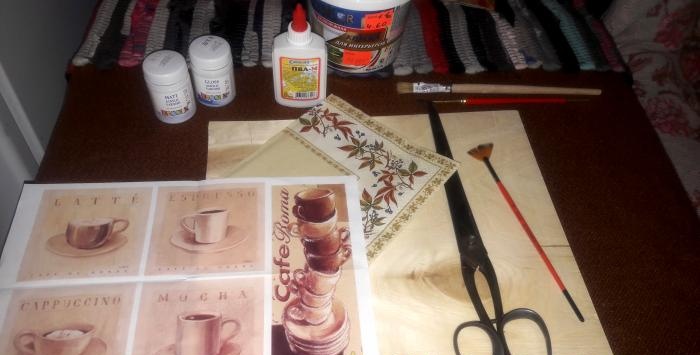
Do it yourself
Life hacks, master classes, useful tips, recipes.
home » Handicraft techniques » Decoupage » Decoupage master class » Master class on making a coffee painting
Many people want to decorate the surrounding space with pleasant things that not only give a good mood, but also to some extent characterize people’s tastes or habits. High-quality artwork is very expensive and not everyone can afford it. It’s also not always possible to draw a masterpiece on your own. Familiarity with technology may be a way out decoupage. With a little experience, you can bring any story you want to the surface. This work is dedicated to lovers of coffee and coffee themes in the interior.
Materials for work:
  • plywood sheet 30x32 cm, thickness 0.5 cm;
  • scissors, sandpaper;
  • brushes – simple and fan;
  • PVA glue, Moment Transparent Crystal glue;
  • white acrylic paint for interior decoration;
  • acrylic varnish glossy and matte;
  • decoupage napkins with a coffee theme;
  • decoupage paper;
  • coffee beans.

Manufacturing process
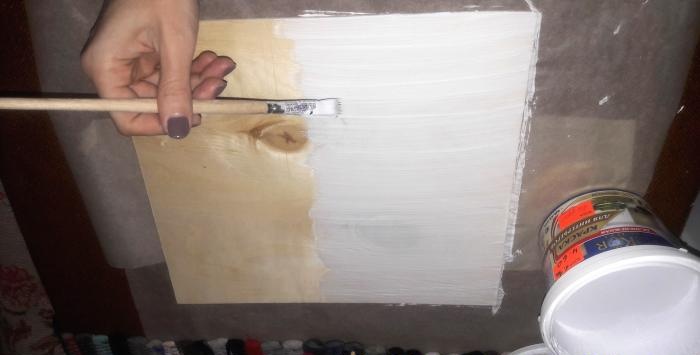
1. Sand the edges of the plywood blank with sandpaper.
coffee painting using decoupage technique

2. Apply white paint in two layers over the entire area of ​​the workpiece. Let it dry for about 1 hour.
coffee painting using decoupage technique

coffee painting using decoupage technique

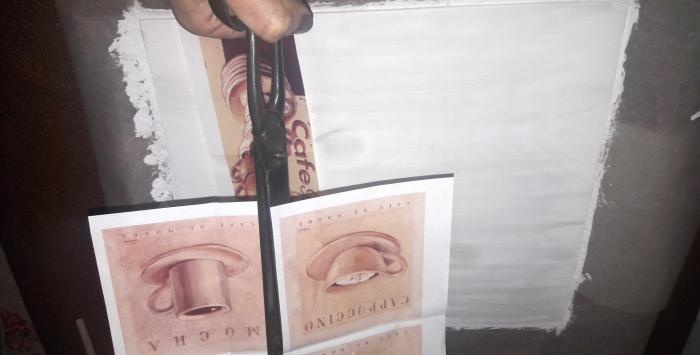
3. Cut out the details to decorate the picture from decoupage paper.
coffee painting using decoupage technique

coffee painting using decoupage technique

4. Separate the napkin into layers, cut out an edging ornament and stripes with branches for the background part from the colored top layer.
coffee painting using decoupage technique

coffee painting using decoupage technique

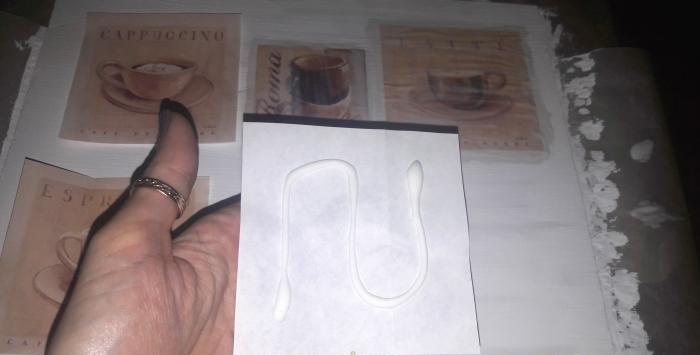
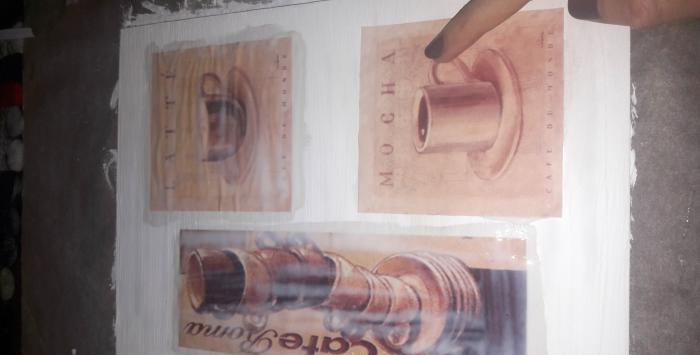
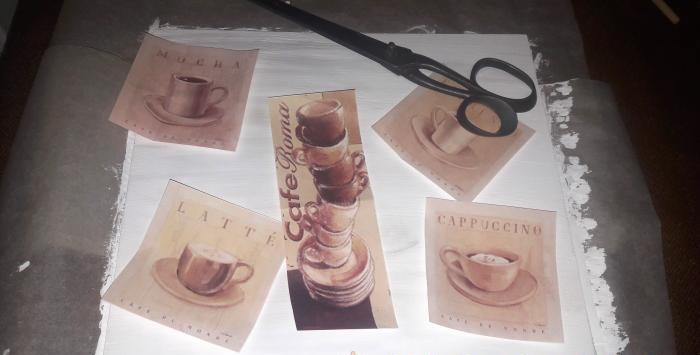
5. Place the parts on the now dry paint for final determination of their location.
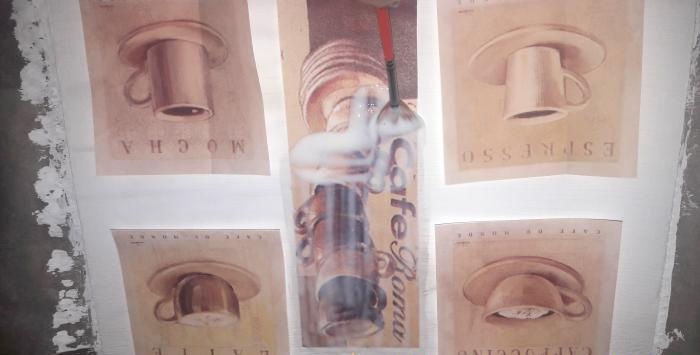
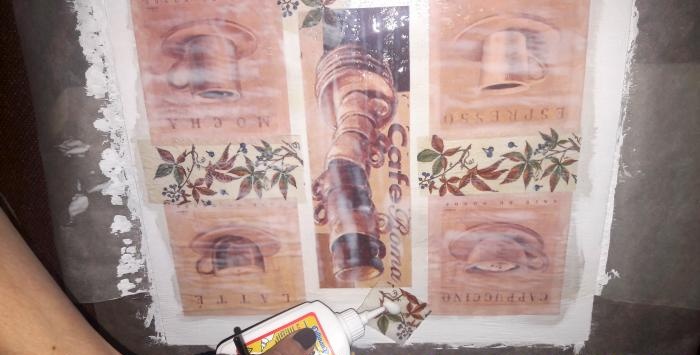
6. Apply PVA glue to the reverse side of the paper main parts of the picture. Glue carefully, smoothing the surface.
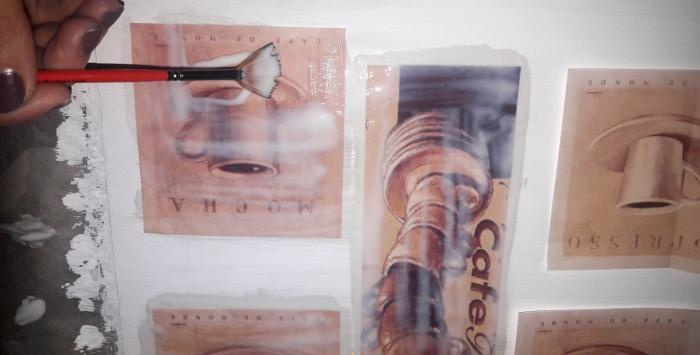
7. Using a fan brush, apply PVA glue to the entire surface of the parts and the painted white part between them.
8. After the glue layer has dried, proceed to the background and edging. Place a strip of napkin with an ornament along the edge of the picture.
coffee painting using decoupage technique

coffee painting using decoupage technique

coffee painting using decoupage technique

coffee painting using decoupage technique

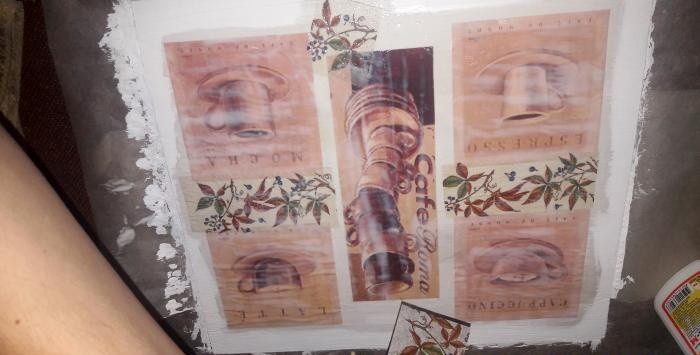
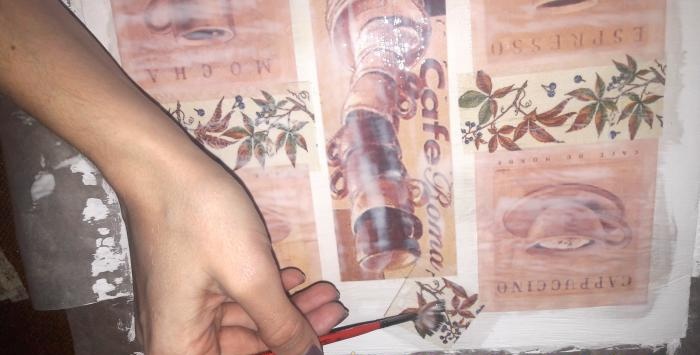
9. Gradually apply PVA glue on top and smooth the napkin with a fan brush. Keep in mind that when moistened with glue, the napkin expands. You need to keep an eye on this to prevent wrinkles as it dries further.
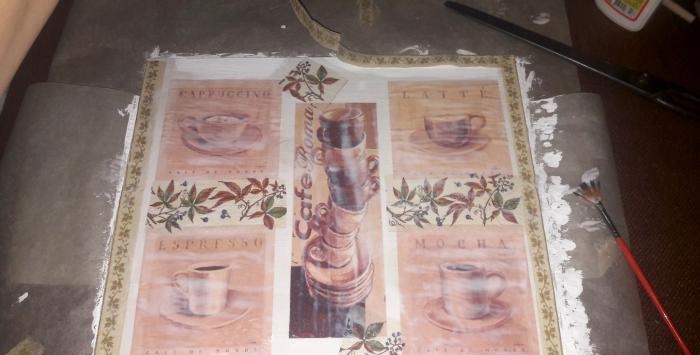
10. Cut strips of napkin with a twig pattern to fill the background.
11. Lay them out and glue them in the same way as the edging part of the picture. When dry, they will give the white a softer shade.
coffee painting using decoupage technique

coffee painting using decoupage technique

coffee painting using decoupage technique

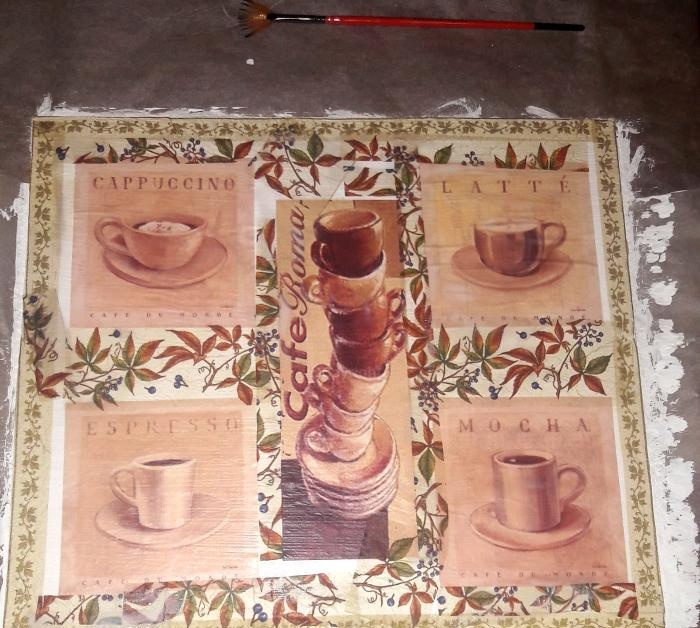
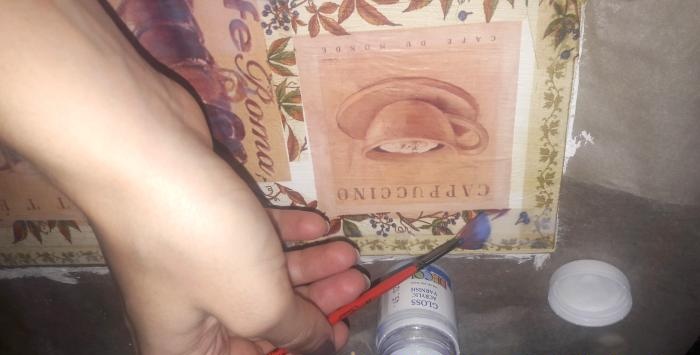
12. After the glue has completely dried, apply acrylic varnish for decorative work to the entire surface of the painting. If desired, you can use both matte and glossy varnishes. This product contains 1 layer of matte varnish and 2 layers of glossy varnish. Before applying 2 layers, let the first one dry.
coffee painting using decoupage technique

coffee painting using decoupage technique

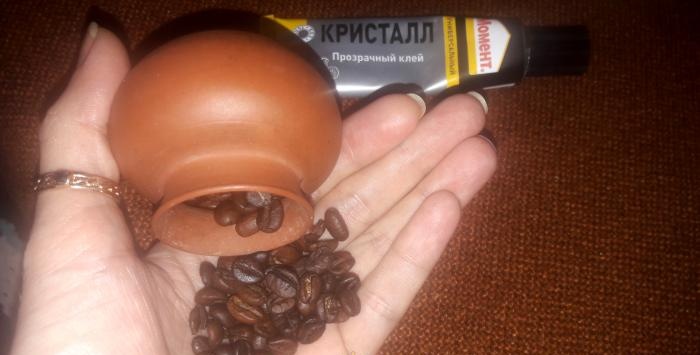
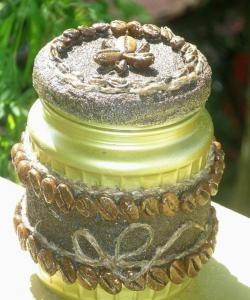
13. After two hours, you can begin decorating the painting with natural coffee beans. They will become the highlight of the product and give a light fragrant trail. Glue the grains with Moment Crystal glue in any quantity in the corners of the picture and in other places that you want to emphasize.
coffee painting using decoupage technique

coffee painting using decoupage technique

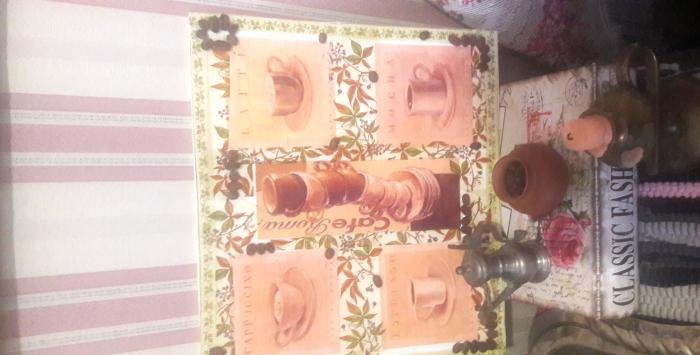
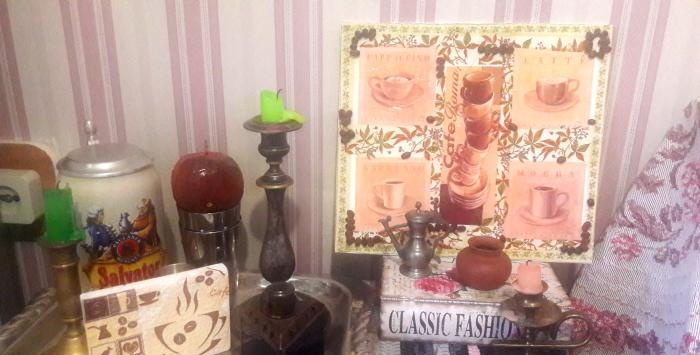
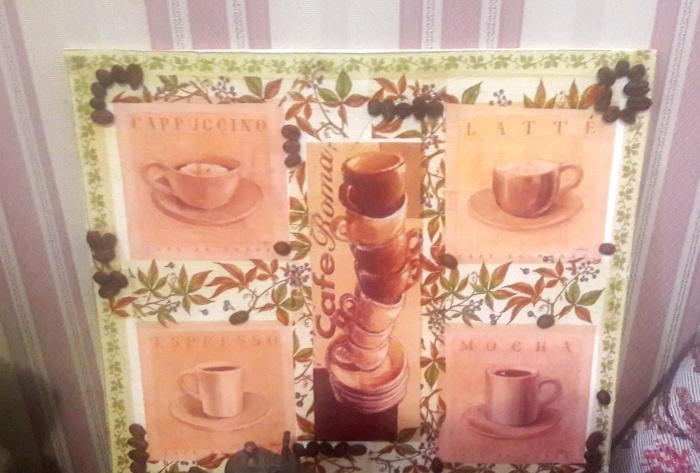
The cozy coffee picture is ready. It will delight lovers of this aromatic drink, both in the interior of the home and office.Fits well into the design of coffee shops and cafes. Makes a great gift for friends and family. Enjoy your creativity and inspiration!
come back
Comment
  • bowtiesmilelaughingblushsmileyrelaxed relaxedsmirk
    heart_eyeskissing_heartkissing_closed_eyesflushedrelievedsatisfiedgrin
    winkstuck_out_tongue_winking_eyestuck_out_tongue_closed_eyesgrinningkissingstuck_out_tonguesleeping
    worriedfrowninganguishedopen_mouthgrimacingconfusedhushed
    expressionlessunamusedsweat_smilesweatdisappointed_relievedwearypassive
    disappointedconfoundedfearfulcold_sweatperseverecrysob
    joyastonishedscreamtired_faceangryragetriumph
    sleepyyummasksunglassesdizzy_faceimpsmiling_imp
    neutral_faceno_mouthinnocent
5+two=
Comments (1)
  1. Karinka
    #1 Karinka Guests 23 August 2017 15:20
    0
    I made this picture with my daughter. It turned out very cool! Now we have this beauty hanging in our kitchen.

Birch bark knife case | Do it yourself

Various | Page 41 | Do it yourself

How to make an induction heater from an energy-saving lamp

Make this machine and forget about stupid drills forever

«Do it yourself - with your own hands» - a site of interesting homemade products made from scrap materials and items at home. Step-by-step master classes with photos and descriptions, technologies, life hacks - everything a real master or just a craftsman needs for needlework. Crafts of any complexity, a large selection of directions and ideas for creativity.

We recommend reading

Washing machine error codes