About choosing and purchasing laminate
A huge selection of all kinds of colors and patterns is another reason for the popularity of laminate. Manufacturers are constantly expanding their range. Even for the most sophisticated design ideas, there are two or three suitable options for colors and patterns.
When choosing a laminate, pay attention to the following nuances:
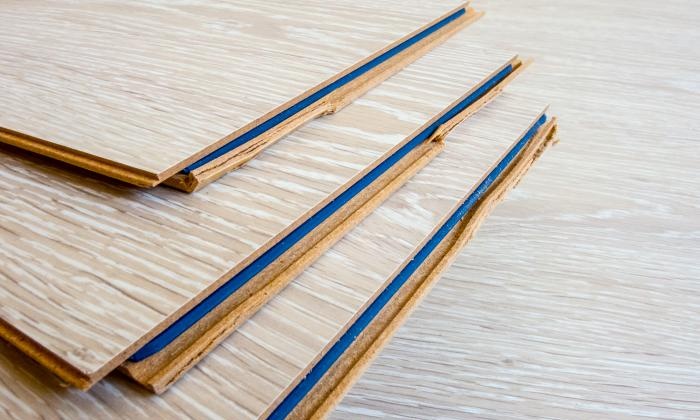
• Thicker material is more durable. The thicker the laminate, the higher the profile of the locks, and, therefore, the adhesion strength of the elements.
• Laminate with a chamfer around the perimeter of the elements is preferable. It looks more natural. In addition, the chamfer masks small cracks that may appear during operation.
• Some types of laminate are sold with a backing already glued on. This laminate absorbs the sound of footsteps better and is somewhat easier to install.
Base requirements
Laminate is a very “democratic” material. It can be successfully laid on old coverings: parquet, linoleum, ceramic tiles, plank floors and, of course, concrete floors. The main requirement is that the base must be level. Most laminate manufacturers recommend that the curvature of the floor should not exceed 2 mm when measured with a meter stick.
It is important that the base is dry. If you are going to lay the laminate on a newly made cement screed, be sure to make a vapor barrier: cover the entire floor surface with polyethylene with an overlap of 30–40 cm.
Preparing tools and materials
In order not to waste extra time on work, you should have all the necessary materials and tools at hand:
• Sufficient laminate and underlayment. Please note. That some of the material will go into scraps.
• Skirting boards, connecting elements for them and fasteners.
• Electric jigsaw and 2-3 replacement blades for it.
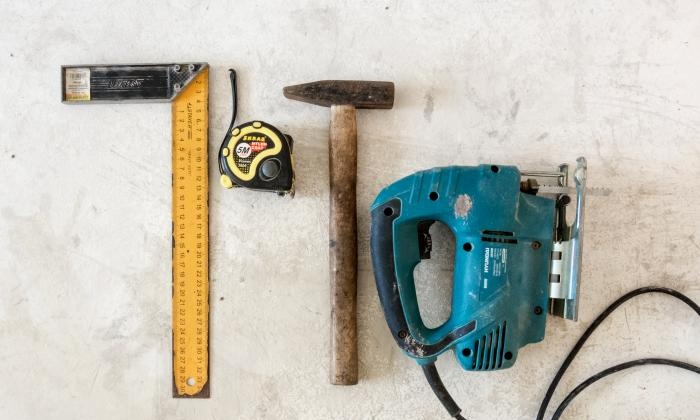
• Hammer, small pry bar or nail puller.
• Tape measure, square, pencil or marker for marking.
General Installation Considerations
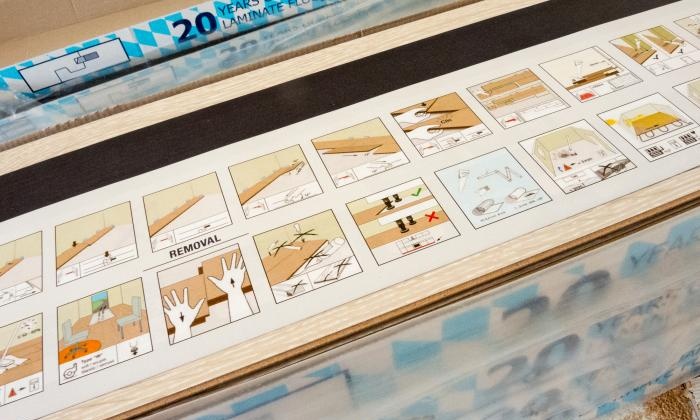
Take the time to study the instructions for laying laminate flooring. The general principles of work for all types of laminate are the same, but working with different types of laminate has its own nuances. Pay attention to which direction - left to right or right to left - you need to collect rows. Find out how the elements on the short side are connected.
All types of laminate are laid in a “floating” manner: the material is not attached to the base. When humidity changes, the material “breathes” - its geometric dimensions change. To compensate for these changes, a gap of 8–10 mm is left around the perimeter of the room between the wall and the laid coating. It is covered with a plinth.
Typically, rows of laminate are located along the rays of light from the window.However, laminate flooring can be laid in a transverse direction and even at an angle of 45 degrees. Often, but not always, laying laminate begins from the wall in which the door is located or closest to it.
Having taken all these considerations into account, we determine where we will start laying and get to work.
Progress
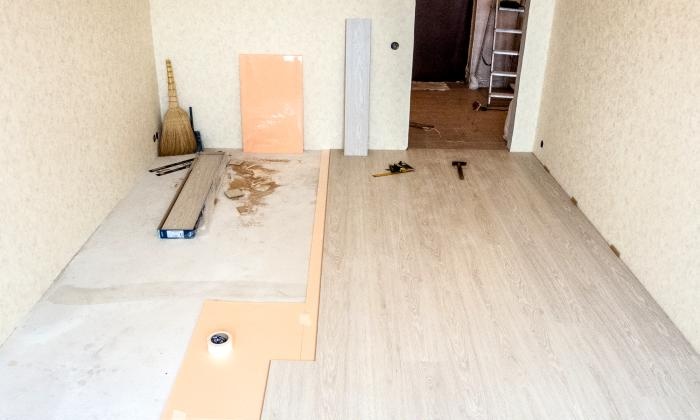
1. Spread the first row of underlay on the cleanly swept base of the floor. (If a vapor barrier is required, spread it out first and place the underlayment on top.)
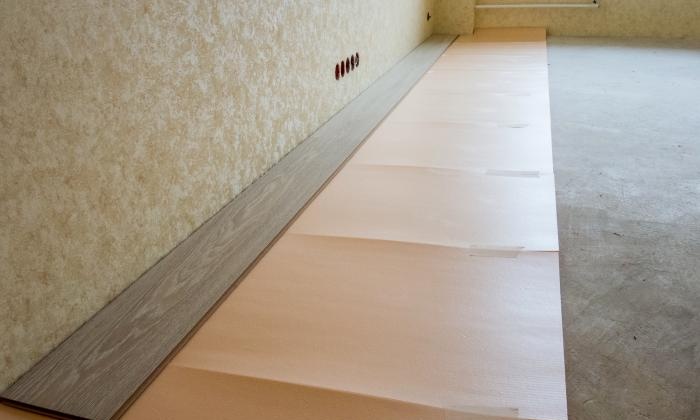
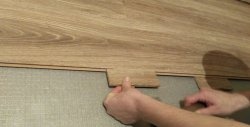
2. Assembling the first row. We cut the last element in the row to length and place it at the beginning of the next row. Having assembled two rows completely, we check their straightness using a stretched thread.
3. Make sure that the distance between short joints in adjacent rows is at least 30–35 cm. If necessary, start the next row with a longer or shorter element.
4. Continue installation. When 3-4 rows are ready, we create a deformation gap between the laid covering and the wall. It is convenient to use small pieces of laminate, sawn from scraps.
5. If necessary, spread the backing and continue installation. We make sure that there are not the slightest gaps between the elements. We remove them with gentle blows of a hammer through a spacer made from a piece of laminate.
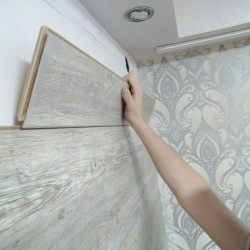
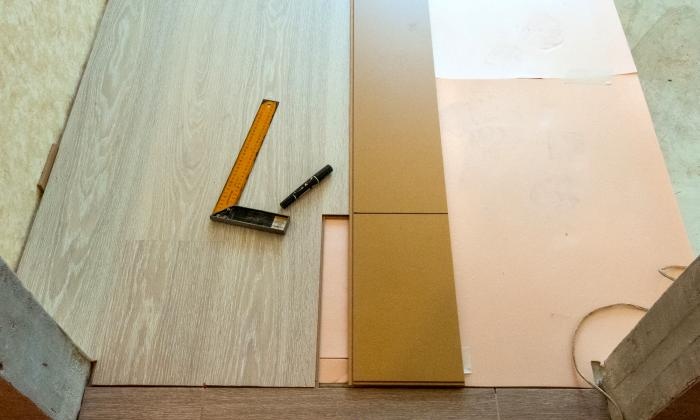
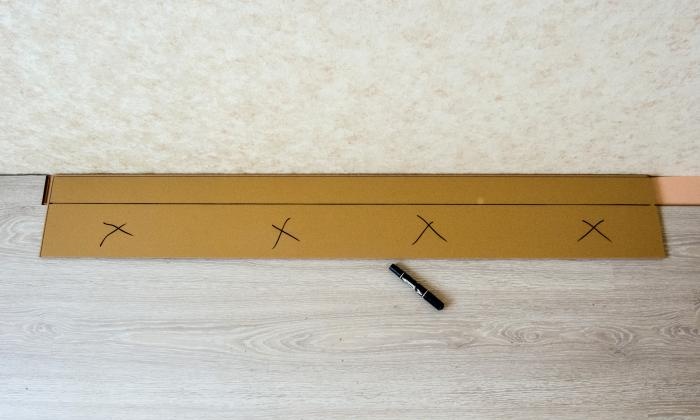
6. Laminate elements in the last row have to be cut to width. The room may not be rectangular. To cut a part of the required width, mark the cutting line “in place”, as shown in the figure.
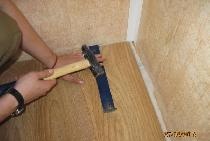
7. To insert the elements of the last row into the locks without gaps, use a pry bar or a nail puller.
8. Having finished installation, install the baseboards.
Some useful tips
• Packs of laminate require very careful handling.It's easy to damage locks and not even notice it. If this does happen, the damaged elements can be used along the edges so that the chipped parts go into scraps.
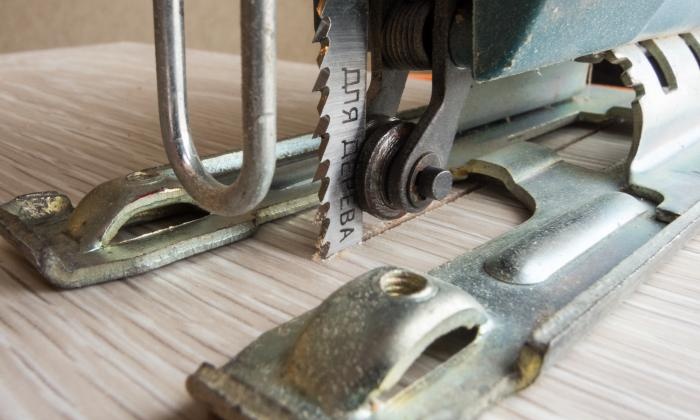
• To reduce the number of chips along the cut when cutting laminate, use special saws with a reverse tooth, as in the photo, or mark and saw the laminate from the reverse side.
• Carefully check the cleanliness of the grooves in the locks: the slightest speck and a gap will appear at the joint. On light-colored laminate, cracks are especially noticeable.
• To cut holes for heating pipes, use a narrow profile saw. Fill the gap between the laminate and the pipe with parquet sealant in the color of the laminate.
Laying laminate flooring in a room of 18–20 square meters. meters requires no more than 4–5 hours. One person can handle it.
The floor is ready for use immediately! Can be entered furniture and live.